Microsoft Surface Pro 4 Disassembly Guide
Before you get to disassemble your Microsoft Surface consider selling it. Most of the time it's easier to sell broken tablet and buy a new one rather than try to fix it.
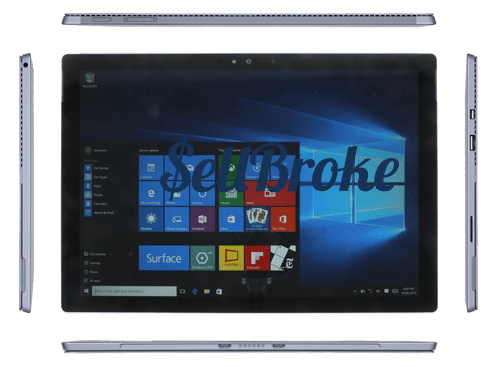
The latest Microsoft Surface Pro 4 tablet is even better than before. With a bigger display, higher resolution combined with Intel's newest processors, Surface Pro 4 is one of the best tablets available now on the market. Computer manufacturers were trying for years now to convince users that tablets are better than laptops and ironically Surface Pro evolved to a first Microsoft's laptop - the Microsoft Surface Book.
Now it's biggest direct competitors are Google Pixel and the very famous Apple's iPad Pro. iPads are known to many as the original tablets that didn't use stylus pens in favor of multi-finger touch directly on the screen. The iPad Pro 12.9-inch is the first one to use pen which opens new doors for users like artists and designers. A lot of people love them but for someone looking for a Pro tablet based on Windows the Microsoft Surface is the choice to make. Beautifully styled with detachable keyboard and kickstand it can easily replace a laptop for most users.
To see how the tablet evolved and changed on the inside please check out our earlier Microsoft Surface Pro 1514 Disassembly instructions.
Disassembly of Microsoft Surface Pro 4 Model 1724
Tools needed:
-
Heat gun
-
Metal and plastic opener tools
-
T3 Torx Screwdriver
-
T4 Torx Screwdriver
-
T5 Torx Screwdriver
Difficulty Level: Medium
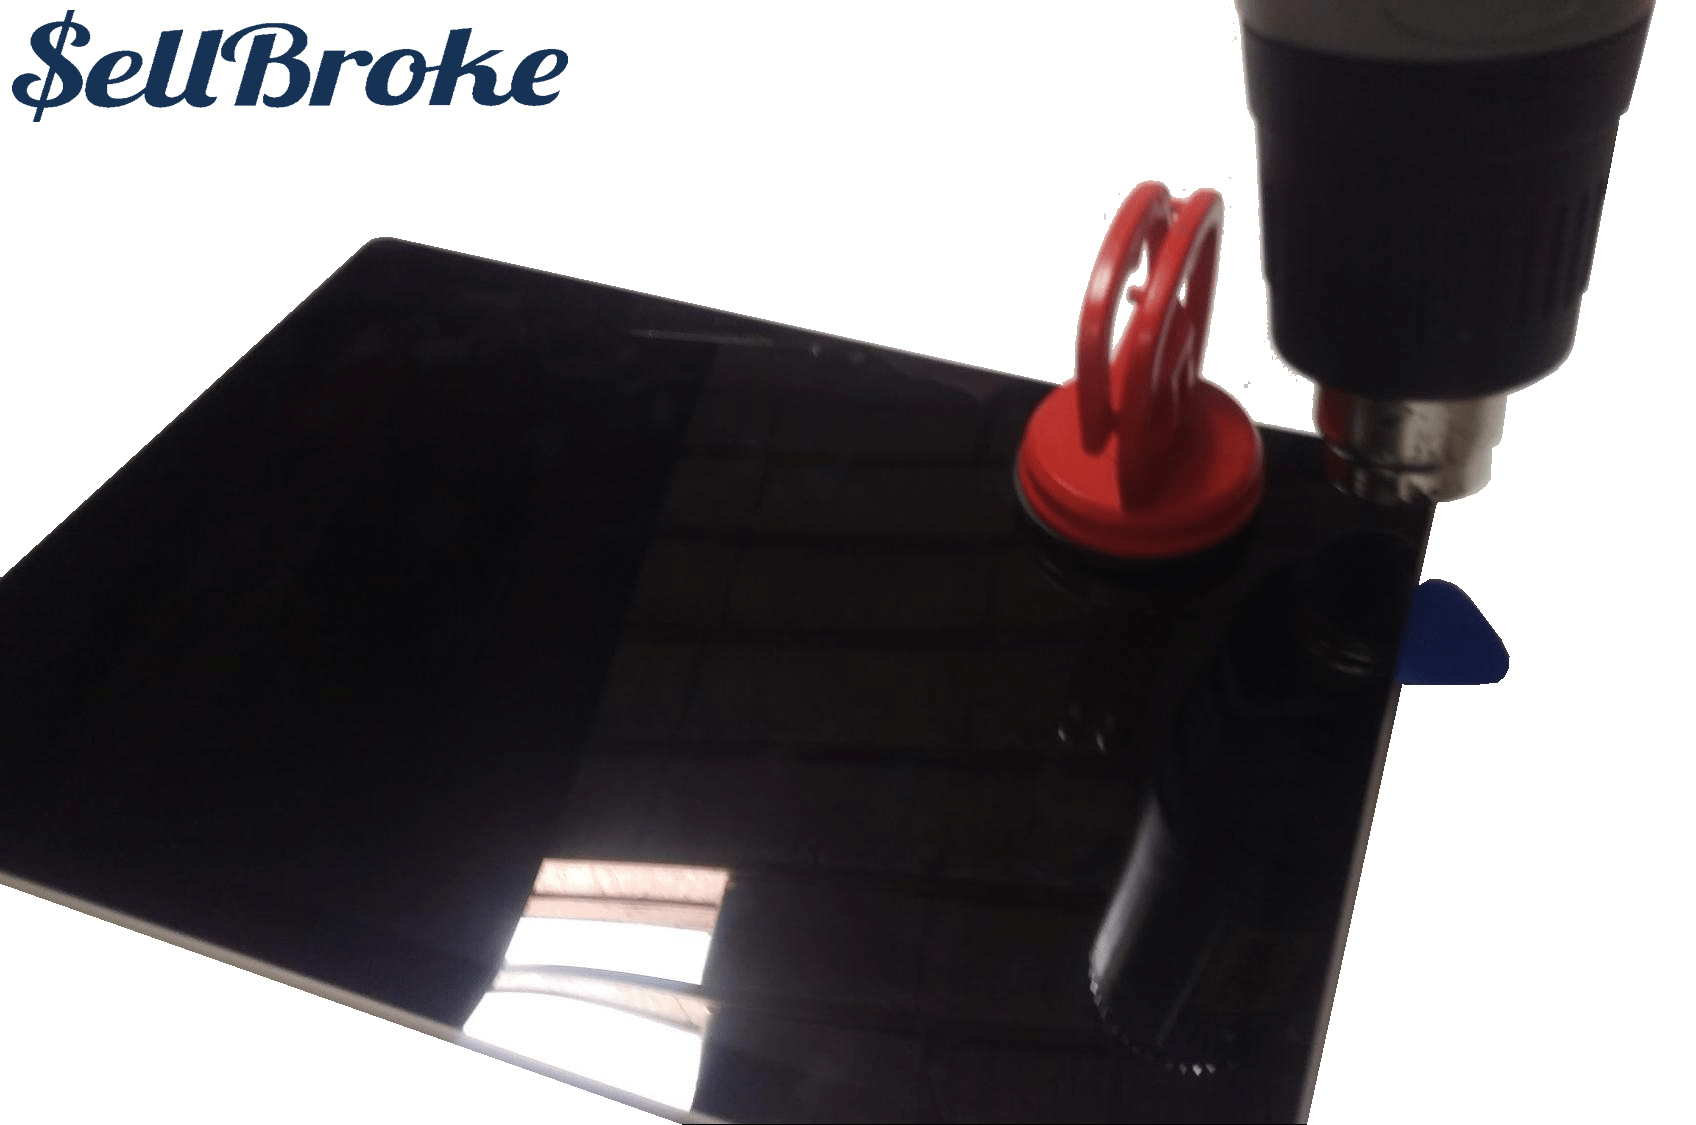
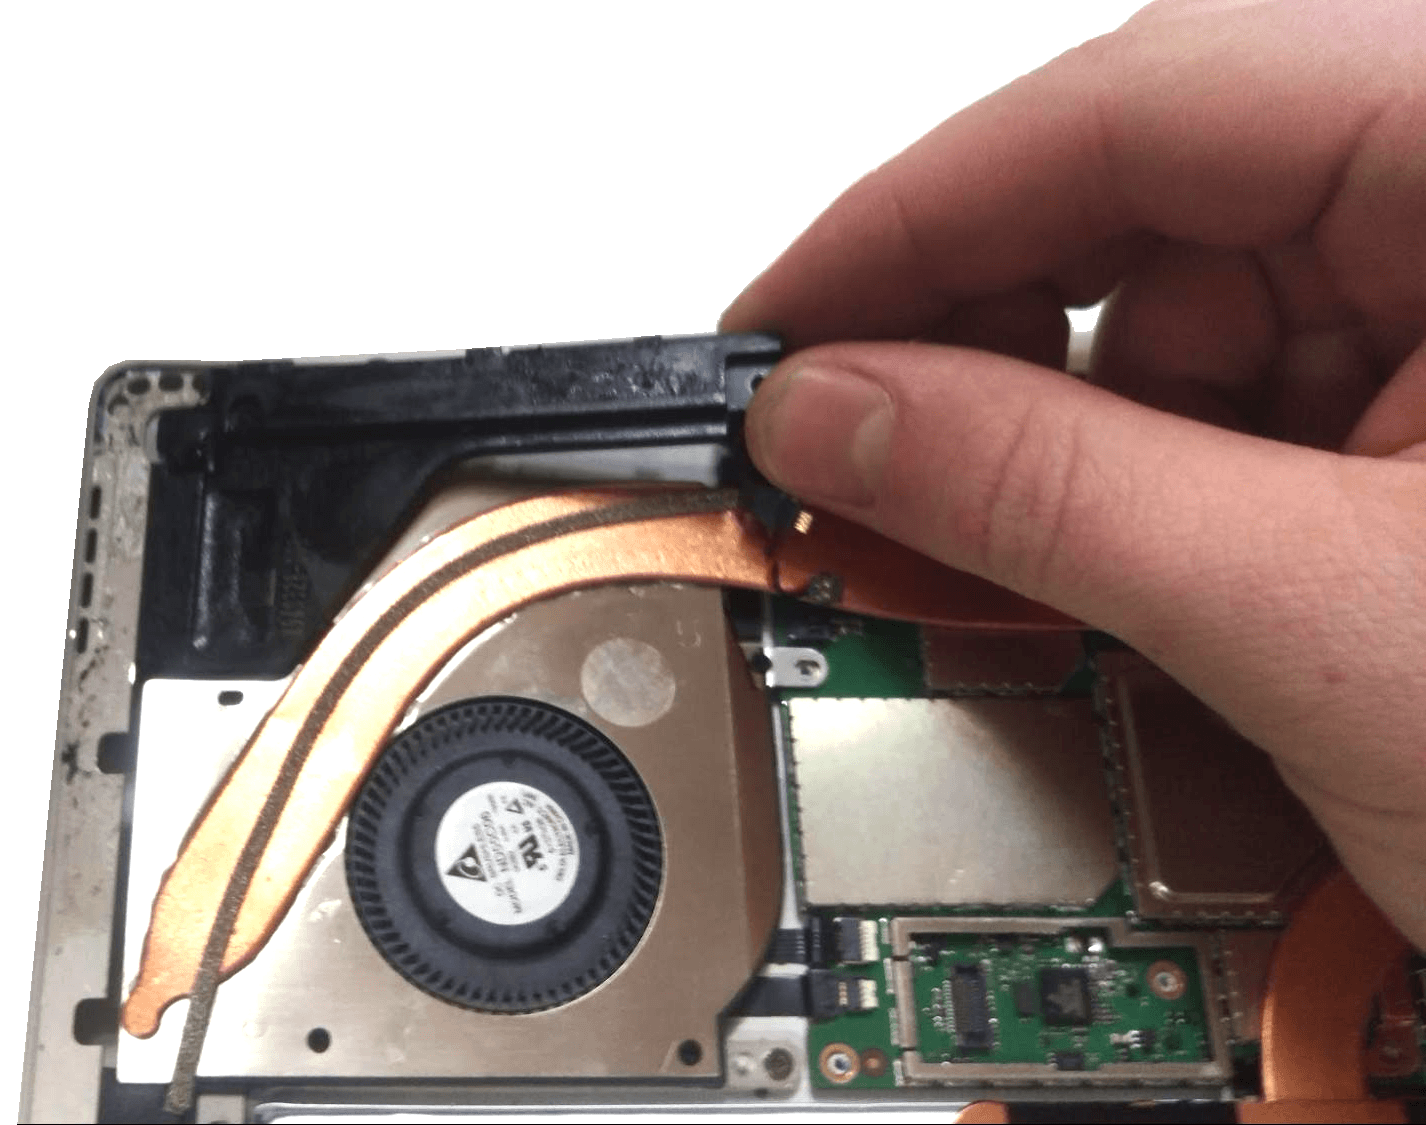
To begin, use a heat gun on medium-high heat and heat the entire edge surface of the LCD. There is a strong adhesive that we need to defeat to get into this tablet. I used a suction cup and metal opener tool to help me with this. Go around the entirety of the device, until you defeat the adhesive. This was very difficult for me! Be very careful since the LCD can easily be cracked or otherwise damaged.
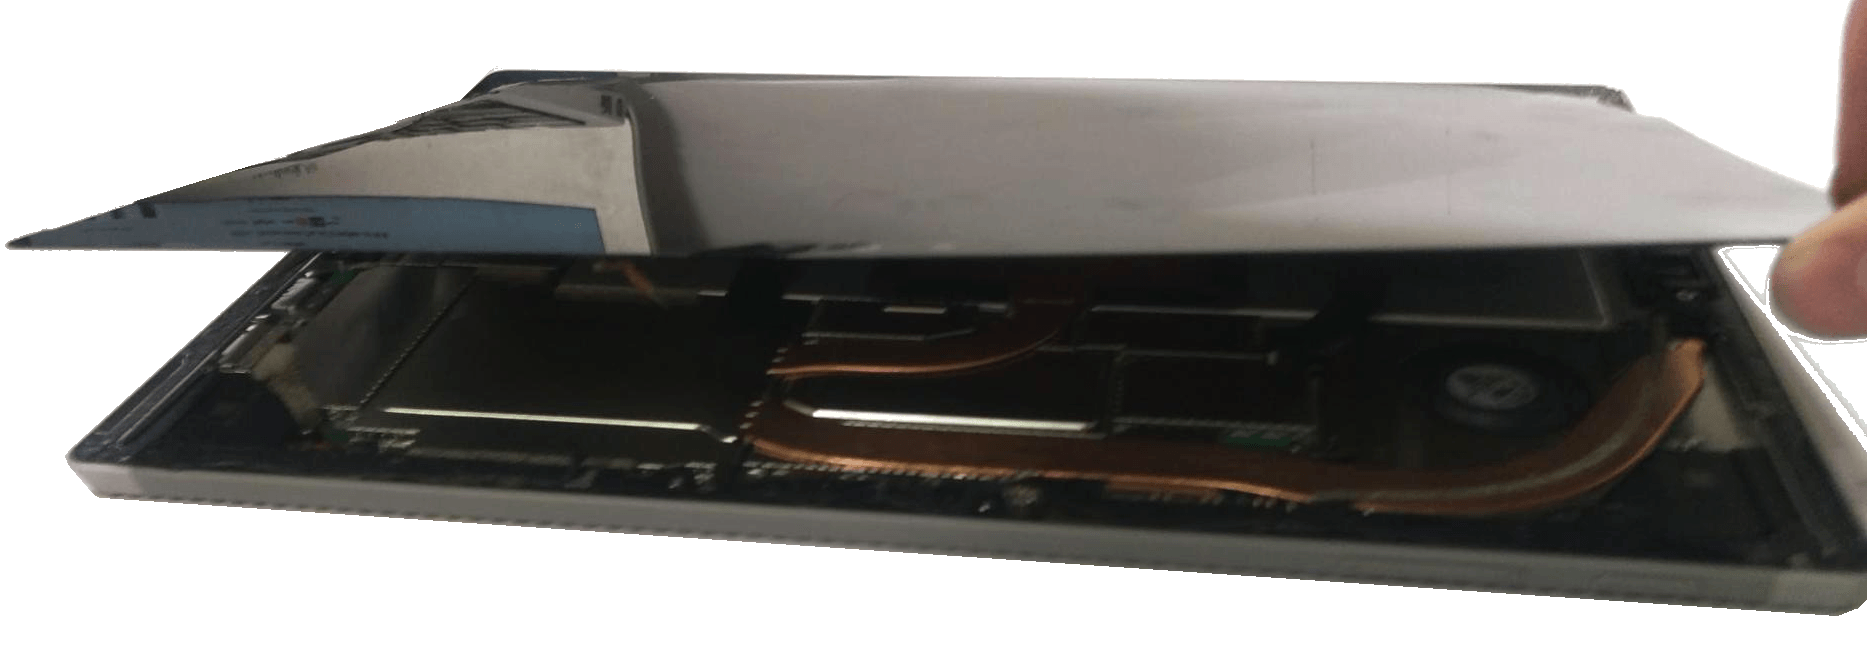
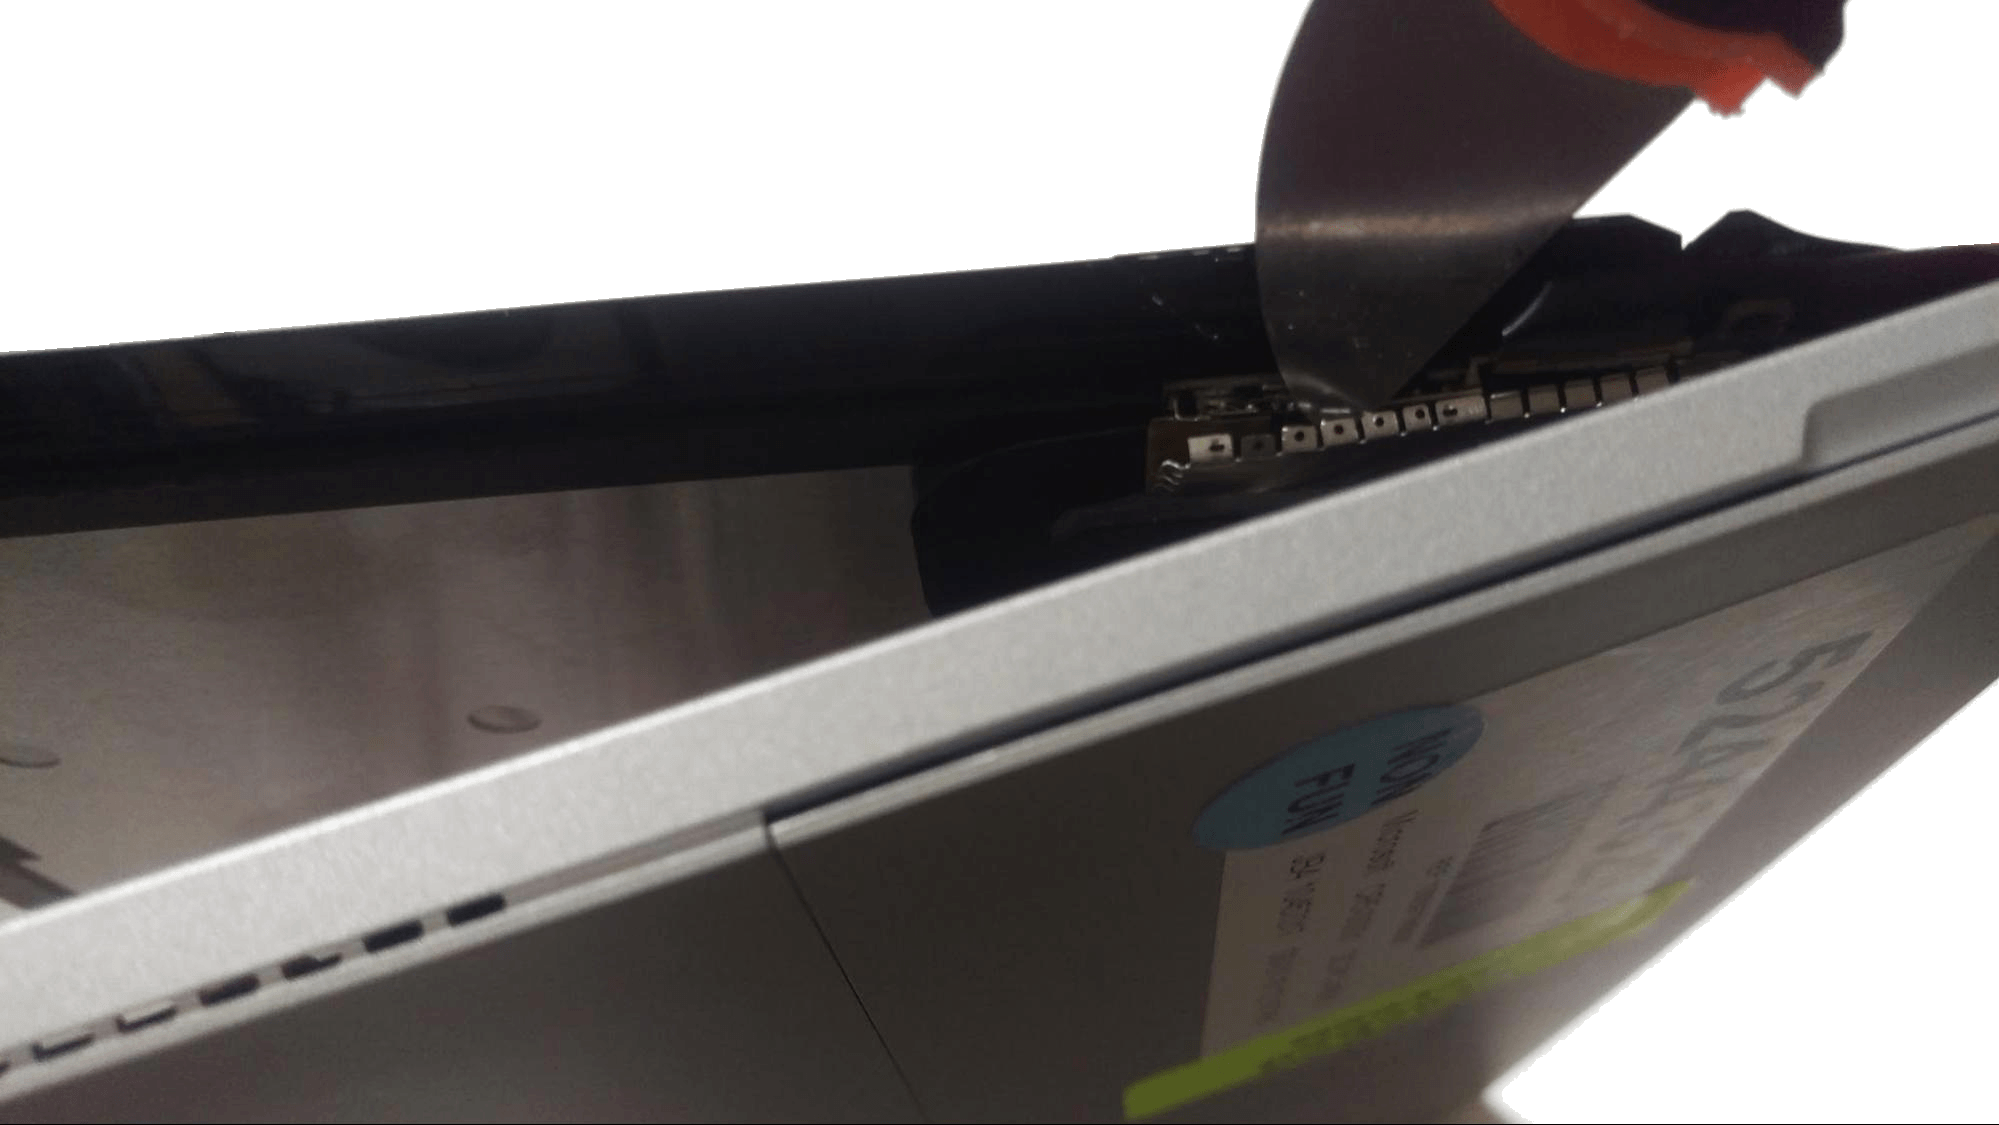
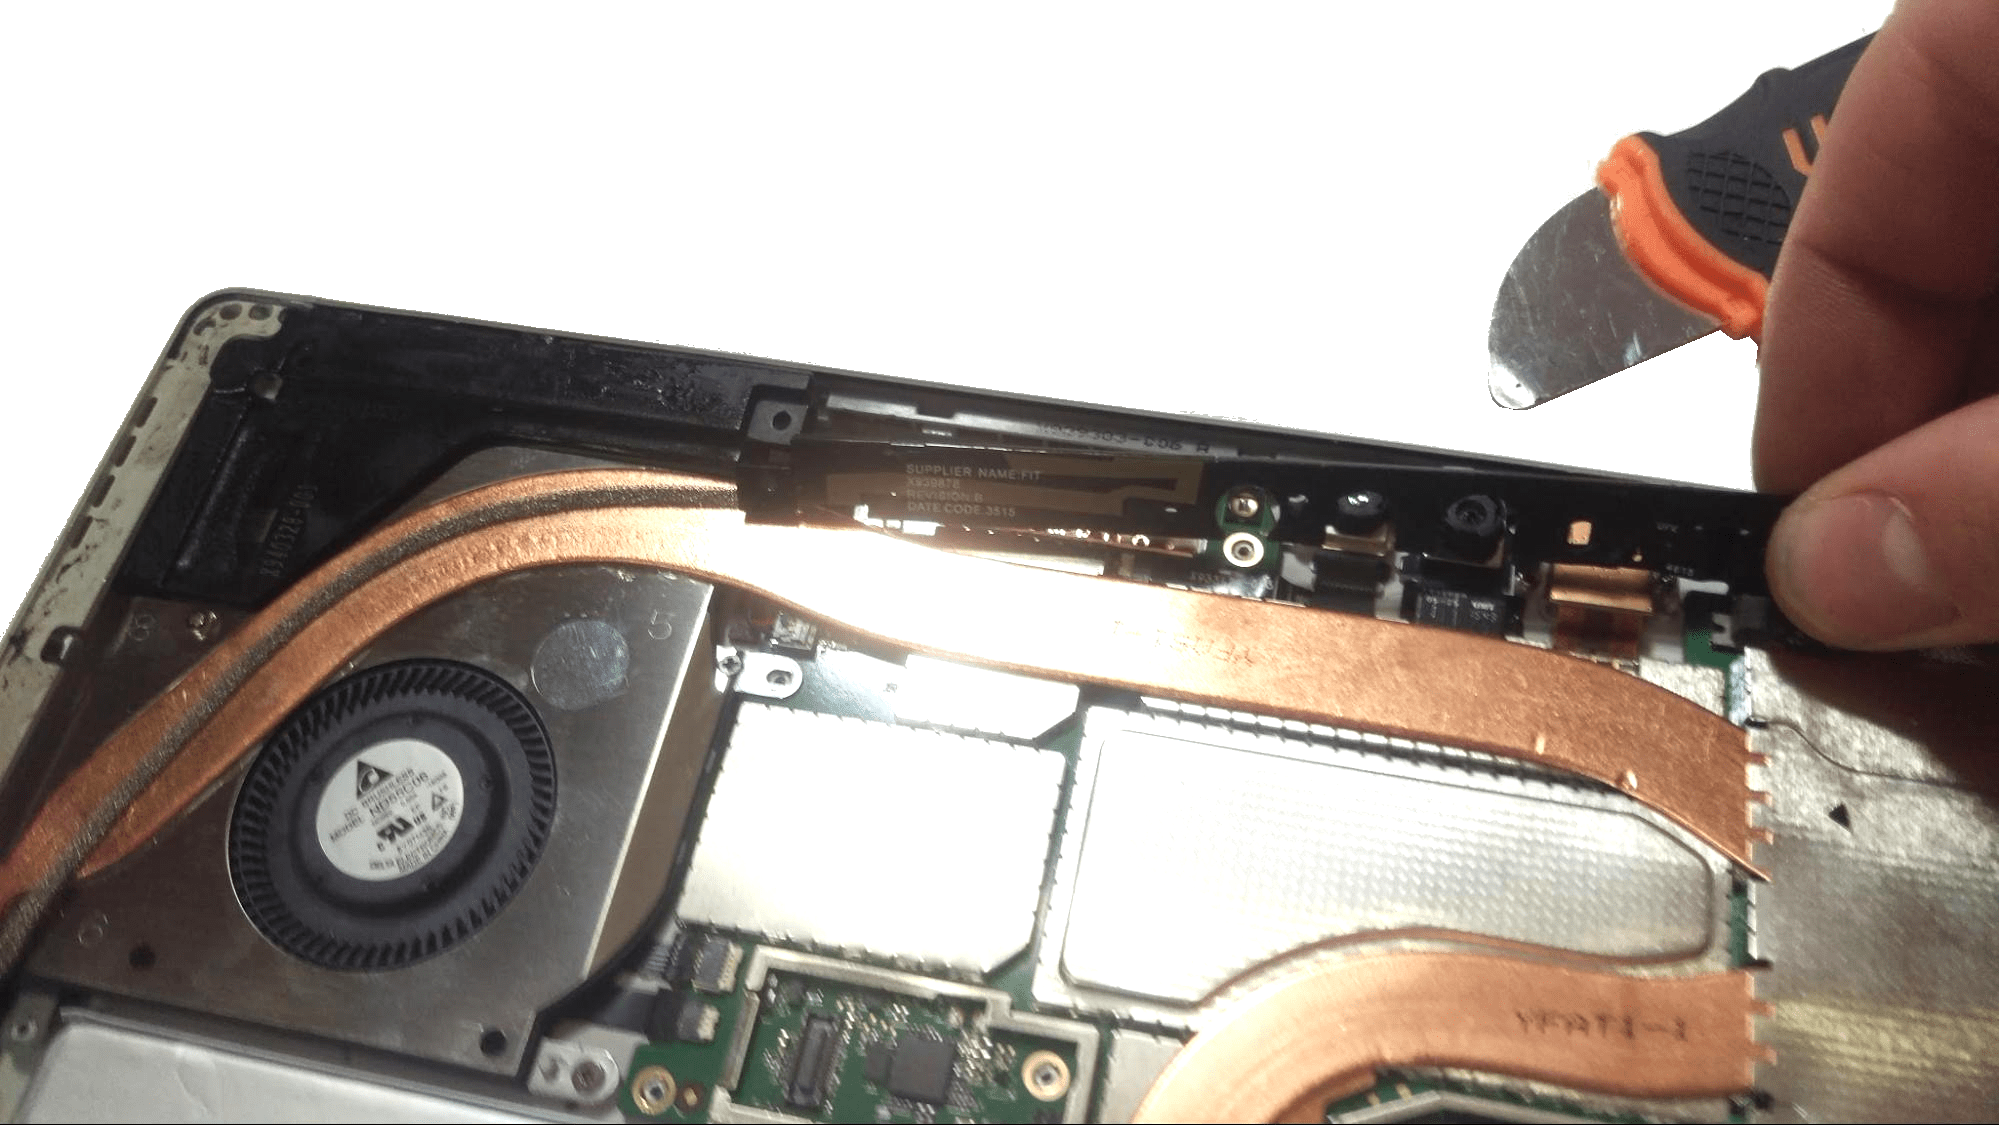
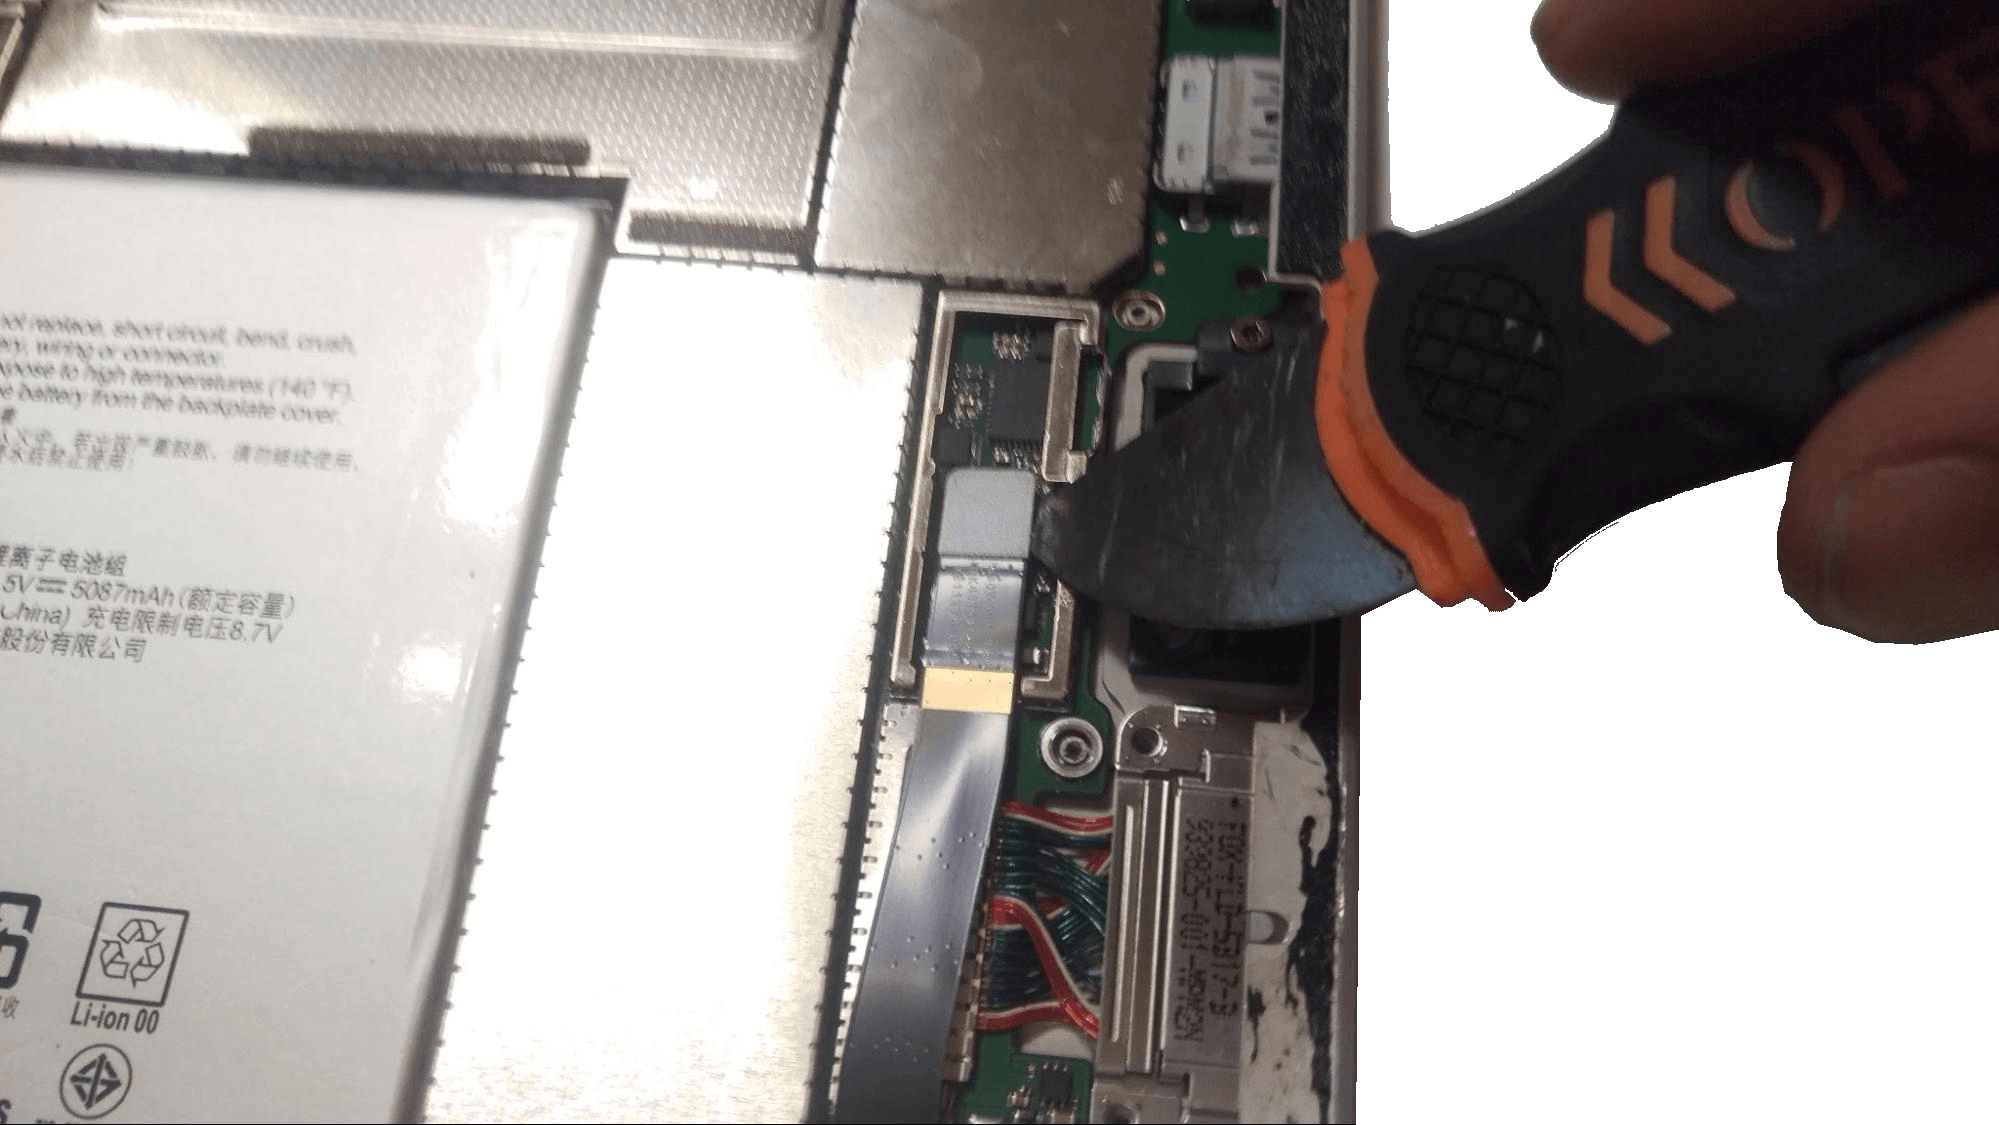
Before you can disconnect the LCD from the frame, you must disconnect two of the cables connecting it to the motherboard. To access them, using a metal opener tool pry off the metal “cage” containing the cable. Pry the cables away from the LCD.
Then disconnect the cables from the motherboard.

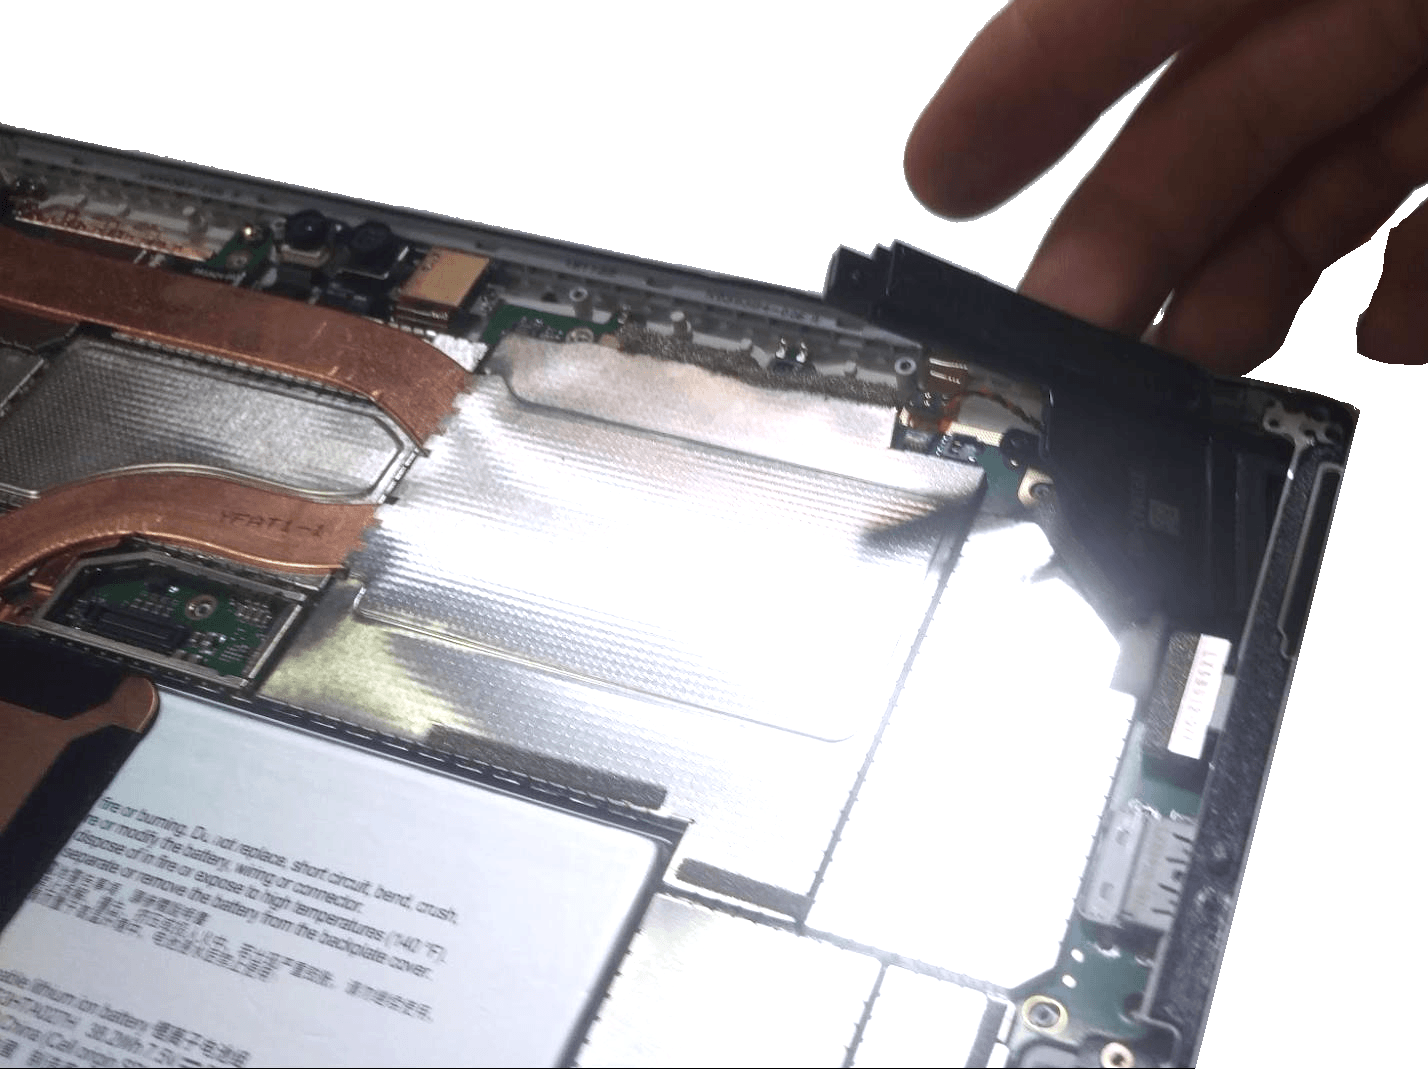
Next, remove all the screws around the motherboard. You will need T3 and T4 torx screwdrivers for this.
The front camera assembly can be easily pried off once the screws are removed.
Both speakers can easily be removed once the screws in the frame are removed. Make sure to disconnect them from the motherboard first.
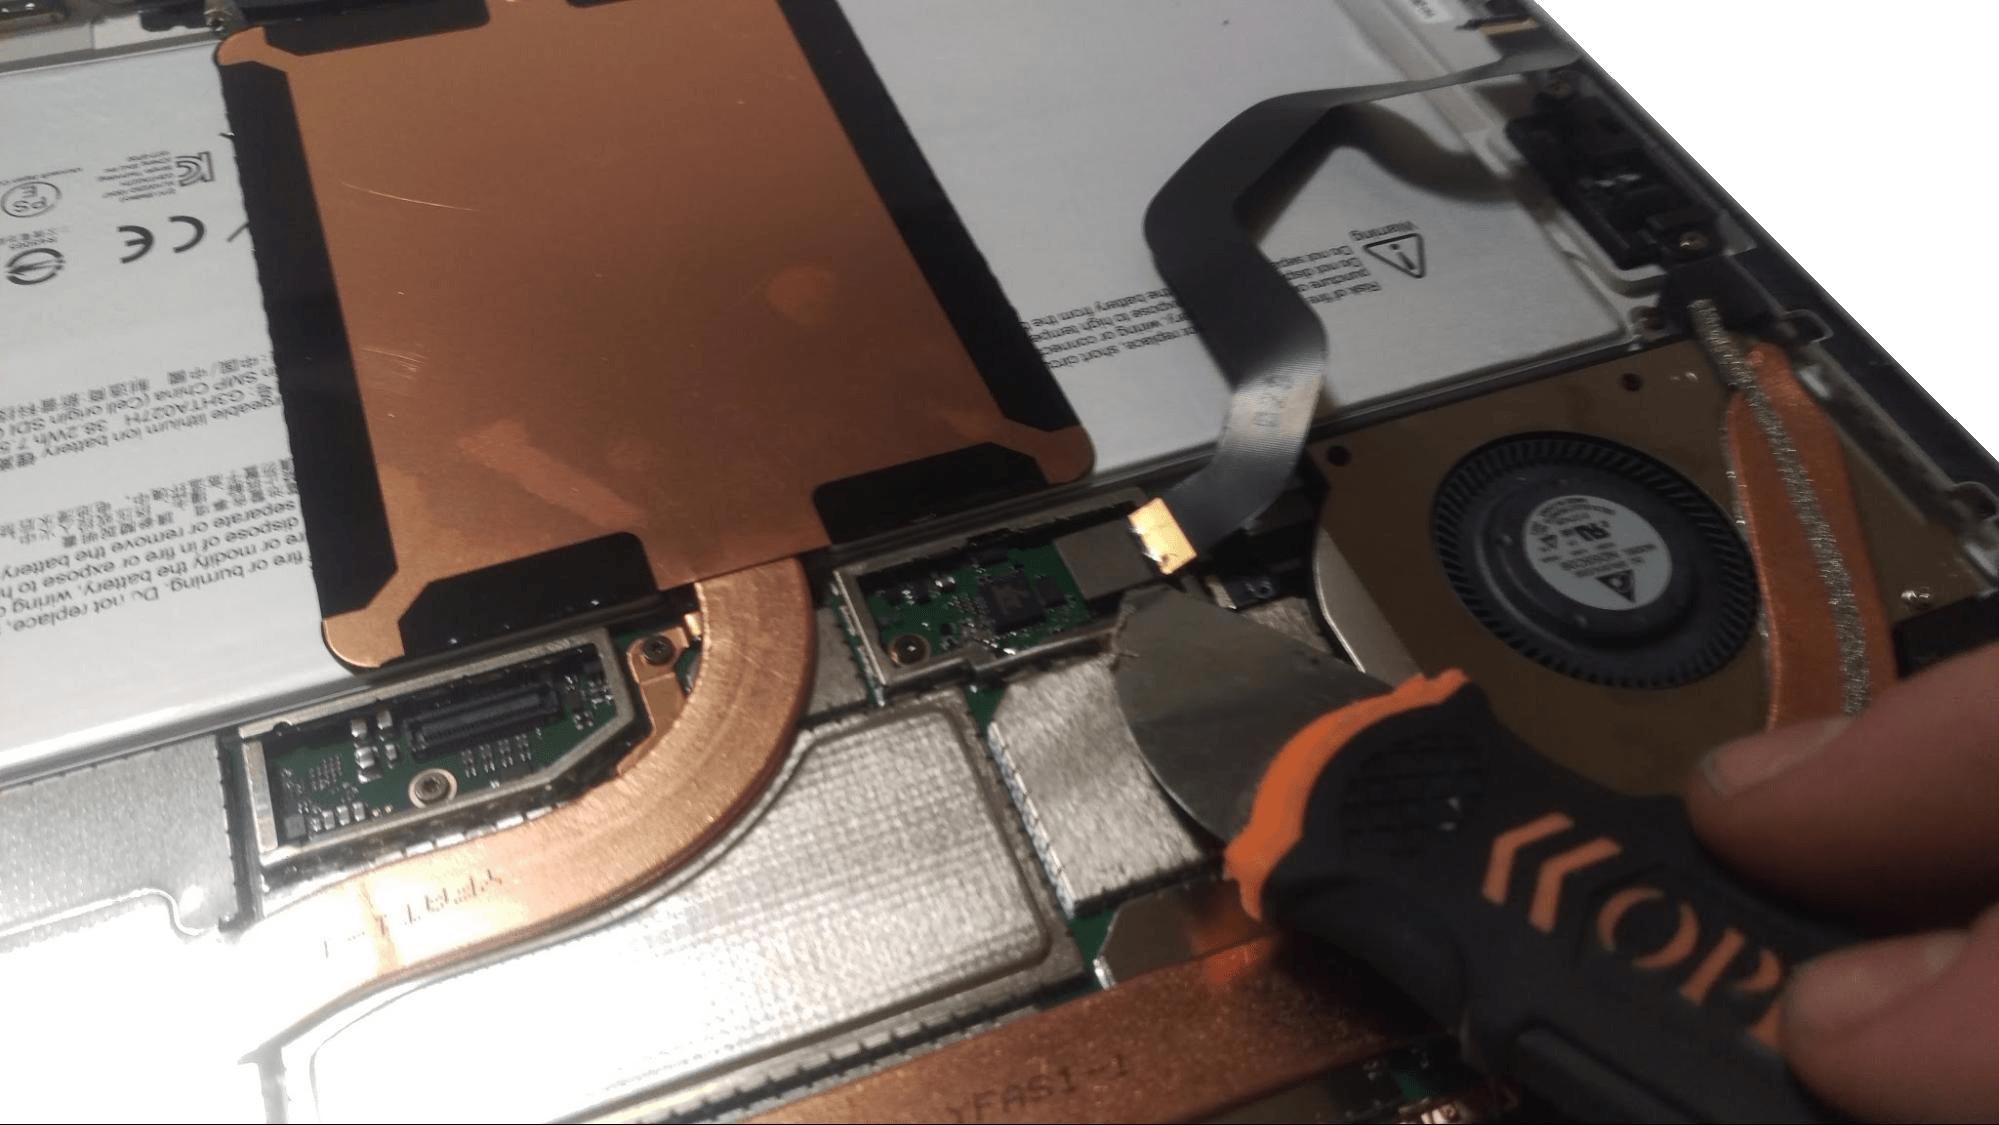
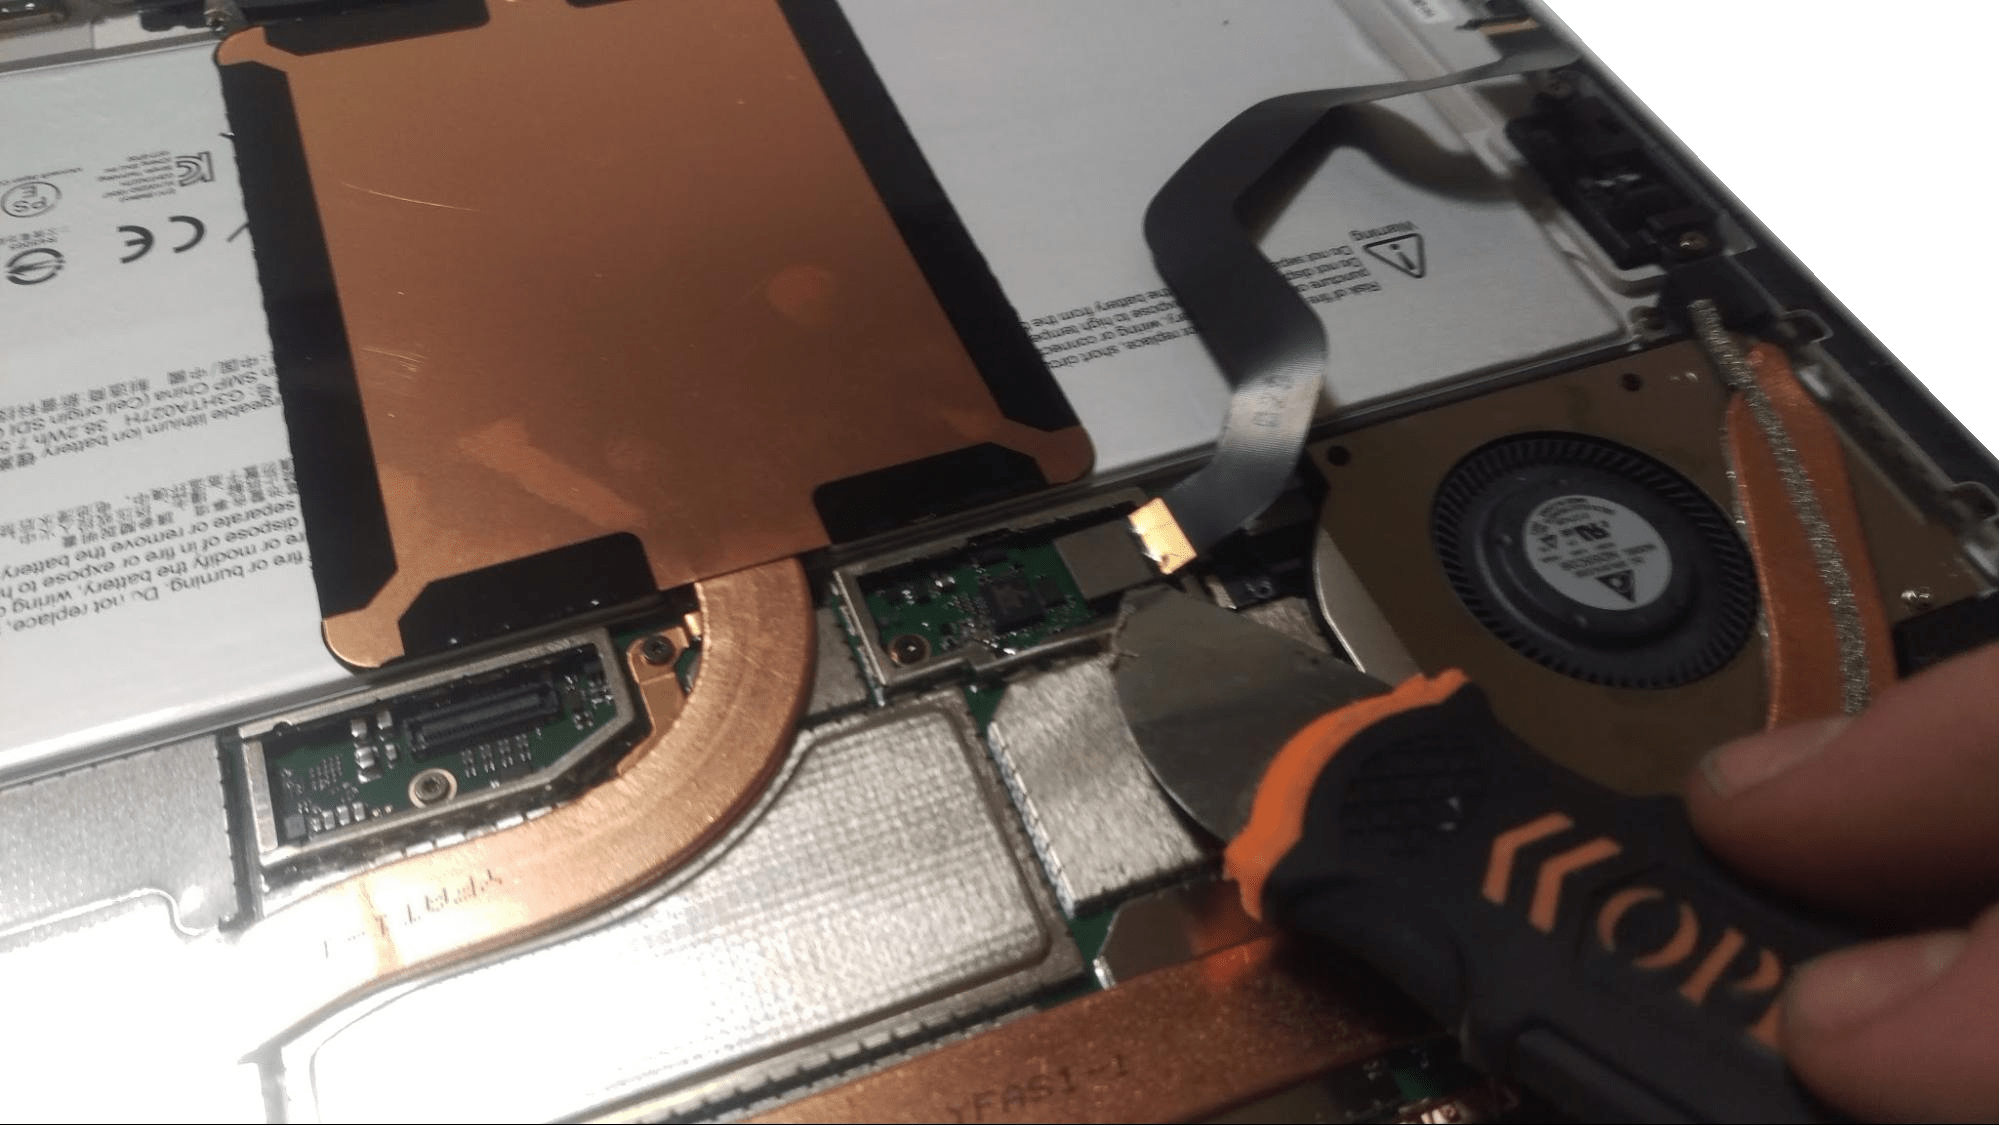
To access the connector for the SD card reader, pry off the cage protecting it.
Using a metal opener tool, pry up the connectors from the motherboard and simply pull up on the SD card reader and the power connector.
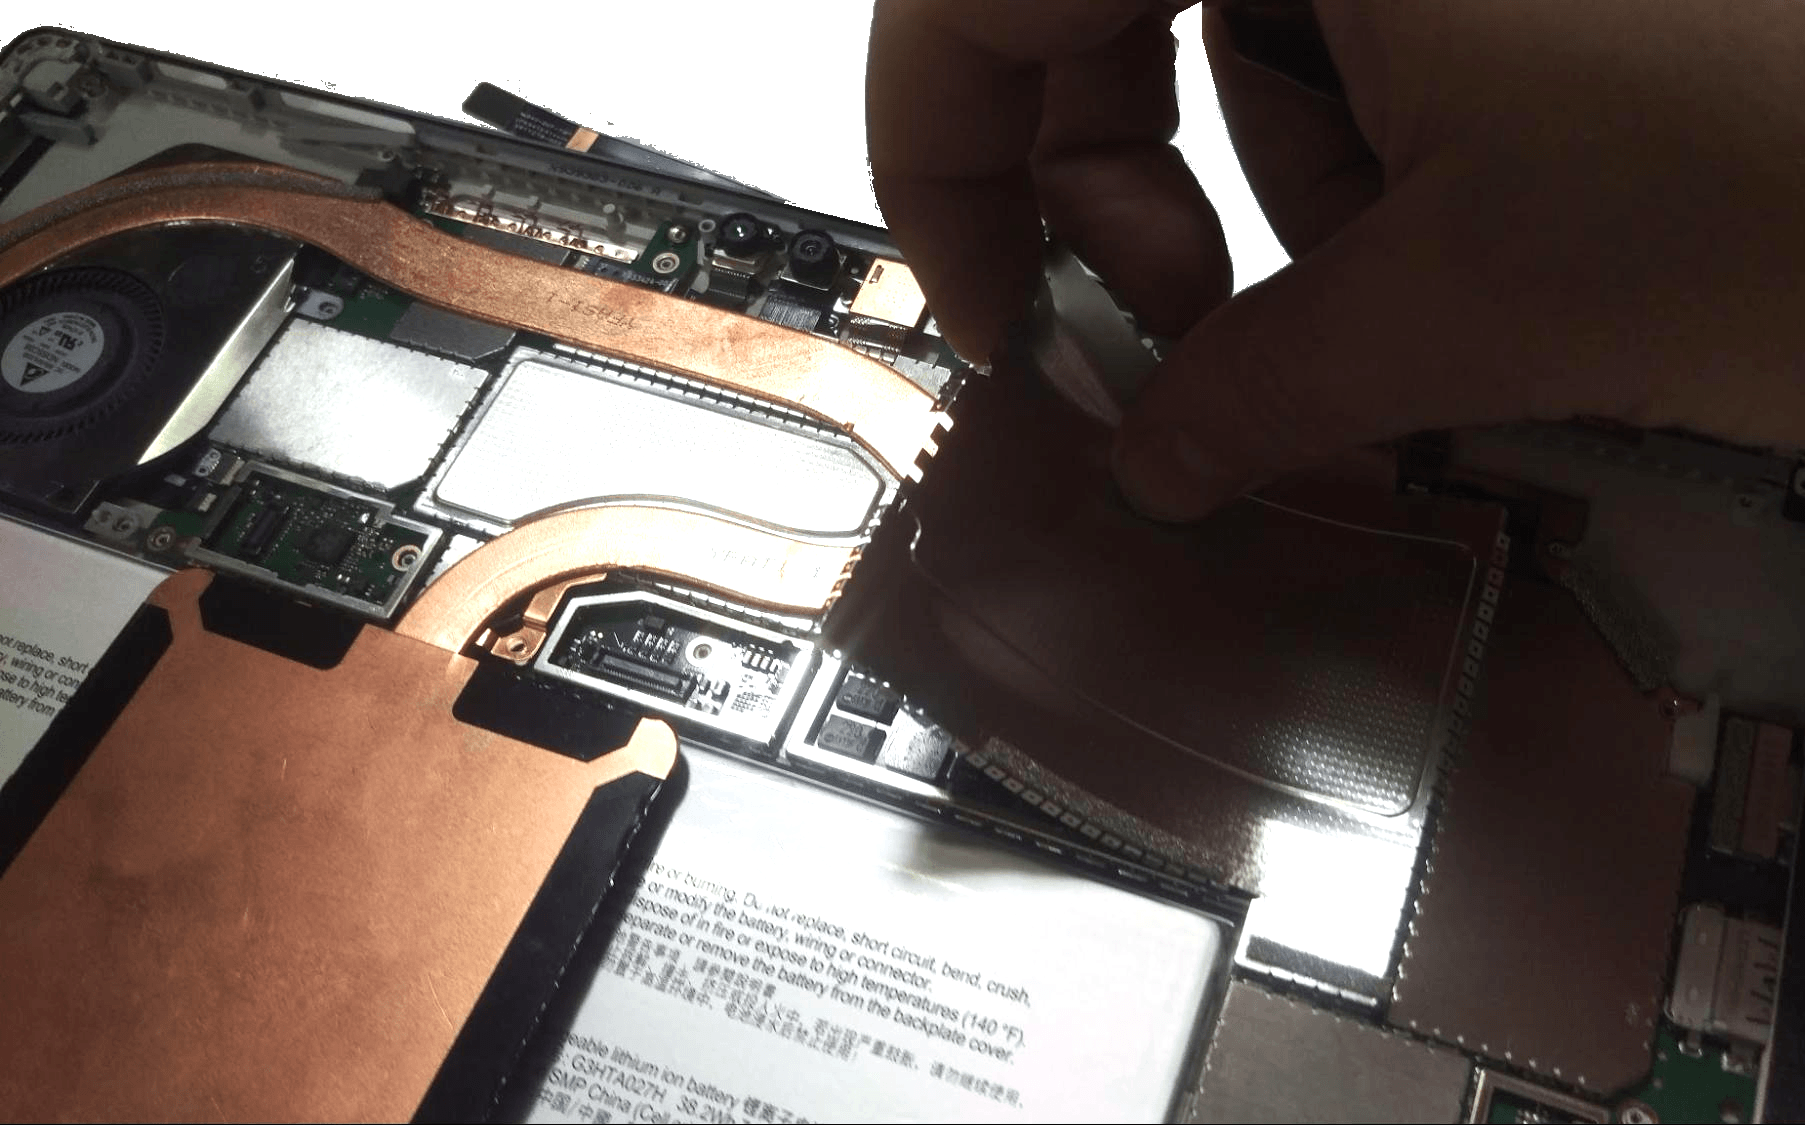
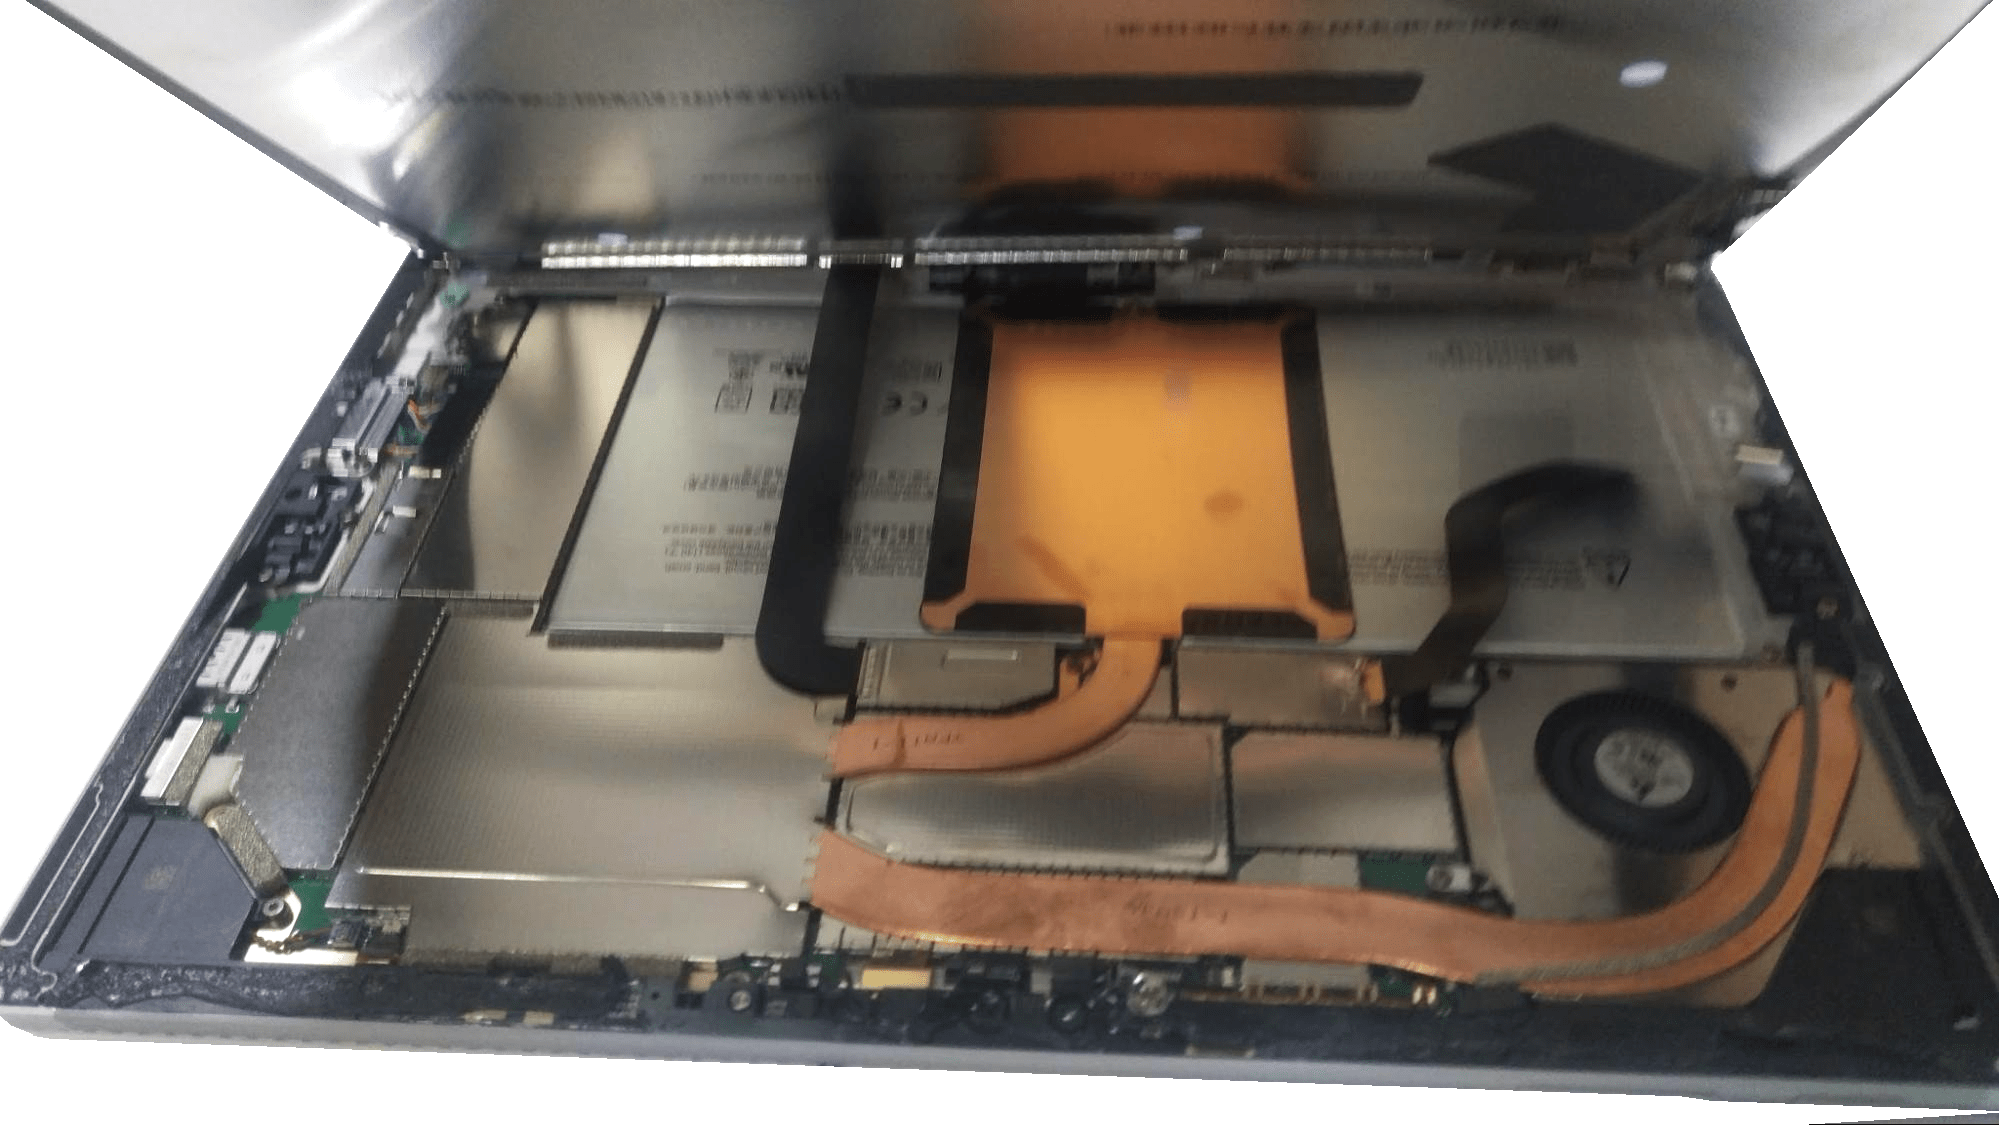
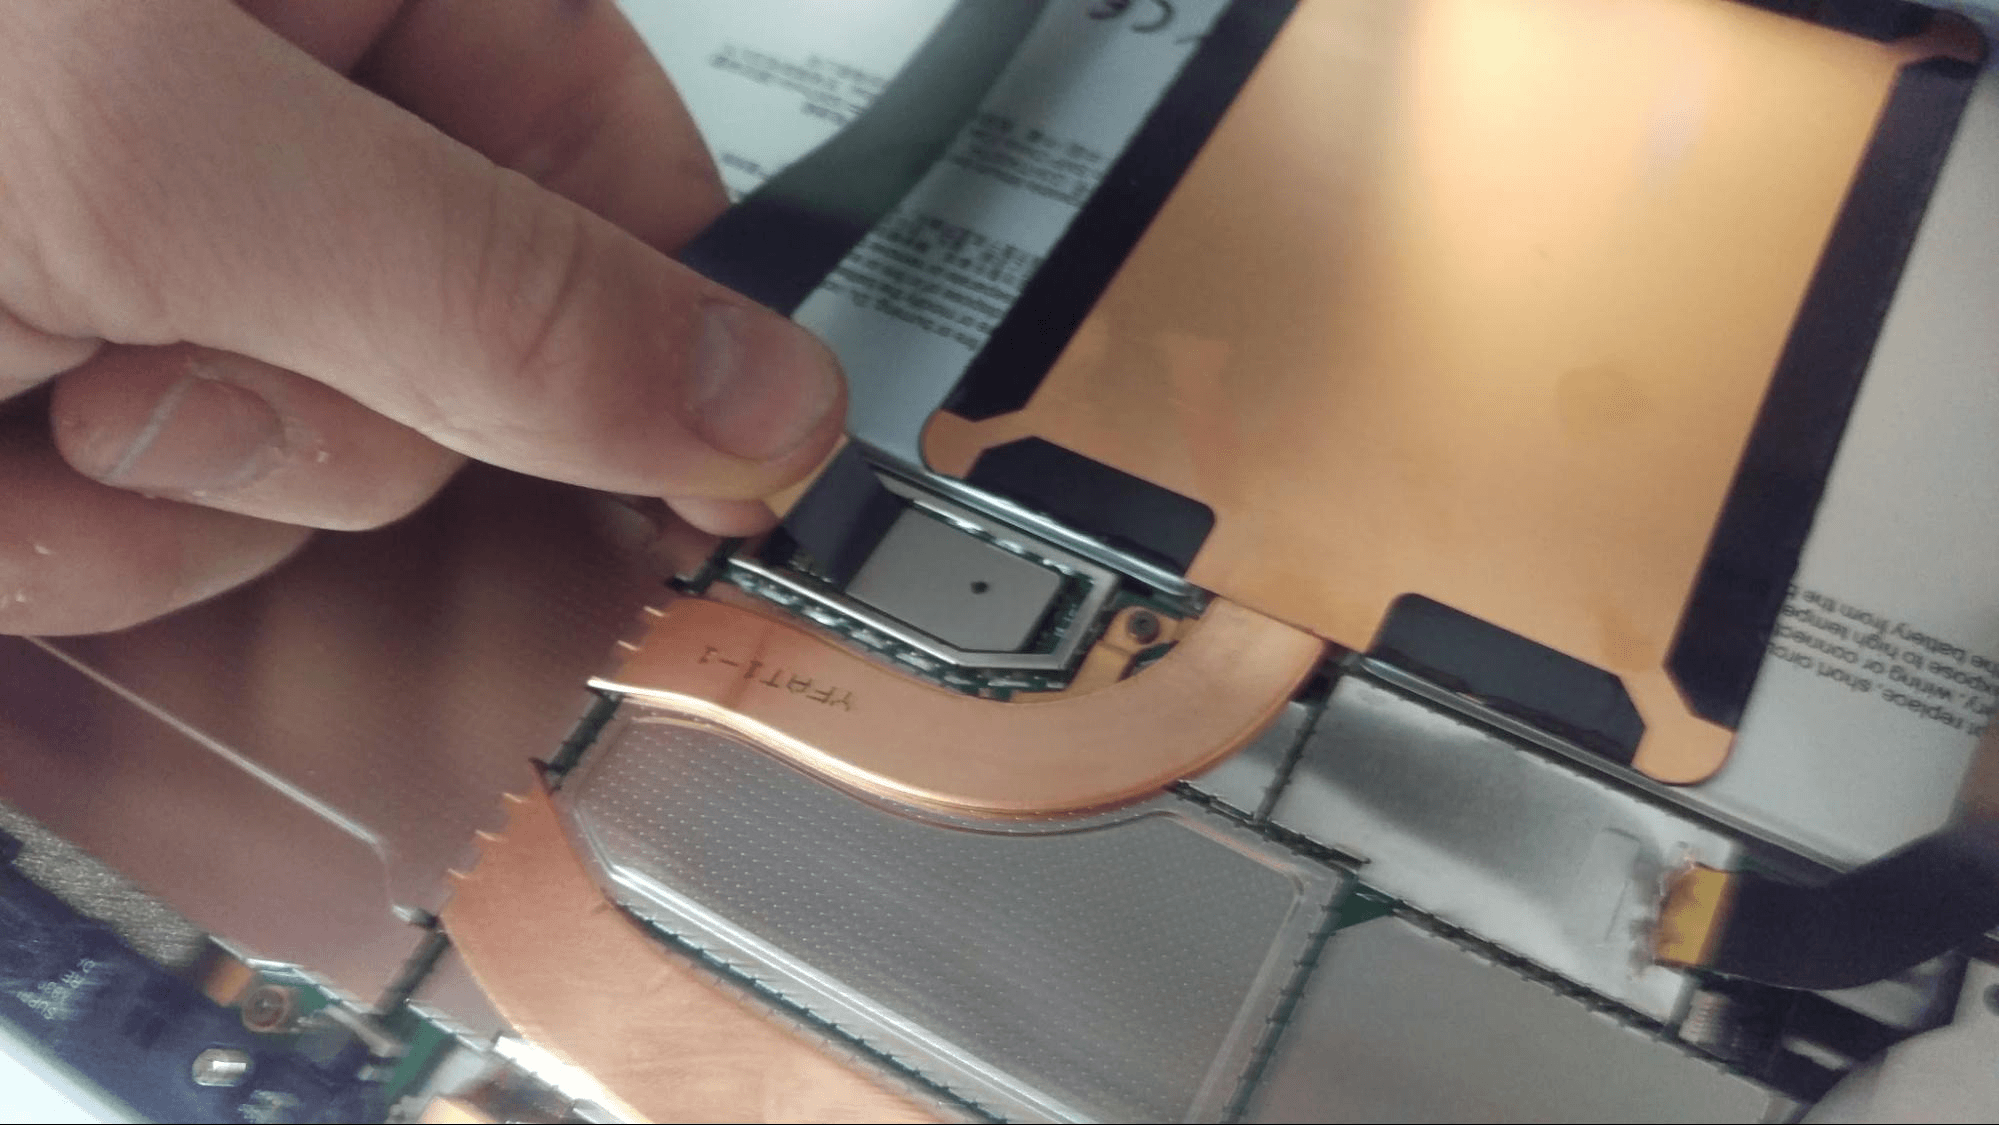
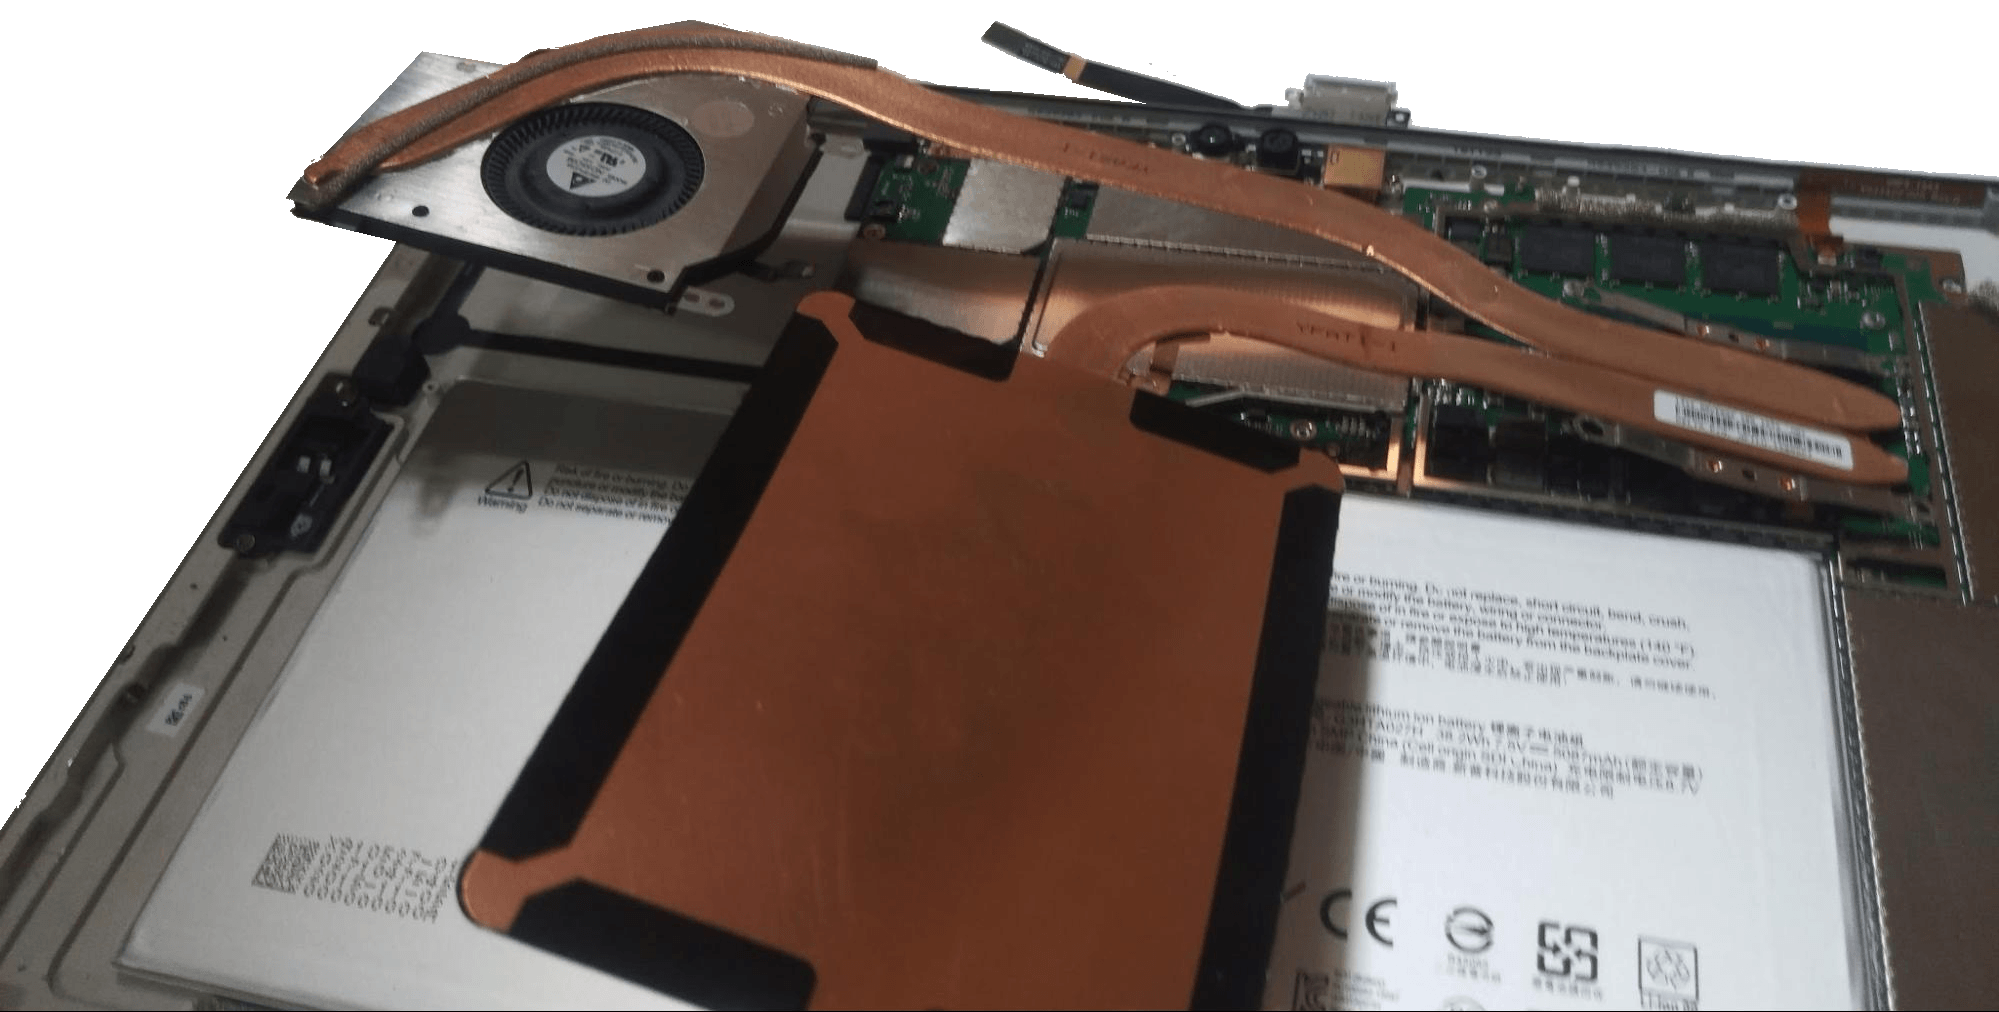
With an opener tool pry off the metal cage, to access the CPU heatsink. Using a T4 torx screwdriver remove the screws, then pull up on the heatsink to remove it.
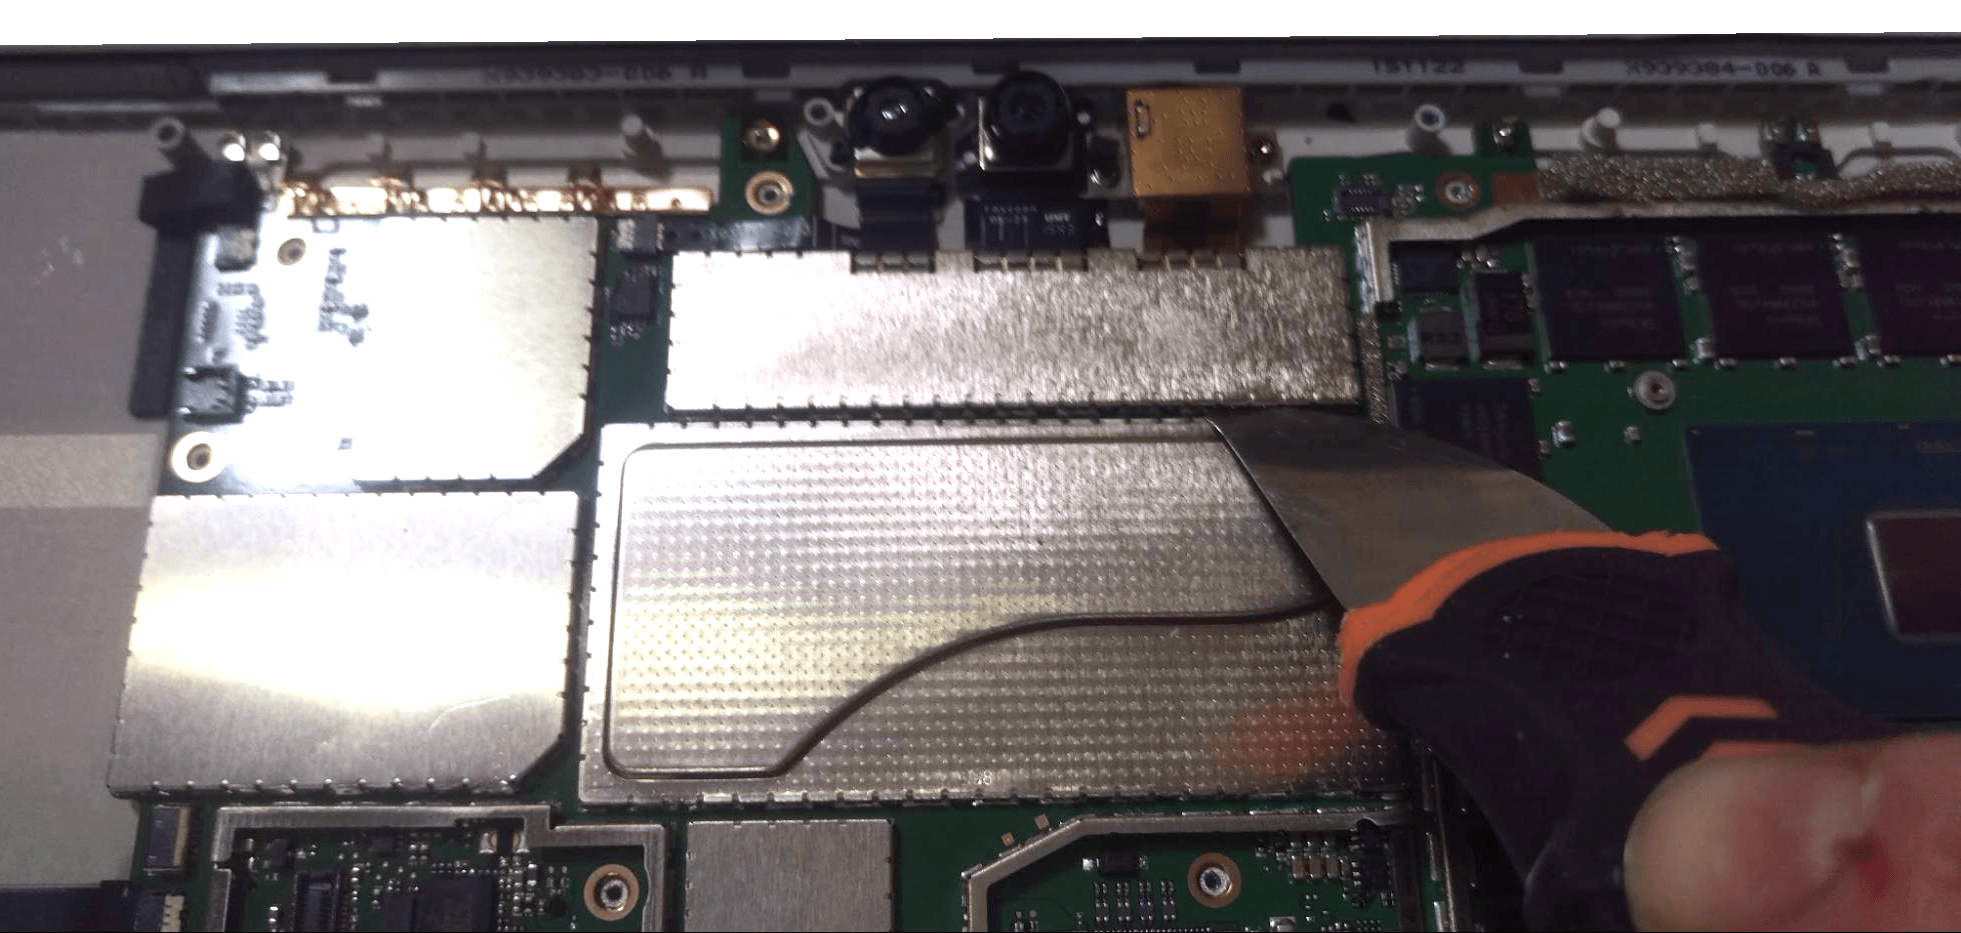
To access the camera assembly, pry off the metal cage. The cameras can then be easily removed by prying them away from the motherboard.
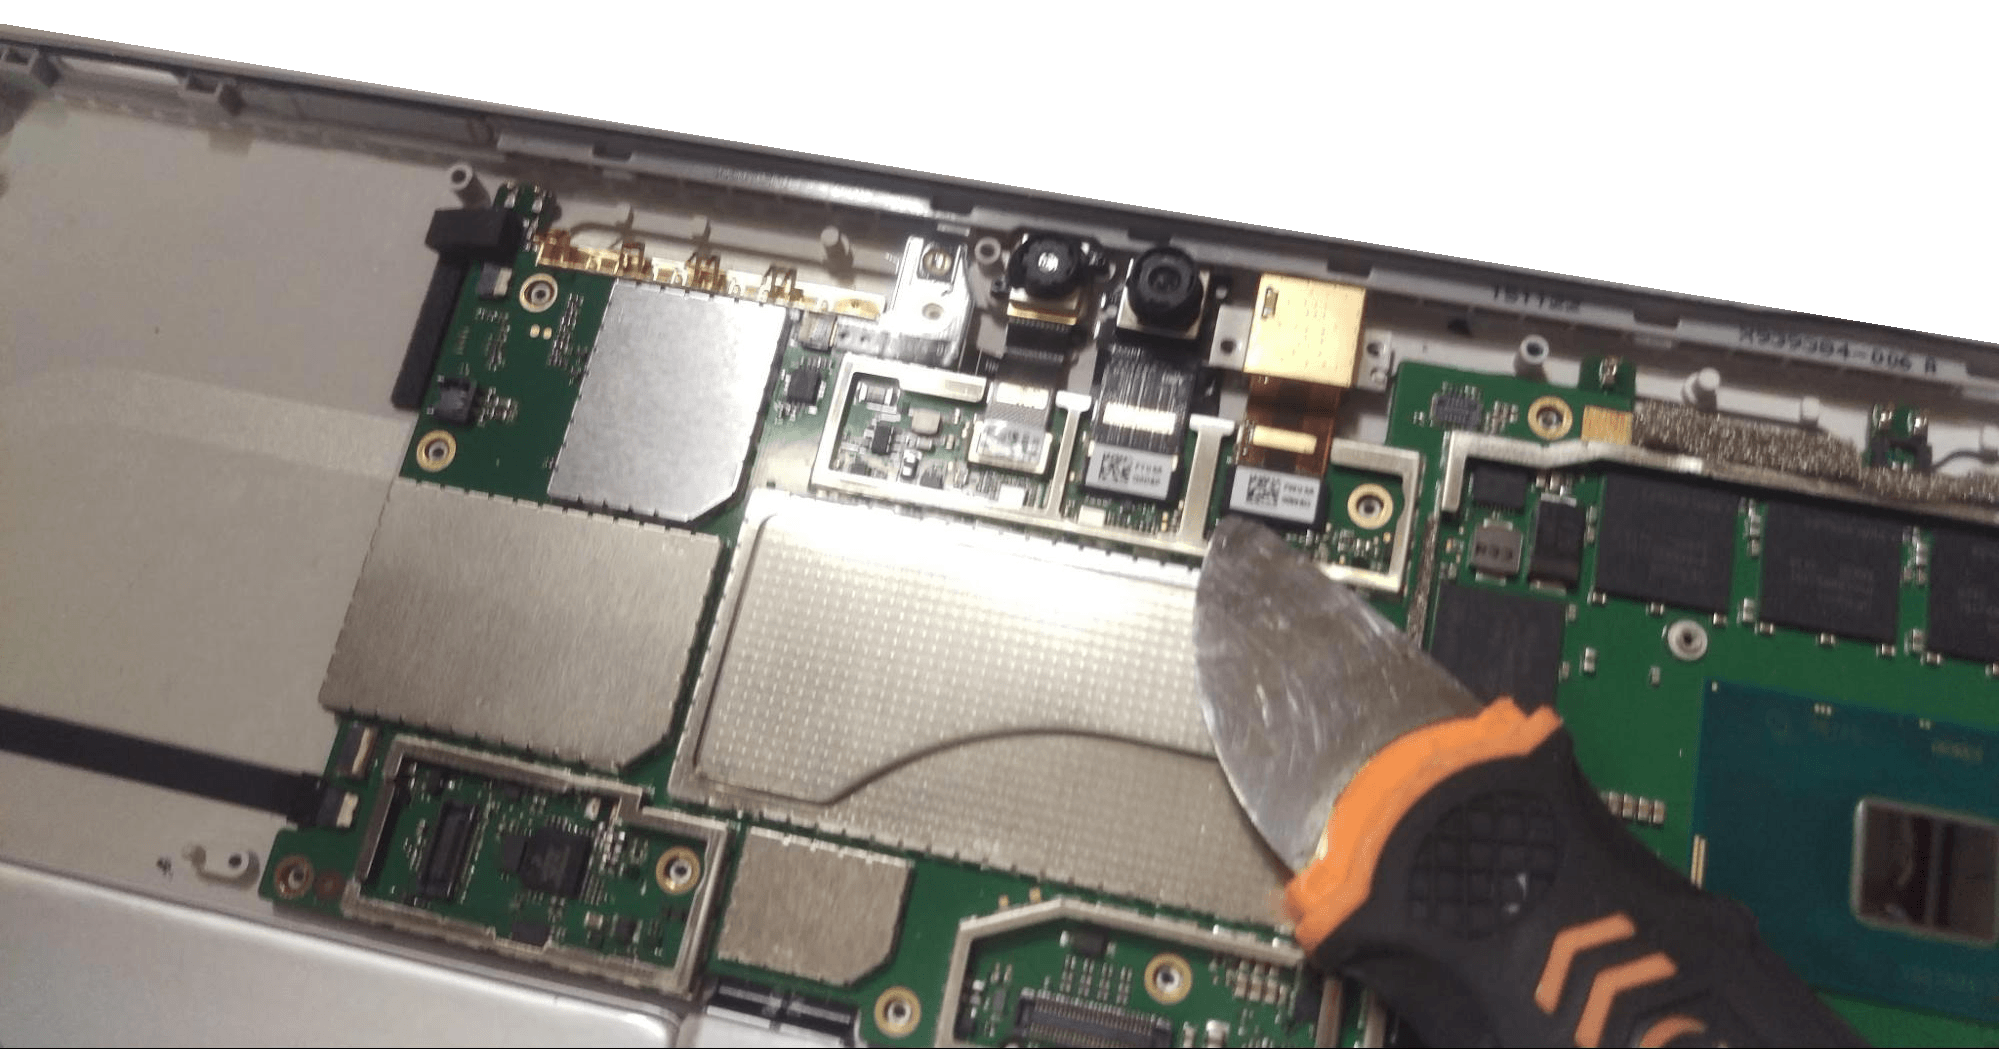
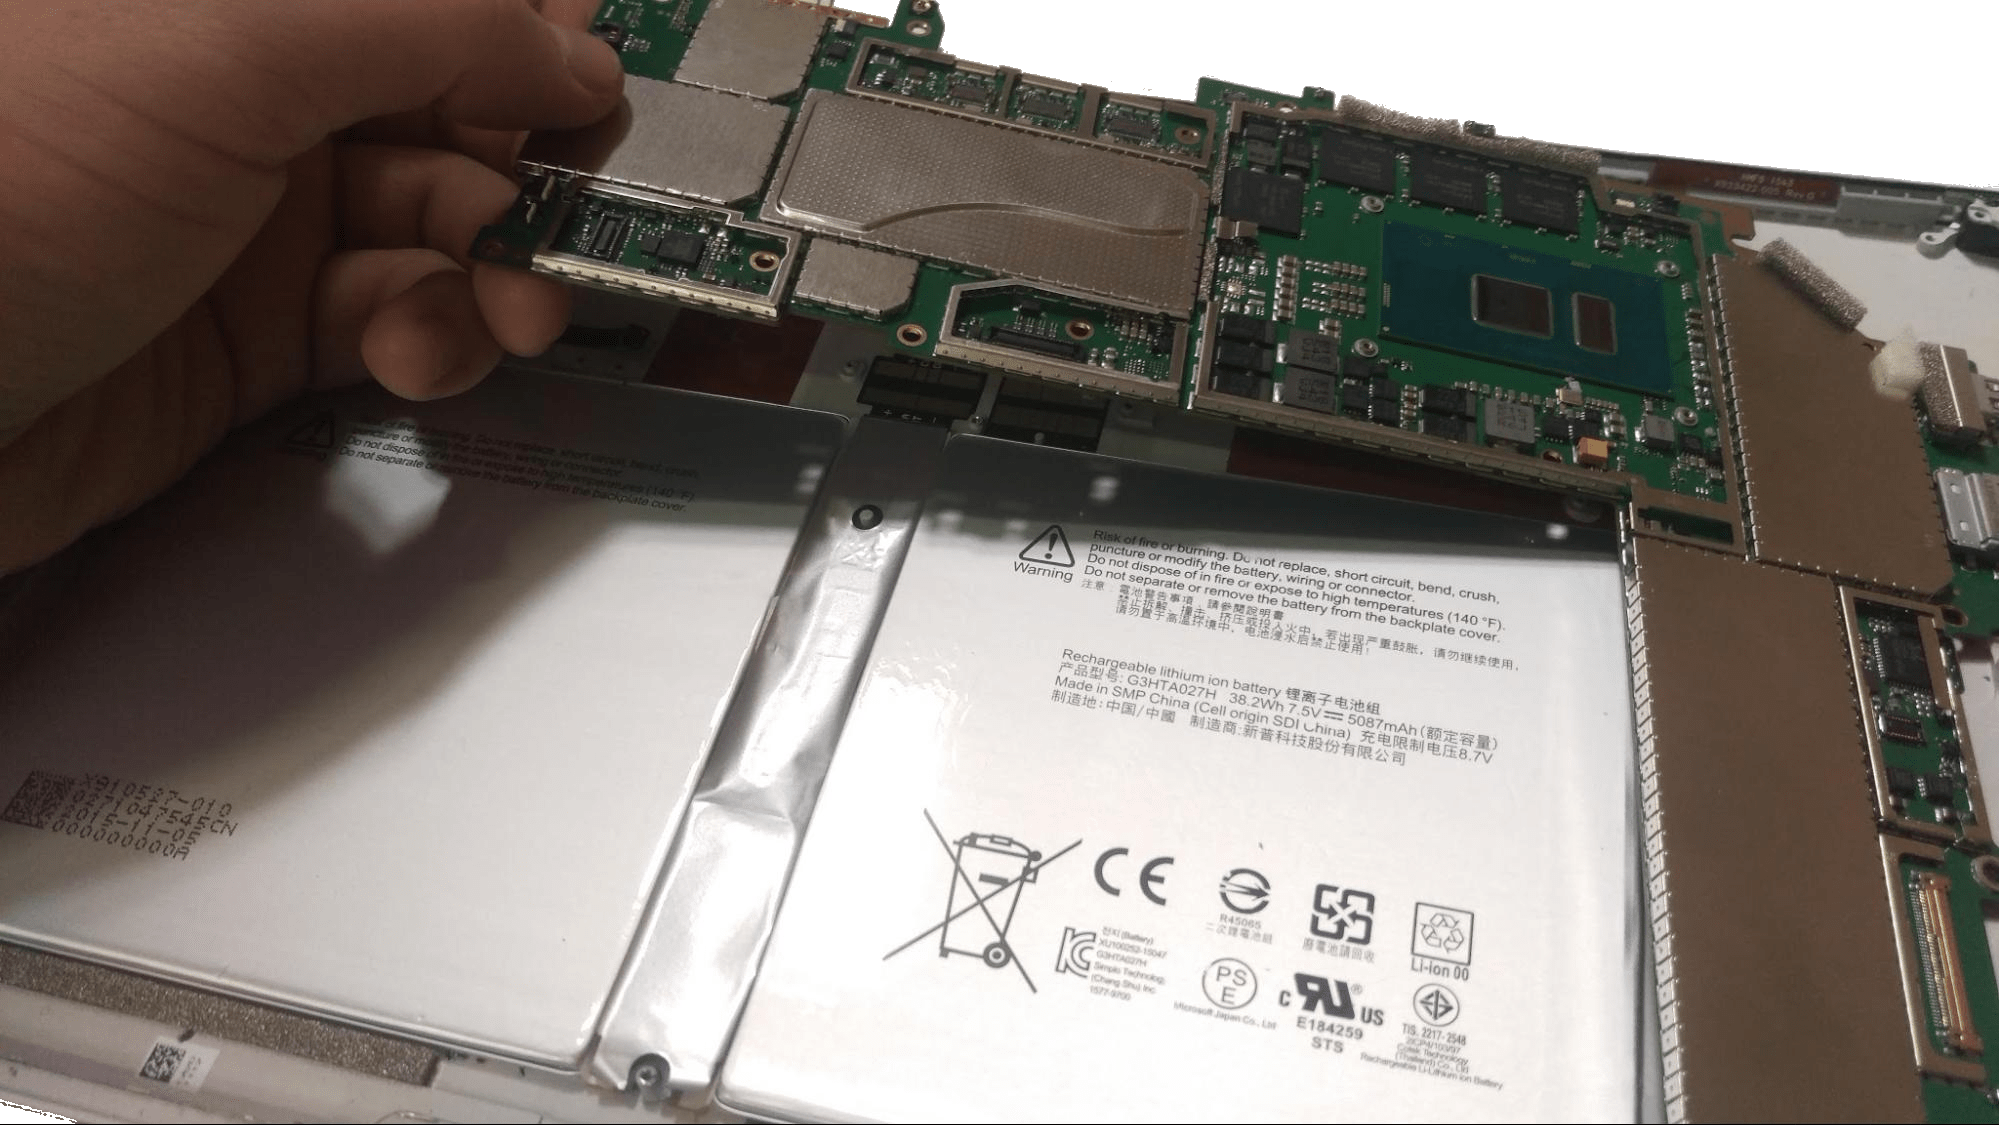
The motherboard should now be easily removed.
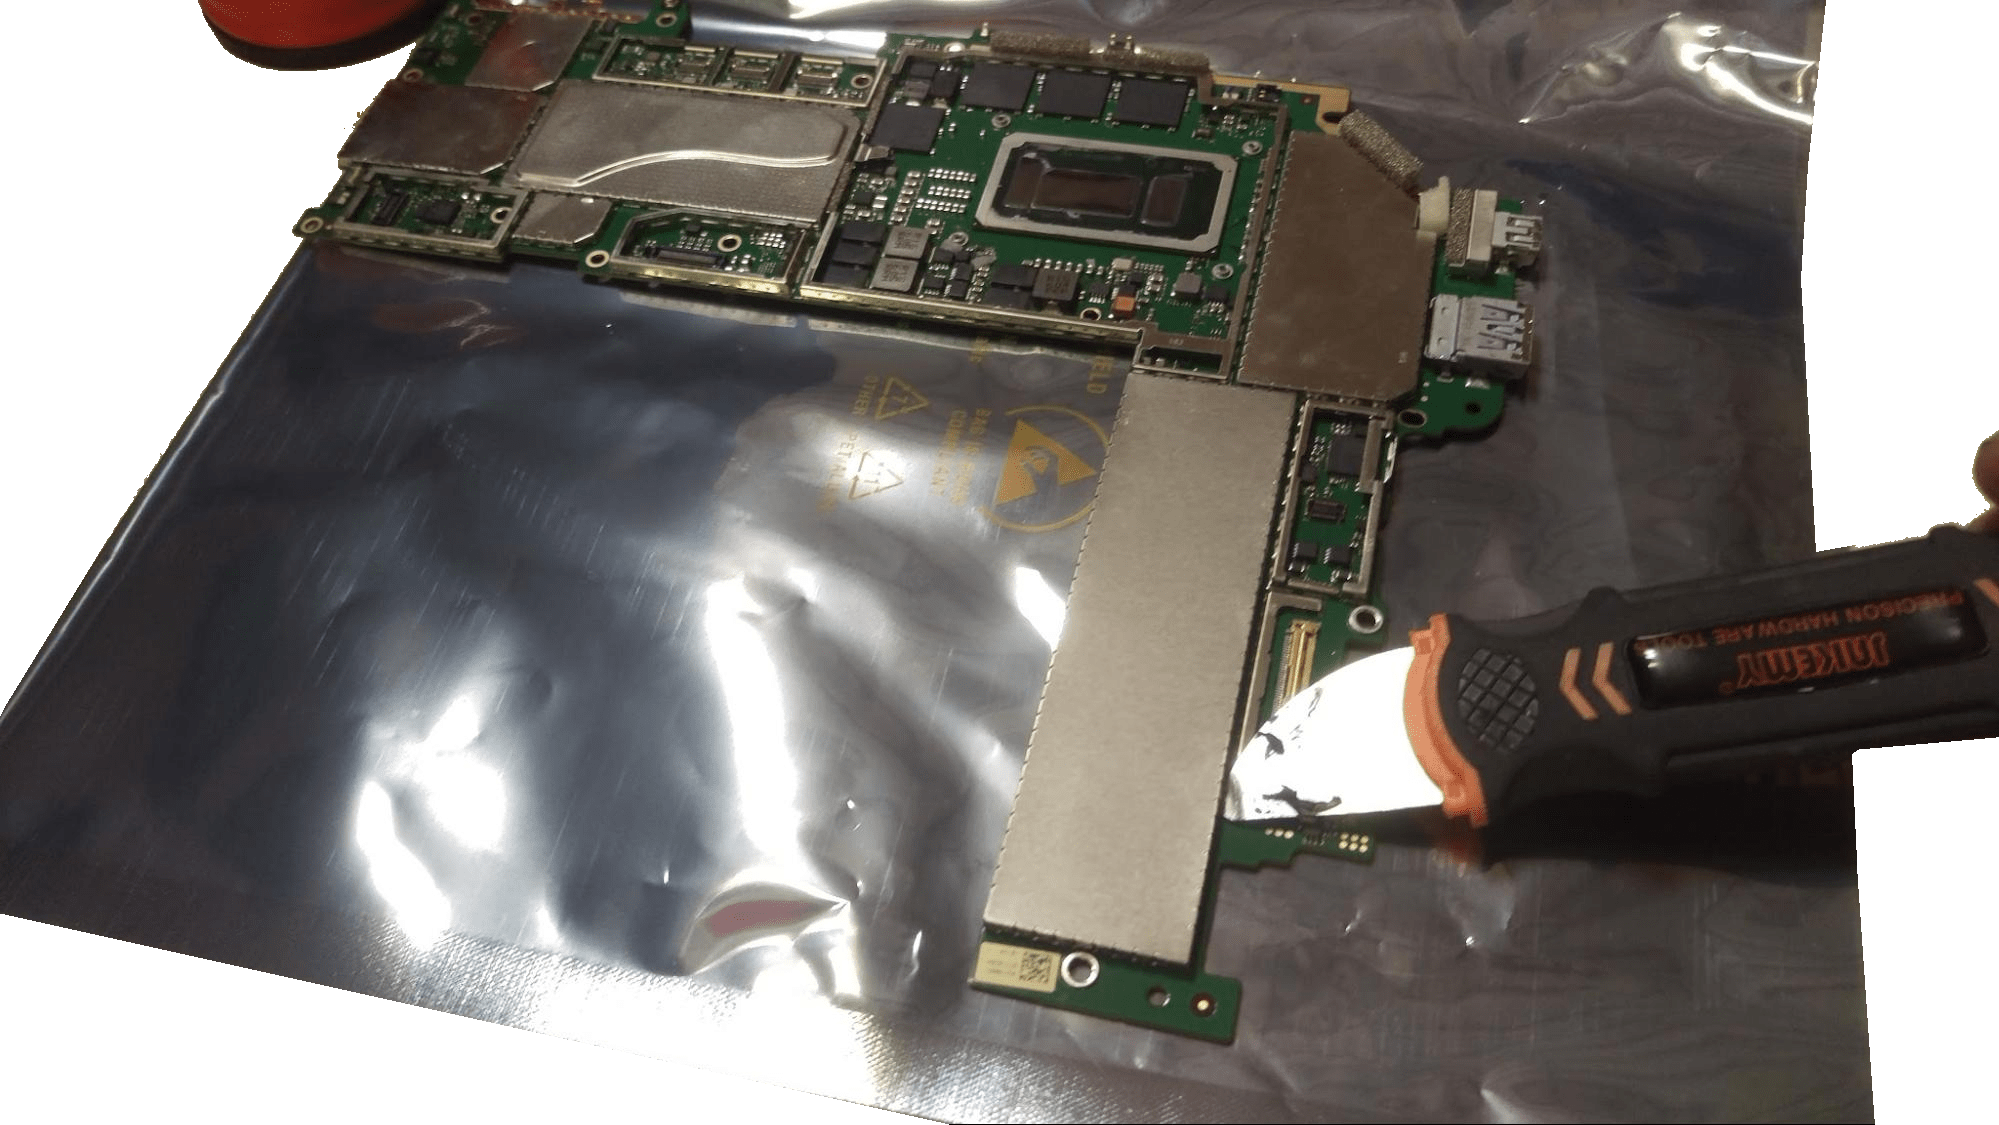

To remove the SSD, pry off the remaining cage, and remove the screw holding the SSD in. Lift up on the SSD, then pull away from the motherboard.
Thanks for reading!
By Aden Webster