Microsoft Surface Pro Tablet Disassembly
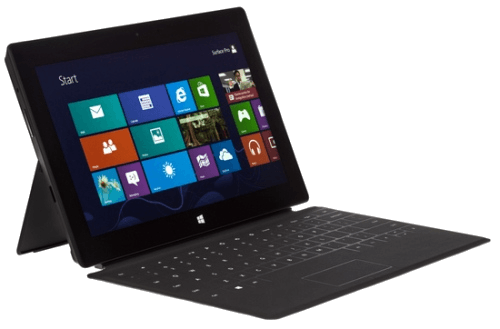
The Microsoft Surface Pro 1514 128GB with Windows 8 is still one of the best and most wanted tablets on the market next to Apple’s iPads. It has better display than its predecessor Microsoft Surface with Windows RT. Based on 3rd generation Intel Core i5 processor can handle a lot.
Its huge success brought to life next generation tablets up to the newest Surface Pro 4 and a first laptop in the family the Microsoft Surface Book. The laptop is very well defined and very innovative. Another enormous accomplishment of the software giant now conquering laptop and tablet computer hardware markets.
Disassembly of Microsoft Surface Pro Tablet Model 1514
Tools needed:
[custom_list style="list-9"]-
Heat gun
-
Metal and plastic opener tools
-
T3 Torx Screwdriver
-
T4 Torx Screwdriver
-
T5 Torx Screwdriver
Difficulty Level: Medium
INTRO


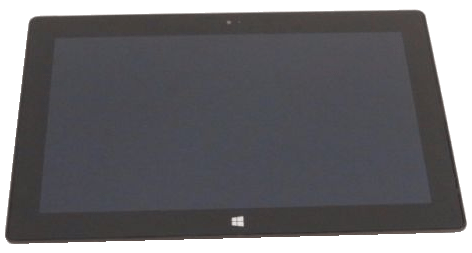
To begin, use a heat gun on medium-high heat and heat the entire edge surface of the LCD. There is a strong adhesive that we need to defeat to get into this tablet. I used a suction cup and metal opener tool to help me with this. Go around the entirety of the device, until you defeat the adhesive. This was very difficult for me! Be very careful since the LCD can easily be cracked or otherwise damaged.
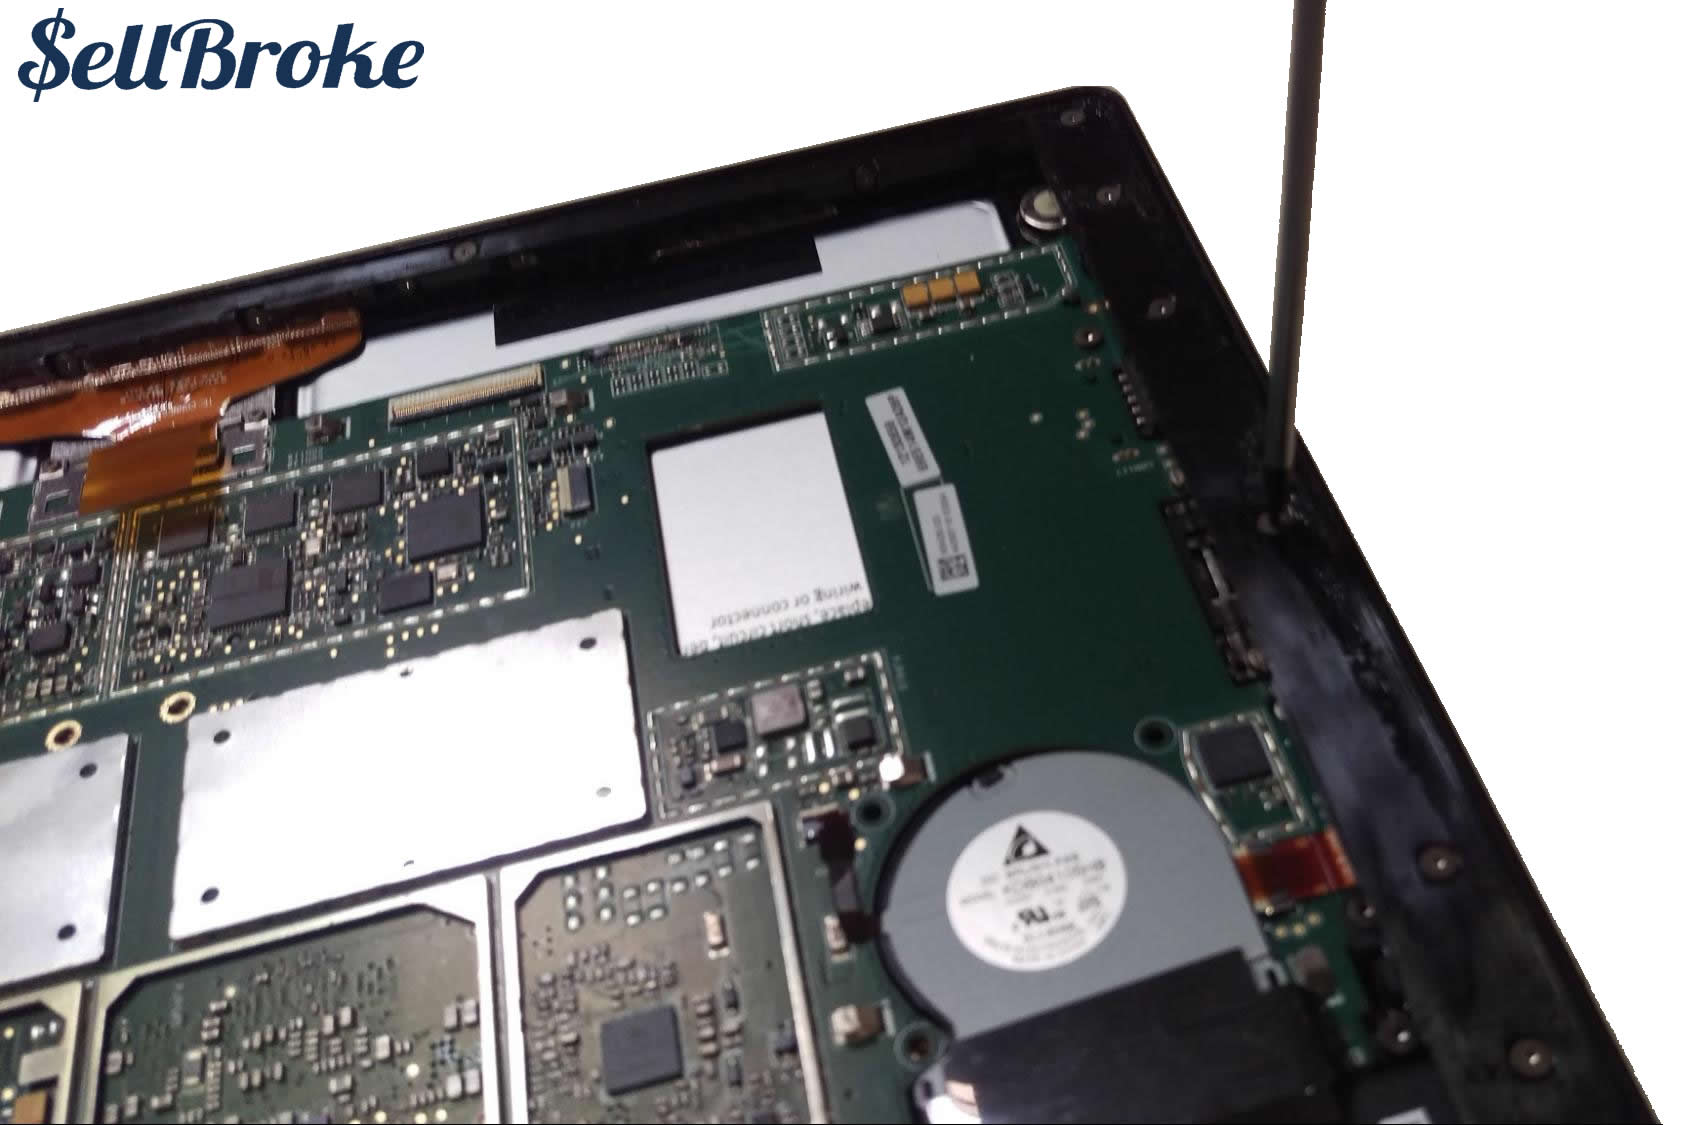
Once the LCD is loose, disconnect the cables connecting it to the motherboard.

Start disassembly by removing all the screws in the motherboard. A T5 Torx Screwdriver is required for this. Do not remove any components yet. Remove all the screws around the frame. A T4 Torx Screwdriver is required for this.
On the bottom side of the tablet, the side with the power dock connector, there are several angled screws you need to remove. These require a T3 Torx screwdriver and are a bit hard to see, so be very mindful you remove them before attempting further disassembly!
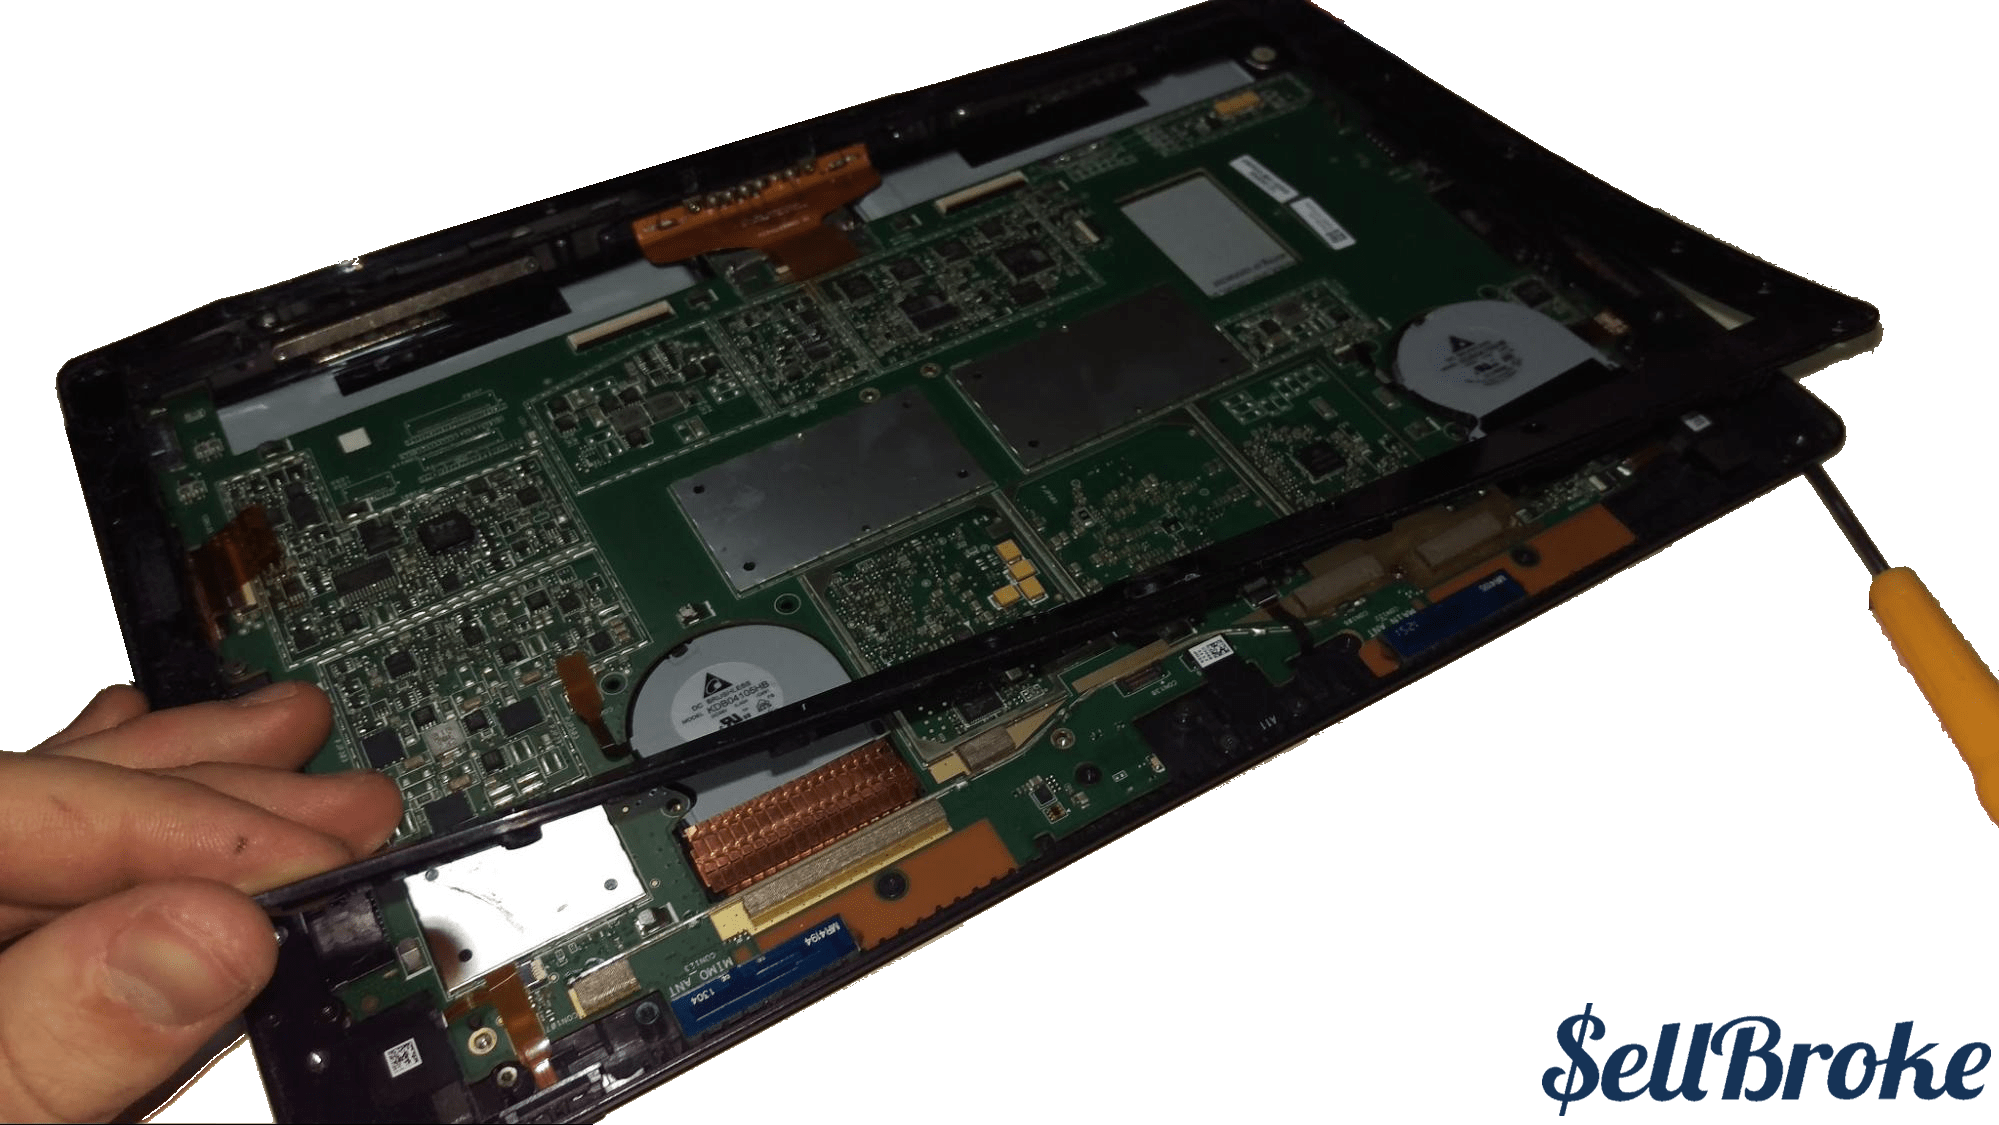
Once all the screws in the frame are removed, it should come right out. For some reason, there is another frame underneath this one! Remove all these screws as well. Once all the screws are removed from each side frame, we can finally begin removing components.
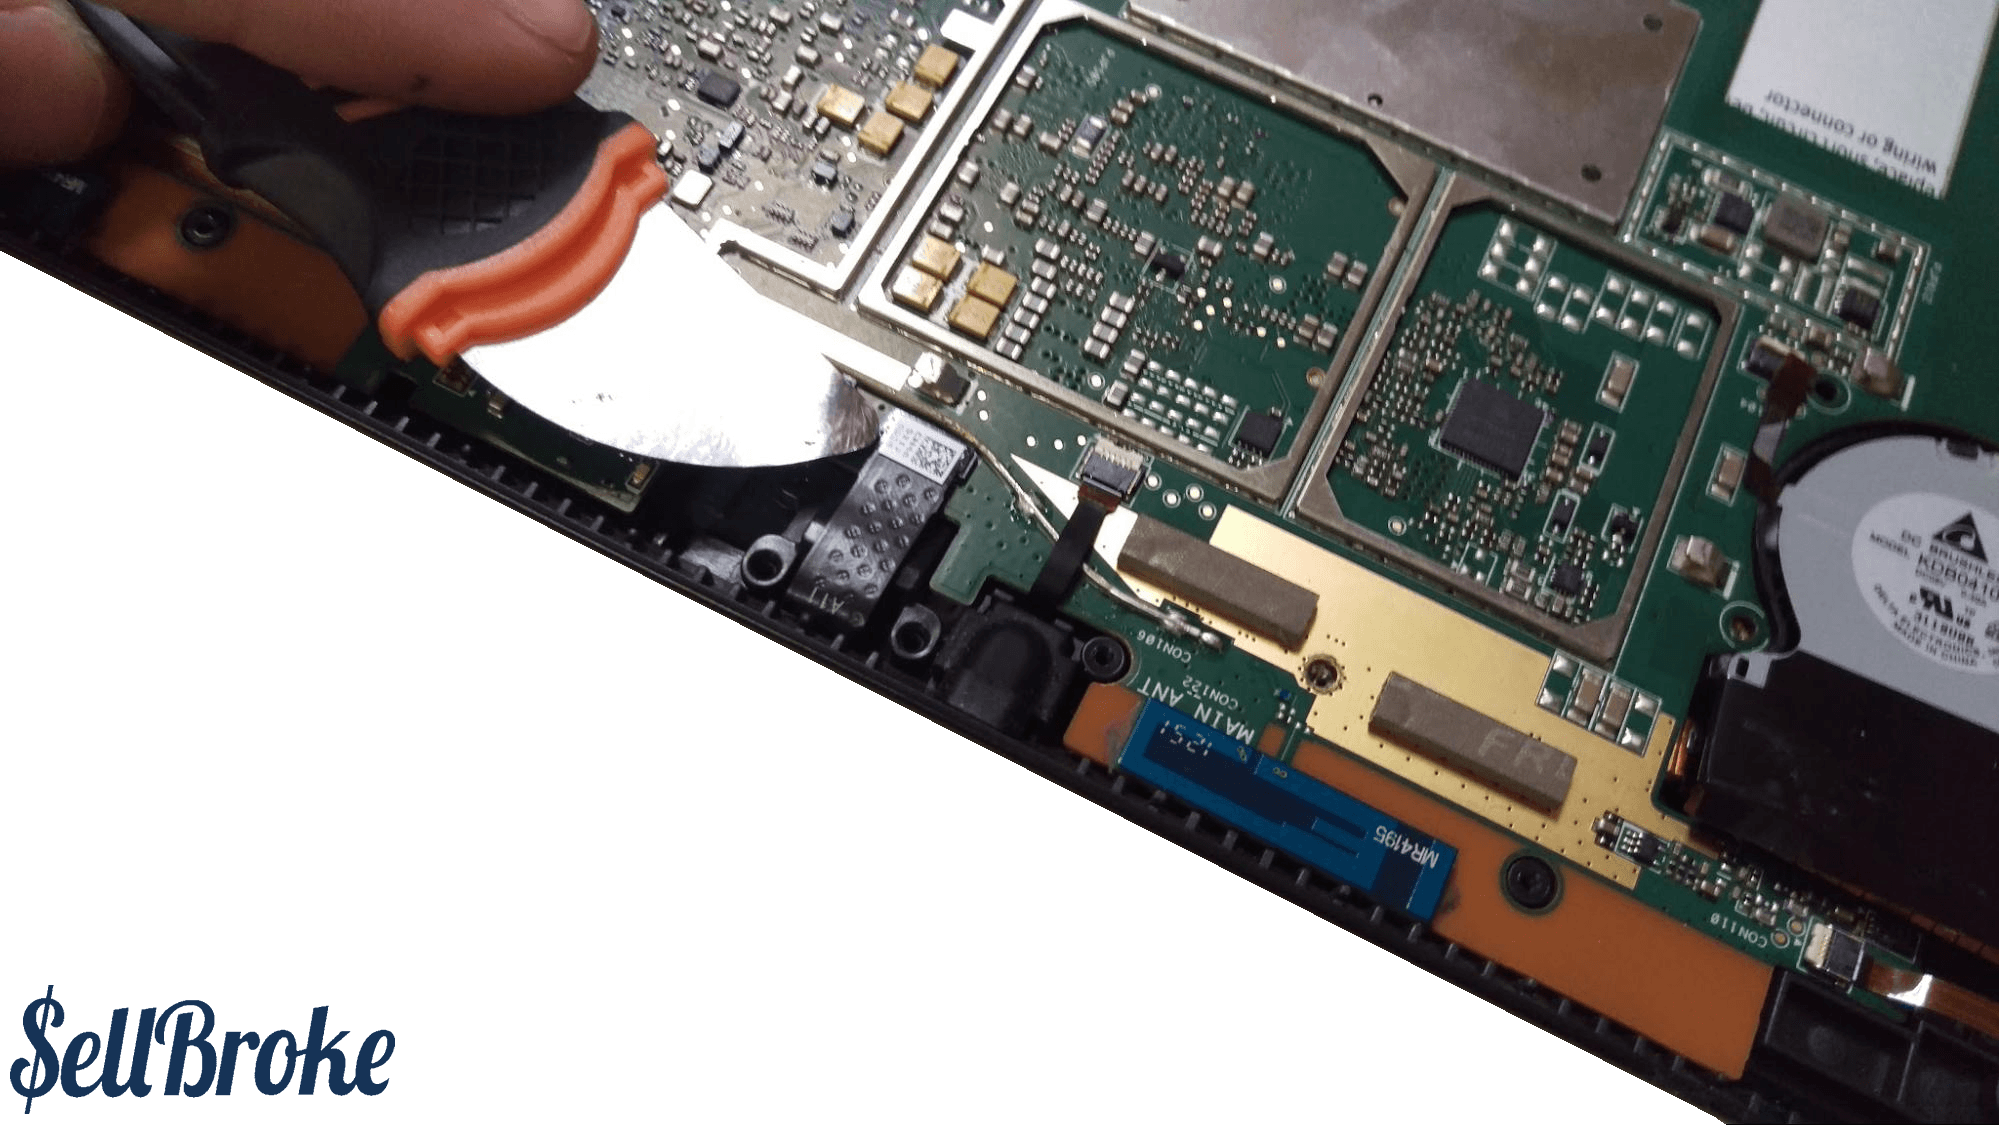
Let's remove the motherboard. Disconnect the power ribbon cables, the speaker ribbon cables, and any other connection.
To remove the audio jack, pull back on the orange tab after prying up on the white lever bar. Repeat this process for each respective component.
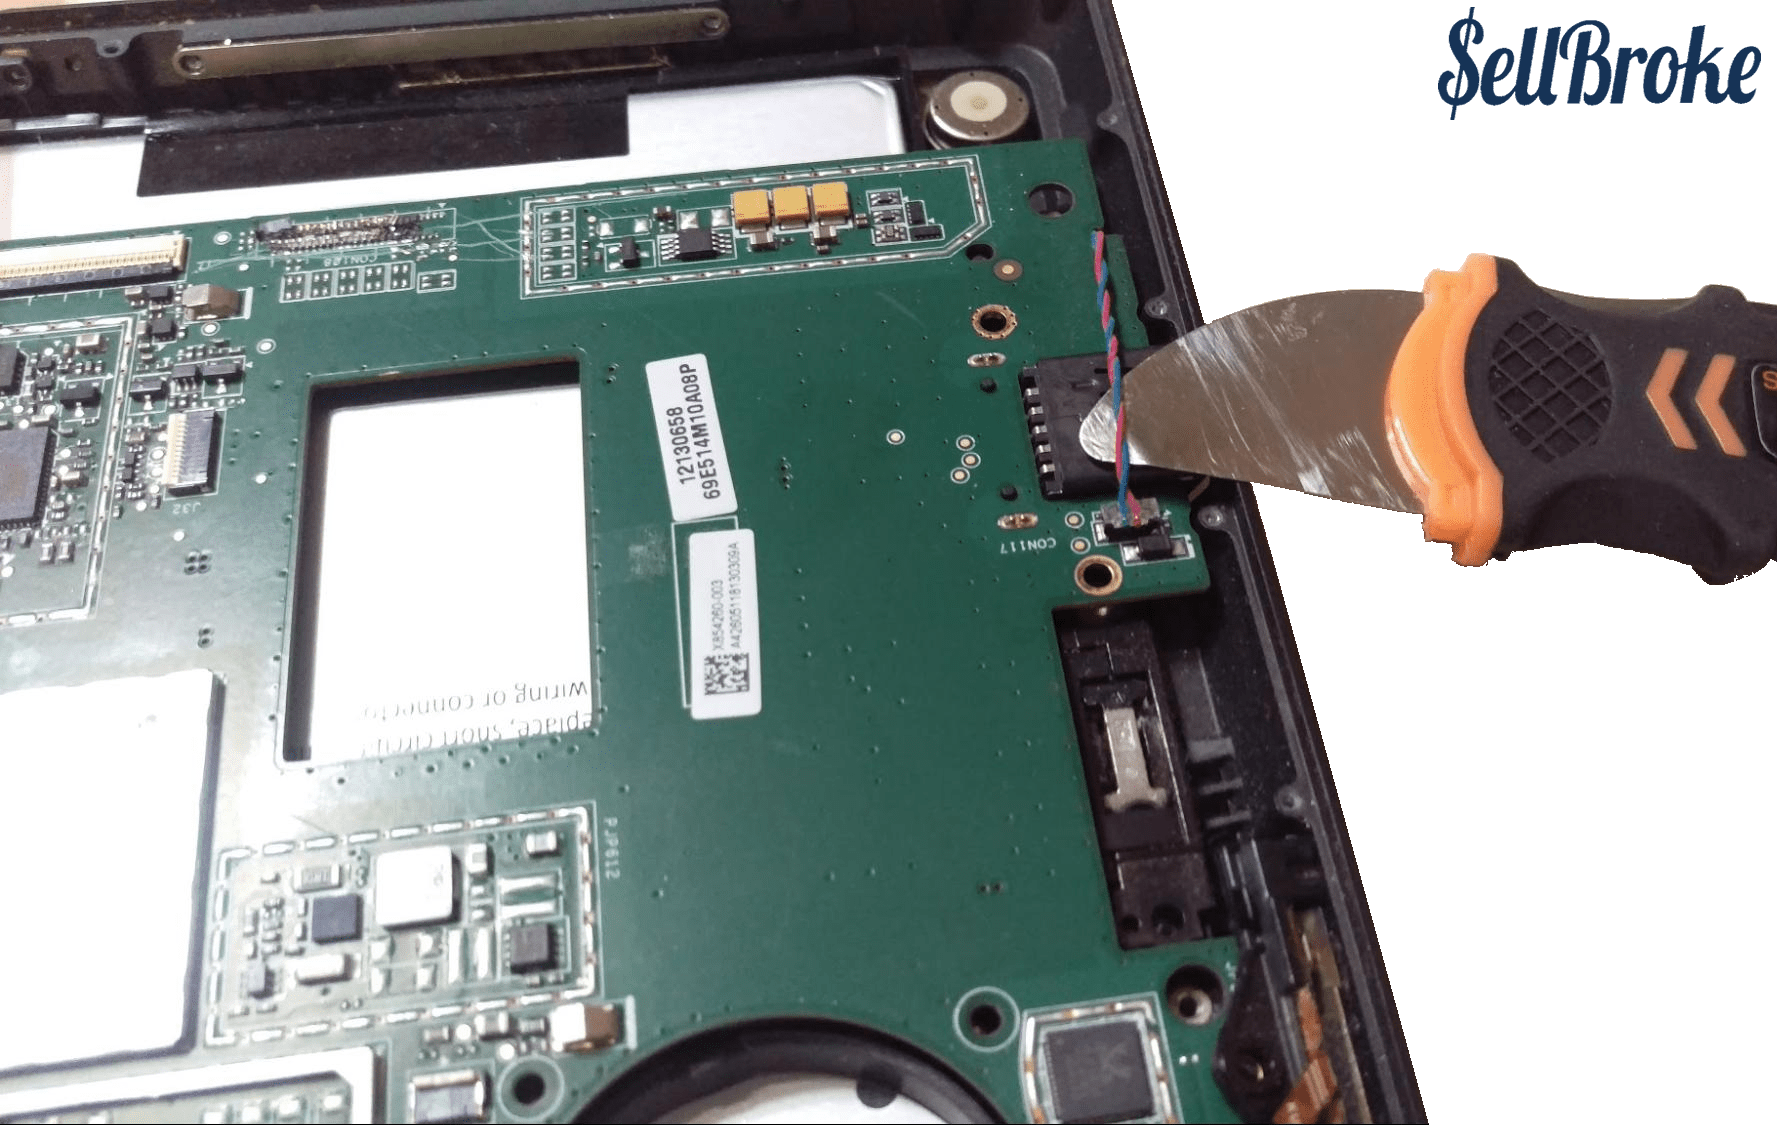
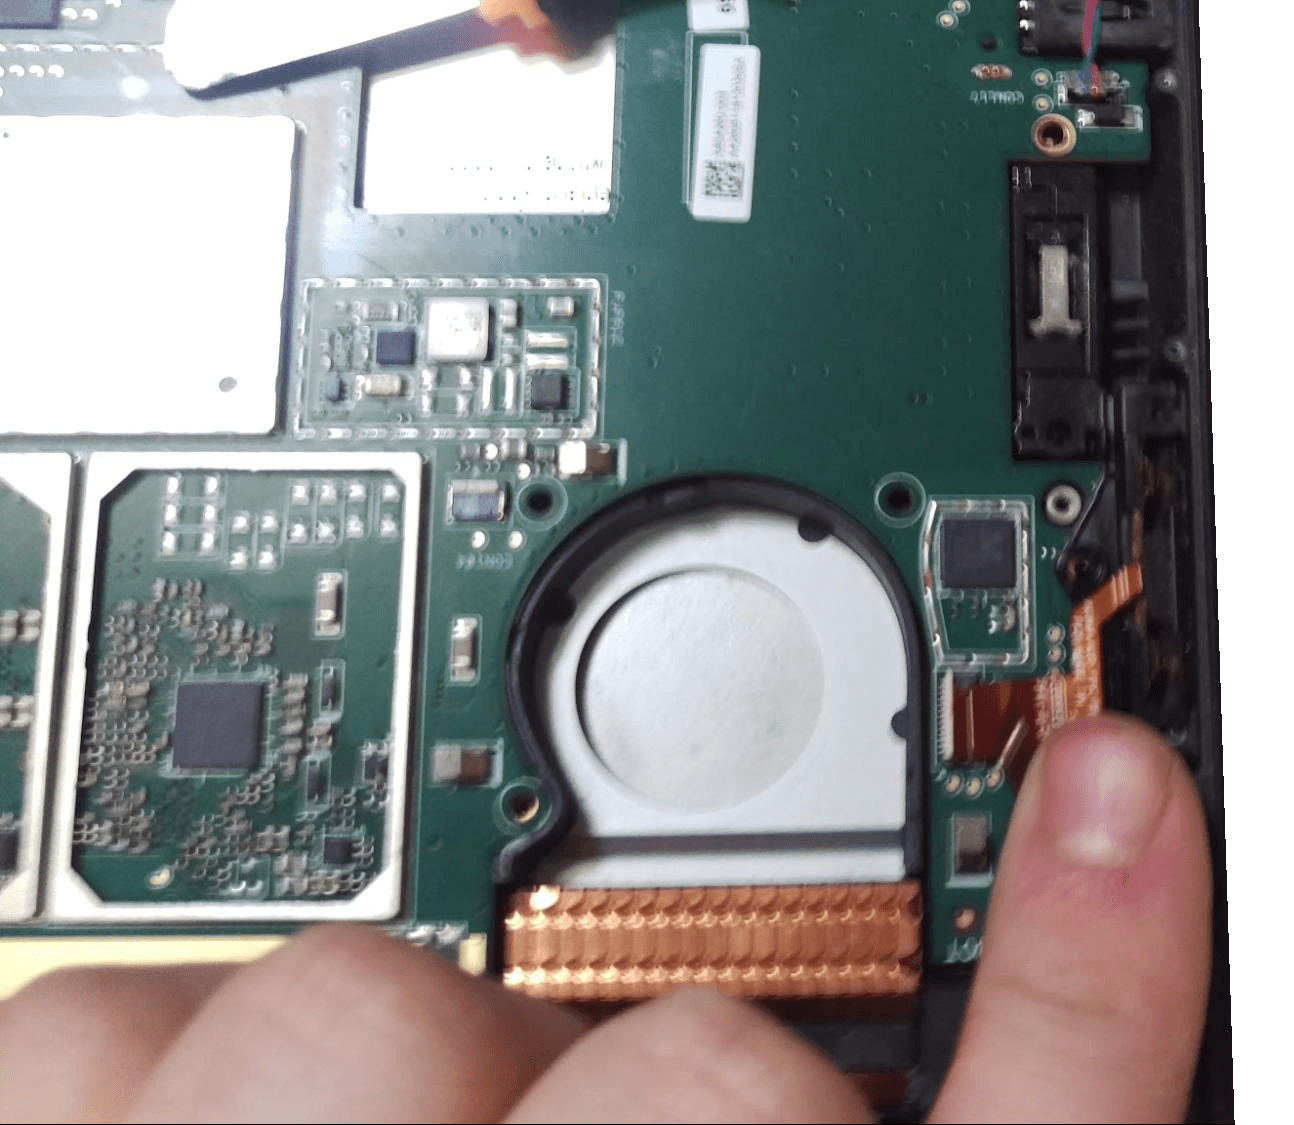
Make sure to disconnect this speaker!
Once everything has been disconnected, the motherboard should come right out.

On the bottom of the motherboard, you will find the SSD. To remove this, remove the two screws on both sides holding it in, then slide it out.
I would not recommend removing the battery from this tablet. It has strong adhesive and if you heat it up a fire hazard risk is possible.
Thanks for reading!
By Aden Webster