17-inch MacBook Pro A1297 Disassembly Guide
MacBook Pro 8,3 2.2GHz Core i7 MC725LL/A
The 17-inch MacBook Pro A1297 was a flagship of Apple laptops for a long time. As well as its predecessors 17-inch PowerBook and first generations of MacBook Pro the 17-inch Unibody’s design was well ahead of its competition at the time of its release in 2011.
Boasting Quad Core i7 processor and AMD Radeon HD graphics was a true power house wrapped in a laptop’s body capable of handling multi tasks not limited to graphic design and video editing.
Following the same principles of elegant and modern design MacBook Pro is made of Aluminum like previous Apple laptop models. The Unibody case is sealed not allowing normal users to replace the battery. Not to mention adding memory or hard drive storage. Opening the case requires use of specially designed Torx Screwdrivers.
Interestingly along with release of newest 13 and 15-inch MacBook Pros 15-inch MacBook Pros Apple discontinued production of the largest laptop in the line. It’s all related to the Retina display being made in smaller sizes. Apple is expected to build 17-inch MacBook Pro again as soon as manufacturing of 17-inch Retina display is perfected.
For now users need to stick to the previous generation if they choose 17-inch laptop over the newer 15-inch Retina models. Despite its high price the large MacBook Pro is one on the best Apple laptops to buy.
[toggle_content title="Details about the laptop"] [custom_list style="list-7"]-
-
Sales model: MC725LL/A
-
2.2GHz Core i7 (2720QM)
-
Production: Feb 24, 2011 - Present
-
Original OS: Mac OS X 10.6.6
-
Standard RAM: 4GB PC3-8500 SODIMM Maximum RAM: 16 GB
-
Display: Glossy 17-inch 1920x1200
-
AMD Radeon HD 6750M (1GB) + Intel HD Graphics 3000 (384MB)
-
Weight: 6.6 lb
-
Disassembly of Apple Macbook Pro Model Number A1297
Difficulty level: Intermediate

Tools needed:
[custom_list style="list-9"]-
1.2mm Phillips screwdriver
-
1.2mm Pentalobe screwdriver
-
Plastic and metal opener tools
-
T4 Torx Screwdriver
-
T9 Torx Screwdriver
-
Small Three Prong (tri-wing)Screwdriver
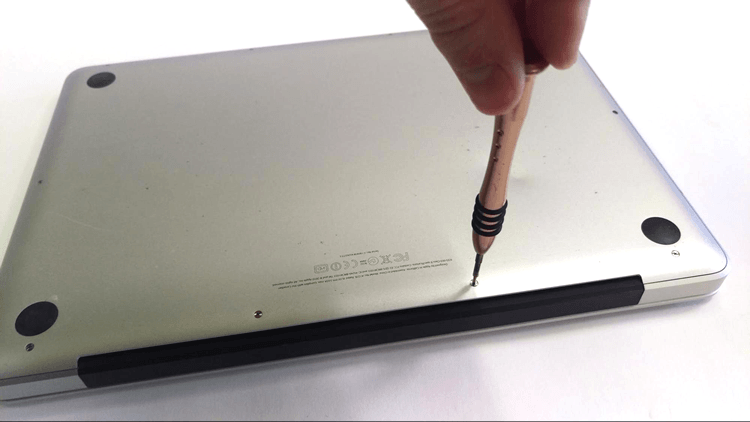
To begin, use a 1.2mm Phillips screwdriver to remove the screws on the bottom cover. Be mindful when removing or installing these screws to follow the angle of the screw, or they can be stripped.
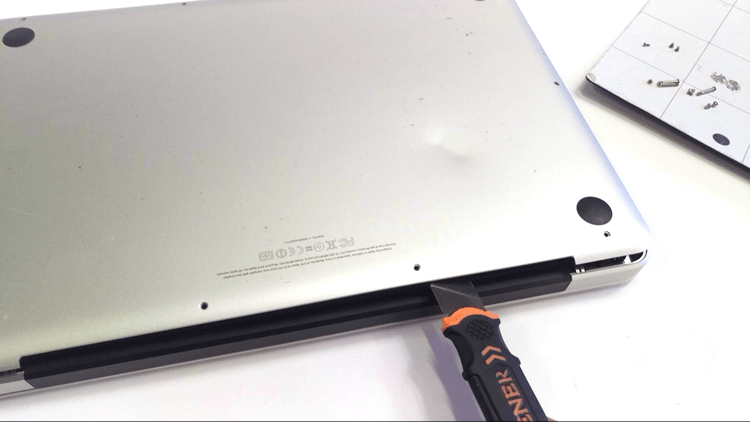
Use an opener tool between the bottom cover and the frame to gain access to the computers’ innards. There is no adhesive or anything else hindering removal of this cover besides the screws, so it should be removed easily.
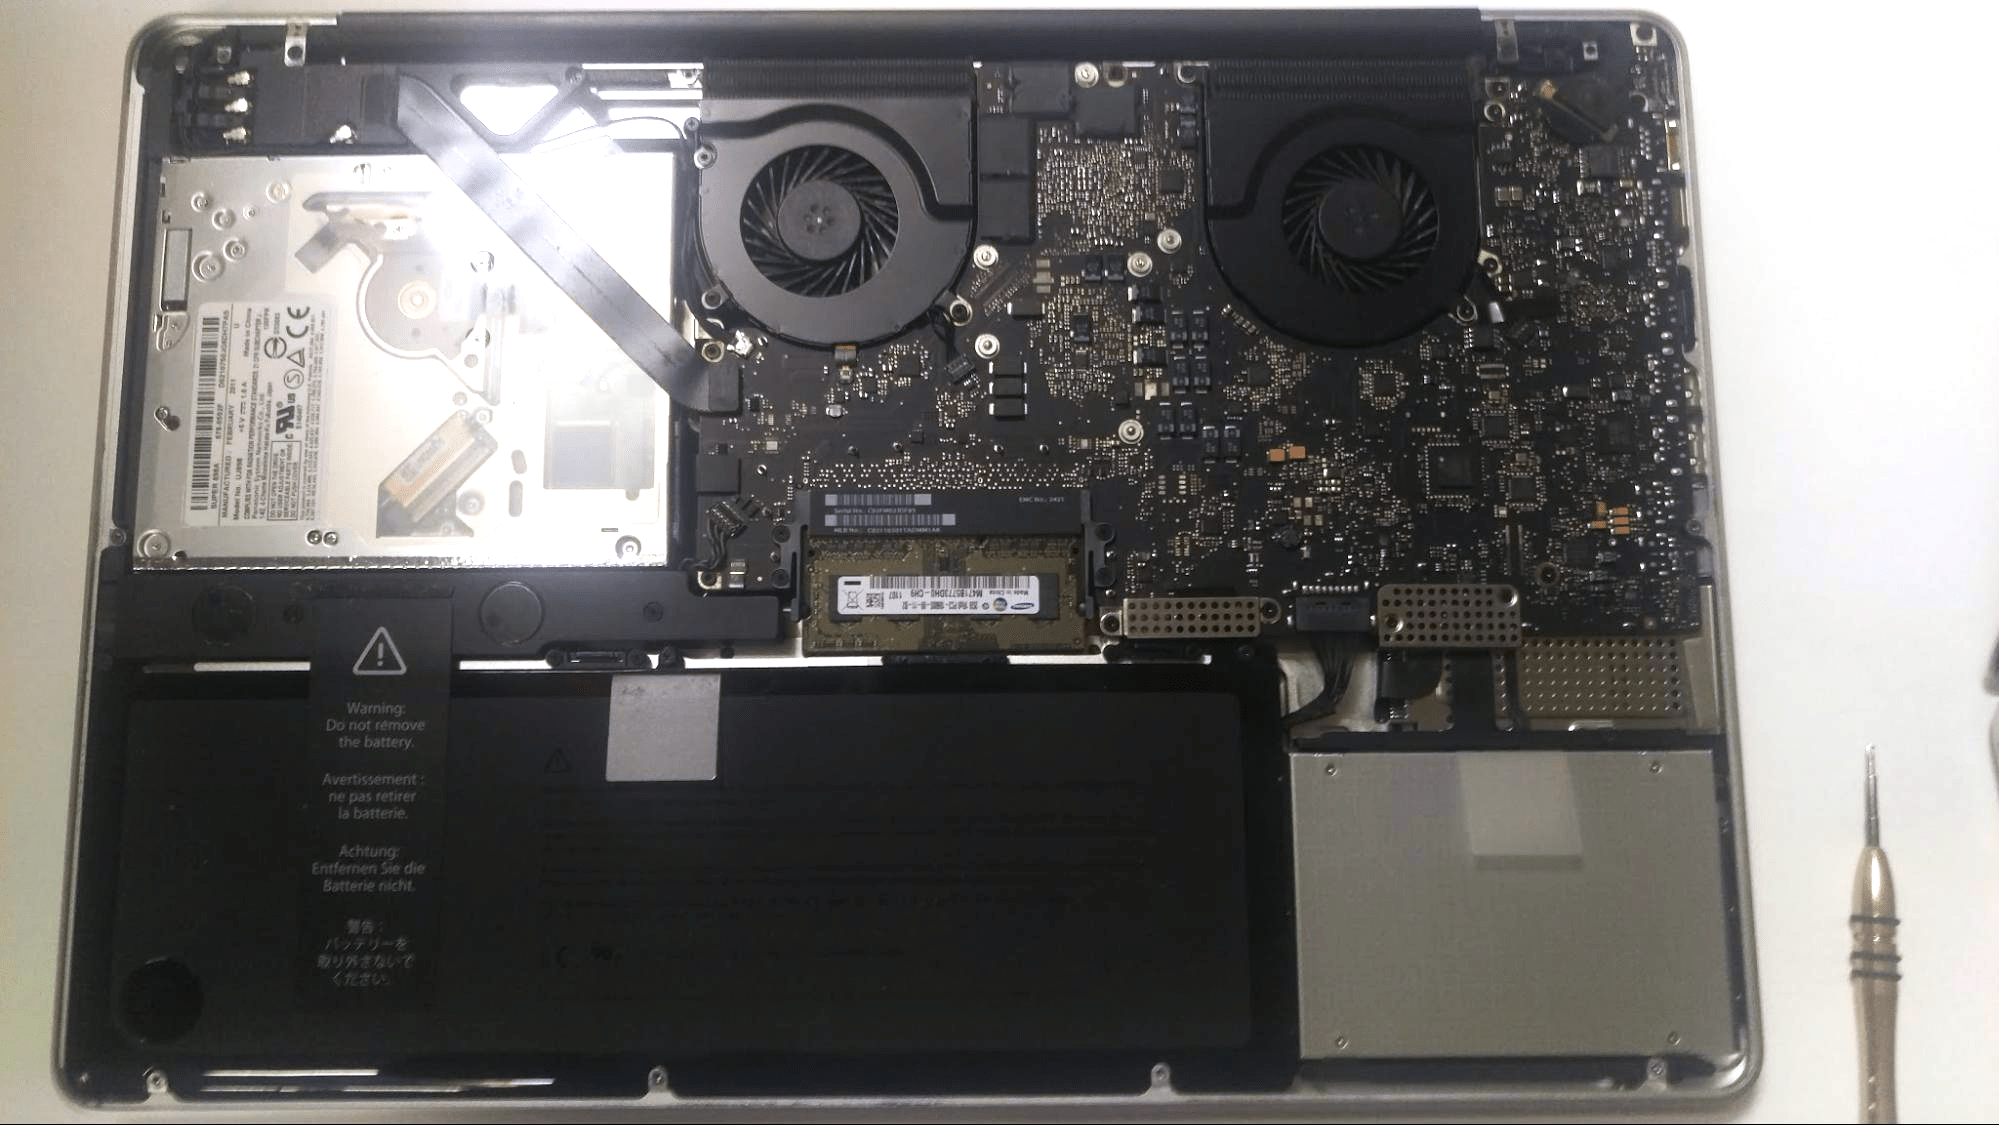
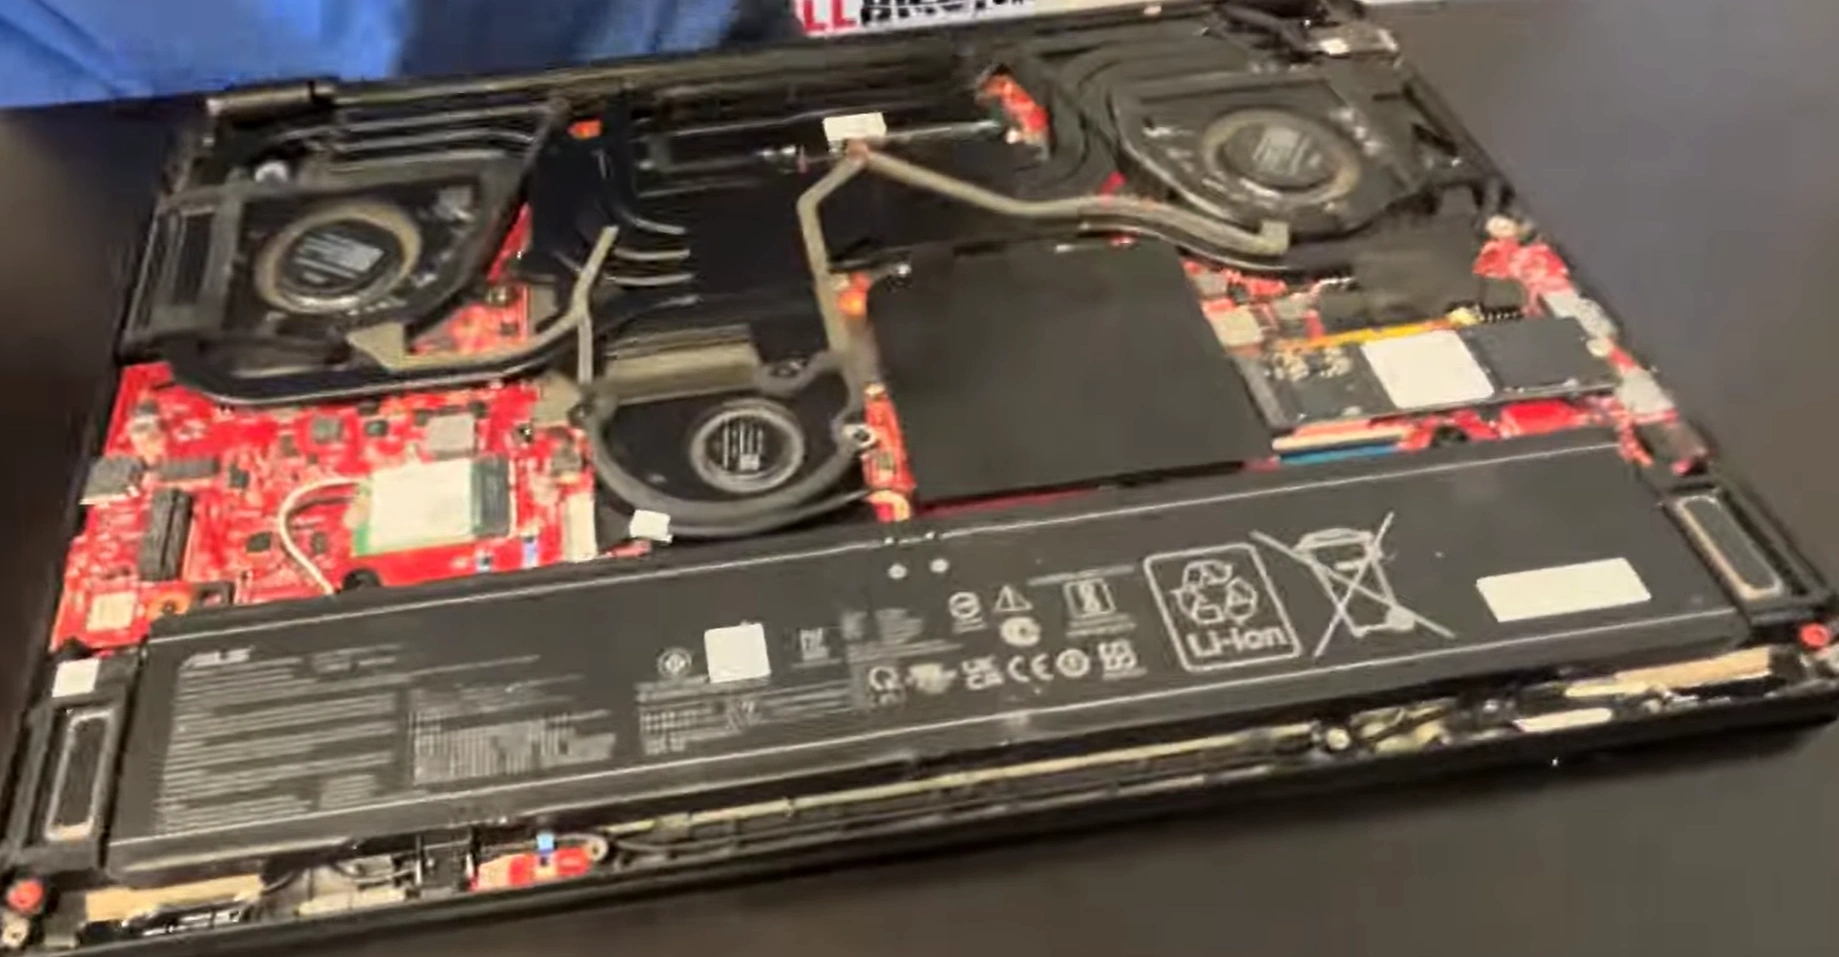
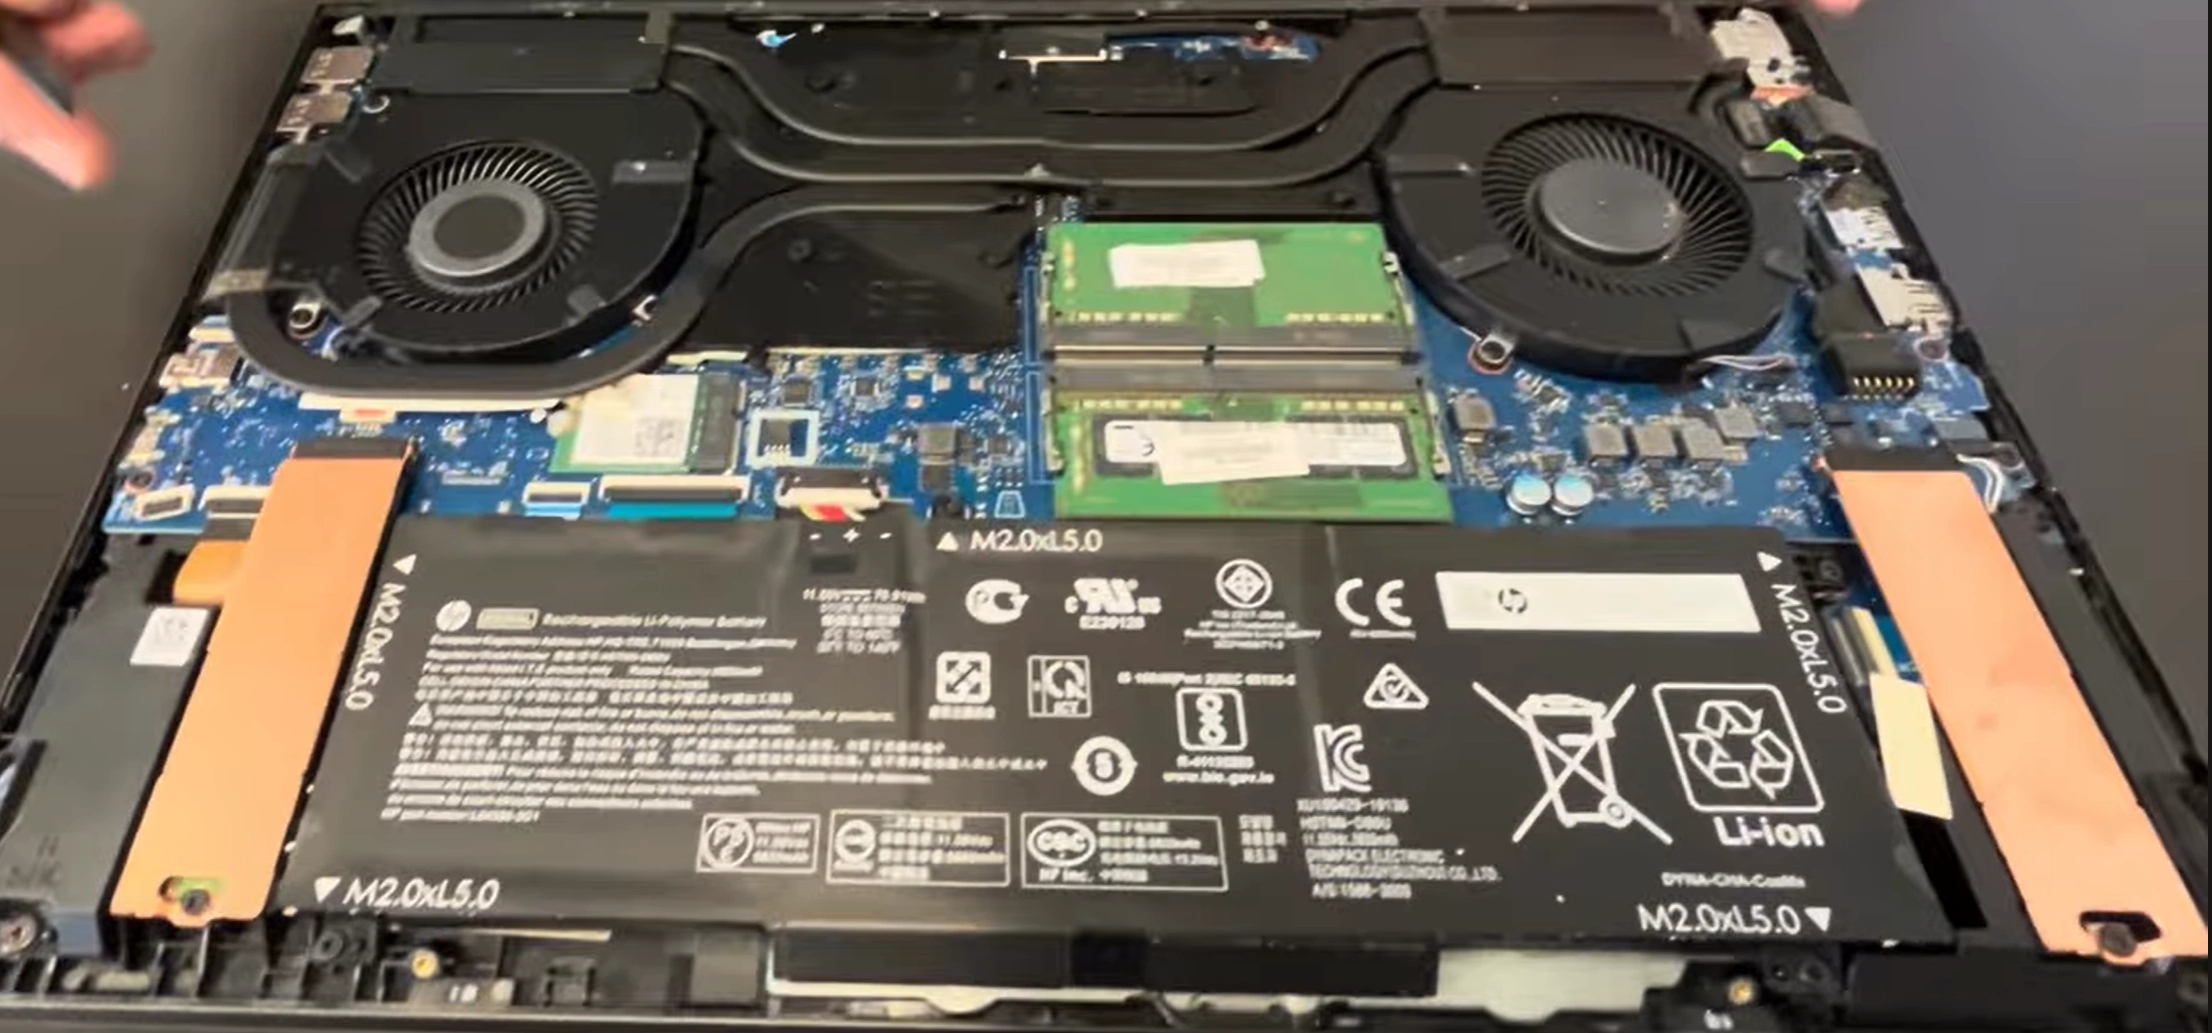
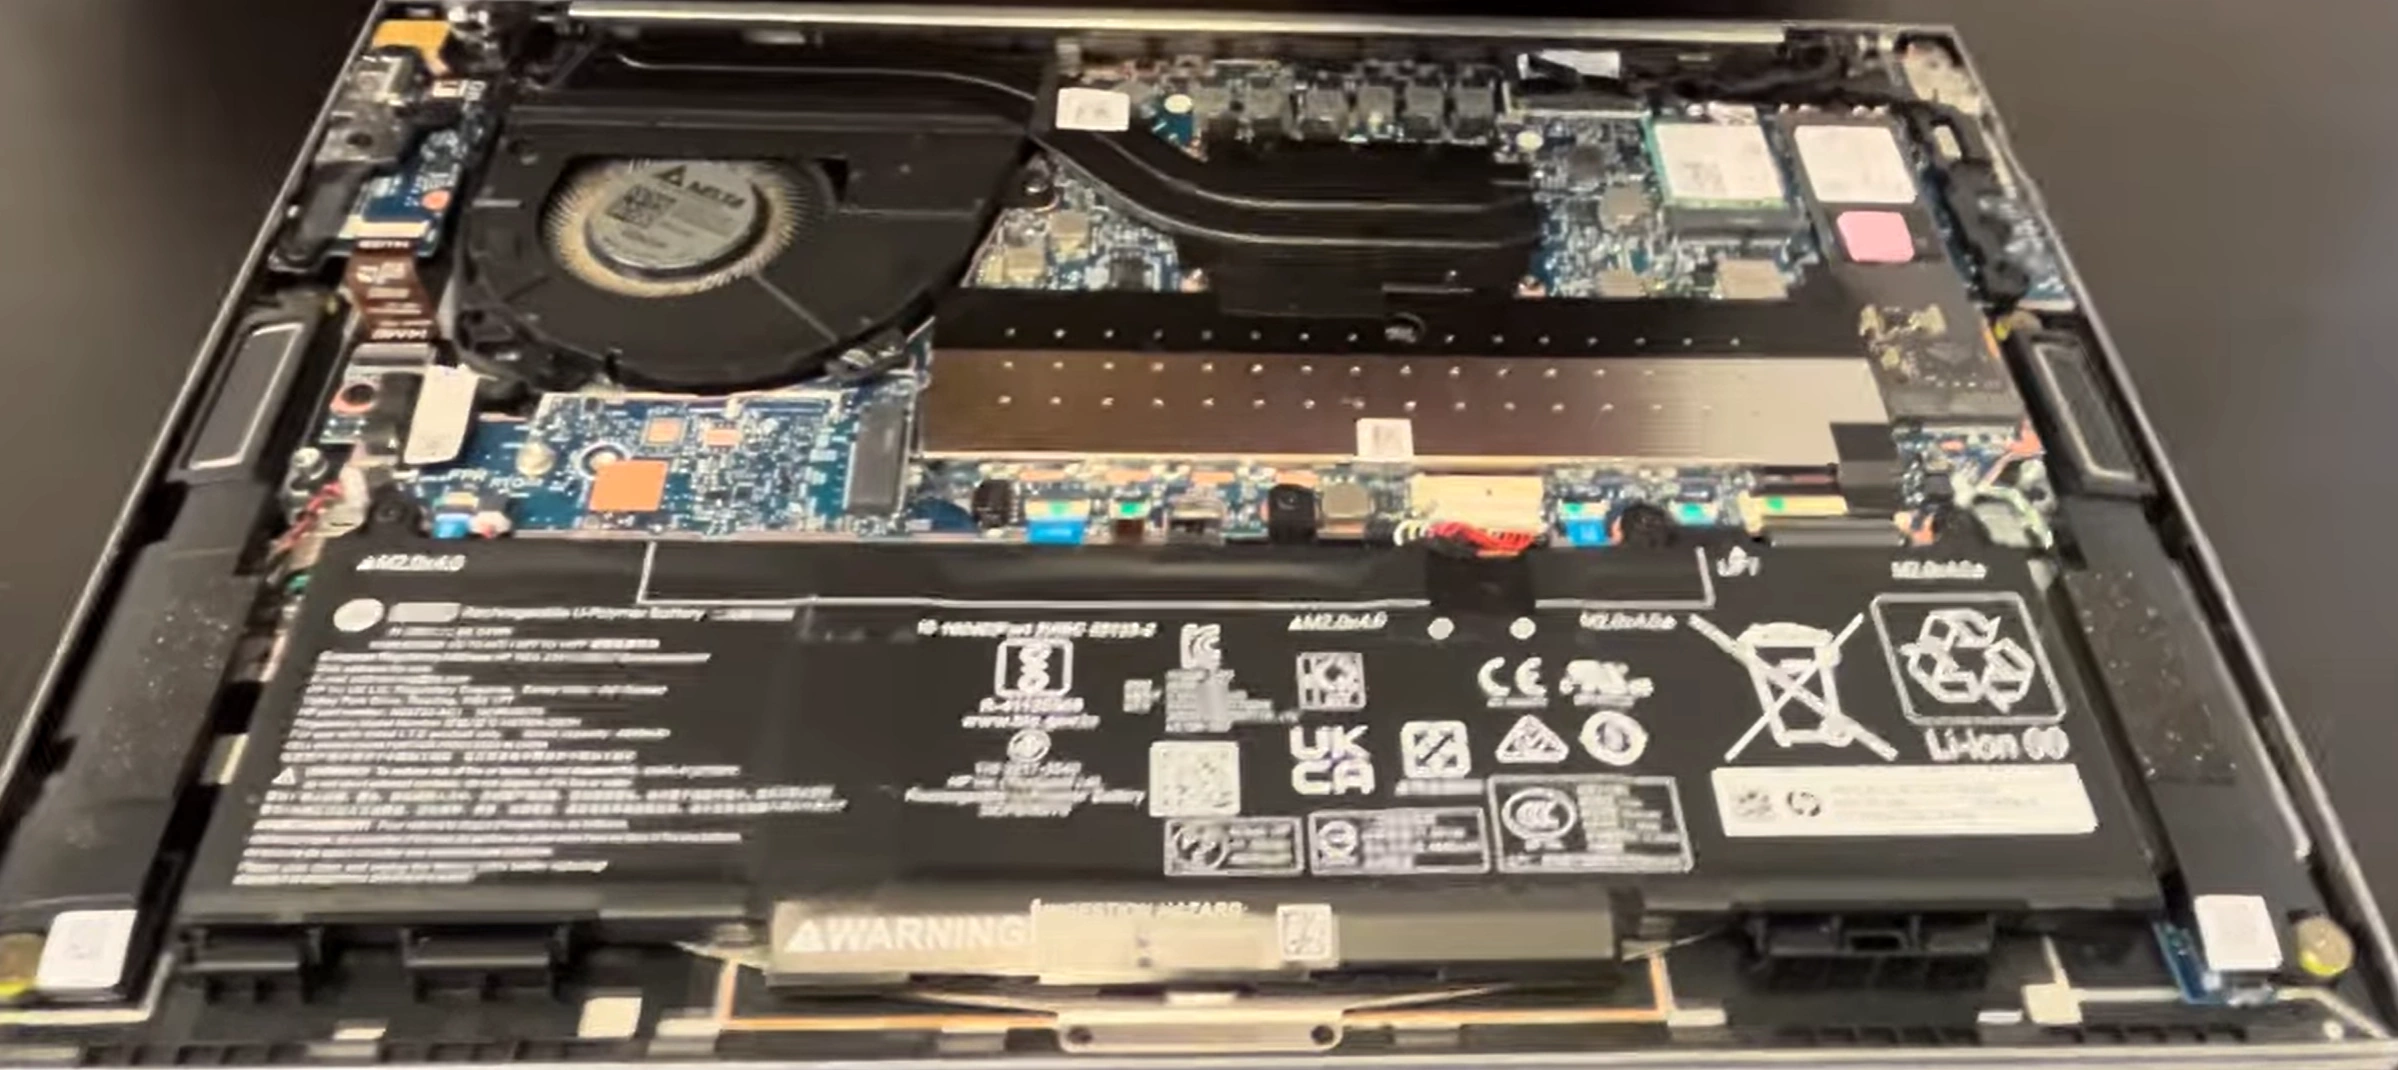
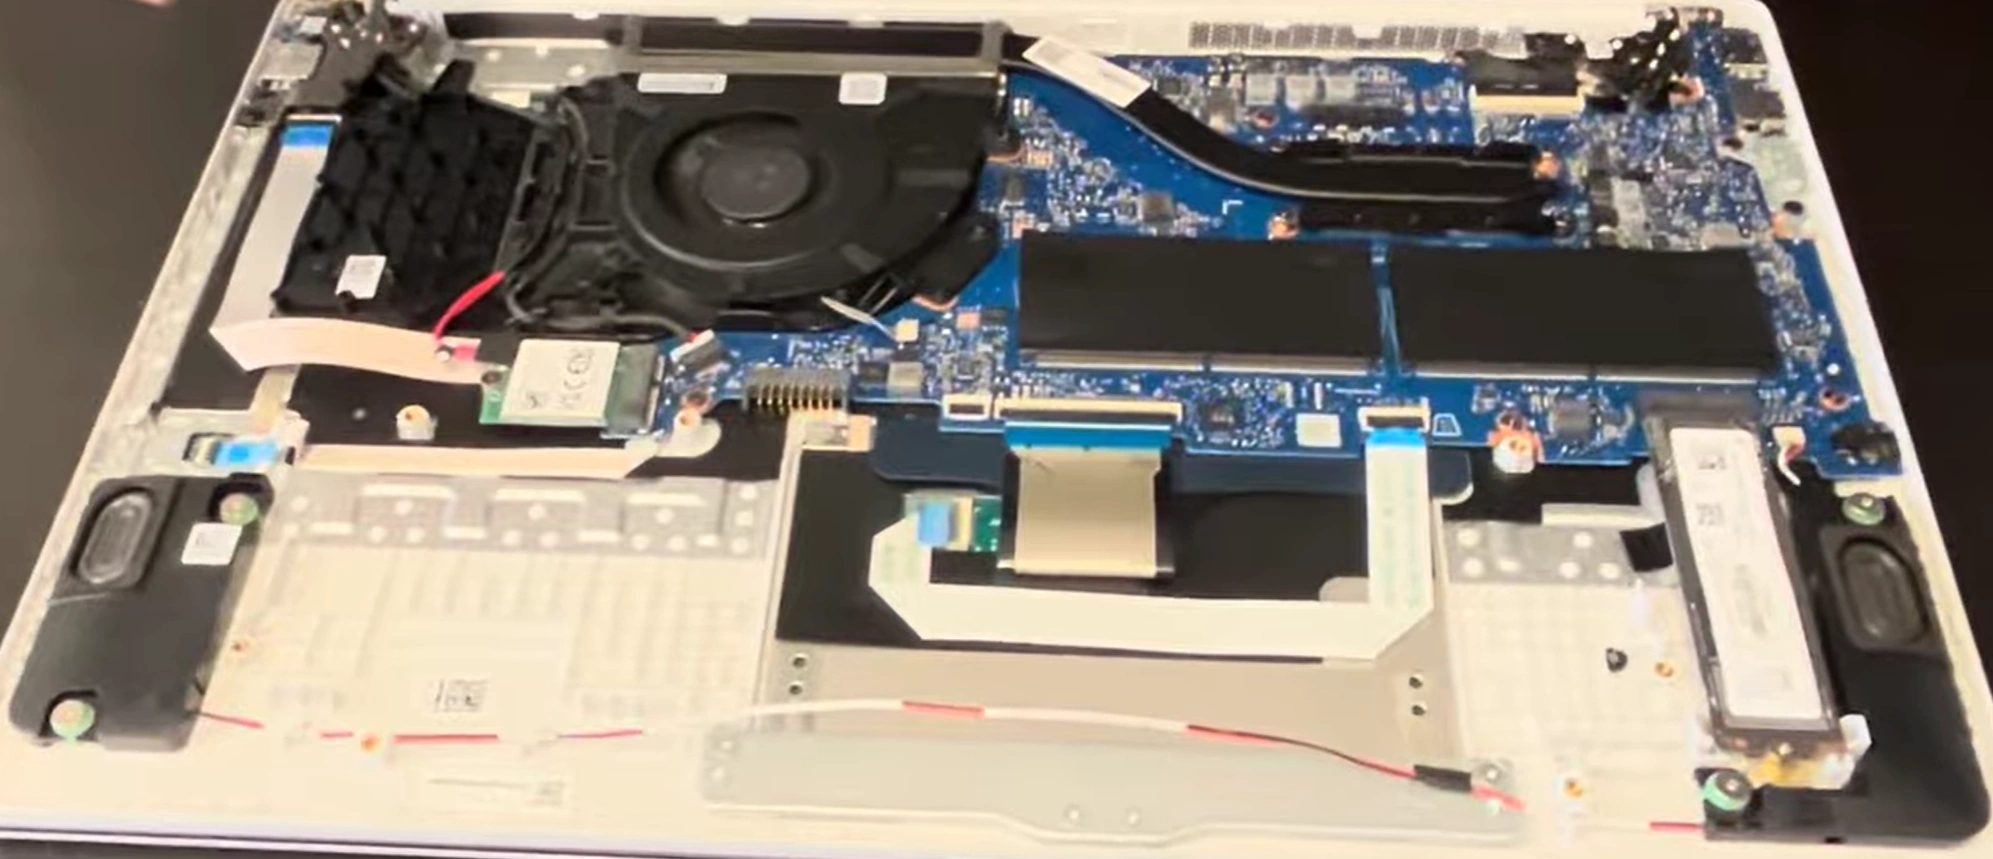
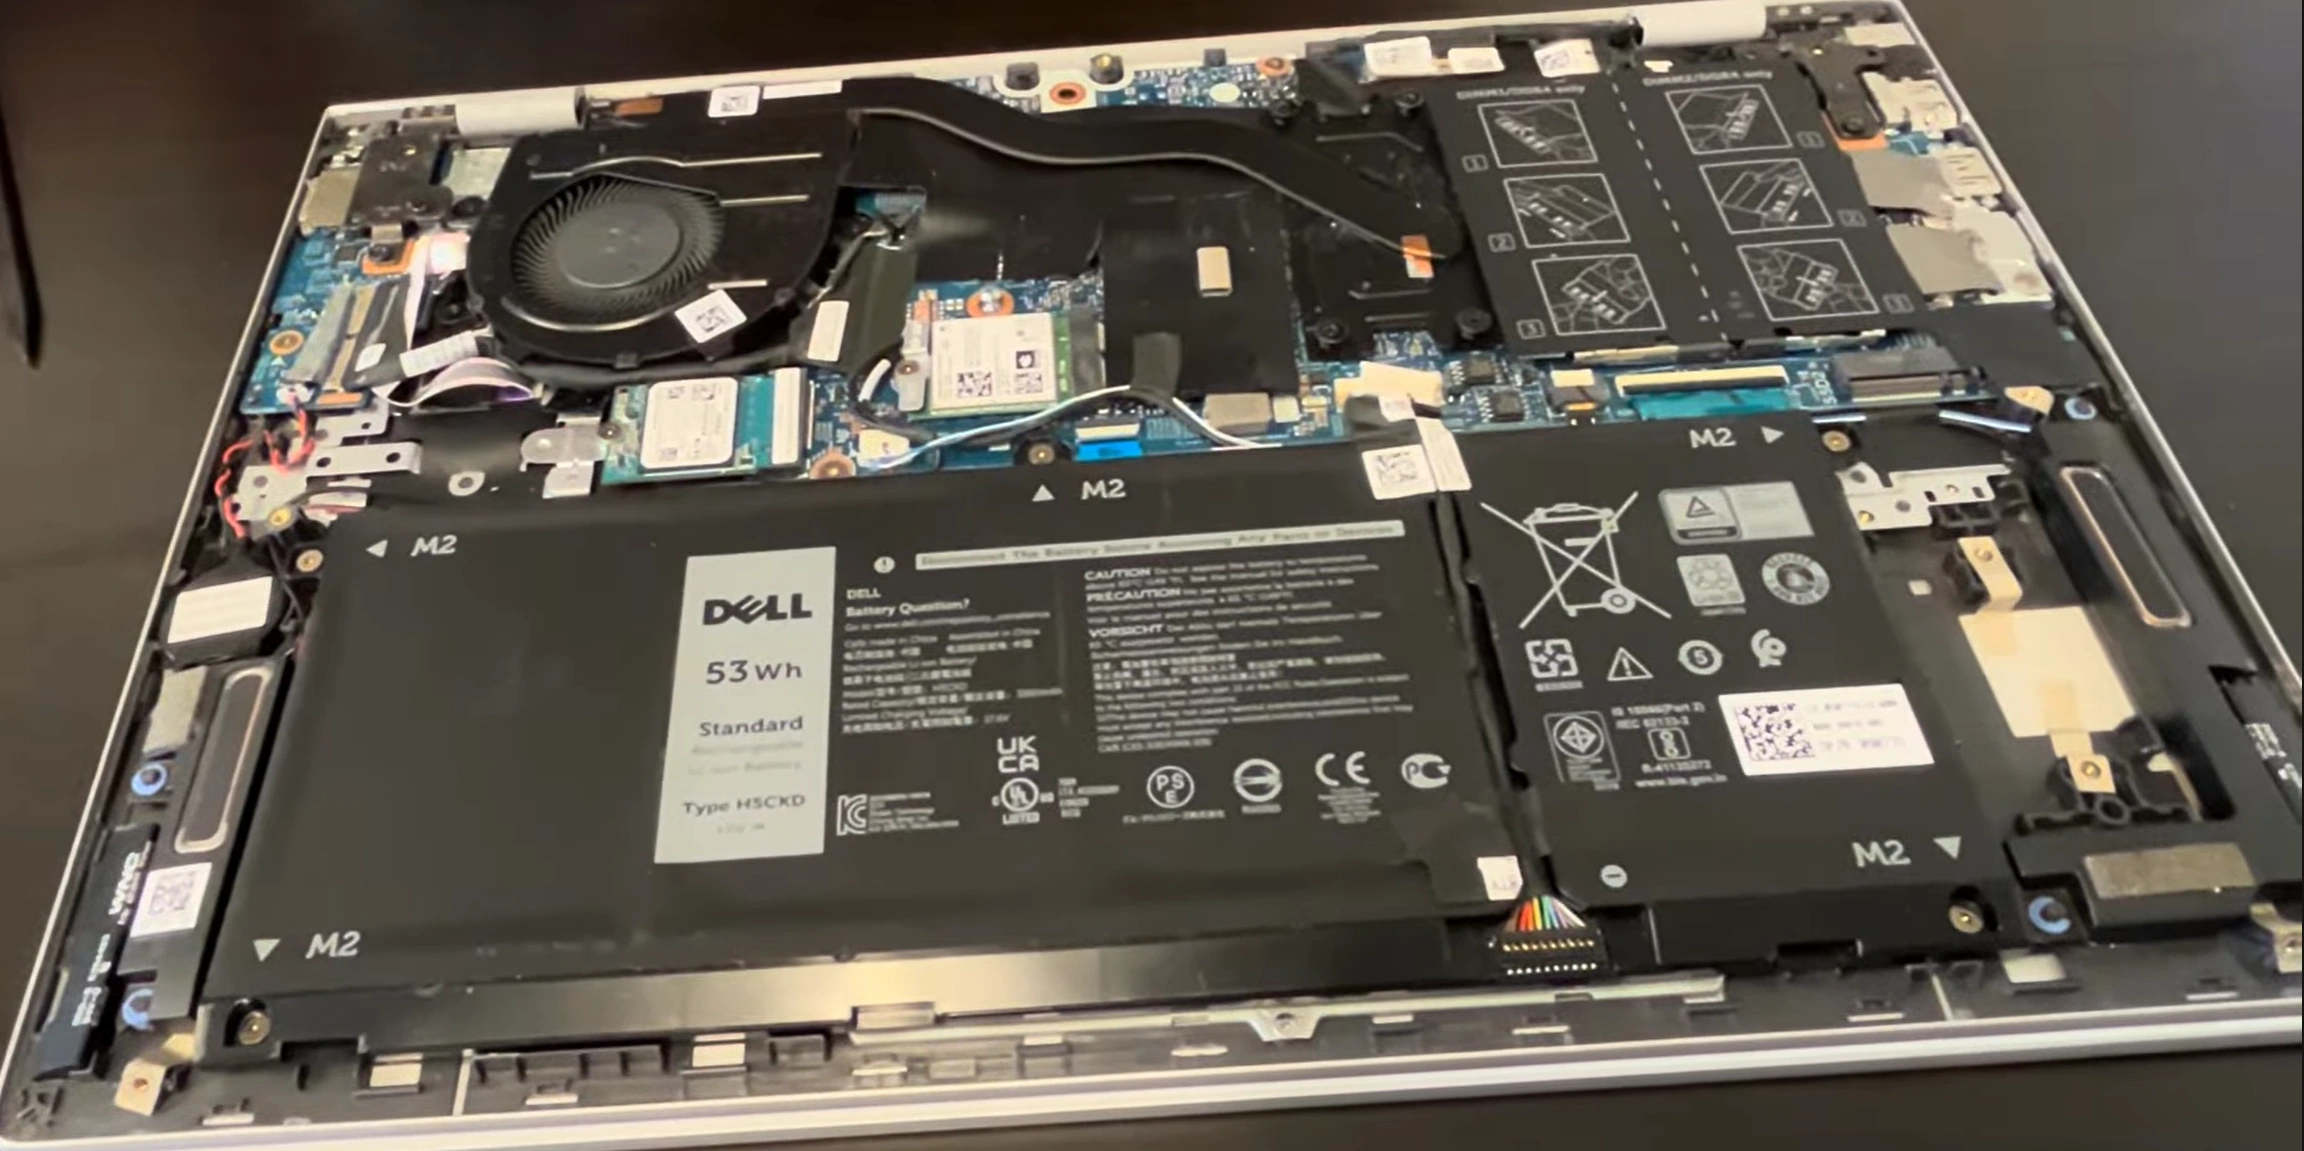
You should now have access to the internal components of the Macbook.
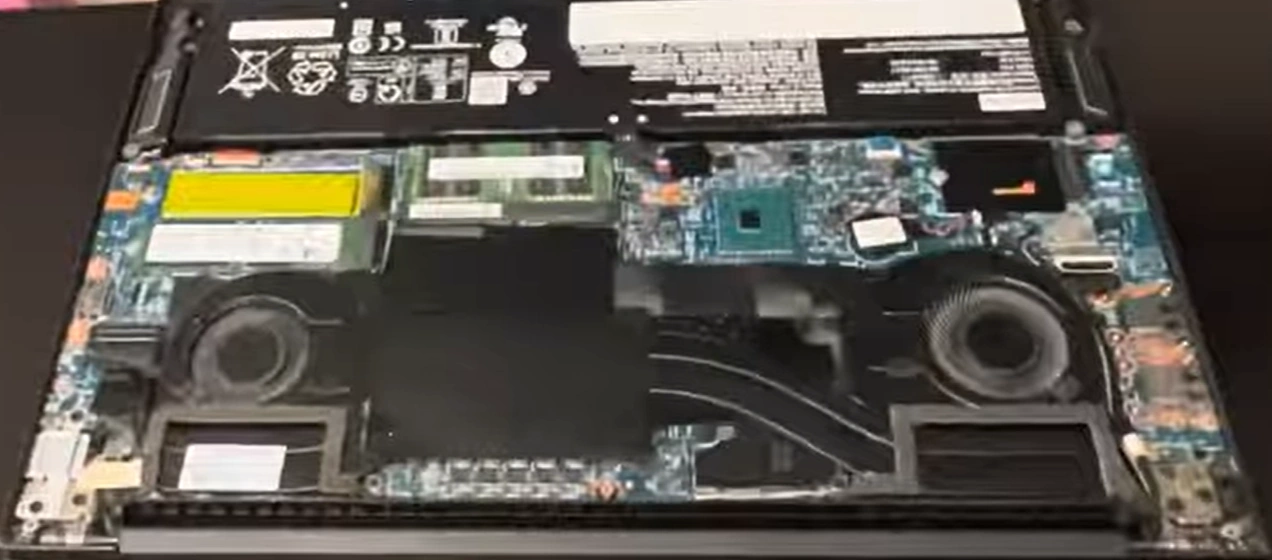
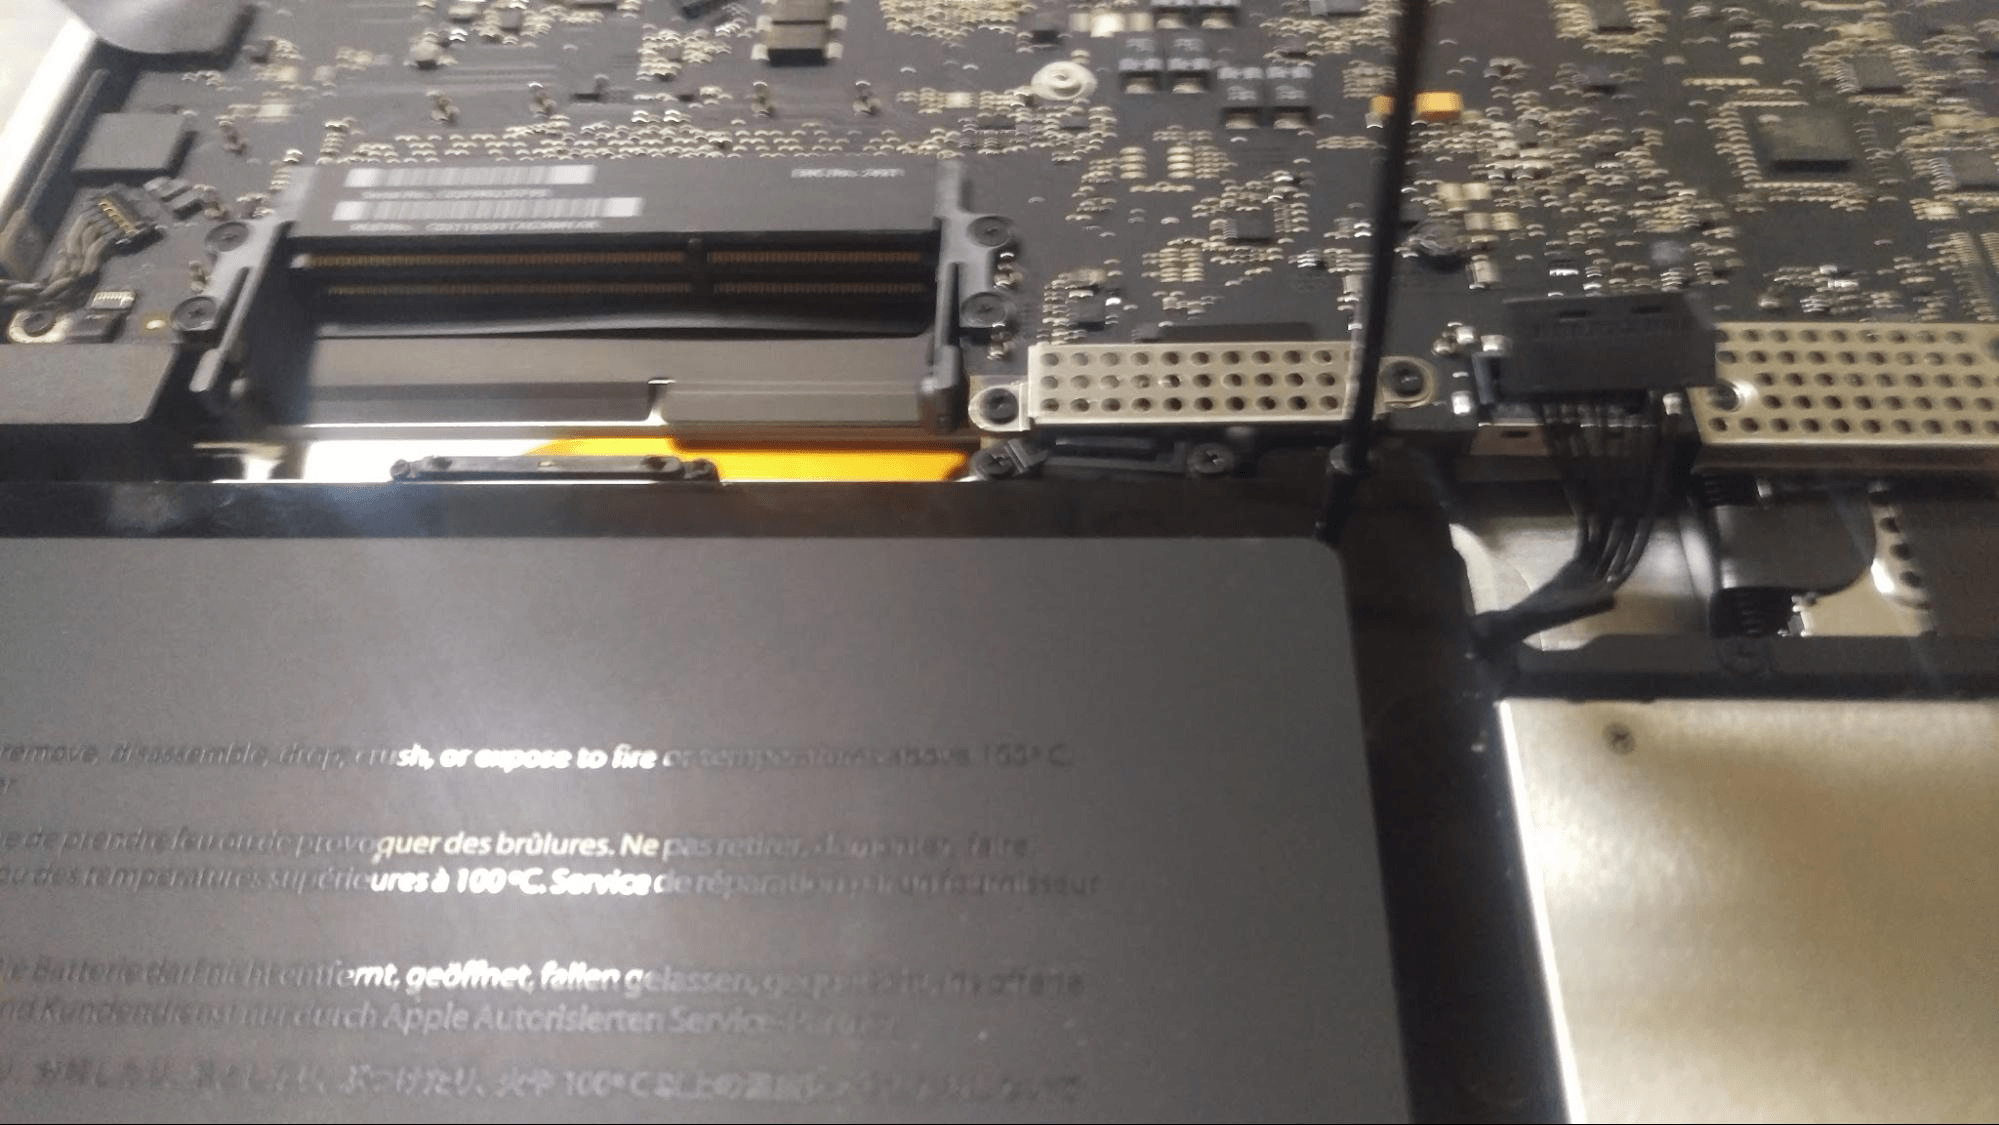
First, remove the RAM.
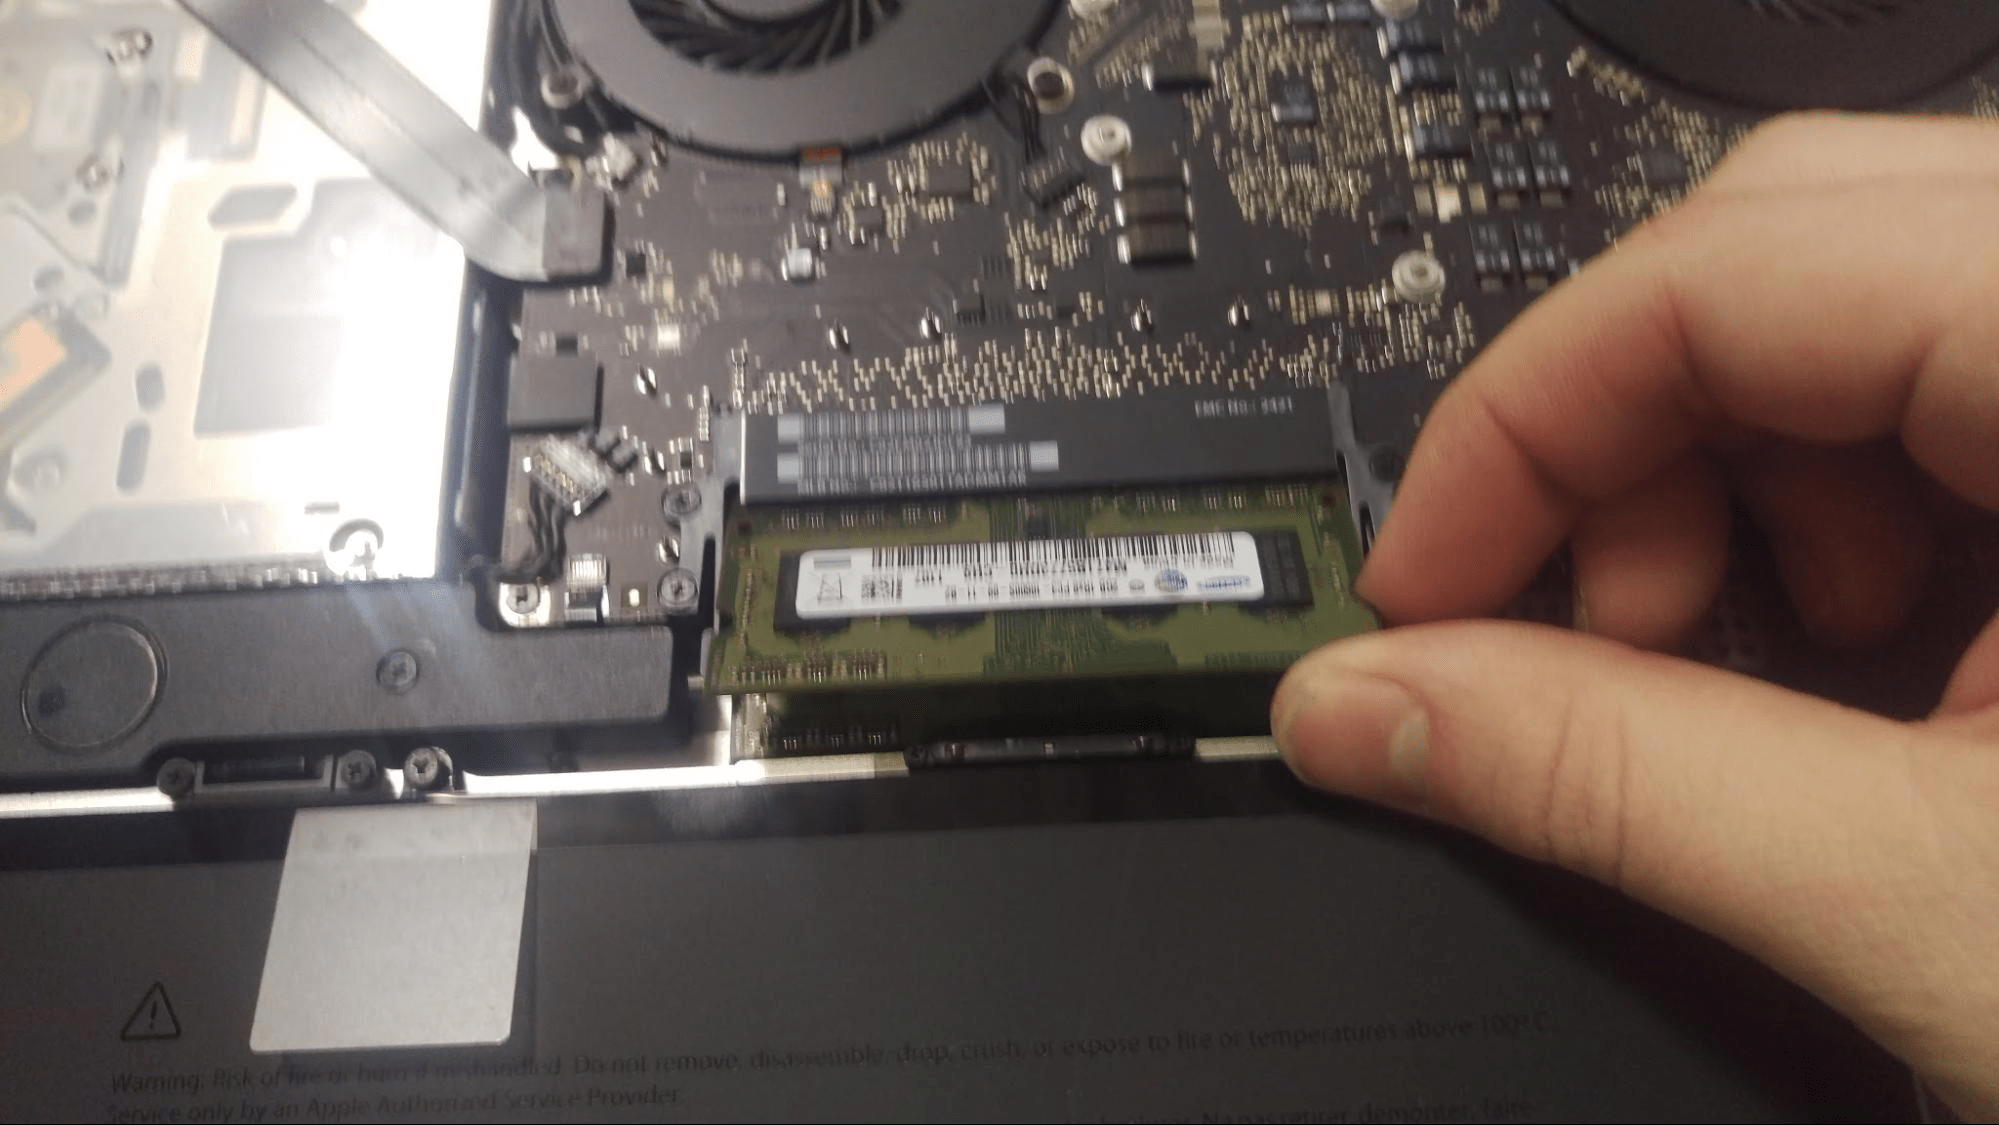
As seen in the photo, “reverse pinch” the tabs at the ends of the RAM slot. This step should be very easy and quick.

Before removing any other components, disconnect the battery. If the laptop is getting power, many components can be damaged if they are disconnected from power suddenly. Pry up on the motherboard, towards the connector. It should be easily disconnected.
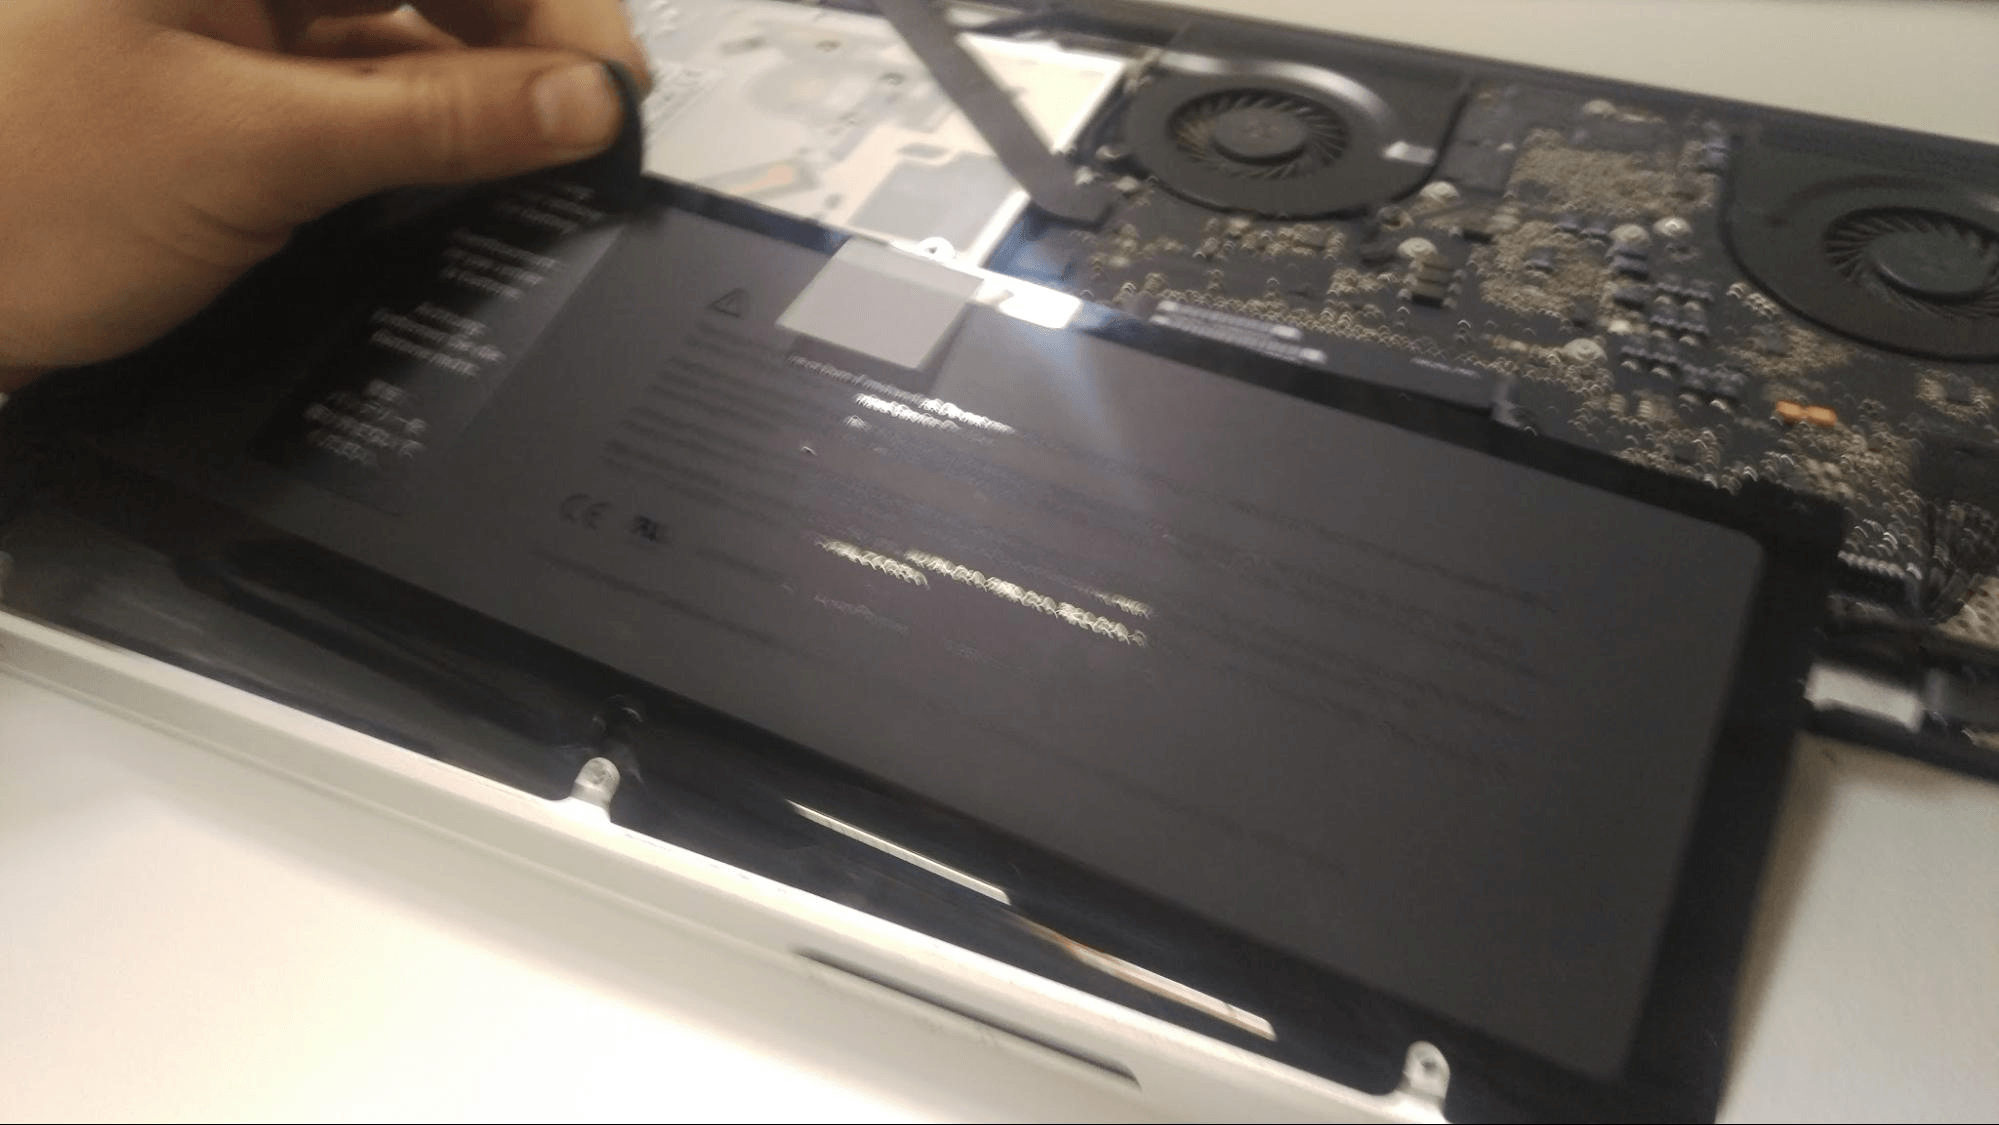
Lets now remove the battery. Using a triple-prong, tri-wing screwdriver, remove the screws on the top of the battery. Then pull up on the plastic tab, and pull the battery out of its slot.
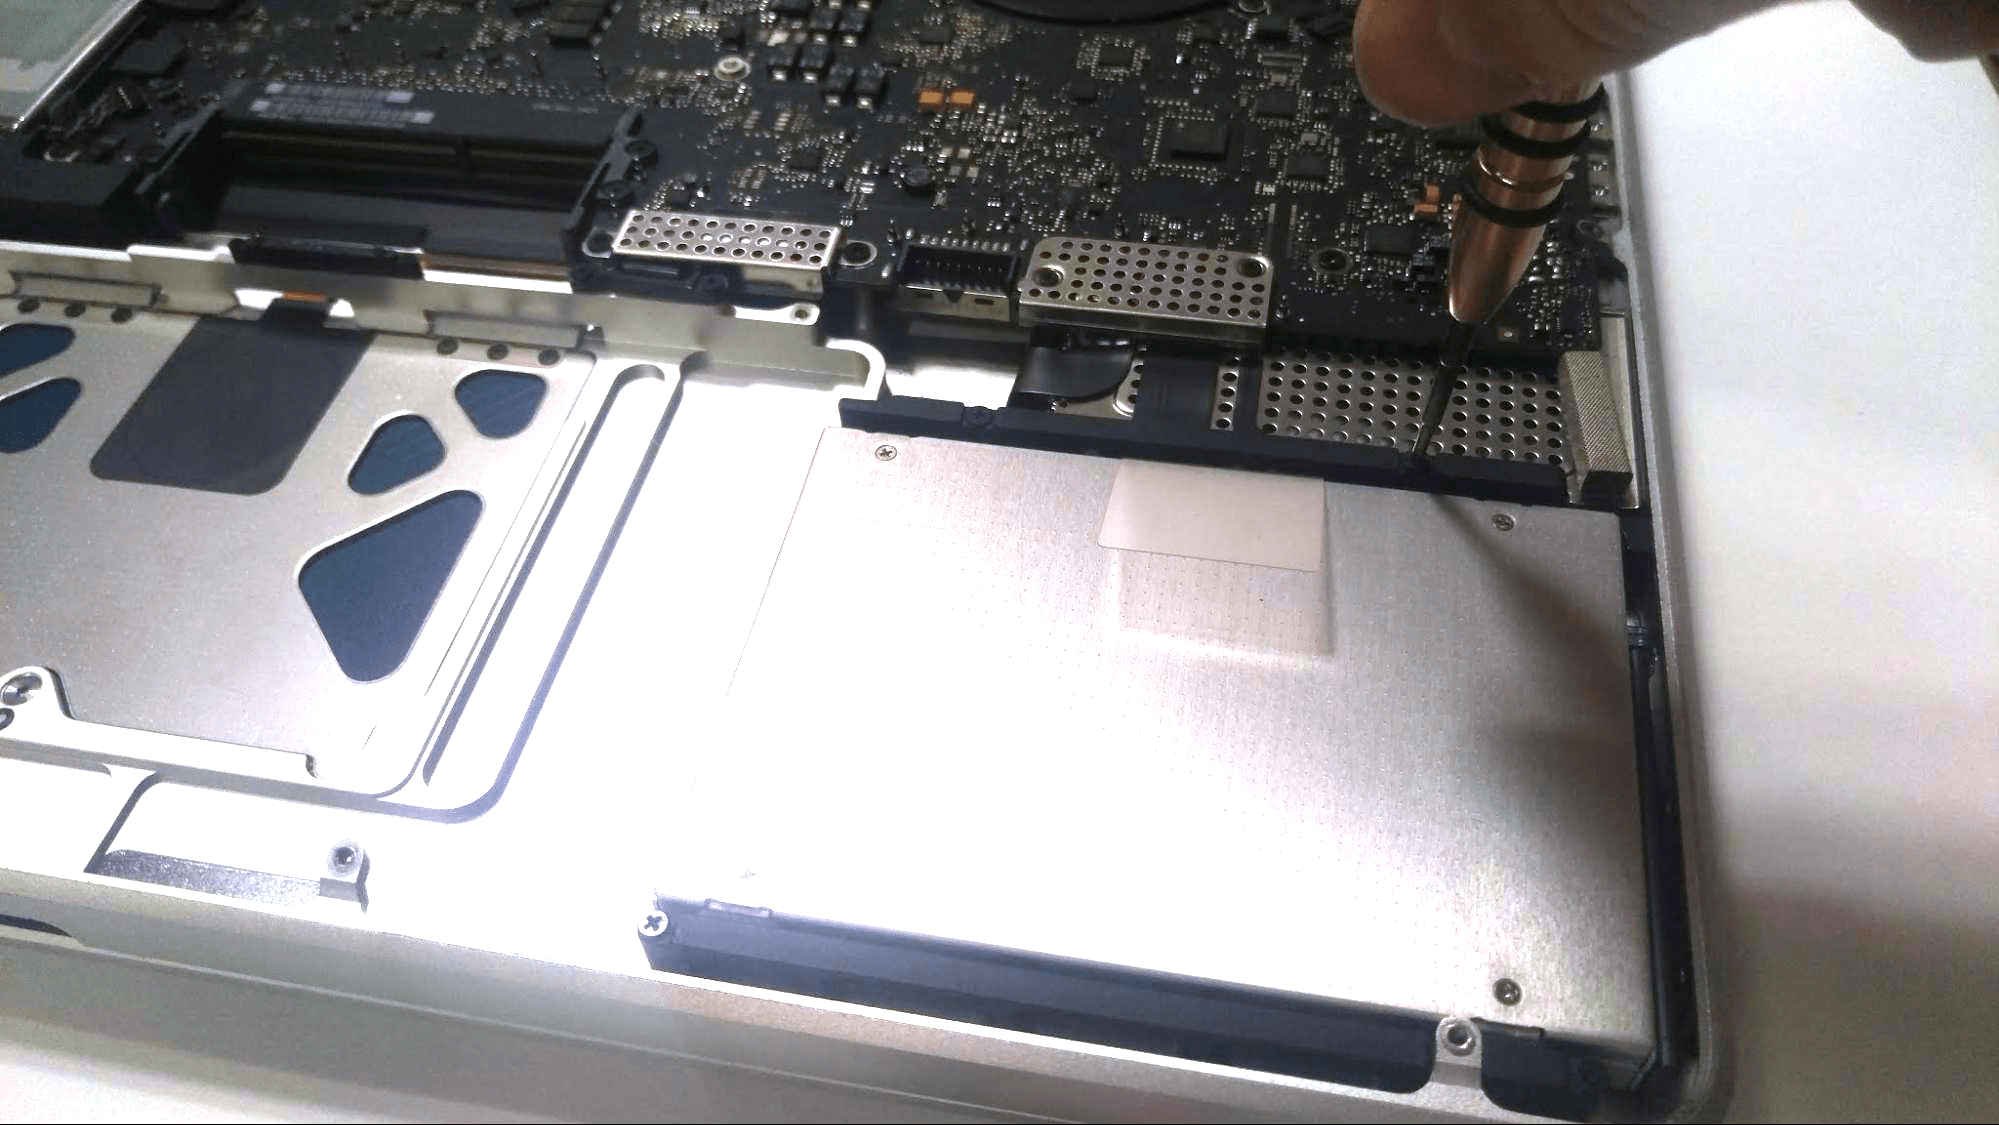
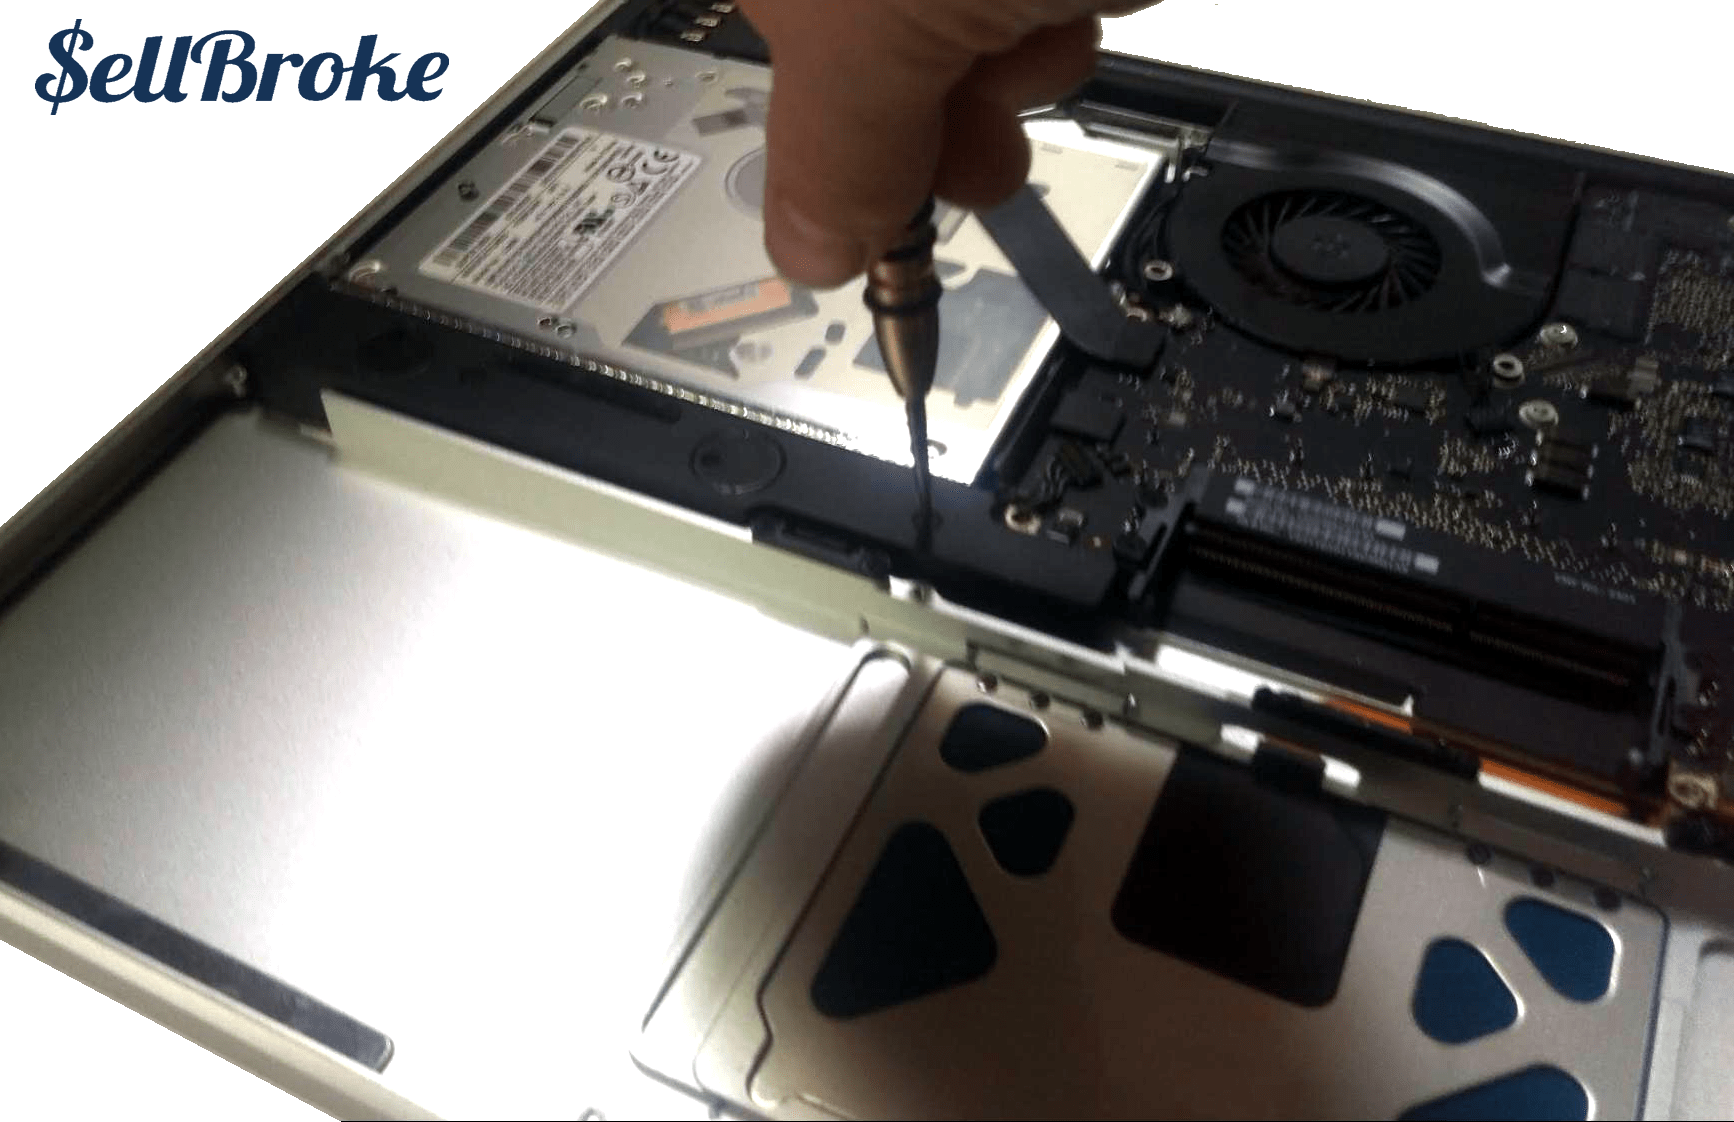
Next, using a 1.5mm phillips screwdriver, remove the hard drive caddies. There are two, on opposite sides of the hard drive. Make sure to remove them before attempting removal of the hard drive!
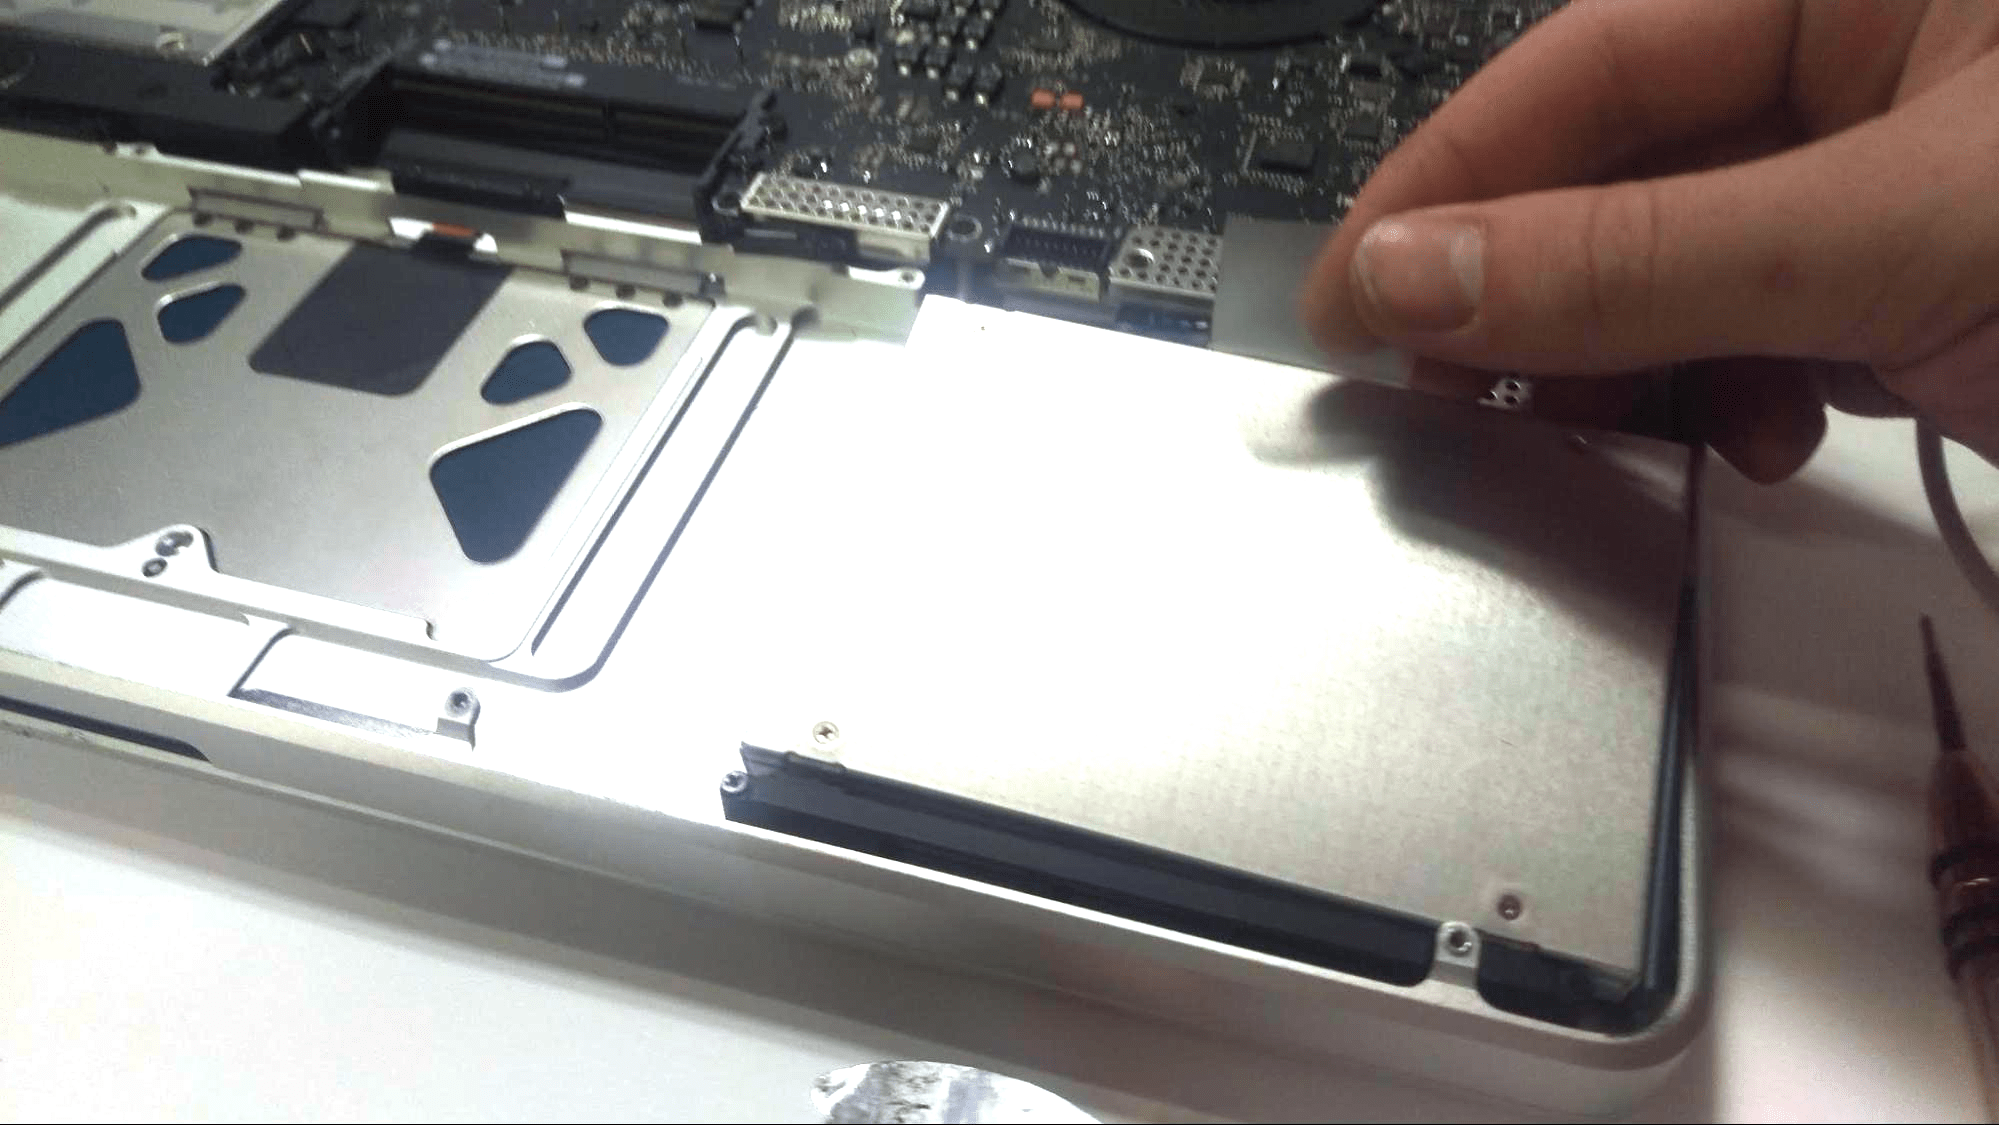
The hard drive can then be lifted by its plastic tab, and then disconnected from the motherboard.
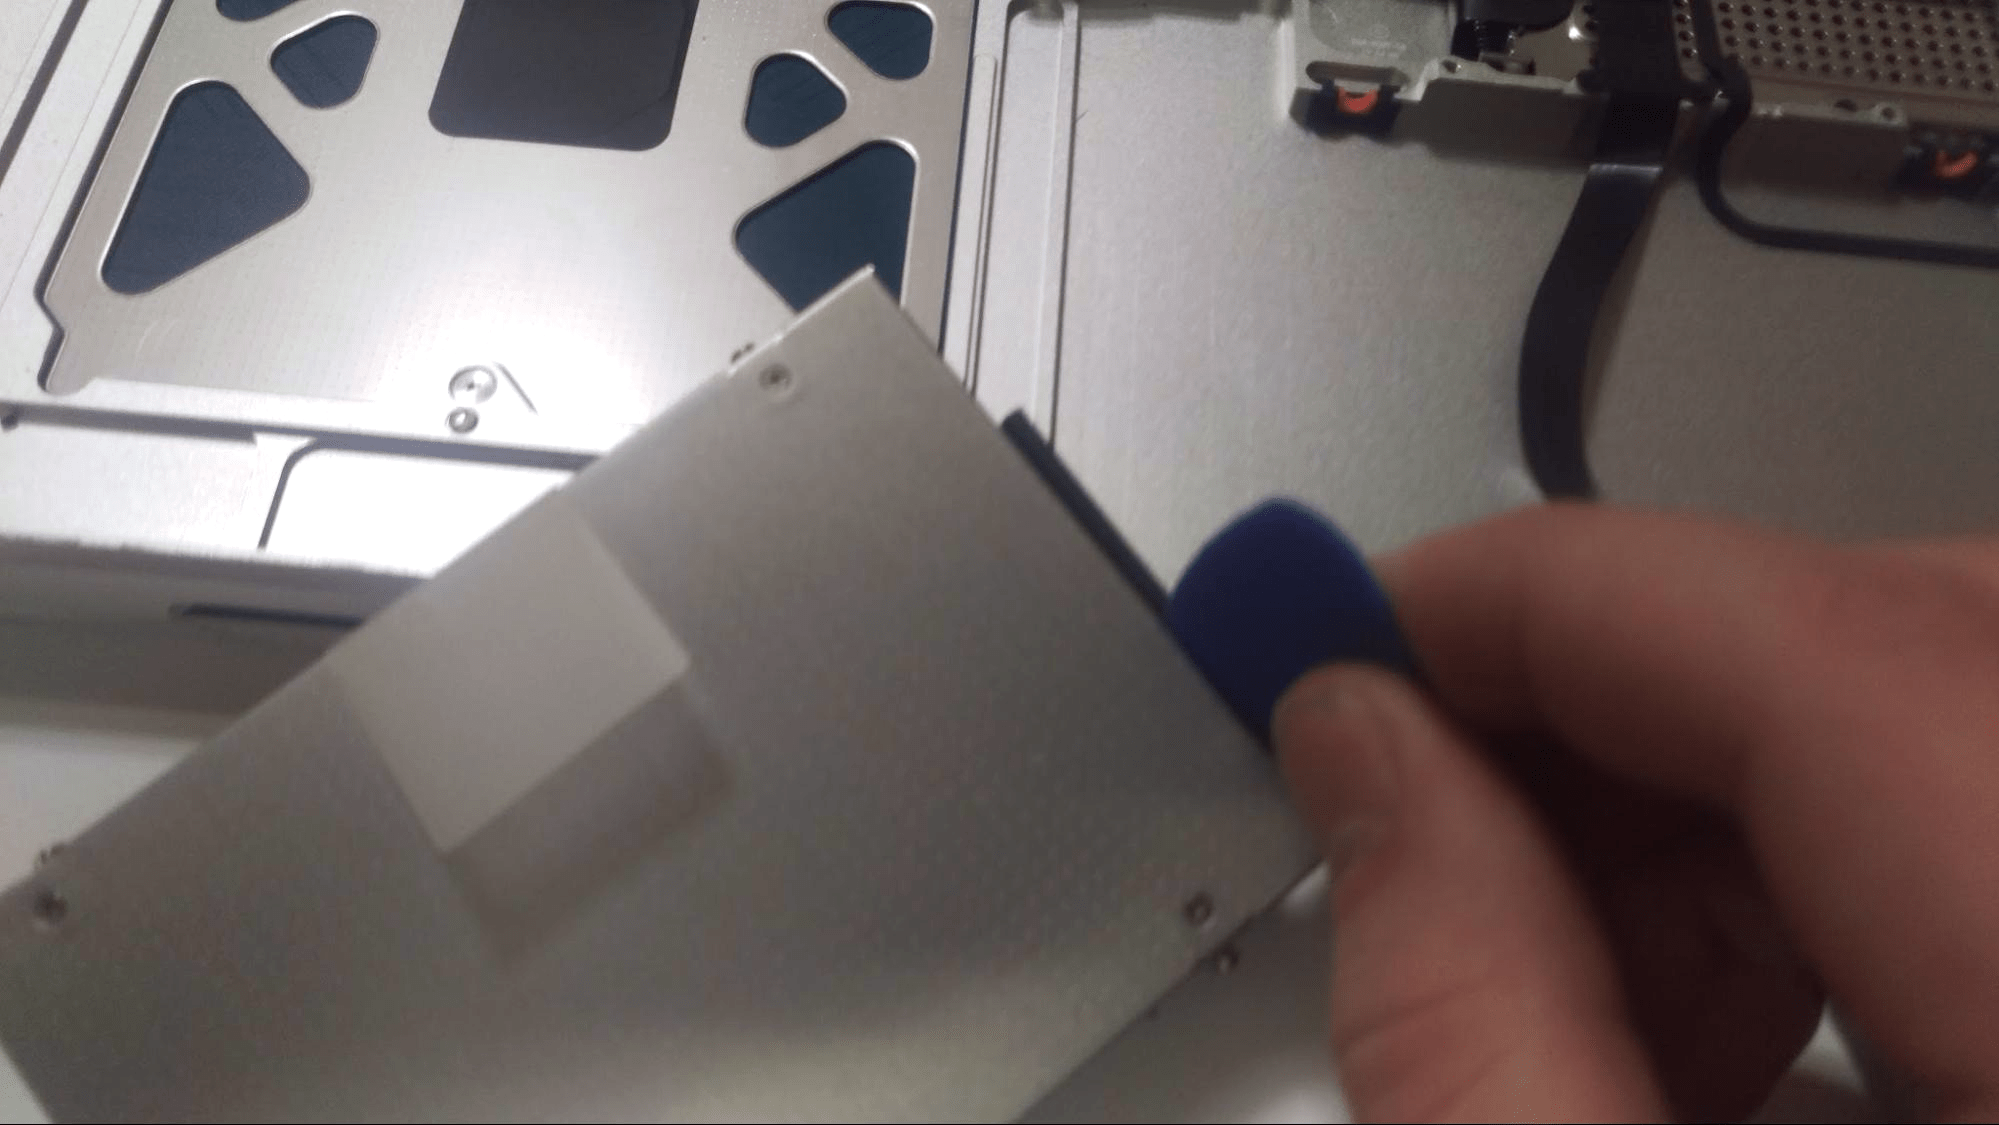
Using a plastic pick tool, pry between the hard drive and the connector. It should come out easily.
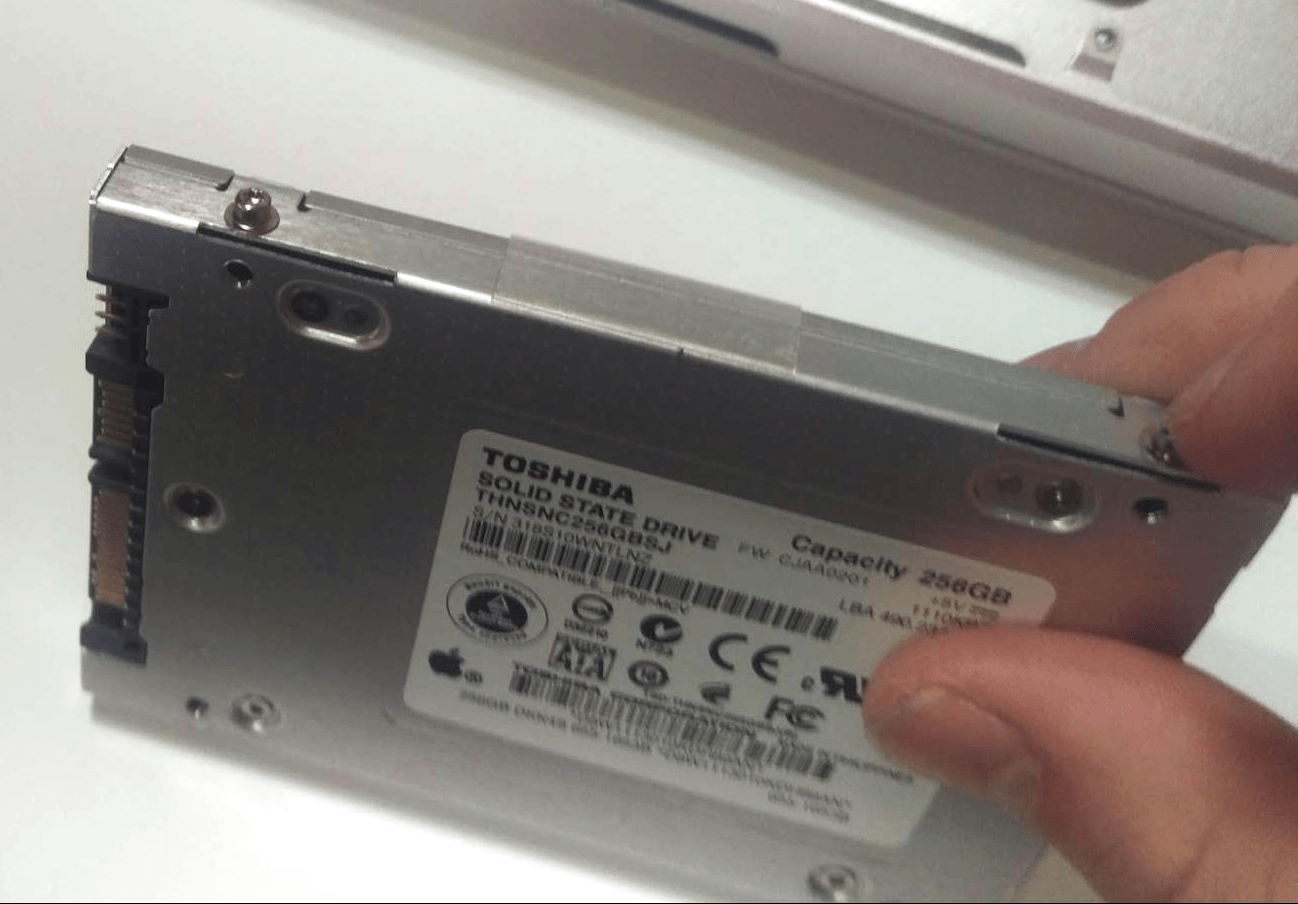
Notice, if you are replacing the hard drive with a different drive, you will need to transfer the caddy screws that are in the side of this hard drive. Use a T5 torx screwdriver for this.
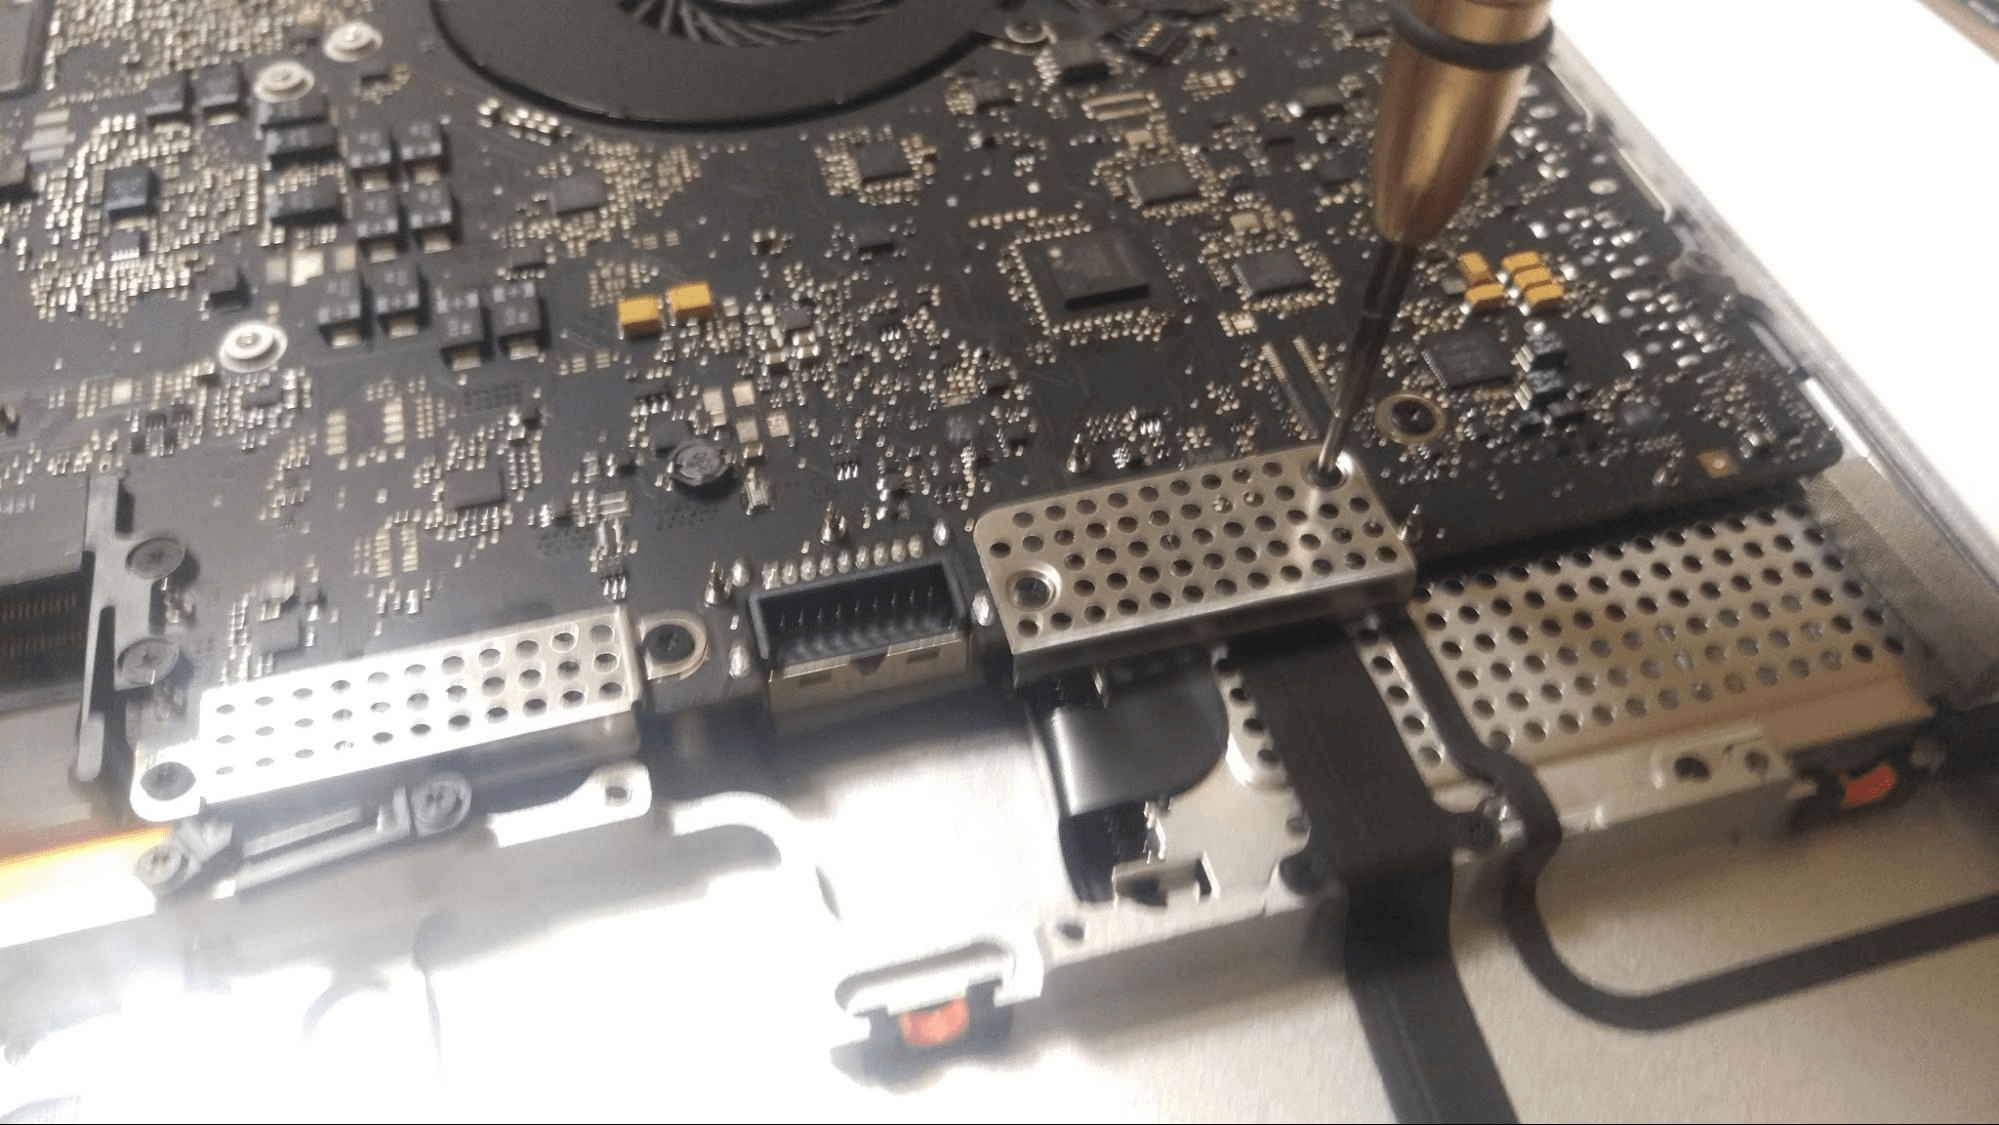
Before fully removing the SATA cable from the motherboard and case assembly, make sure to remove the cage connecting the housing the connection, and disconnect the cable.
Next, remove all the screws remaining in the motherboard. I used a T5 torx screwdriver for this.

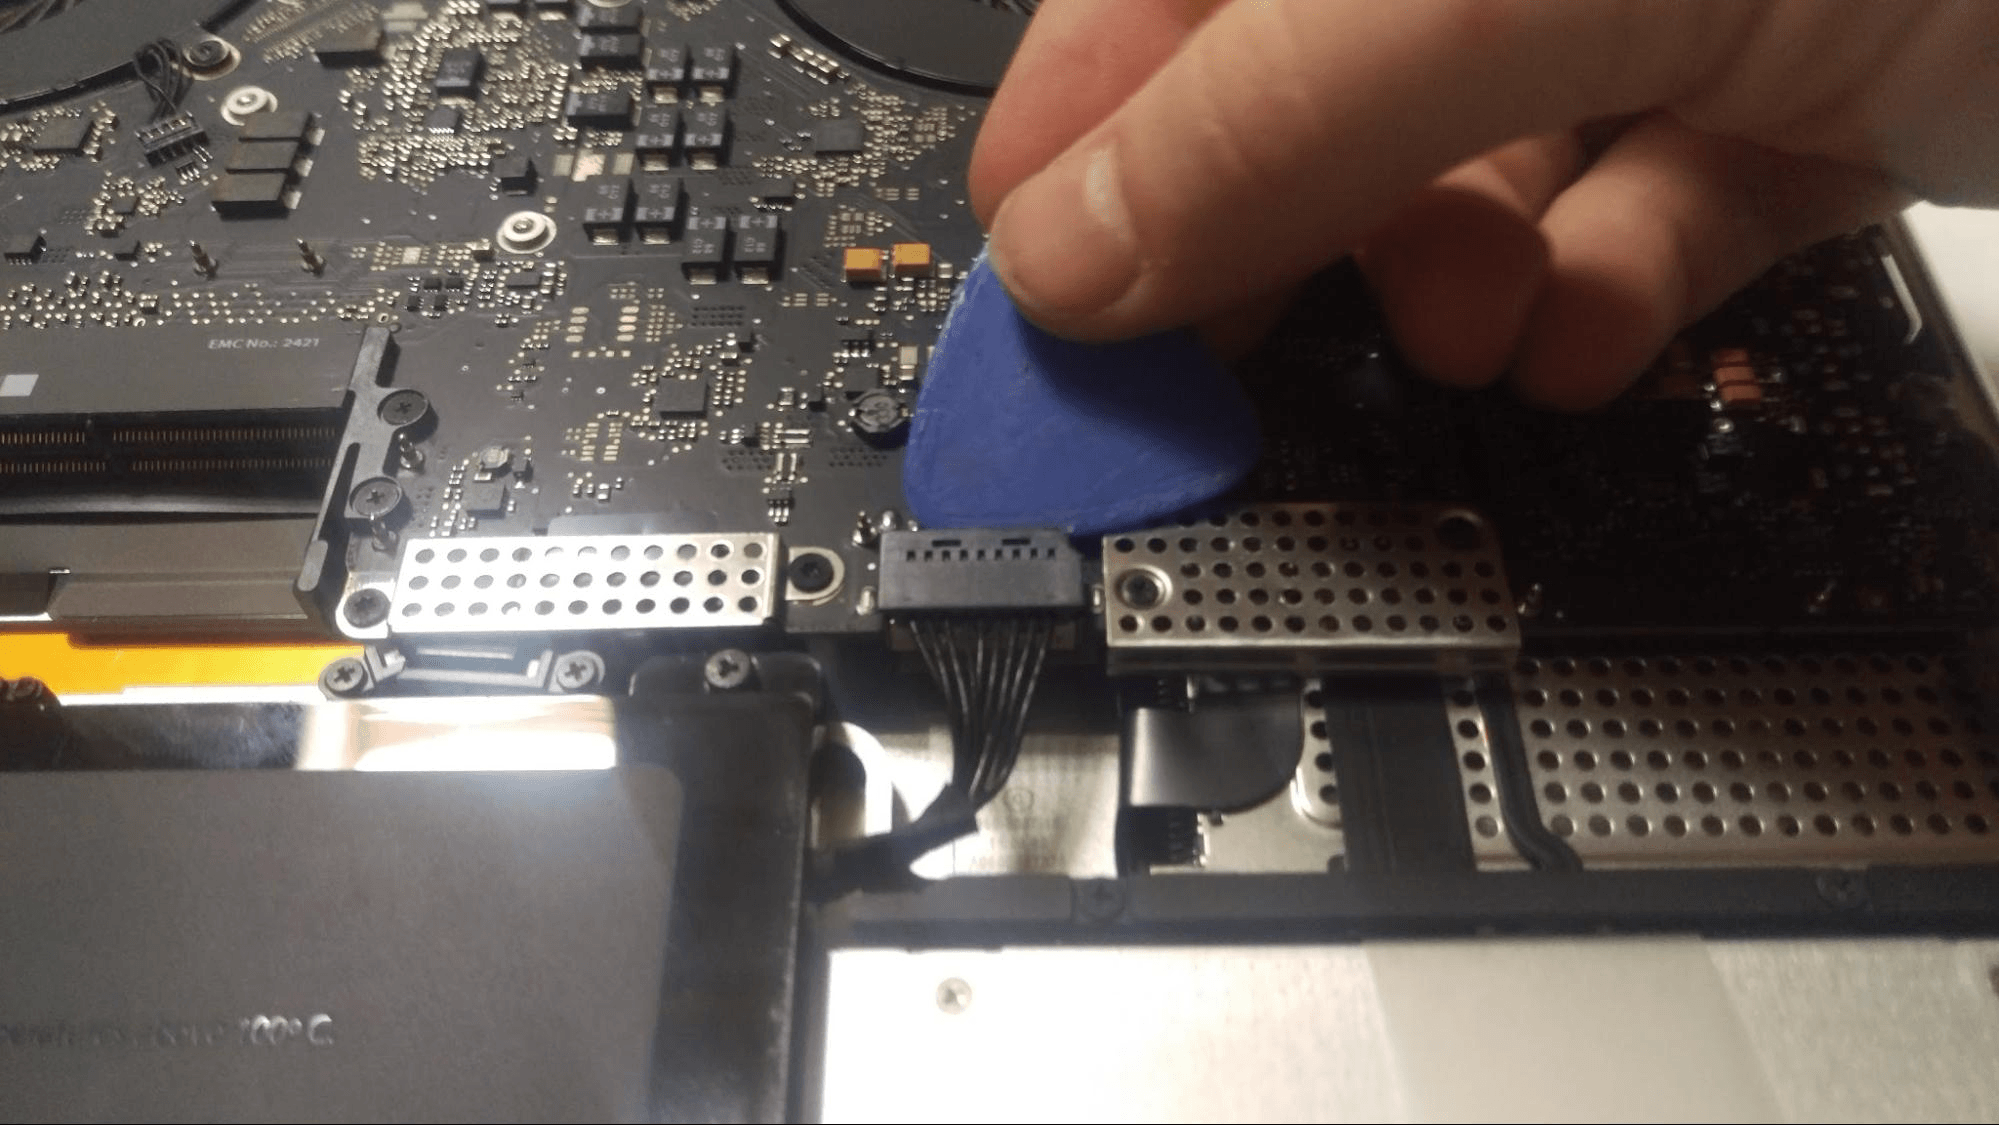
Disconnect the speaker from the motherboard. To do this, pry underneath the cable away from the motherboard. The speaker itself cannot be removed yet.
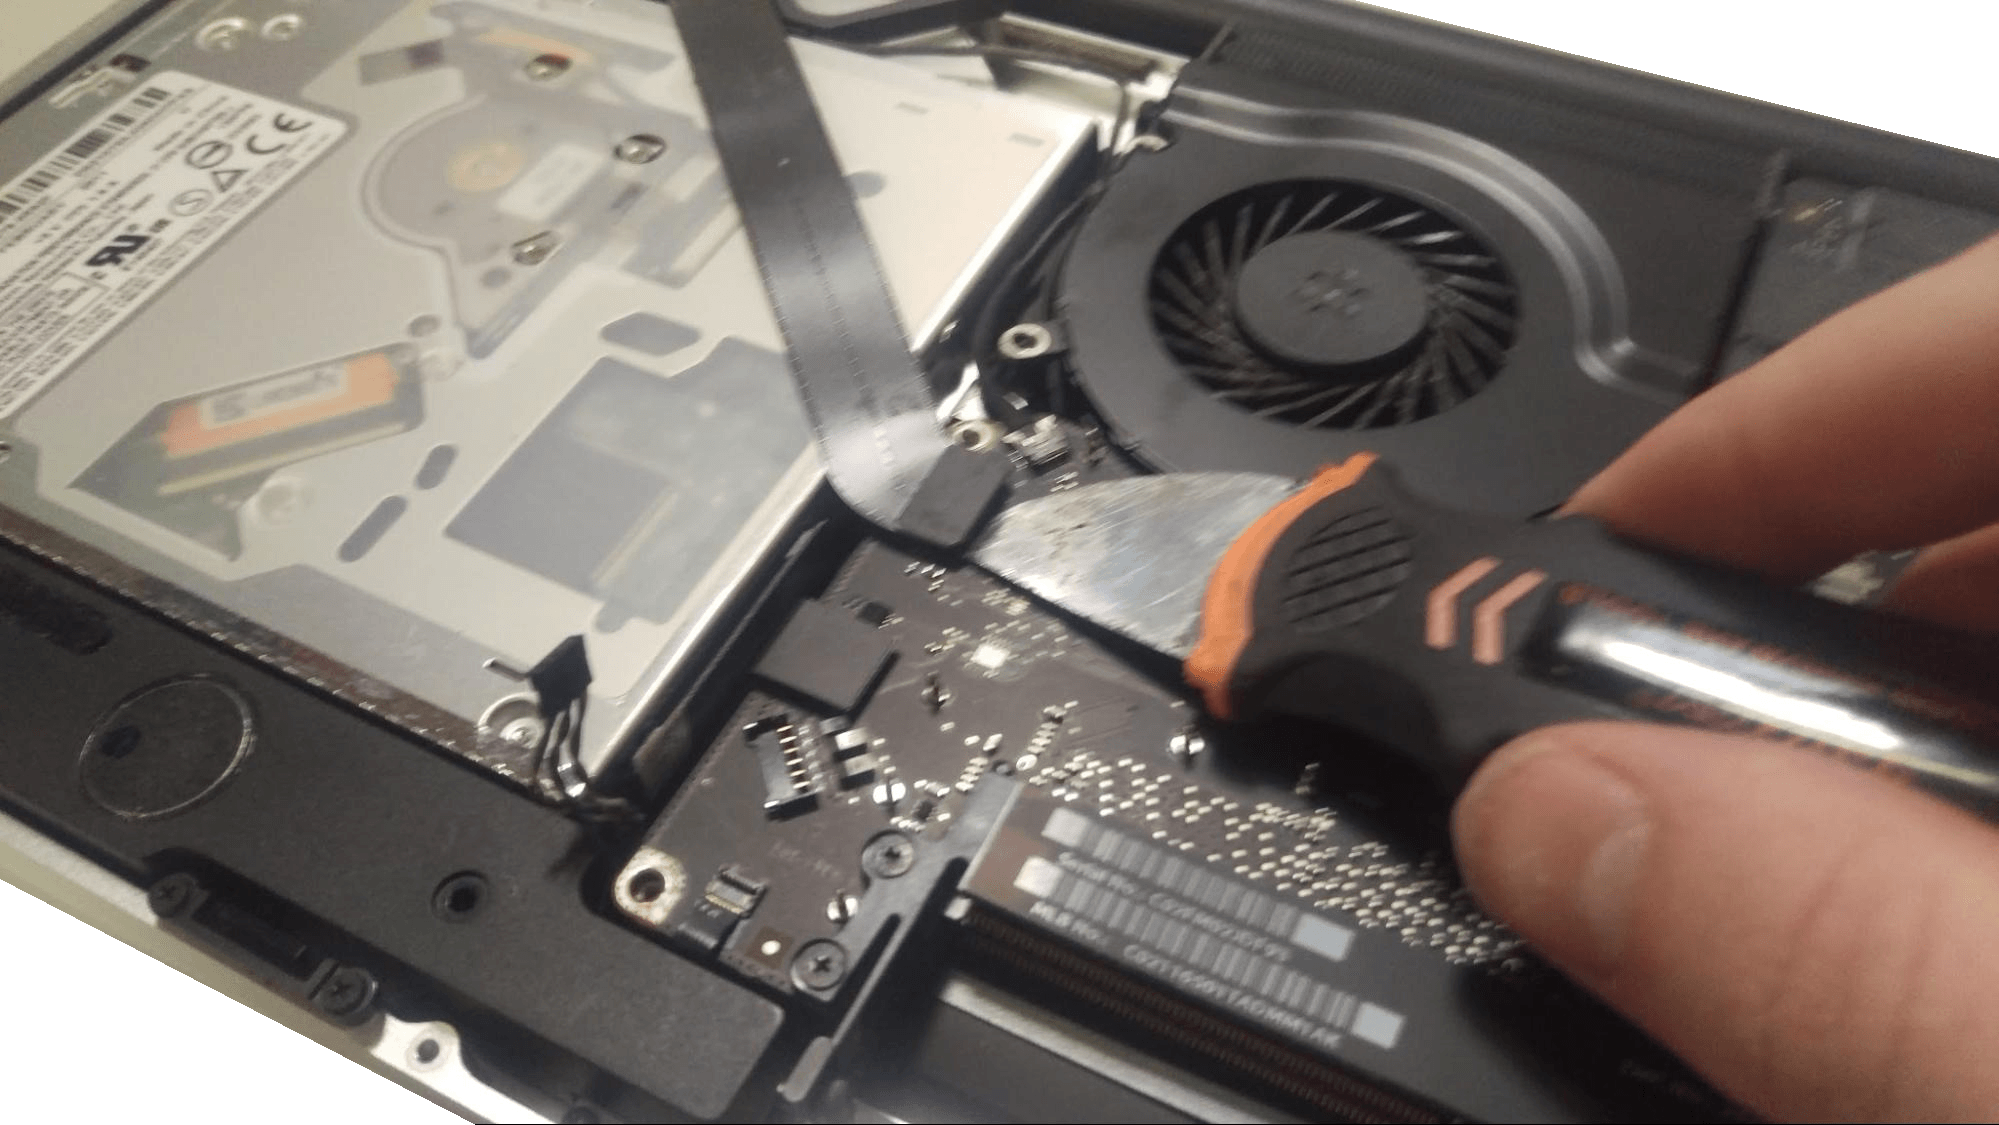
Disconnect the remaining the cables from the motherboard. Pry up on their respective connectors or cable connections to disconnect them.
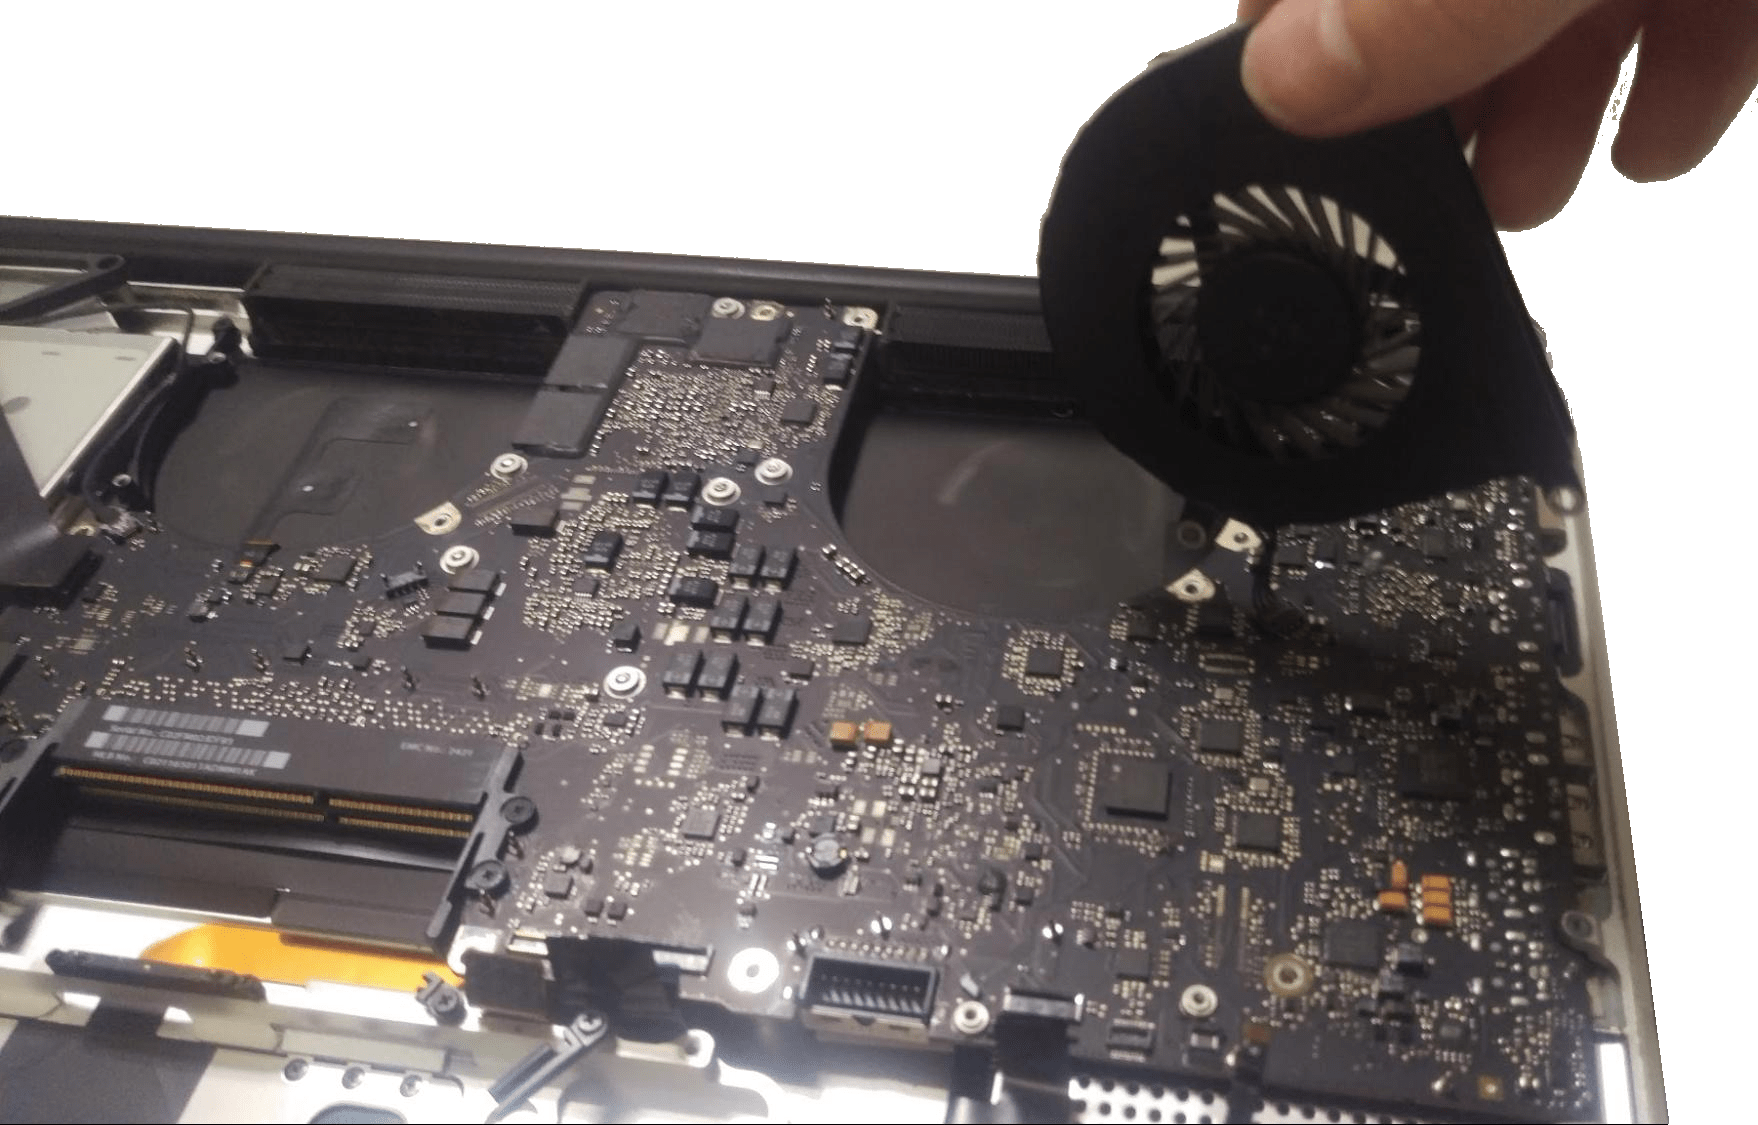
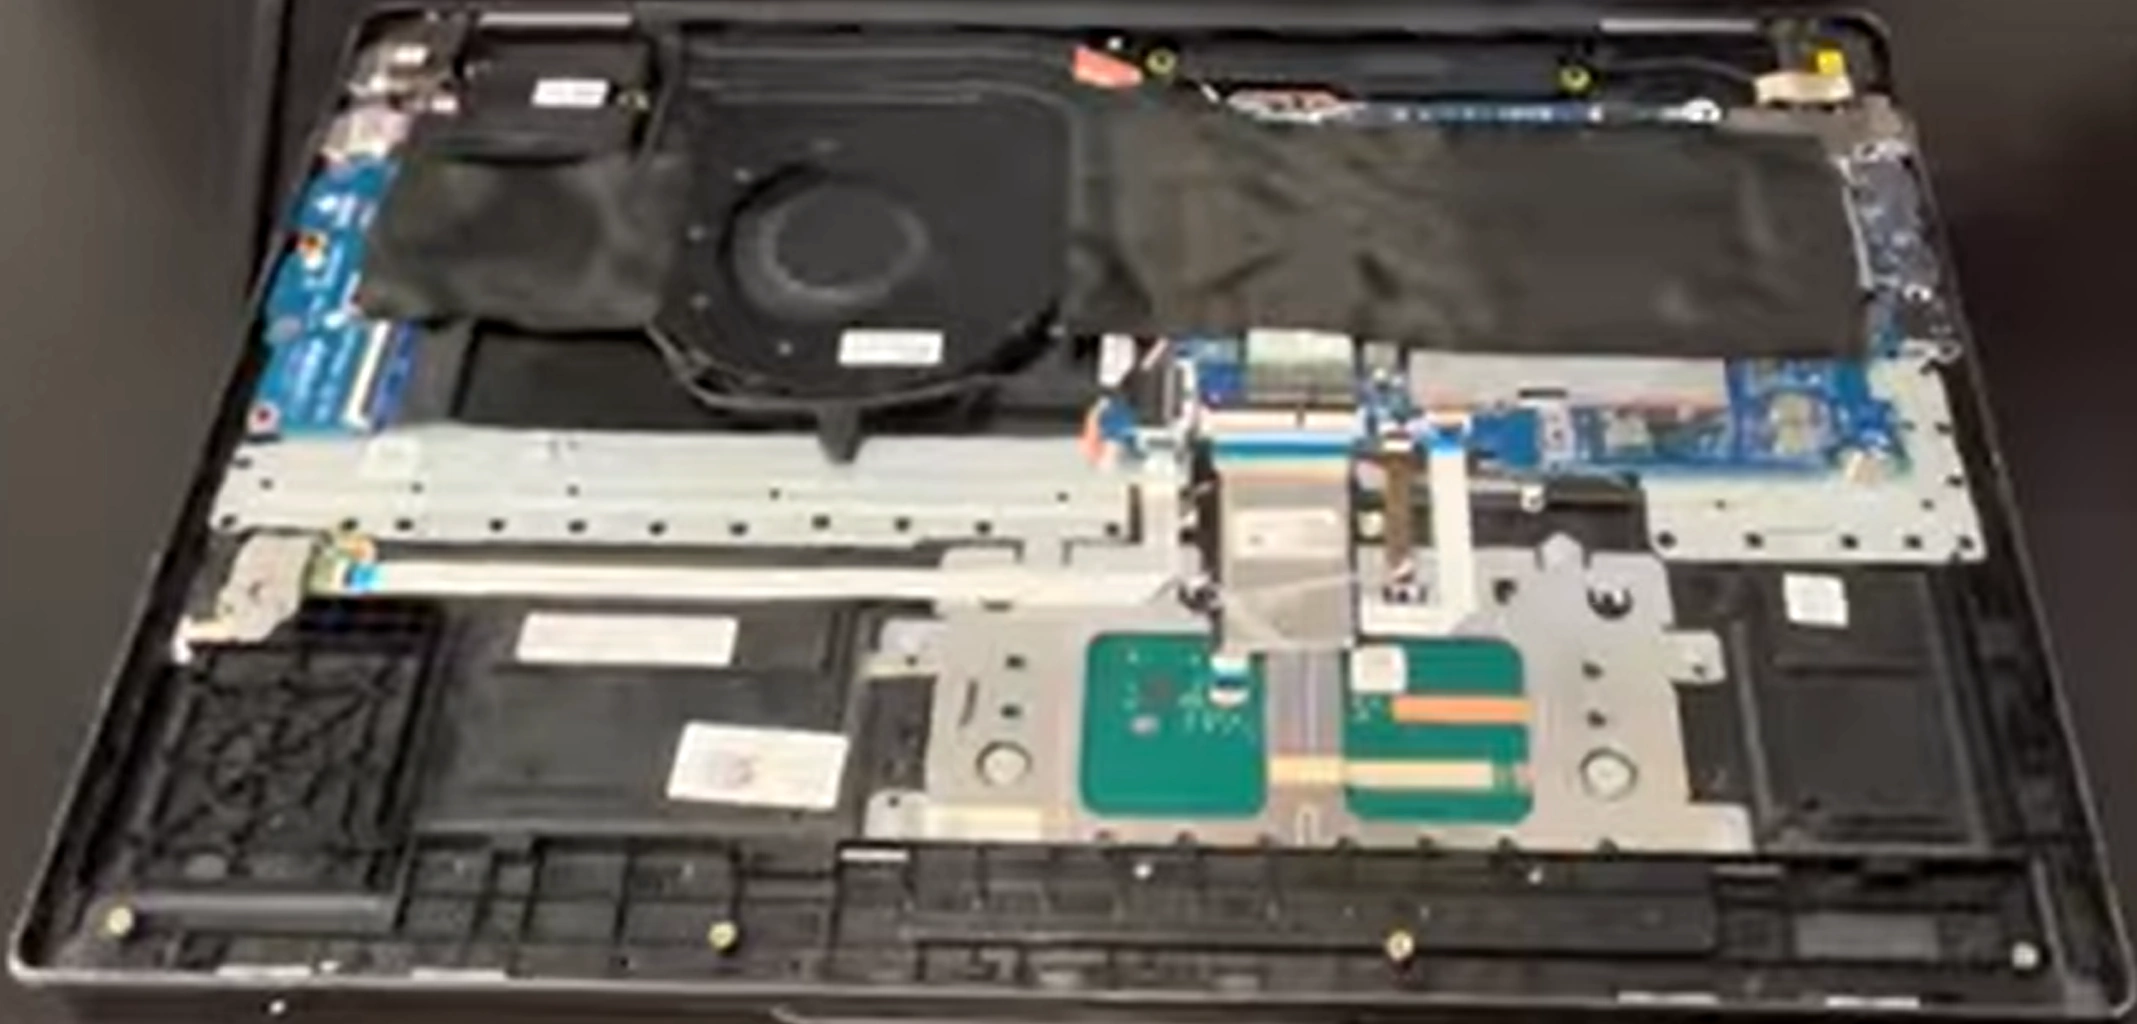
The fans should now be easily removed.
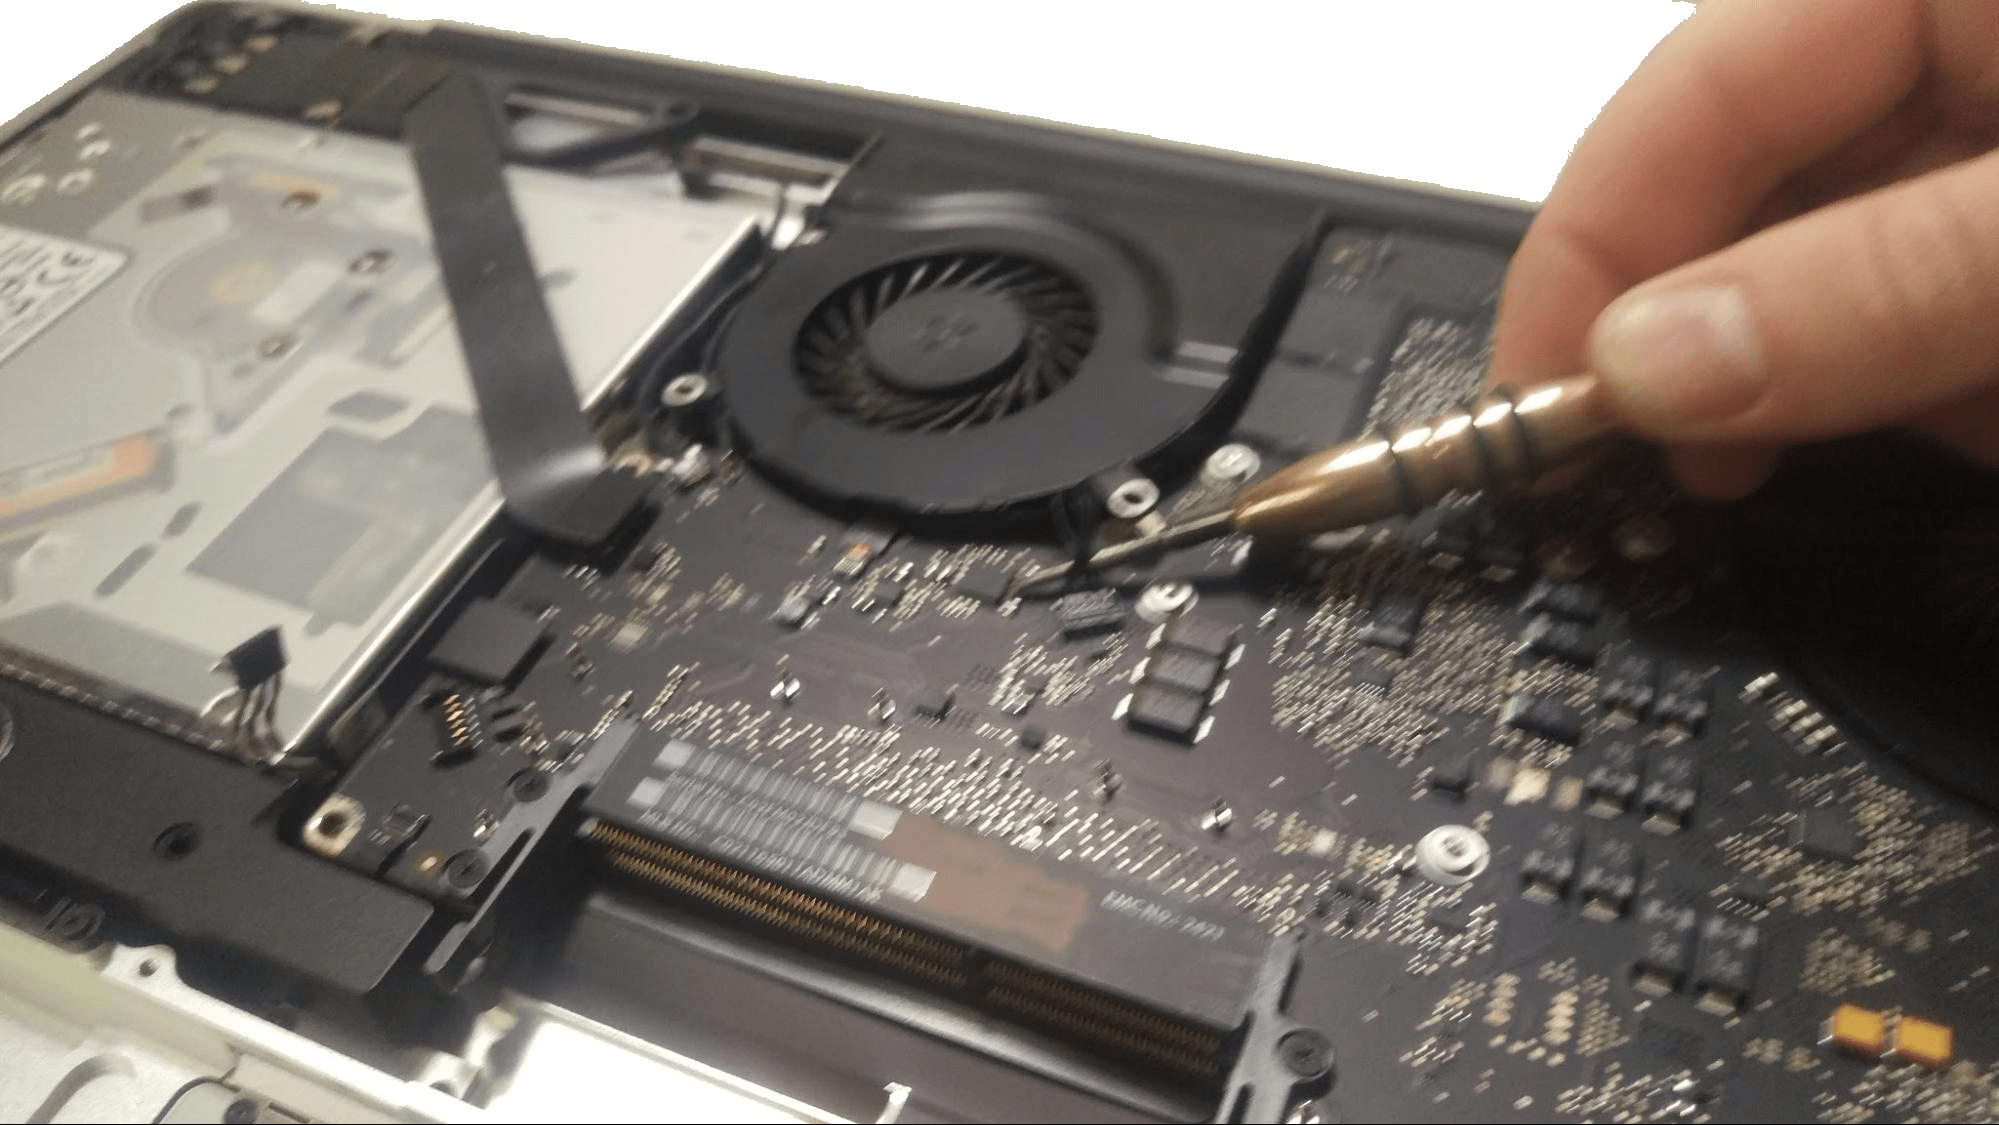
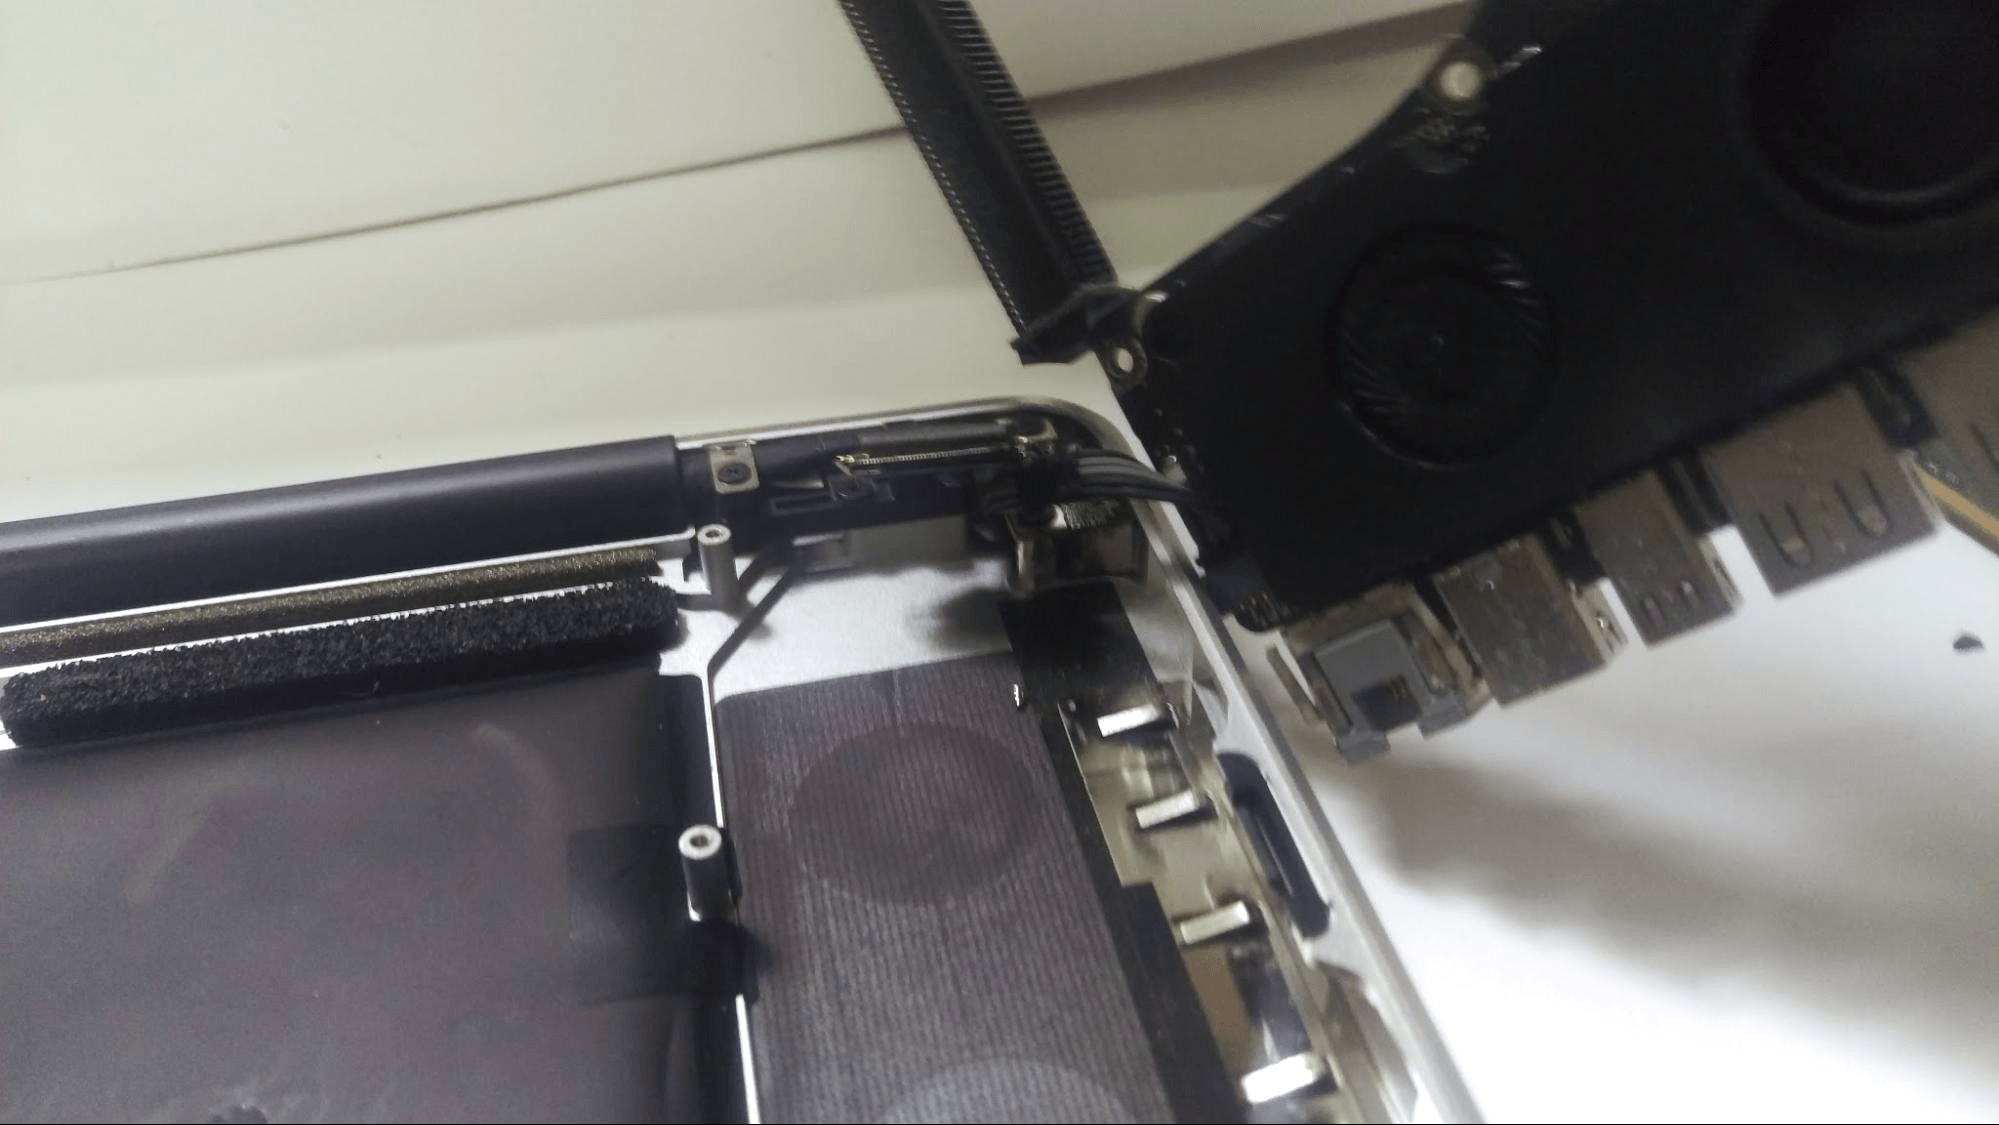
Disconnect the video cable by prying up on the lever bar. Then pull away from the motherboard to disconnect it.
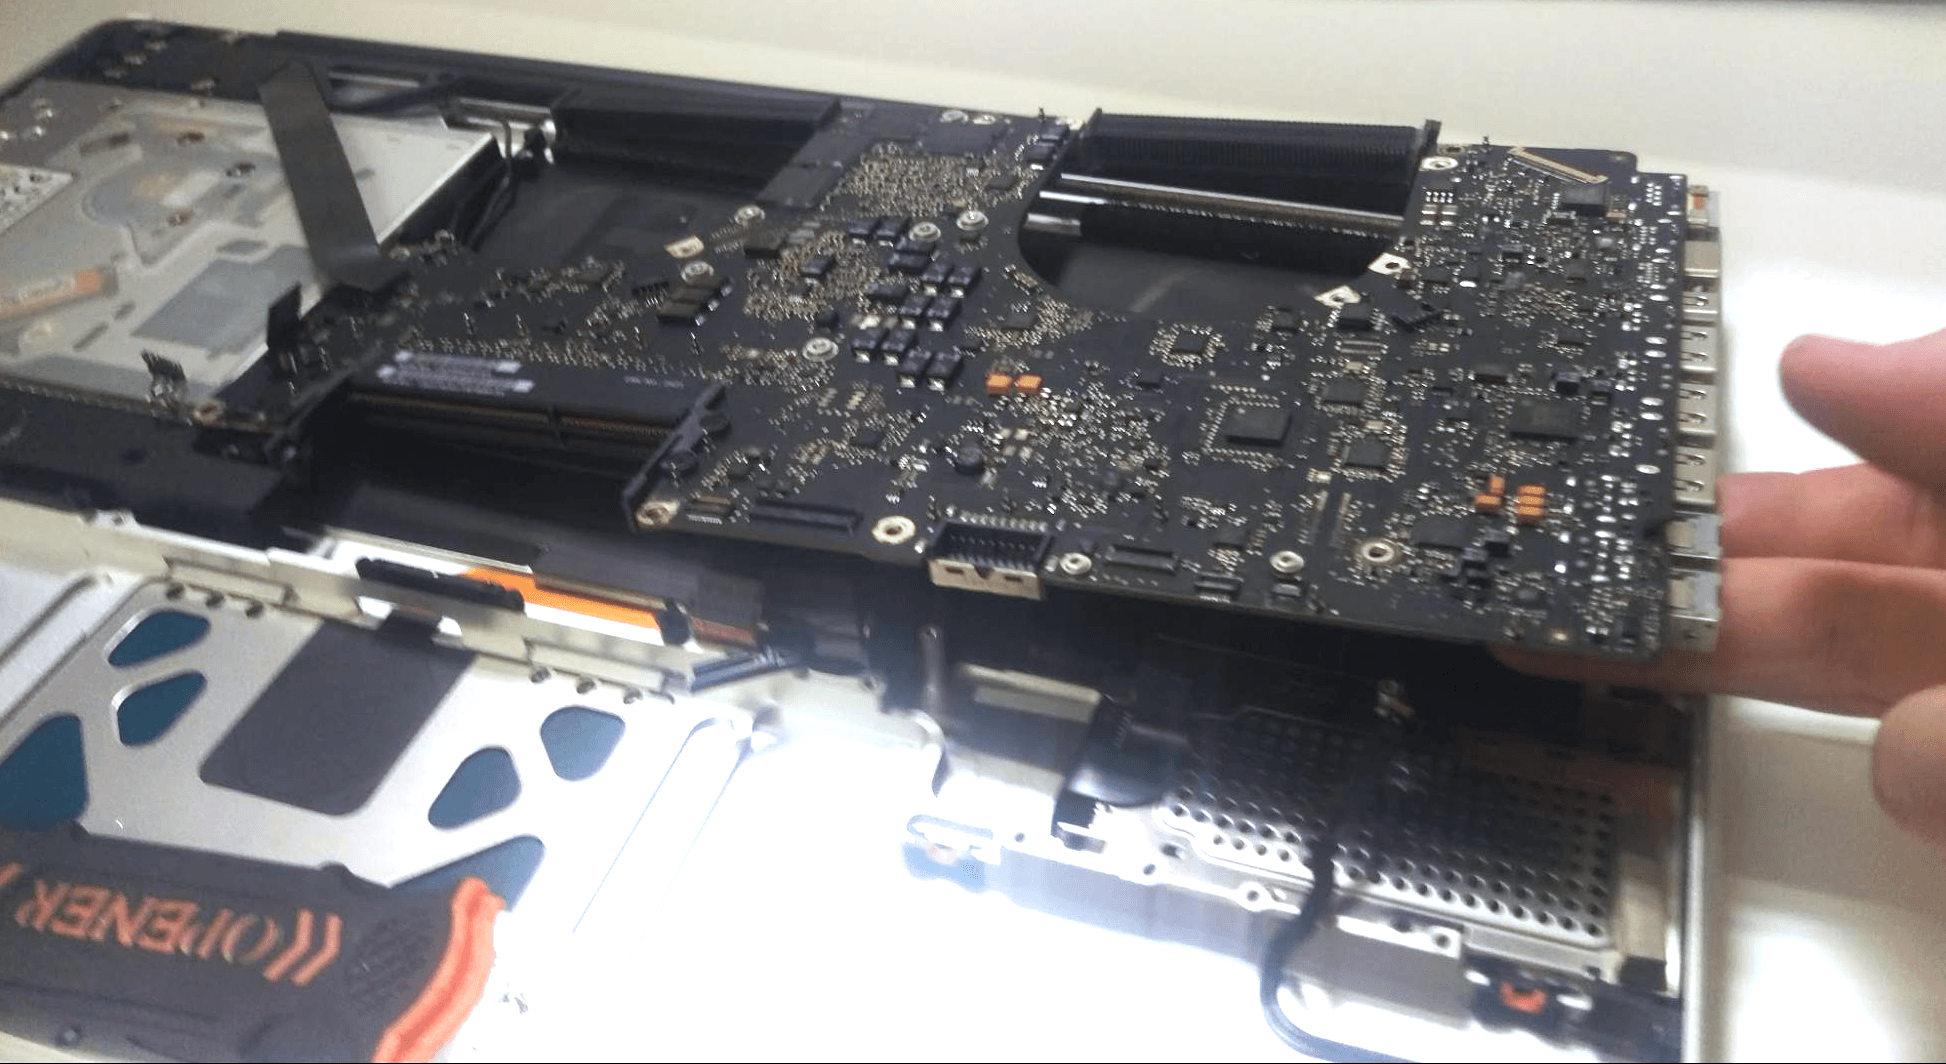
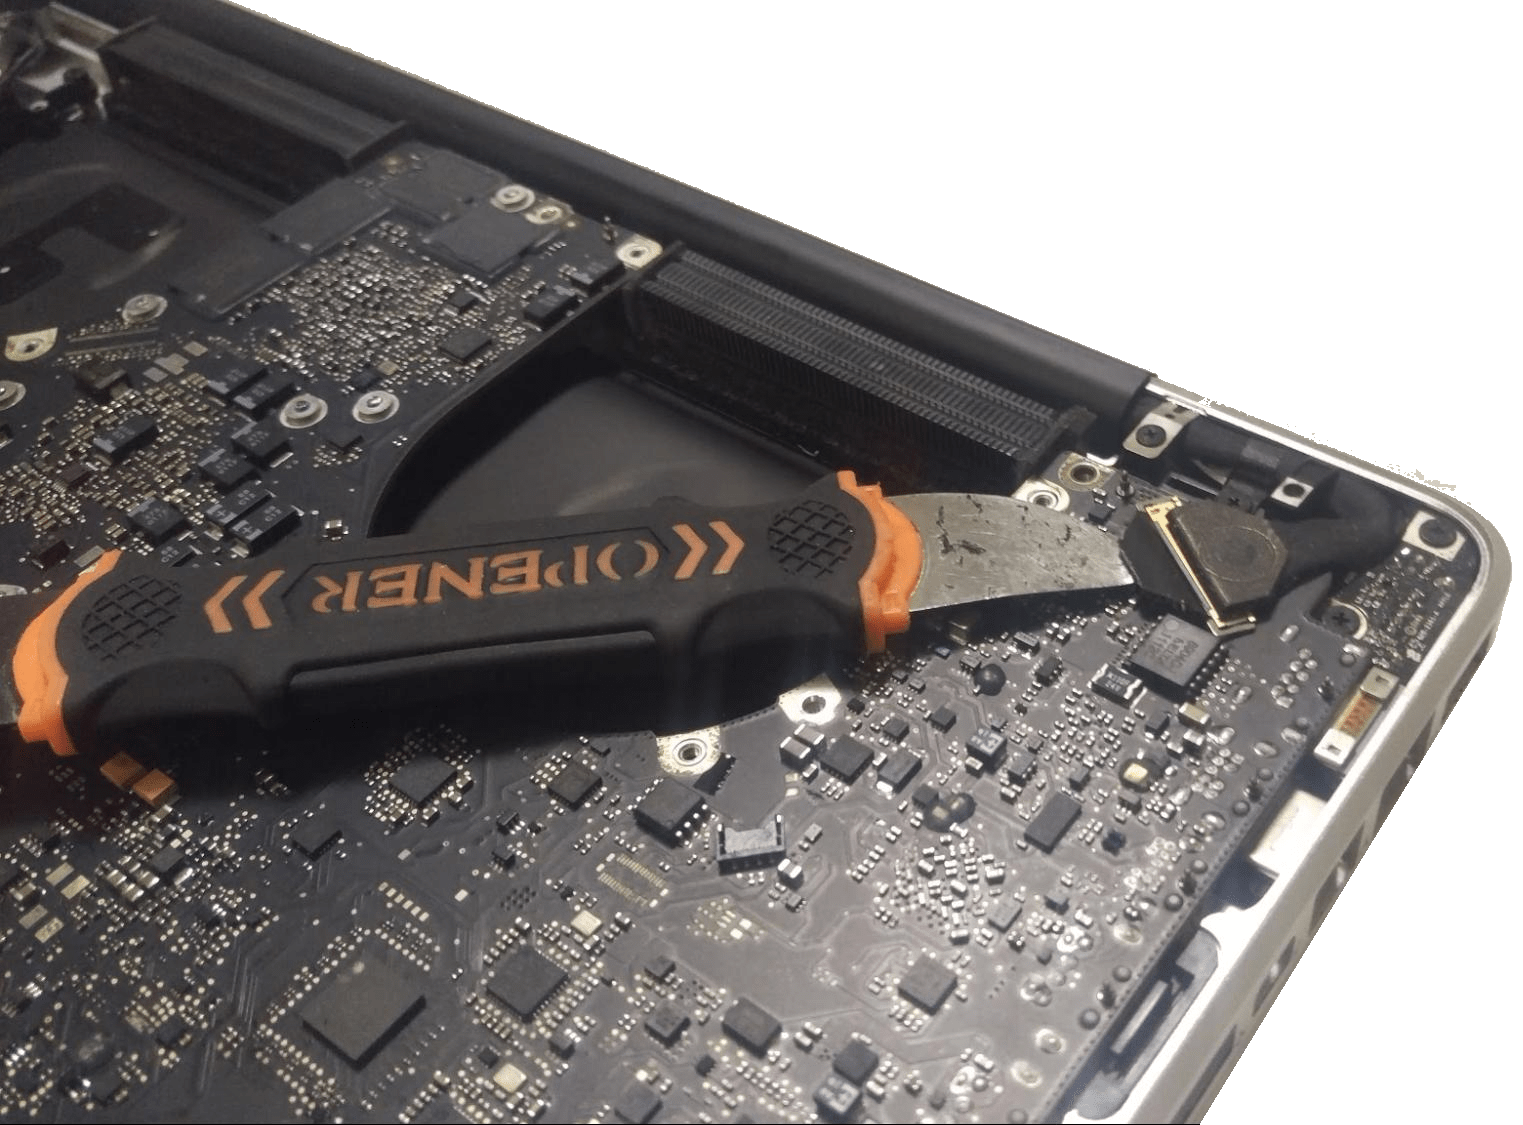
Next, remove the motherboard, Pull up and away from the ports on the right hand side to get it loose.
Be mindful of the connection still on the bottom of the motherboard. Make sure to disconnect it before removing the motherboard.
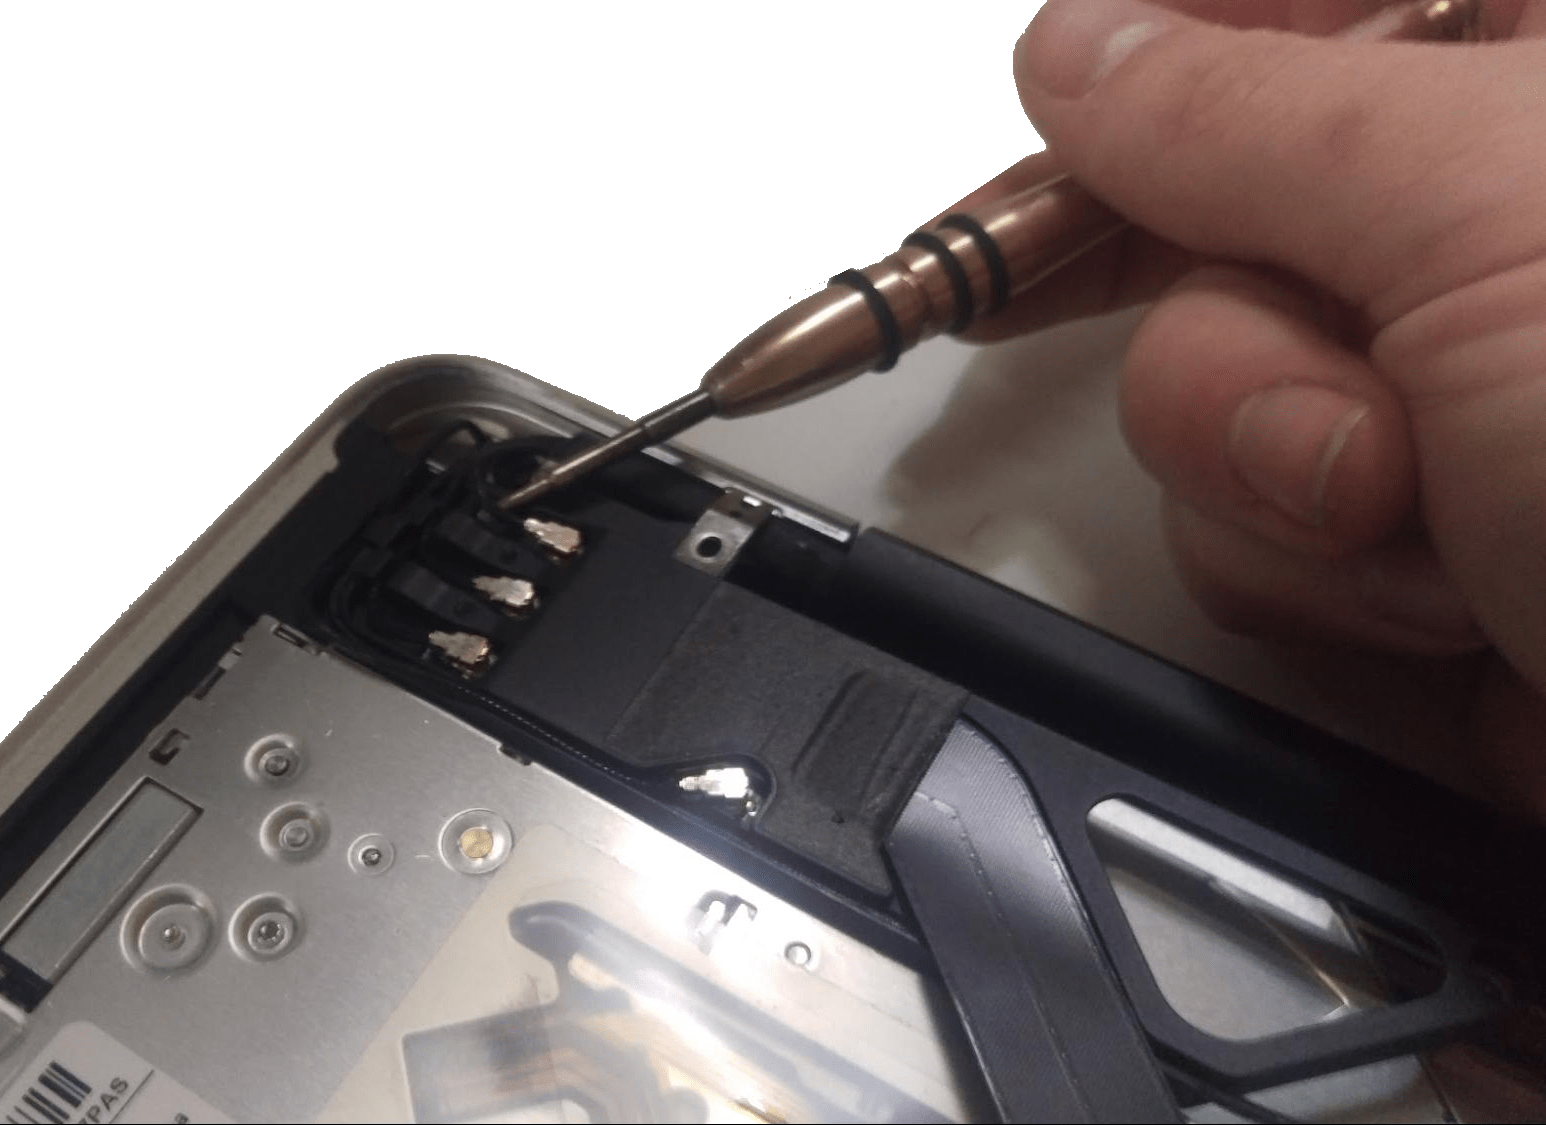
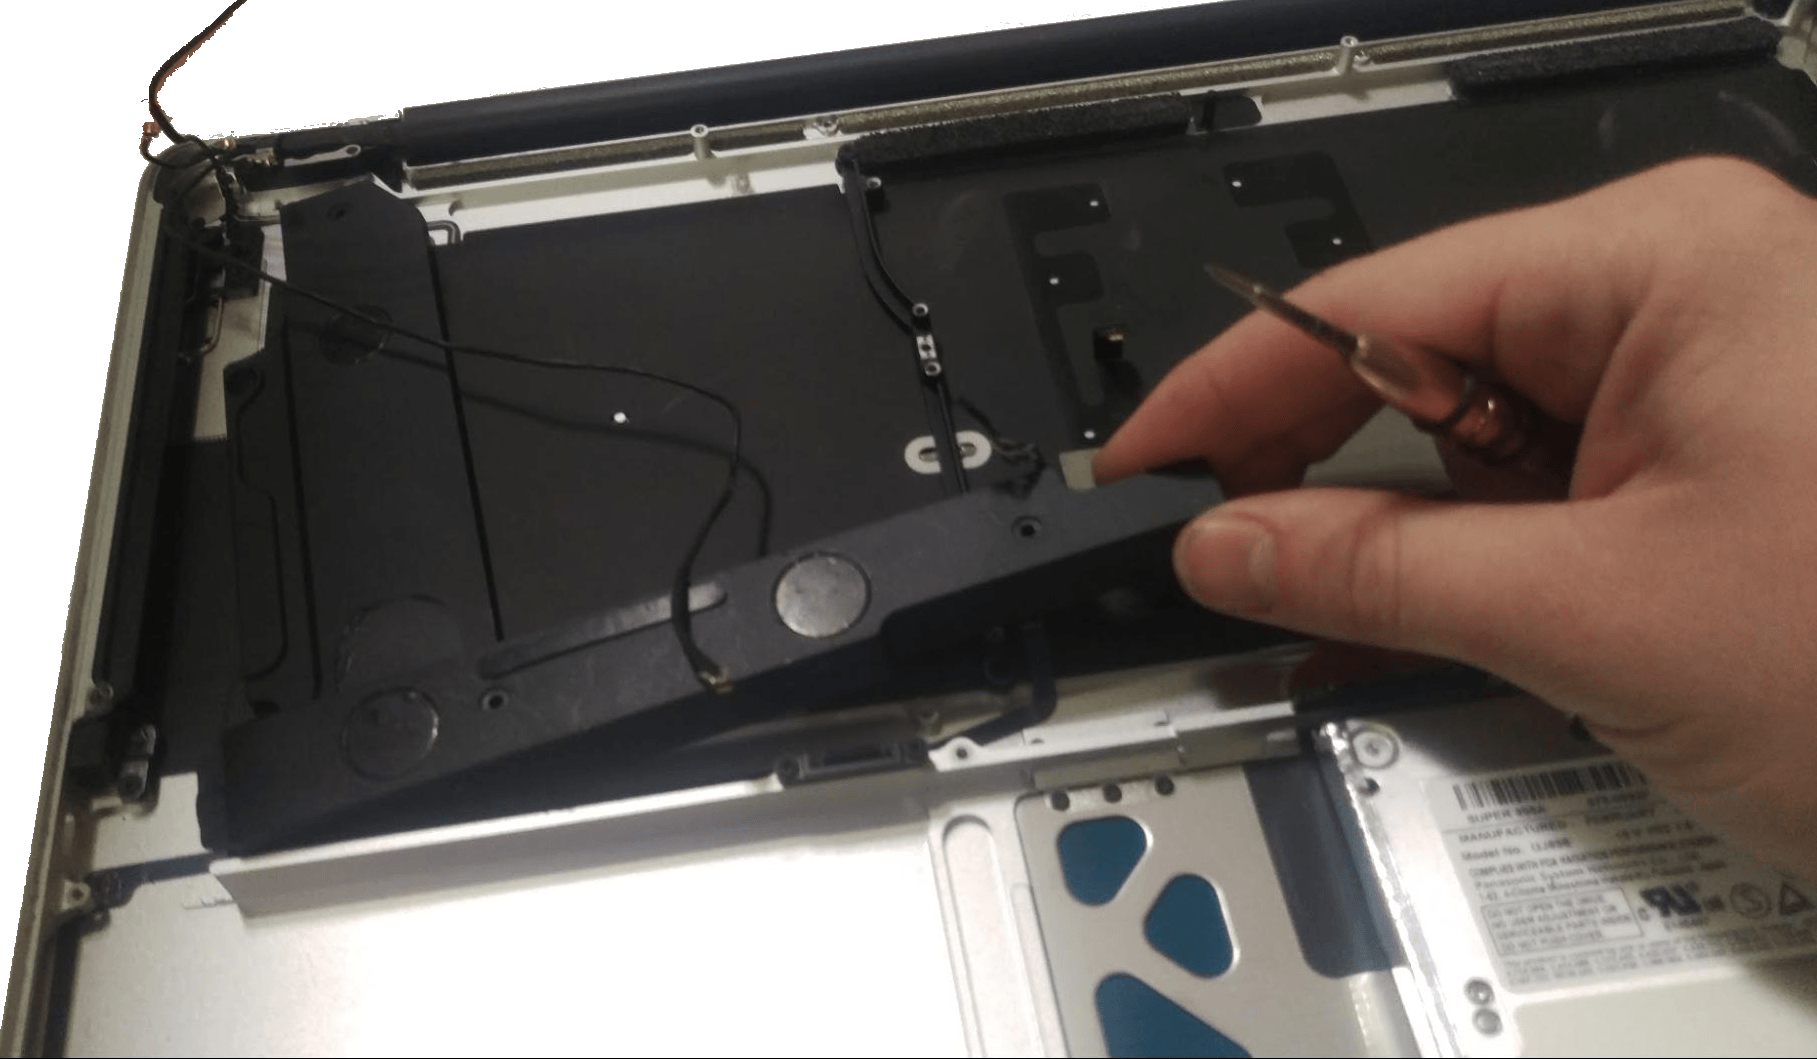
Disconnect the antenna cables from the wifi card. I used a small screwdriver for this. The remaining wifi card assembly can now be easily removed from the laptop case.
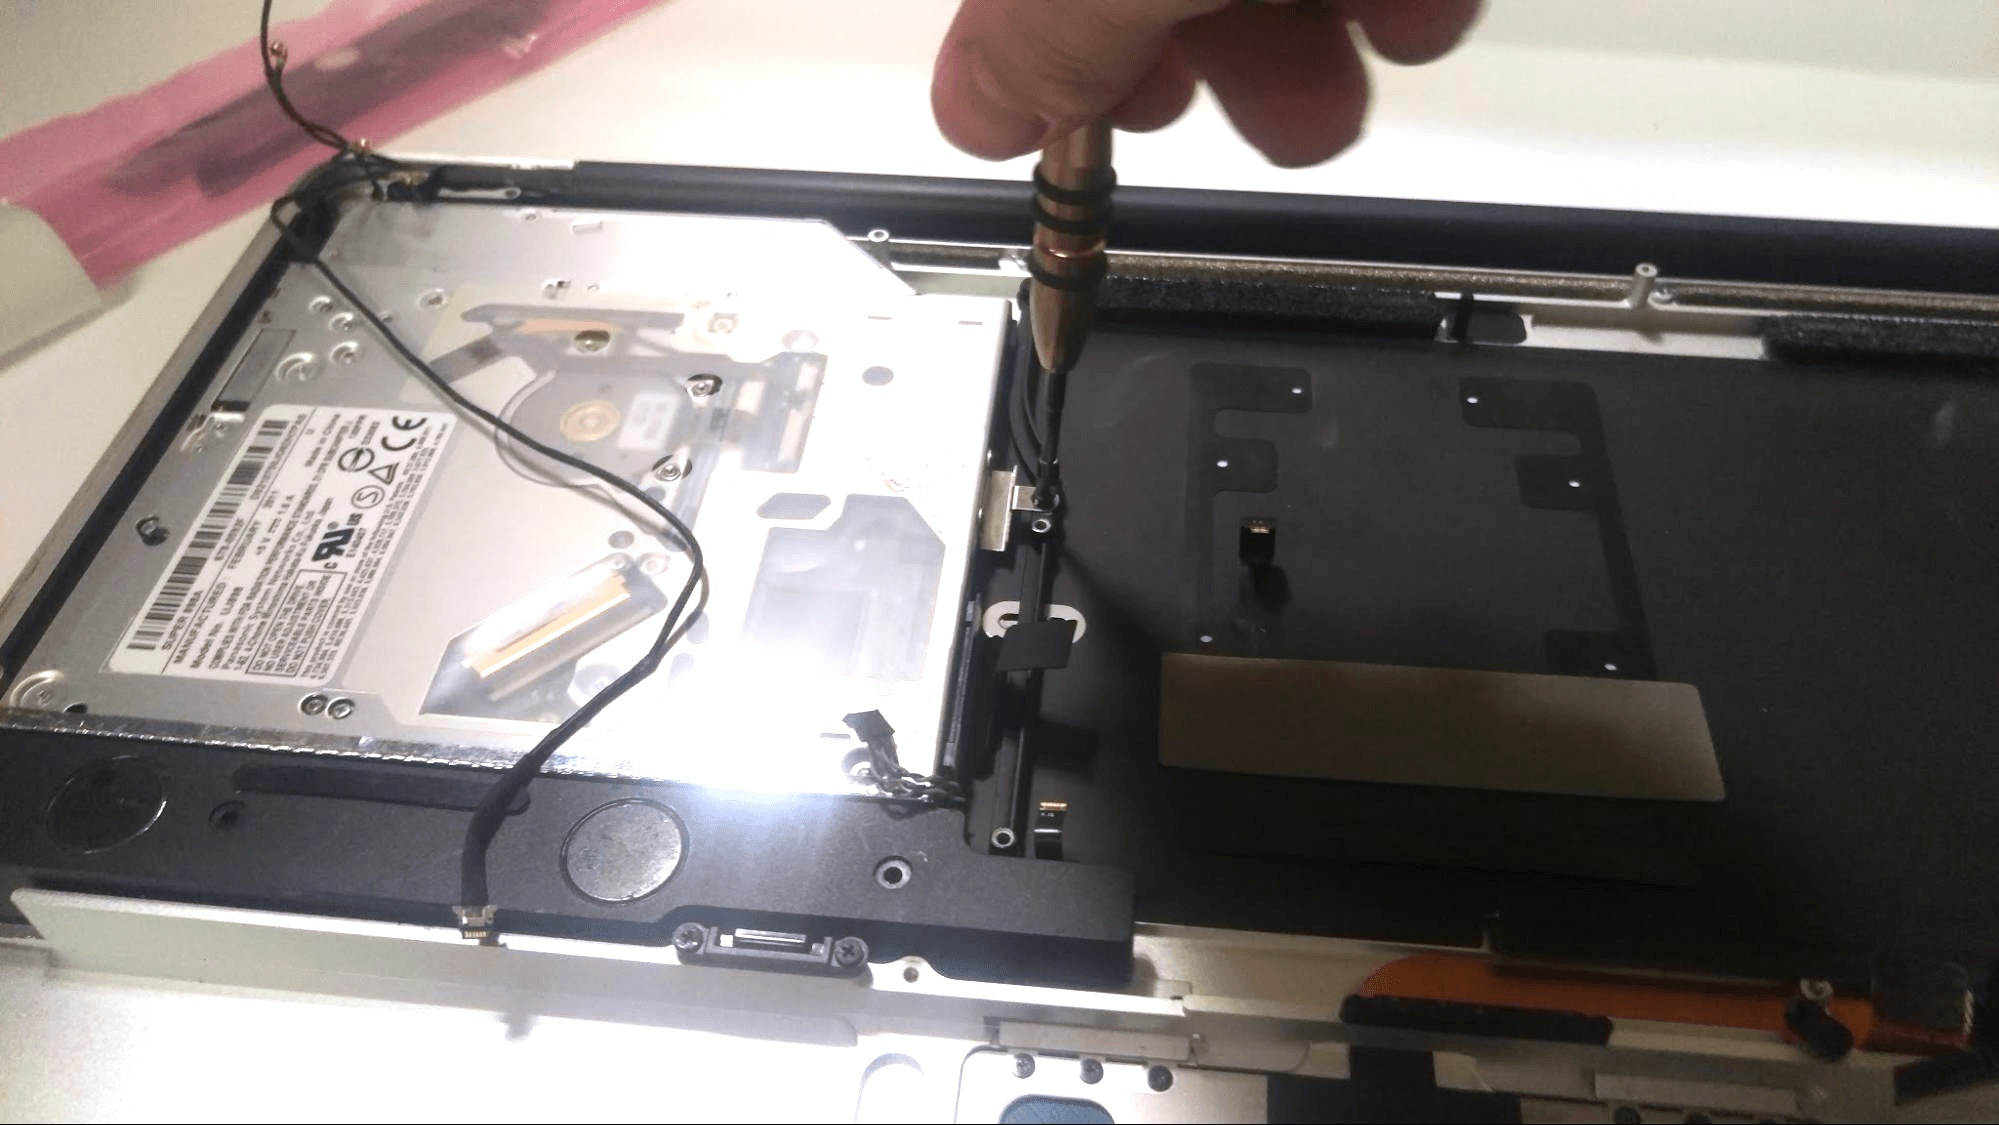
To remove the DVD drive, remove the remaining phillips screws. Then simply lift up on the drive.
Be mindful of the connector in the DVD drive. You will need to transfer this to your new drive if replacing it.
Finally, the speaker can be removed. Simply remove the remaining phillips screws and lift it off the motherboard.
Thanks for reading!