Macbook Pro A1502 Disassembly Guide
New MacBooks and MacBook Pros are on top of the game when it comes to laptops. Equipped with Retina Displays and fast processors are ahead of most competition. They are also priced accordingly and now everybody can afford one. But it’s not a surprise that good things cost more.
New MacBook Pro is crafted from a single piece of aluminum. Its internals are sealed and inaccessible to most.
Just like many other laptops nowadays MacBook’s components, like processor and memory, are integrated with the logic board and can’t be removed for an upgrade or repair. Technically they are removable by soldering them off and onto the board to very skilled technicians. But not too many can do that and should even attempt to mess with the new MacBook Pro.
You still can though fairly easily replace and upgrade the SSD.
If you want to learn how to safely open and upgrade or repair your MacBook you shall enjoy this post.
Disassembly of Apple Macbook Pro Model A1502.
[toggle_content title="Details about the laptop"] [custom_list style="list-7"]-
-
Sales model: ME864LL/A
-
2.4GHz Core i5 (4258U)
-
Production: Oct 22, 2013 - Present
-
Original OS: OS X 10.9
-
Display: Glossy 13.3" 2560x1600
-
Graphics: Intel Iris 5100
-


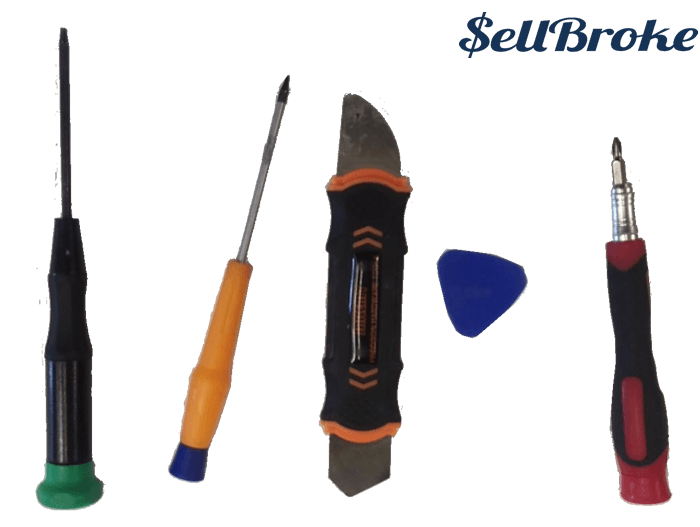
Tools needed:
[custom_list style="list-9"]-
1.2mm Pentalobe screwdriver
-
Plastic and metal opener tools
-
T4 Torx Screwdriver
-
T9 Torx Screwdriver
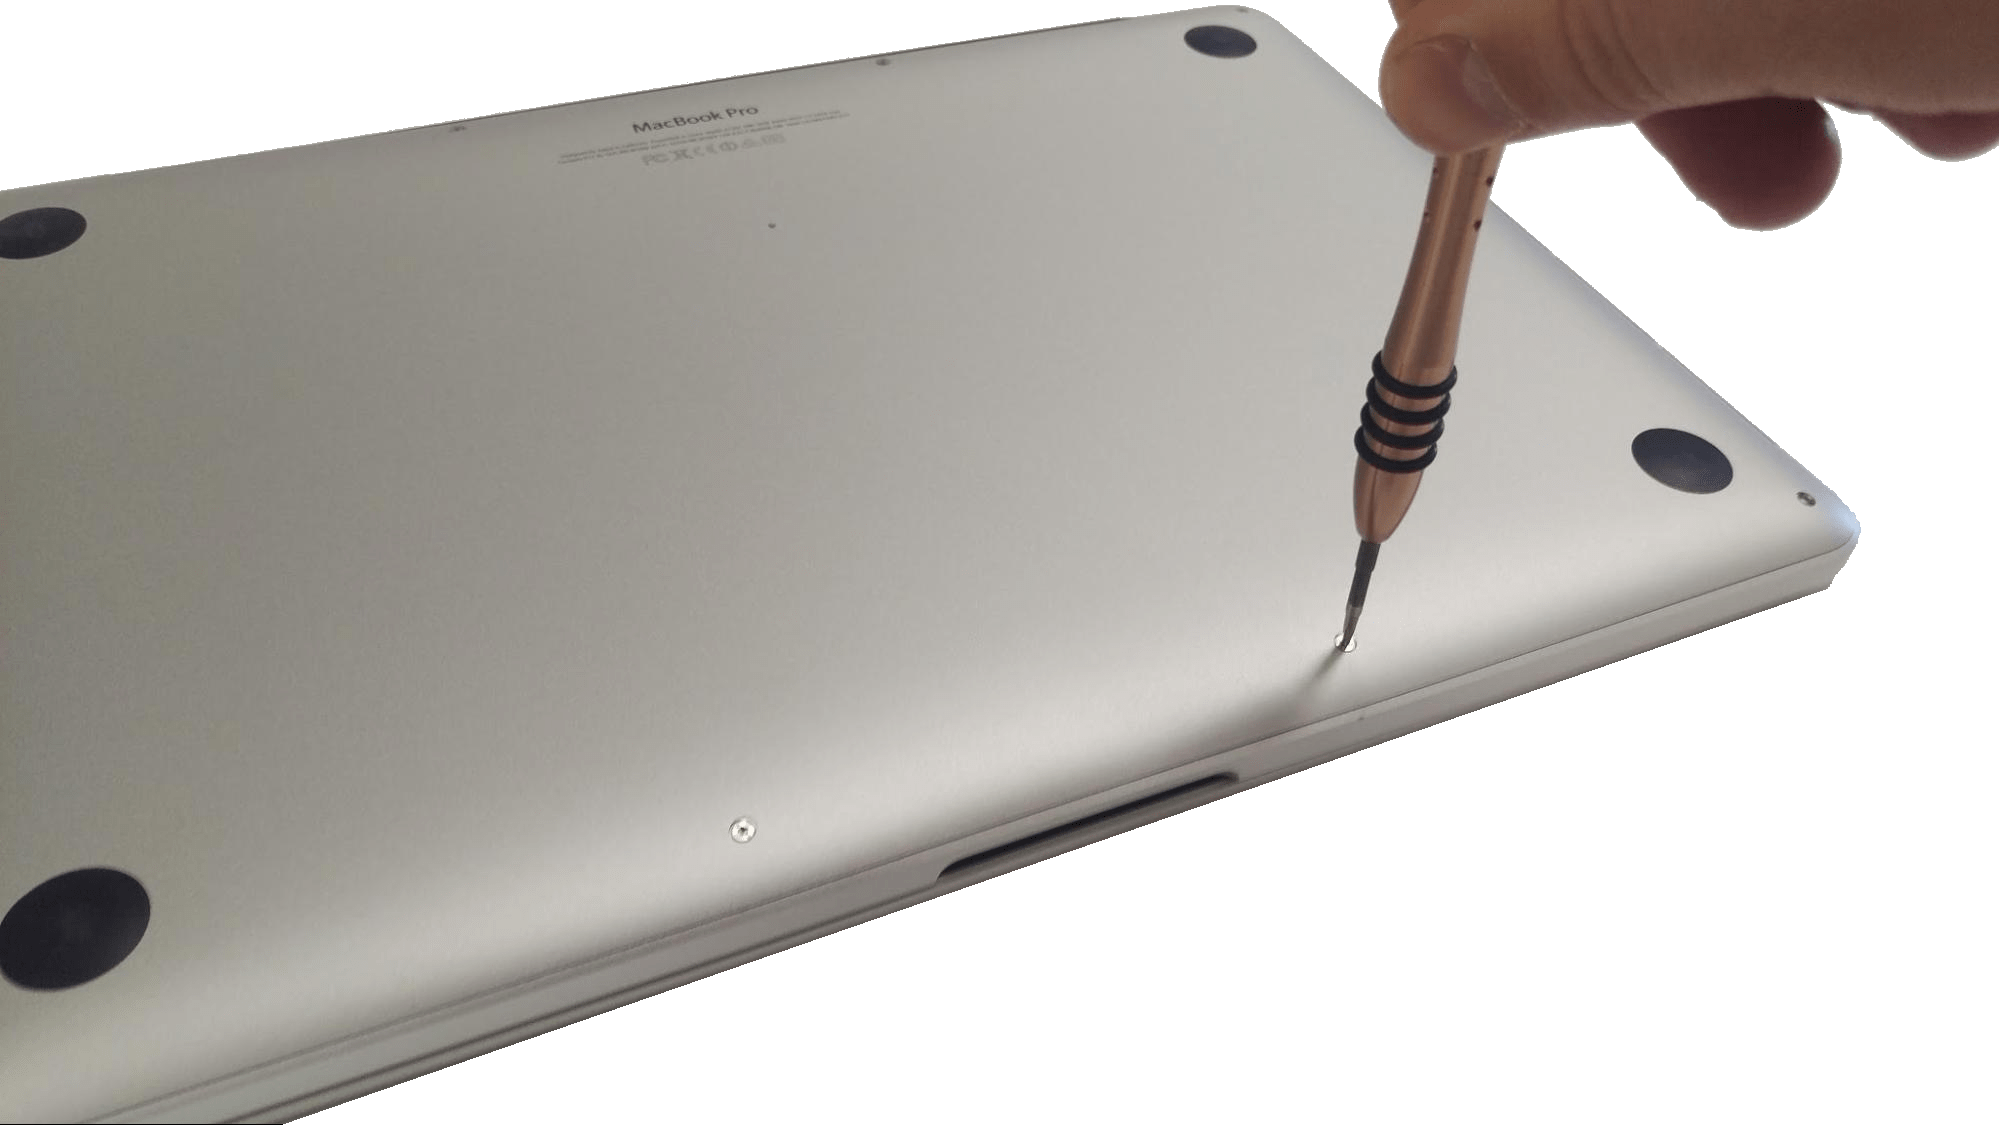
To begin, use a 1.2mm Pentalobe screwdriver to remove the screws on the bottom cover. Be careful when removing or installing these screws to follow the angle of the screw, or they can be stripped.
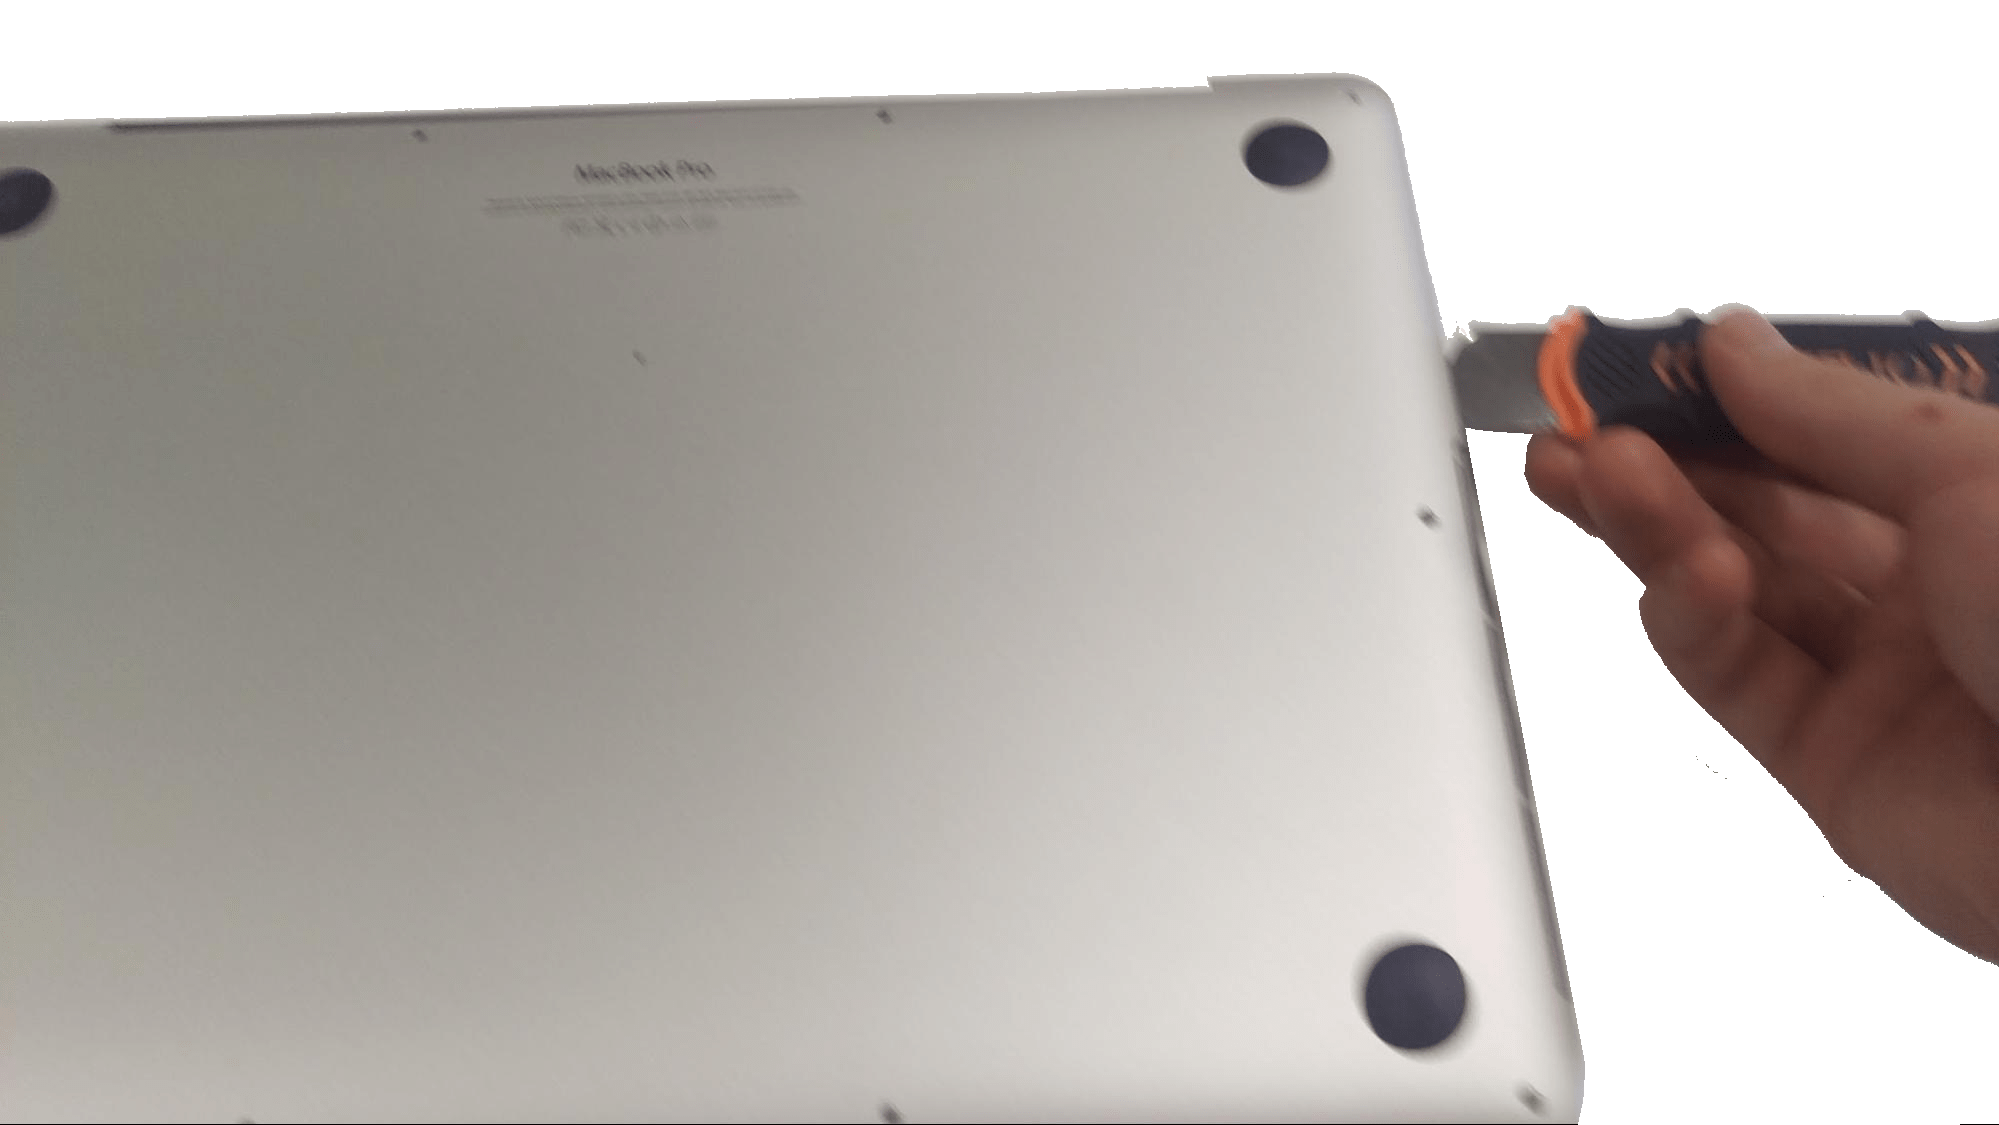
Use an opener tool between the bottom cover and the frame to remove the bottom cover. There is no adhesive or anything else preventing removal of this cover besides the screws, so it should be removed easily.
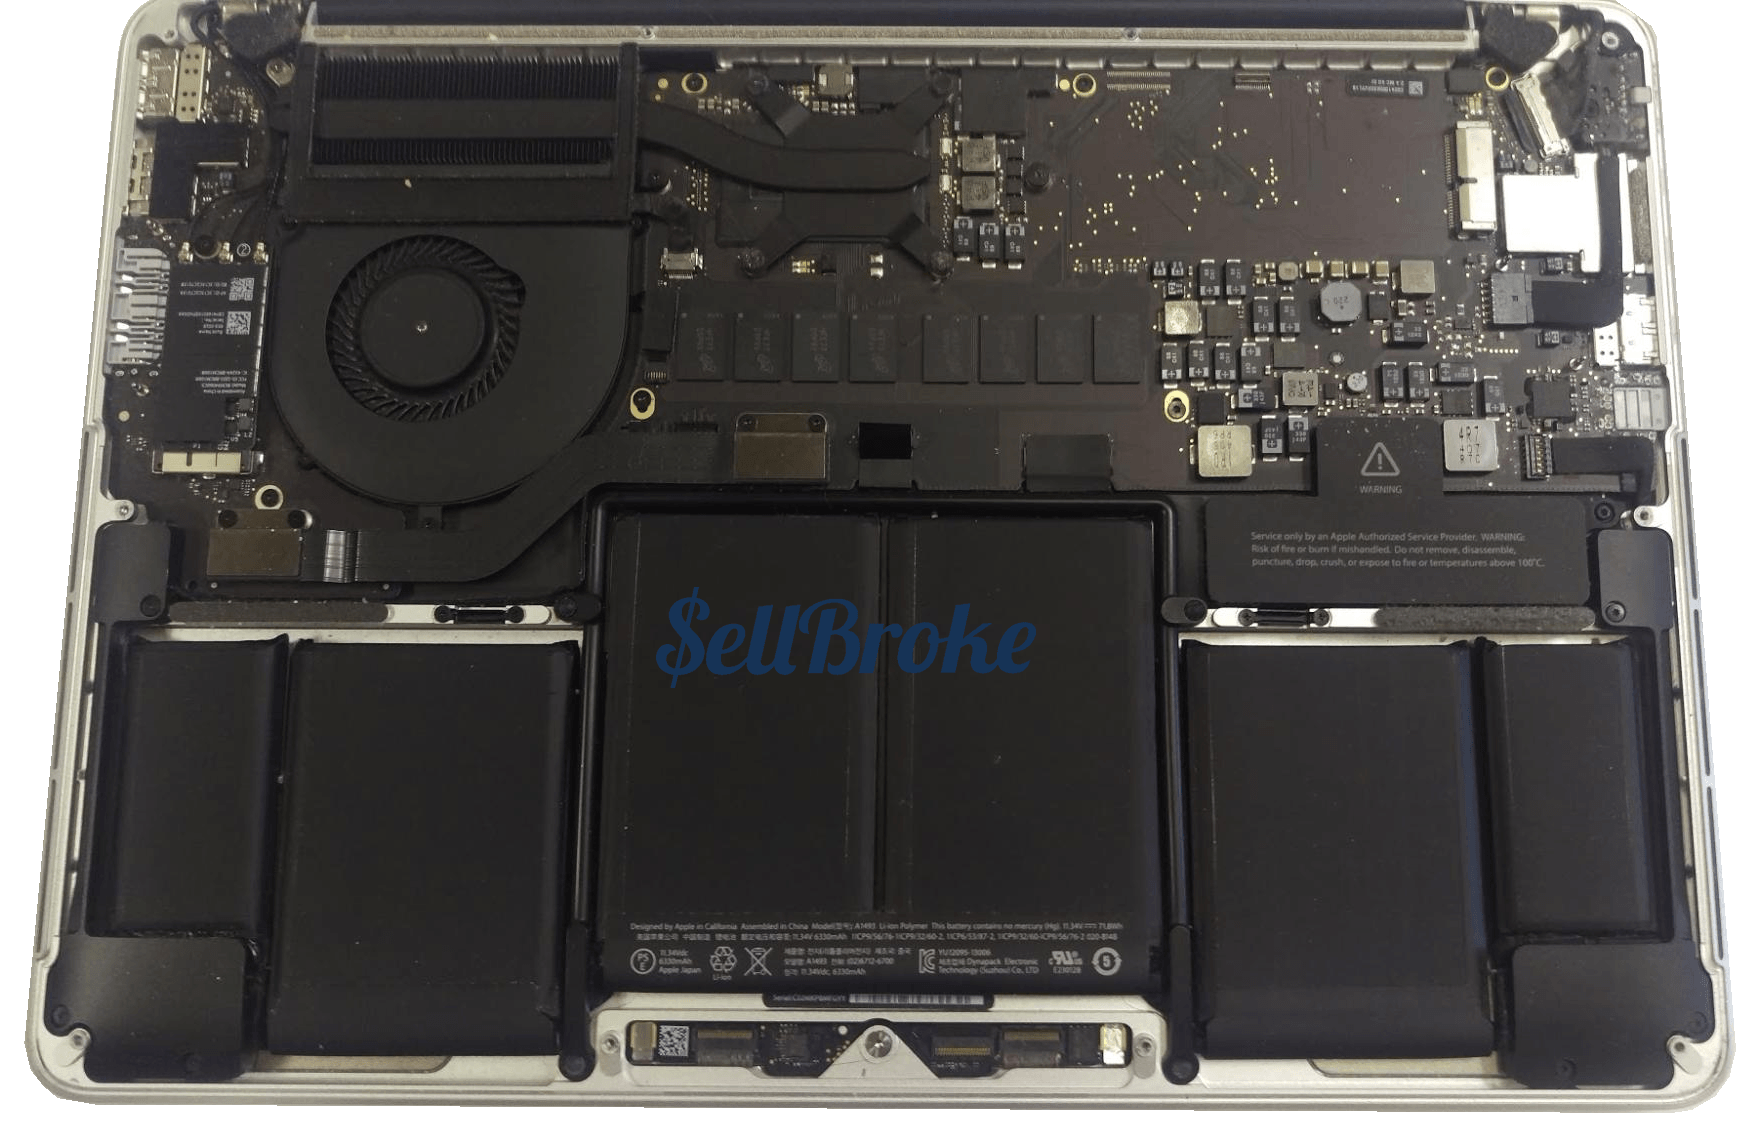
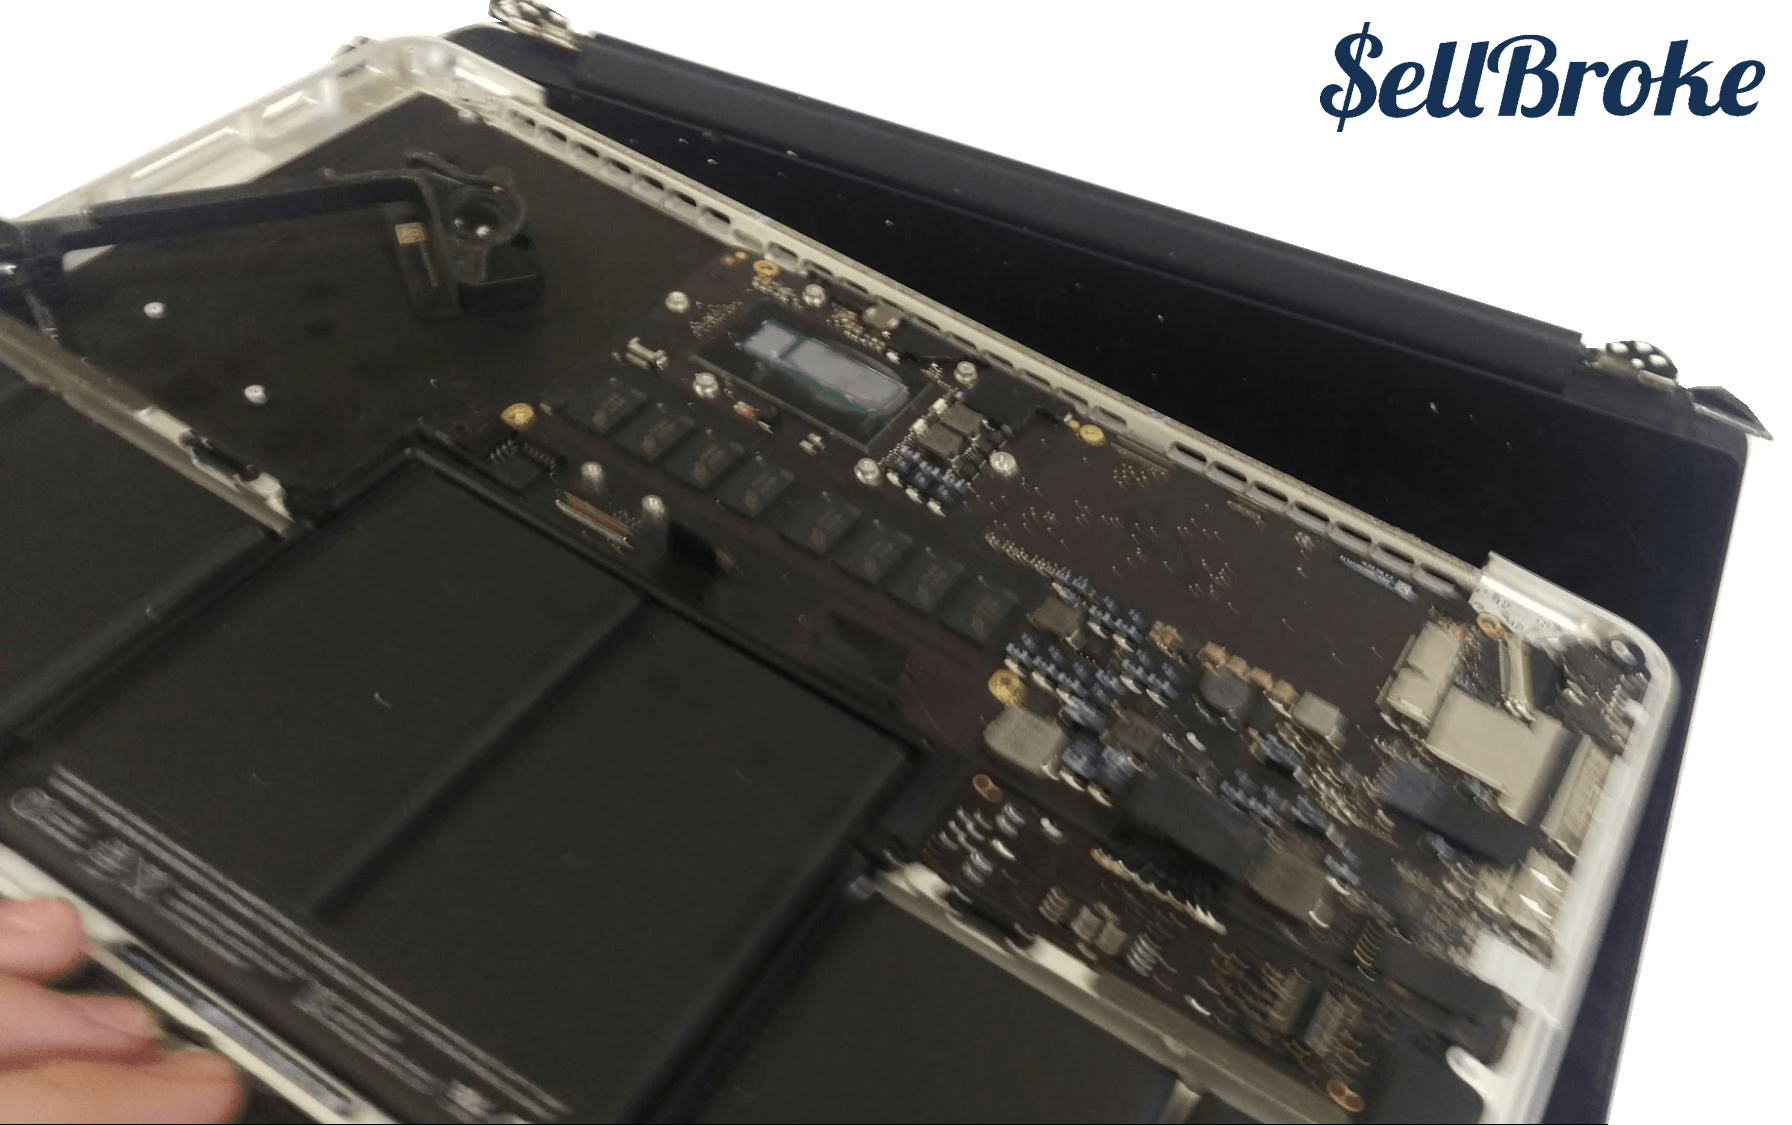
You should now have access to the MacBook’s internals.
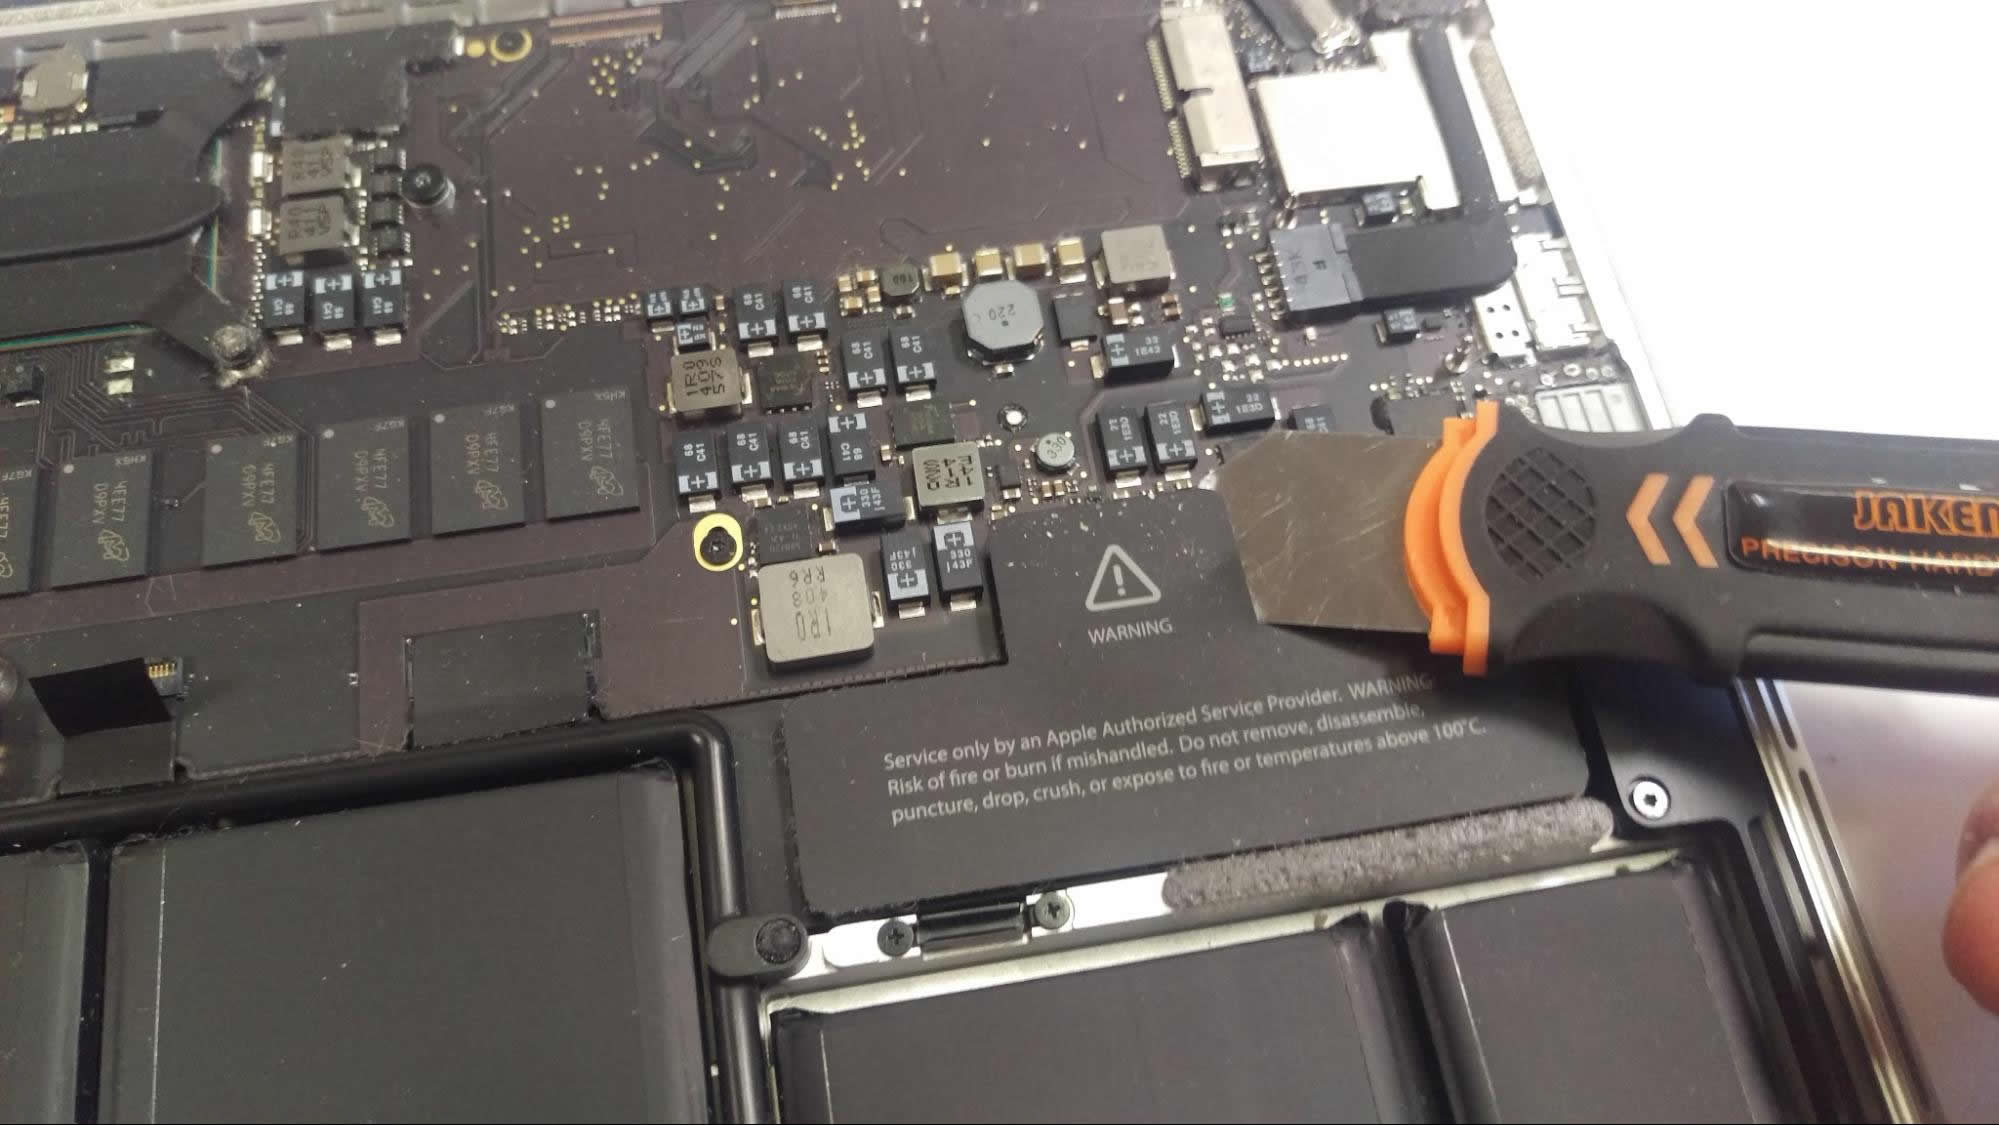
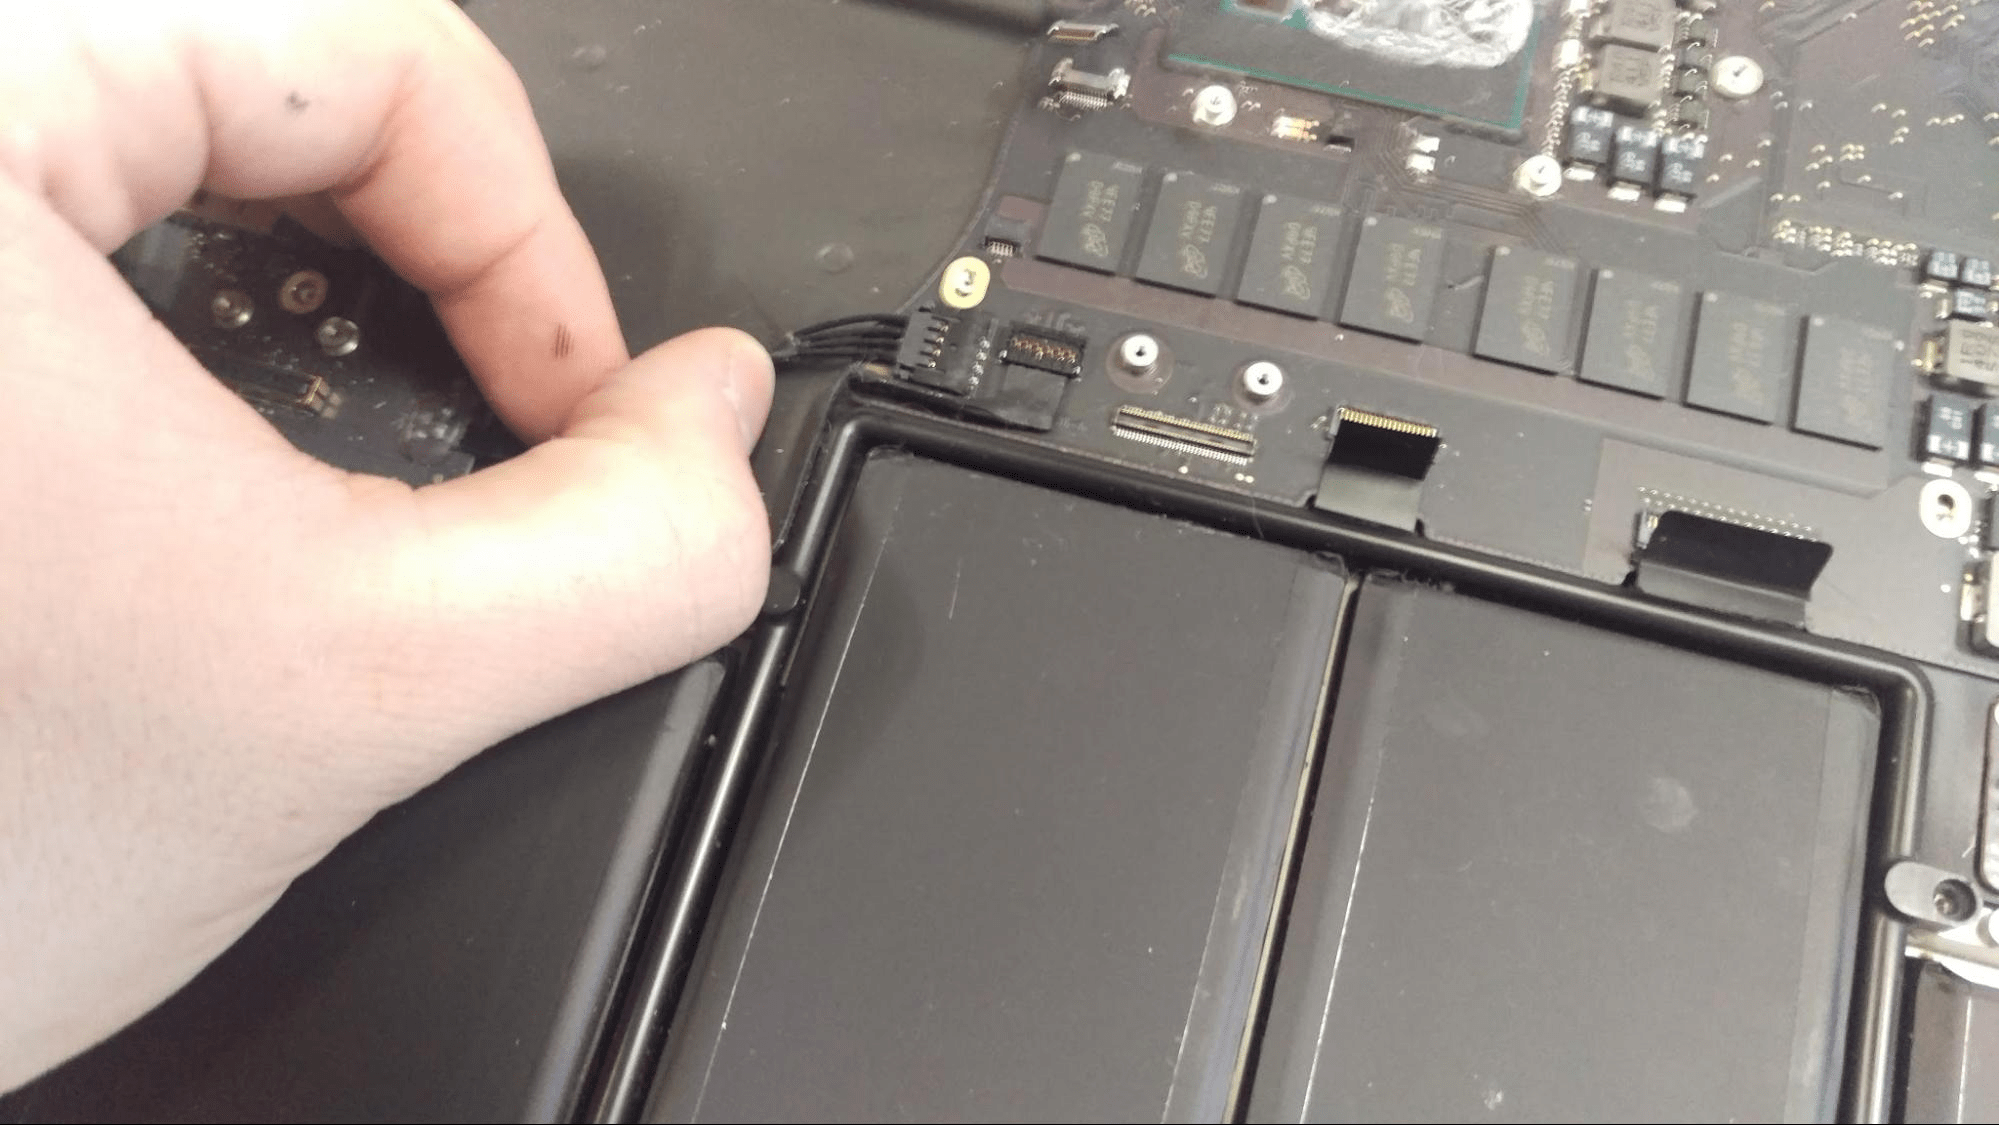
Before removing any other components. Disconnect the battery. If the laptop is getting power, some components can be damaged if they are disconnected from power suddenly.

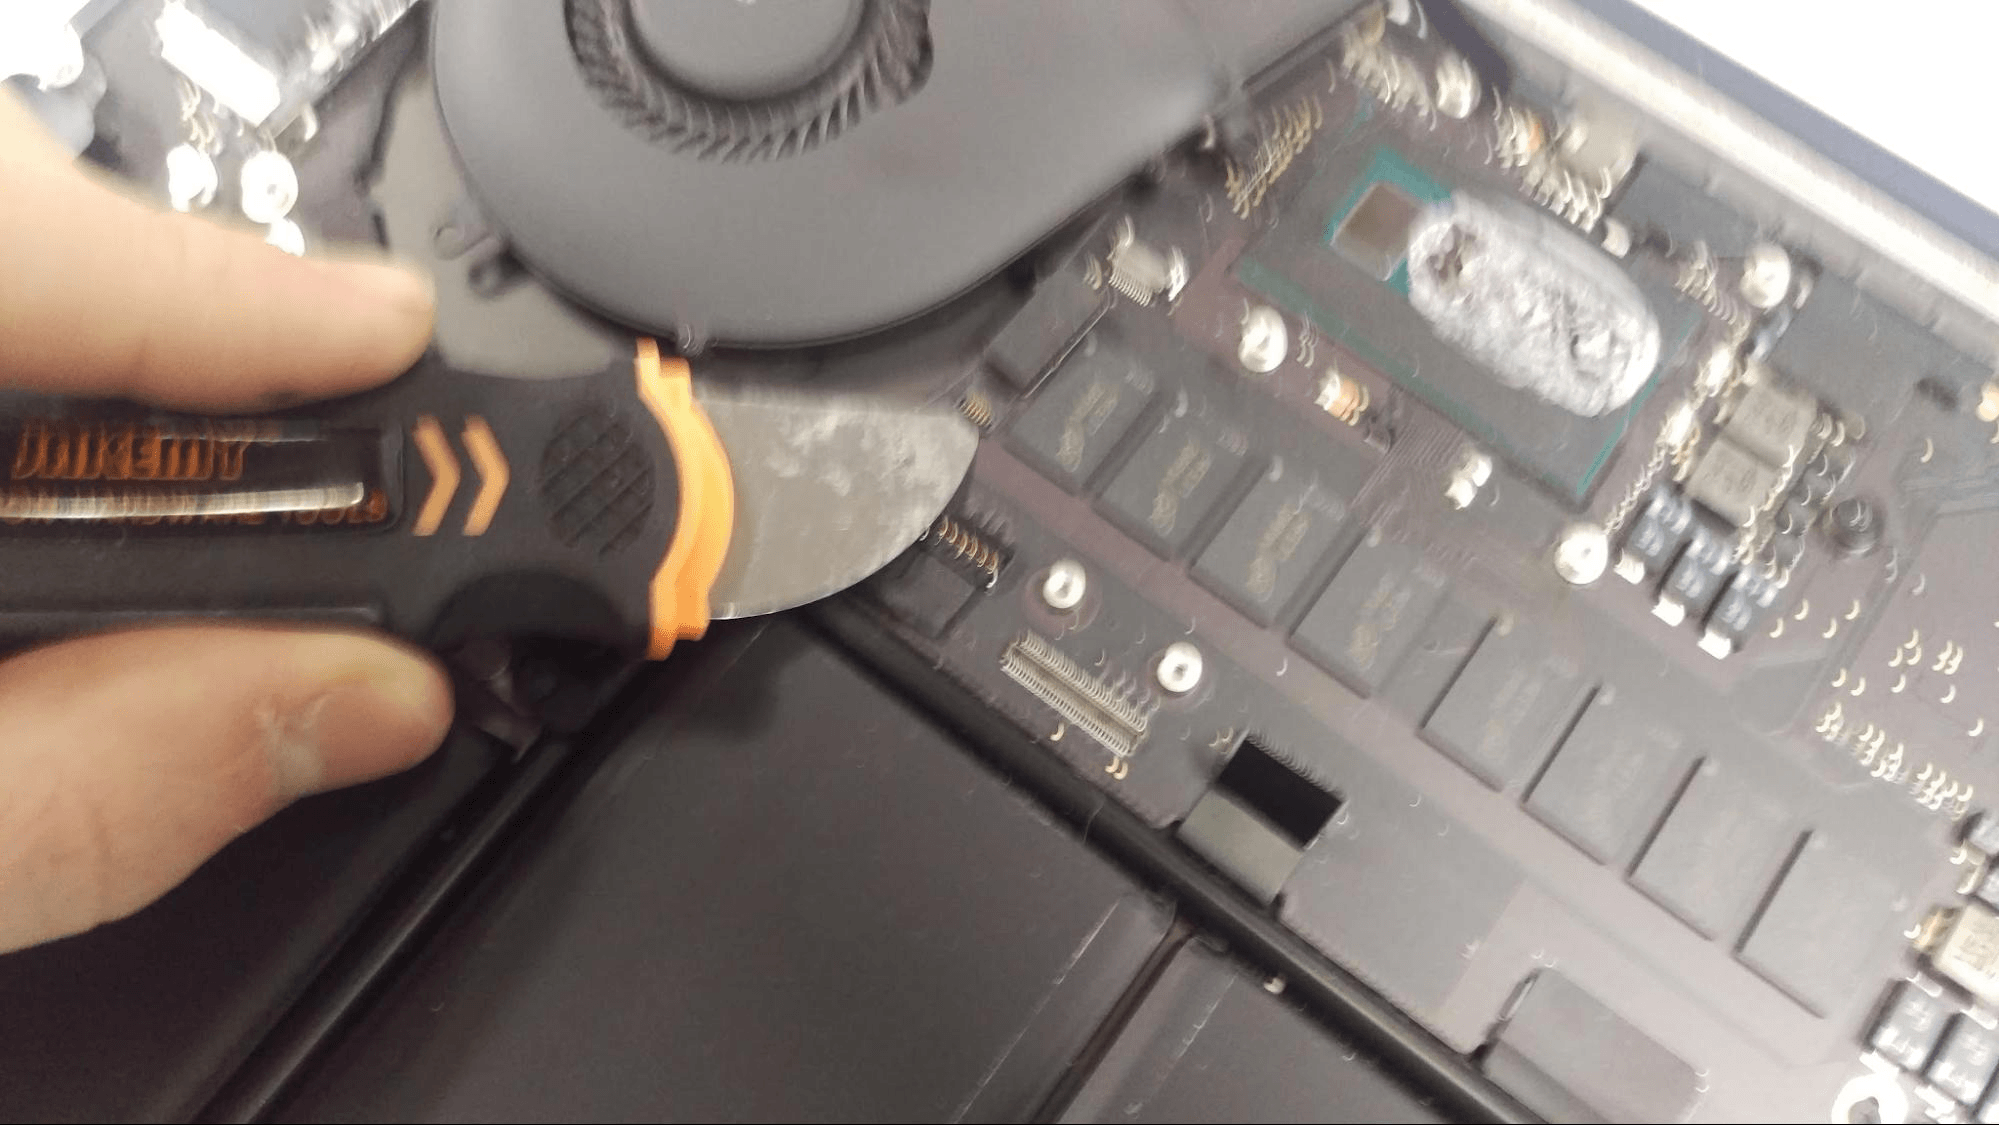
We can now begin removing components. I started by removing the ribbon cable going from motherboard to the power board. There are two T4 torx screws on each respective board remove these, then pry up using a metal opener tool.
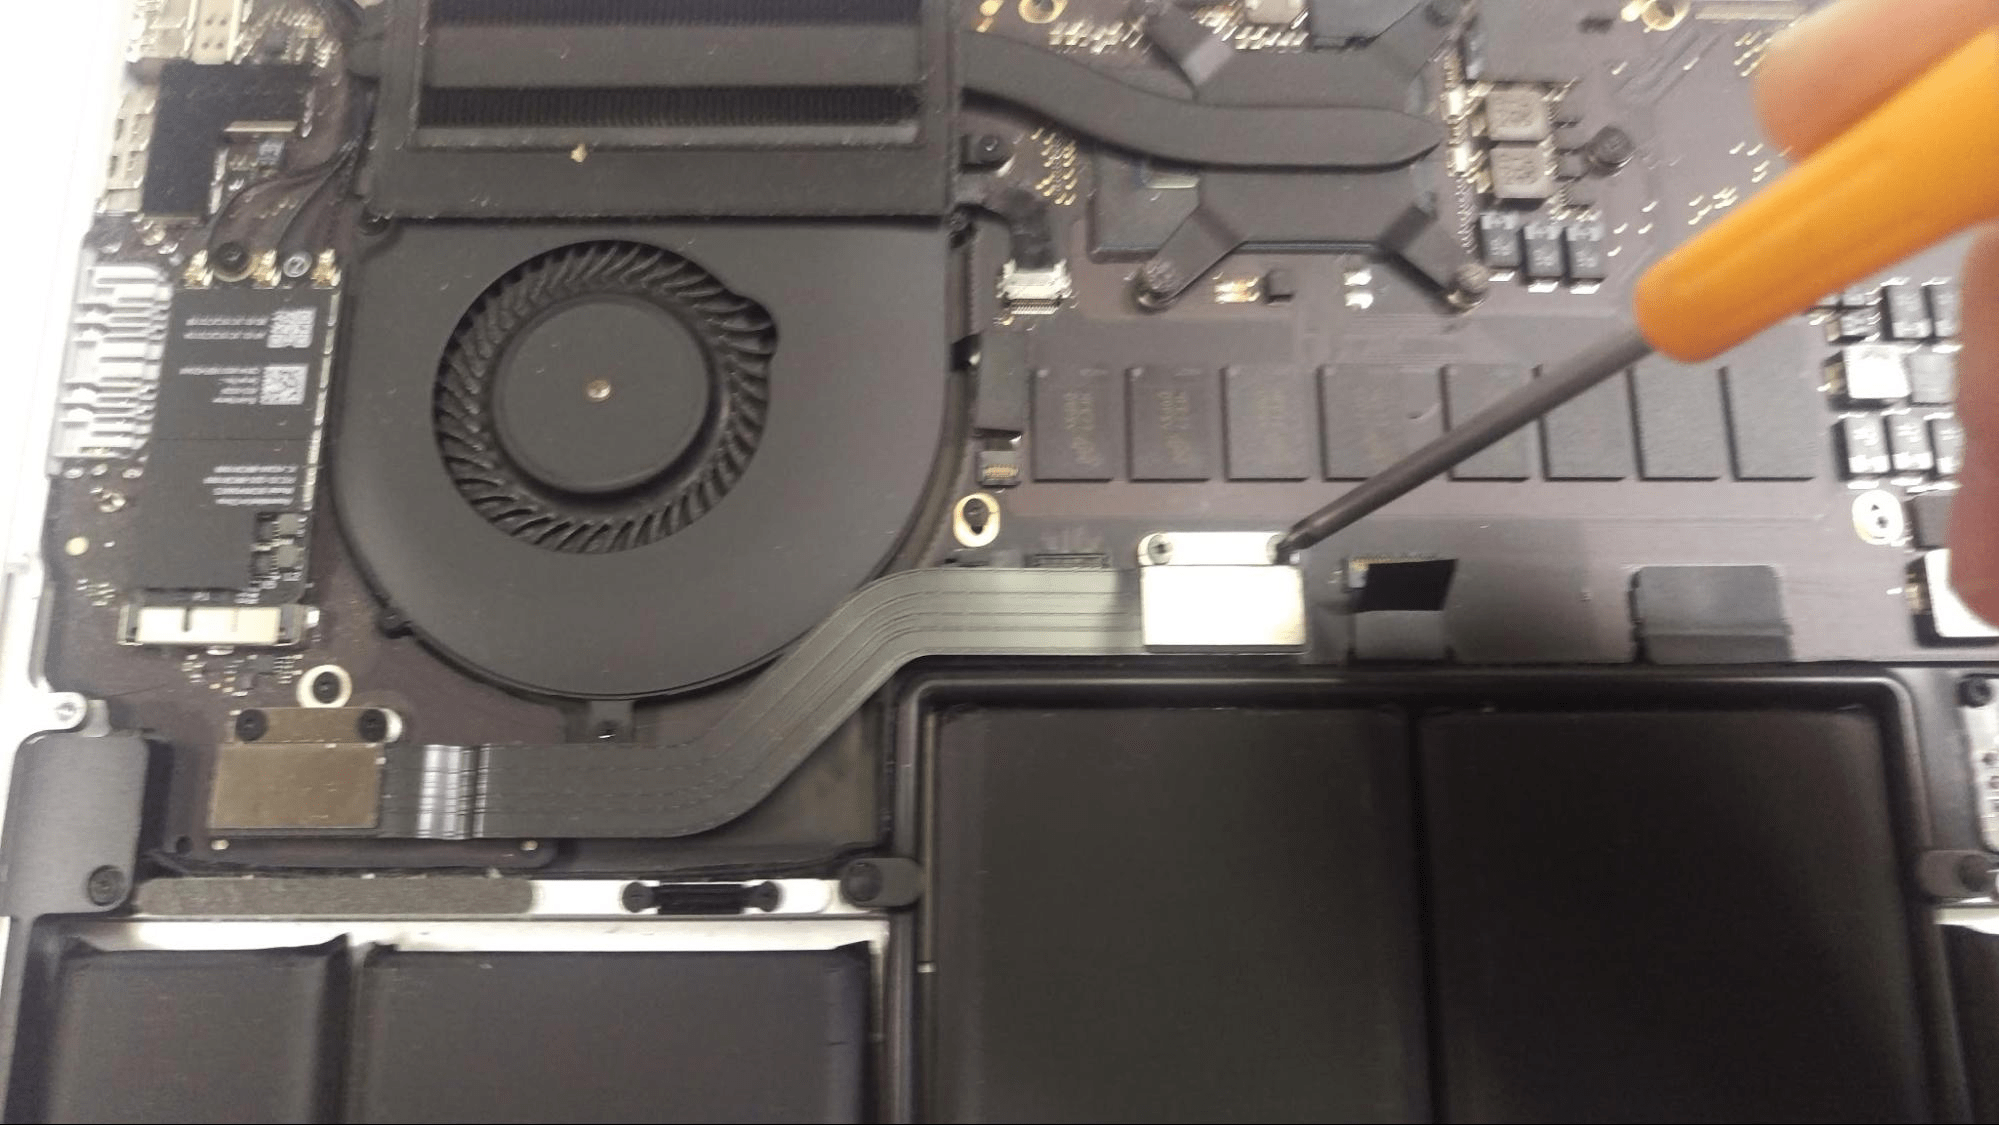
Next, remove the T4 screws in the CPU fan, and the heatsink.
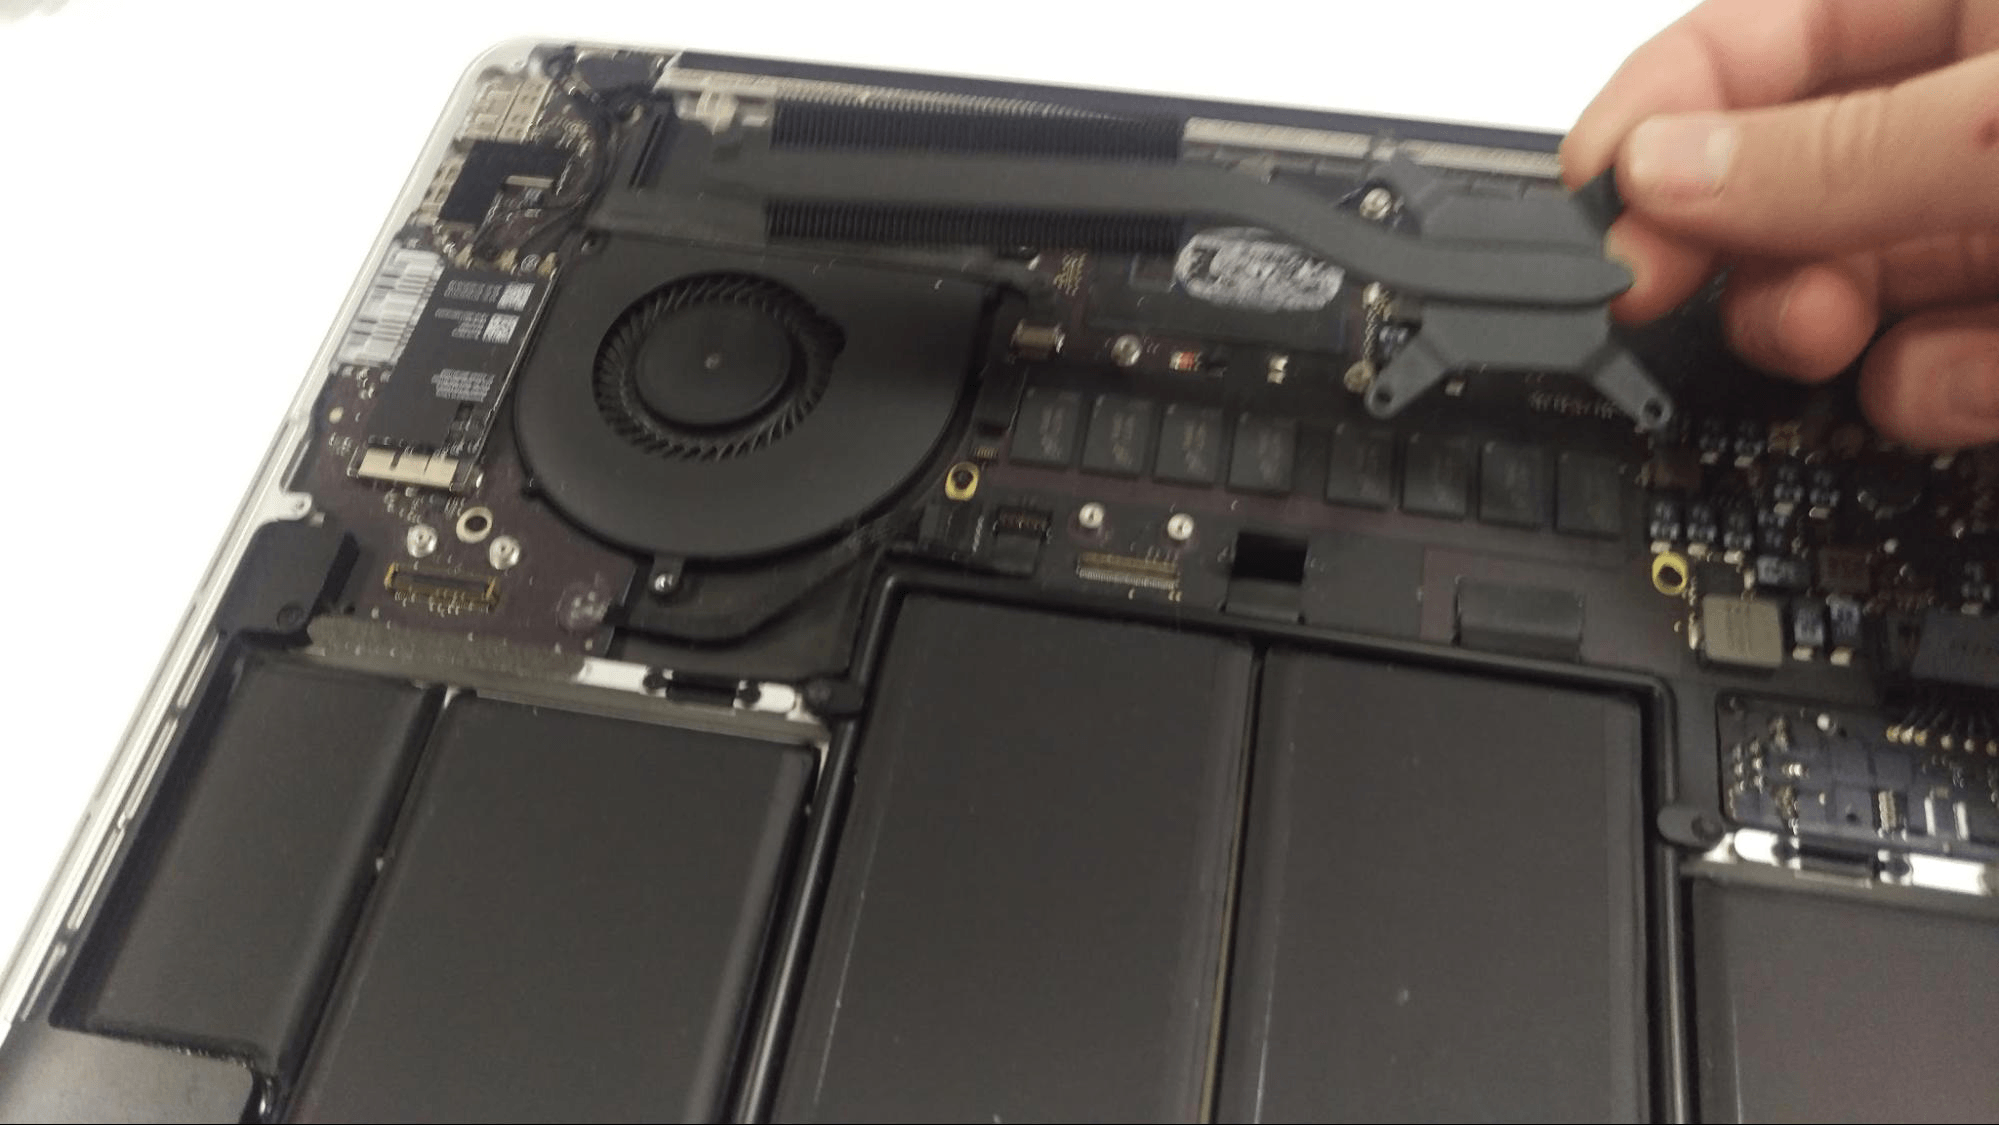
A small amount of heatsink compound is on the processor, so it might be a bit sticky.
Before fully removing the fan, disconnect the two cables going across or connected to the fan.
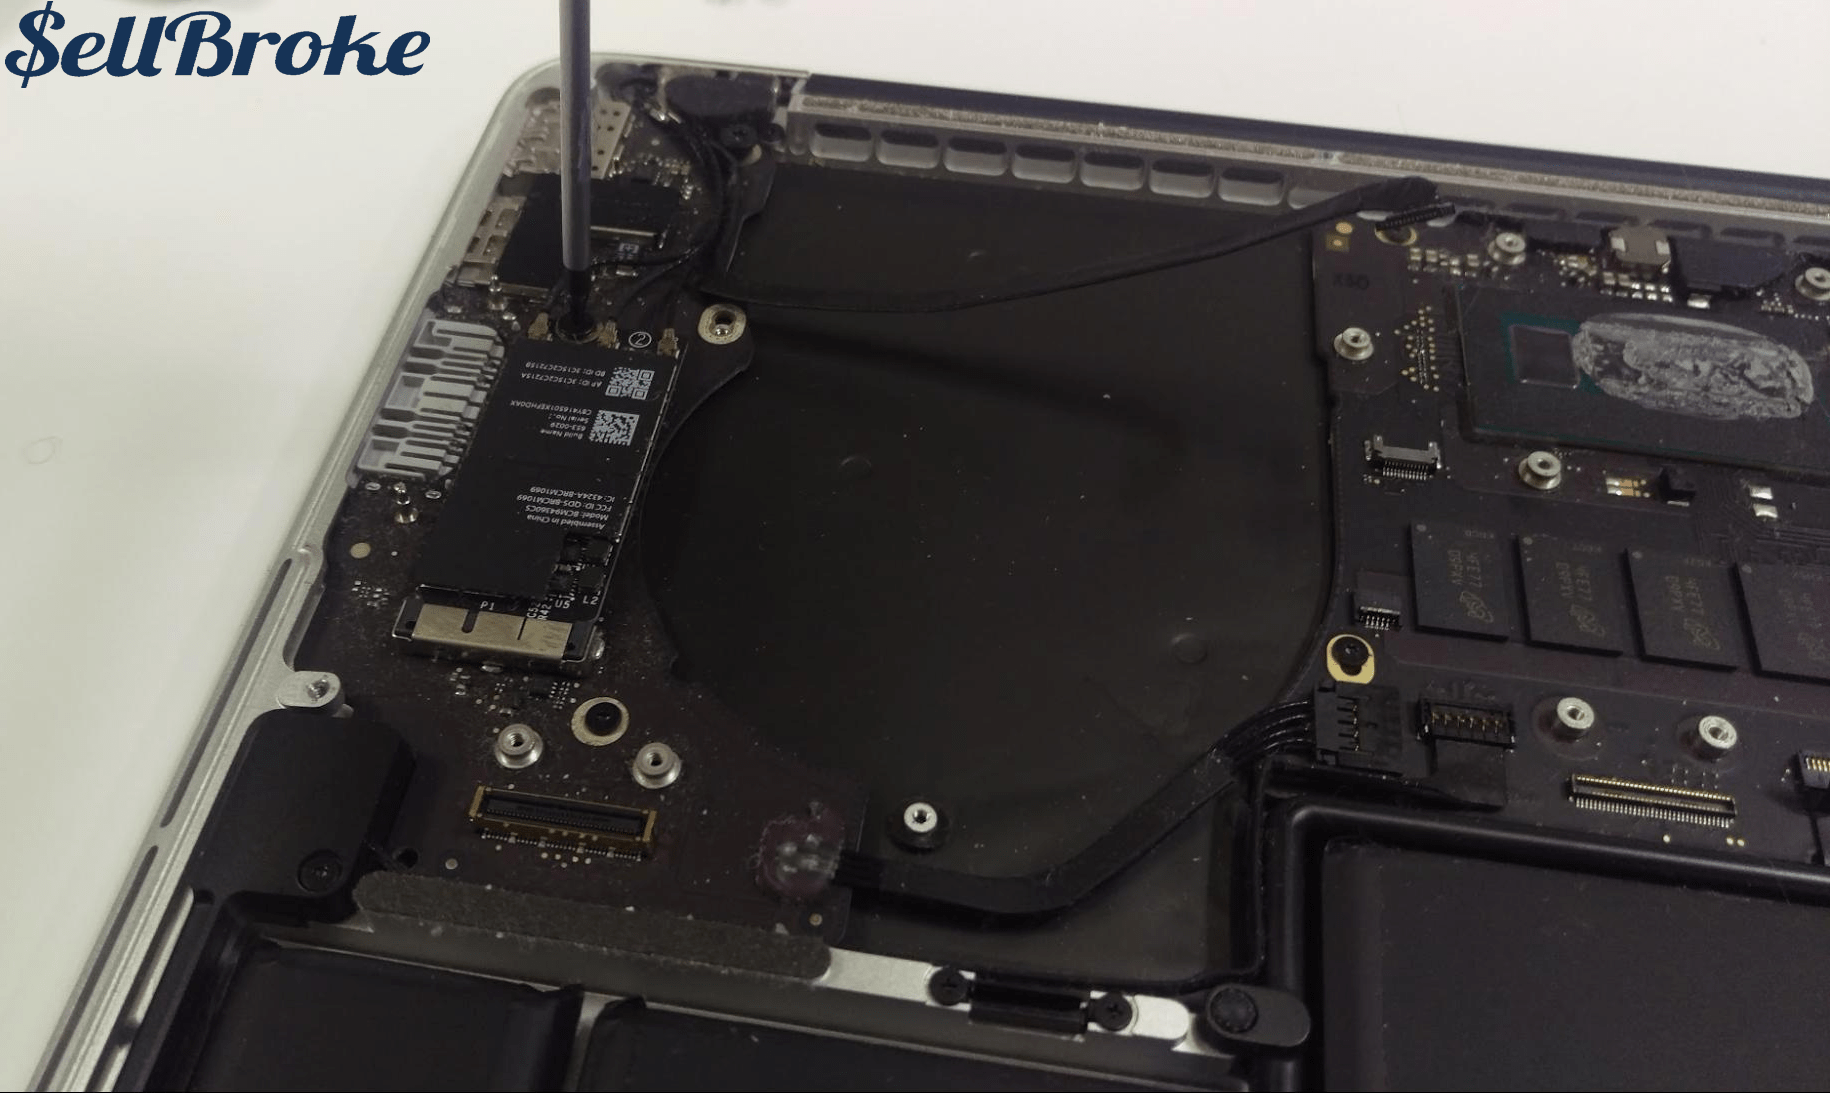
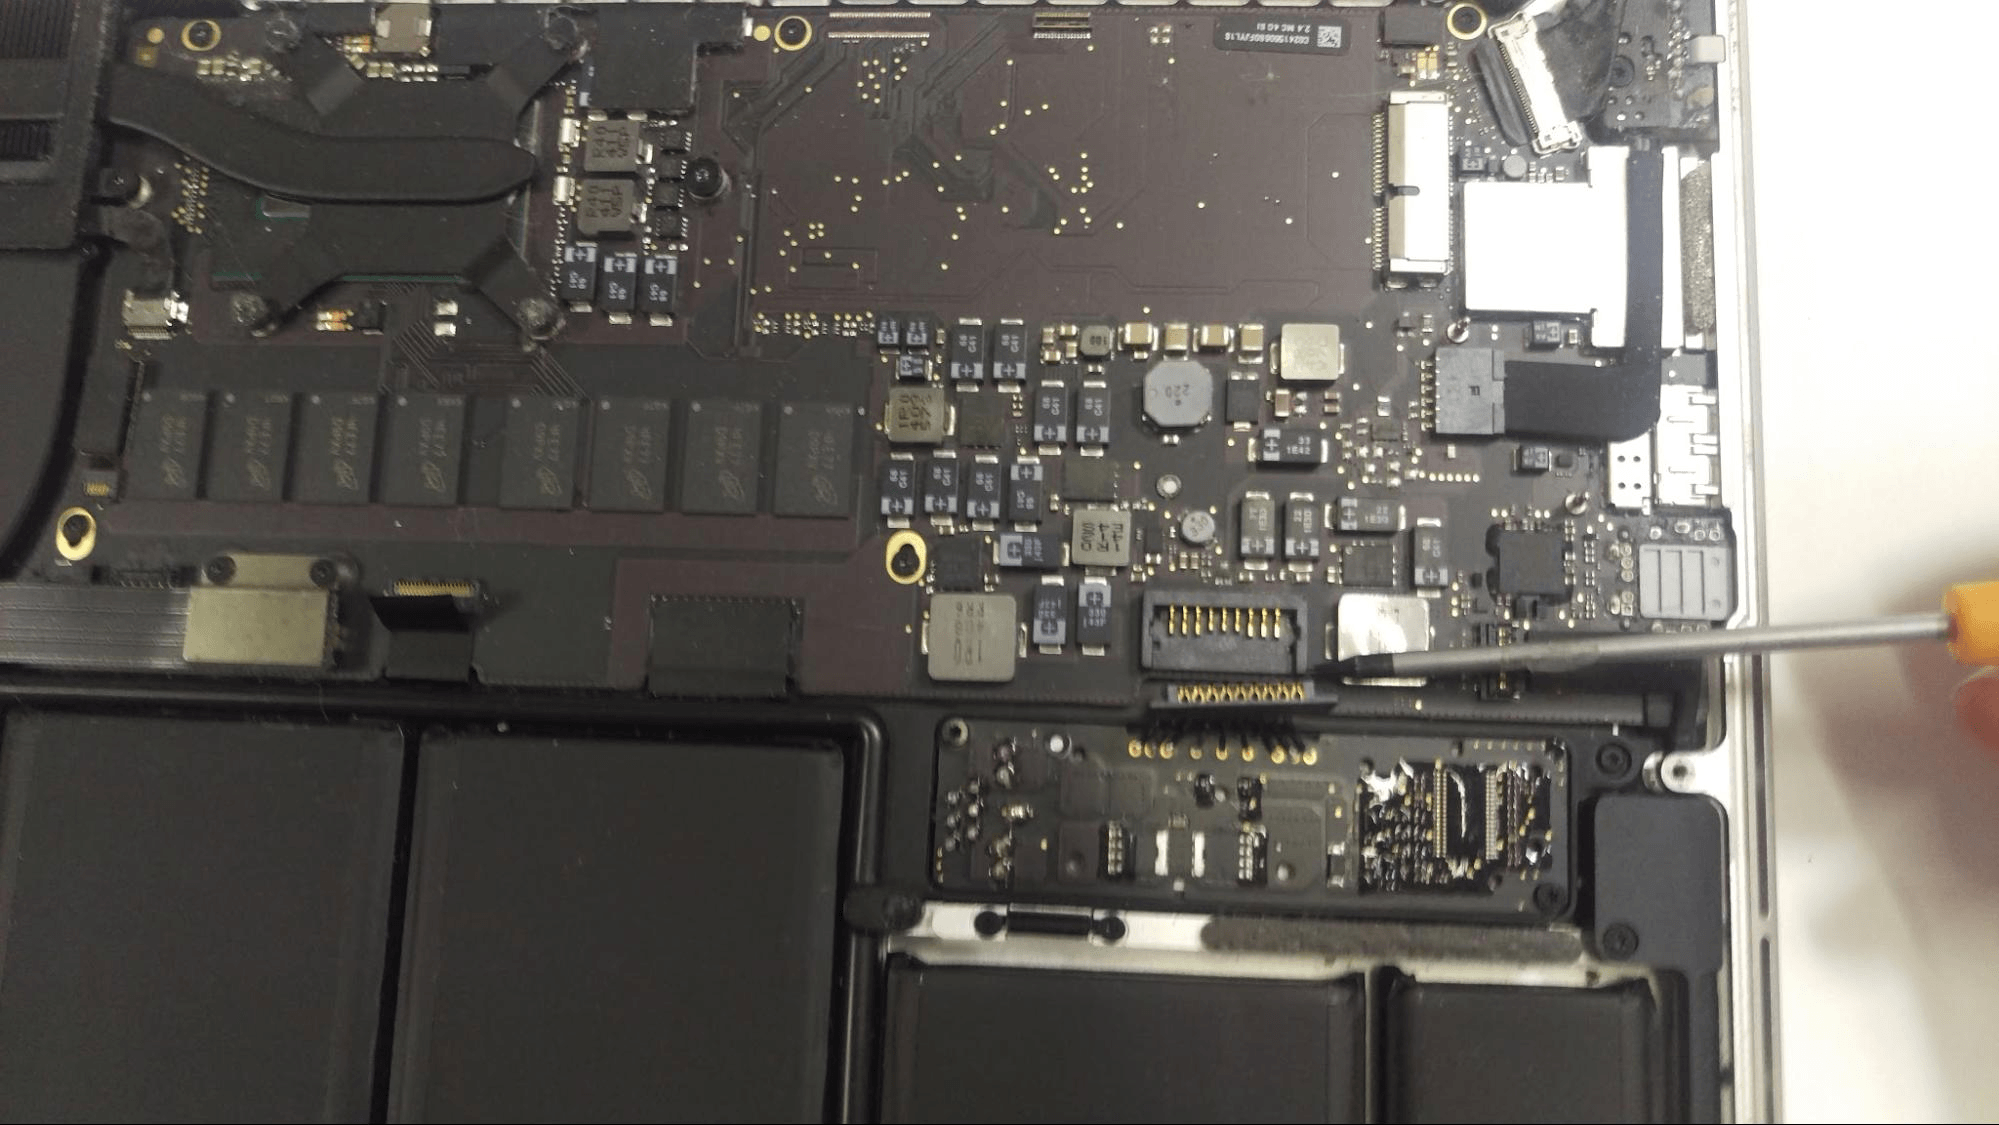
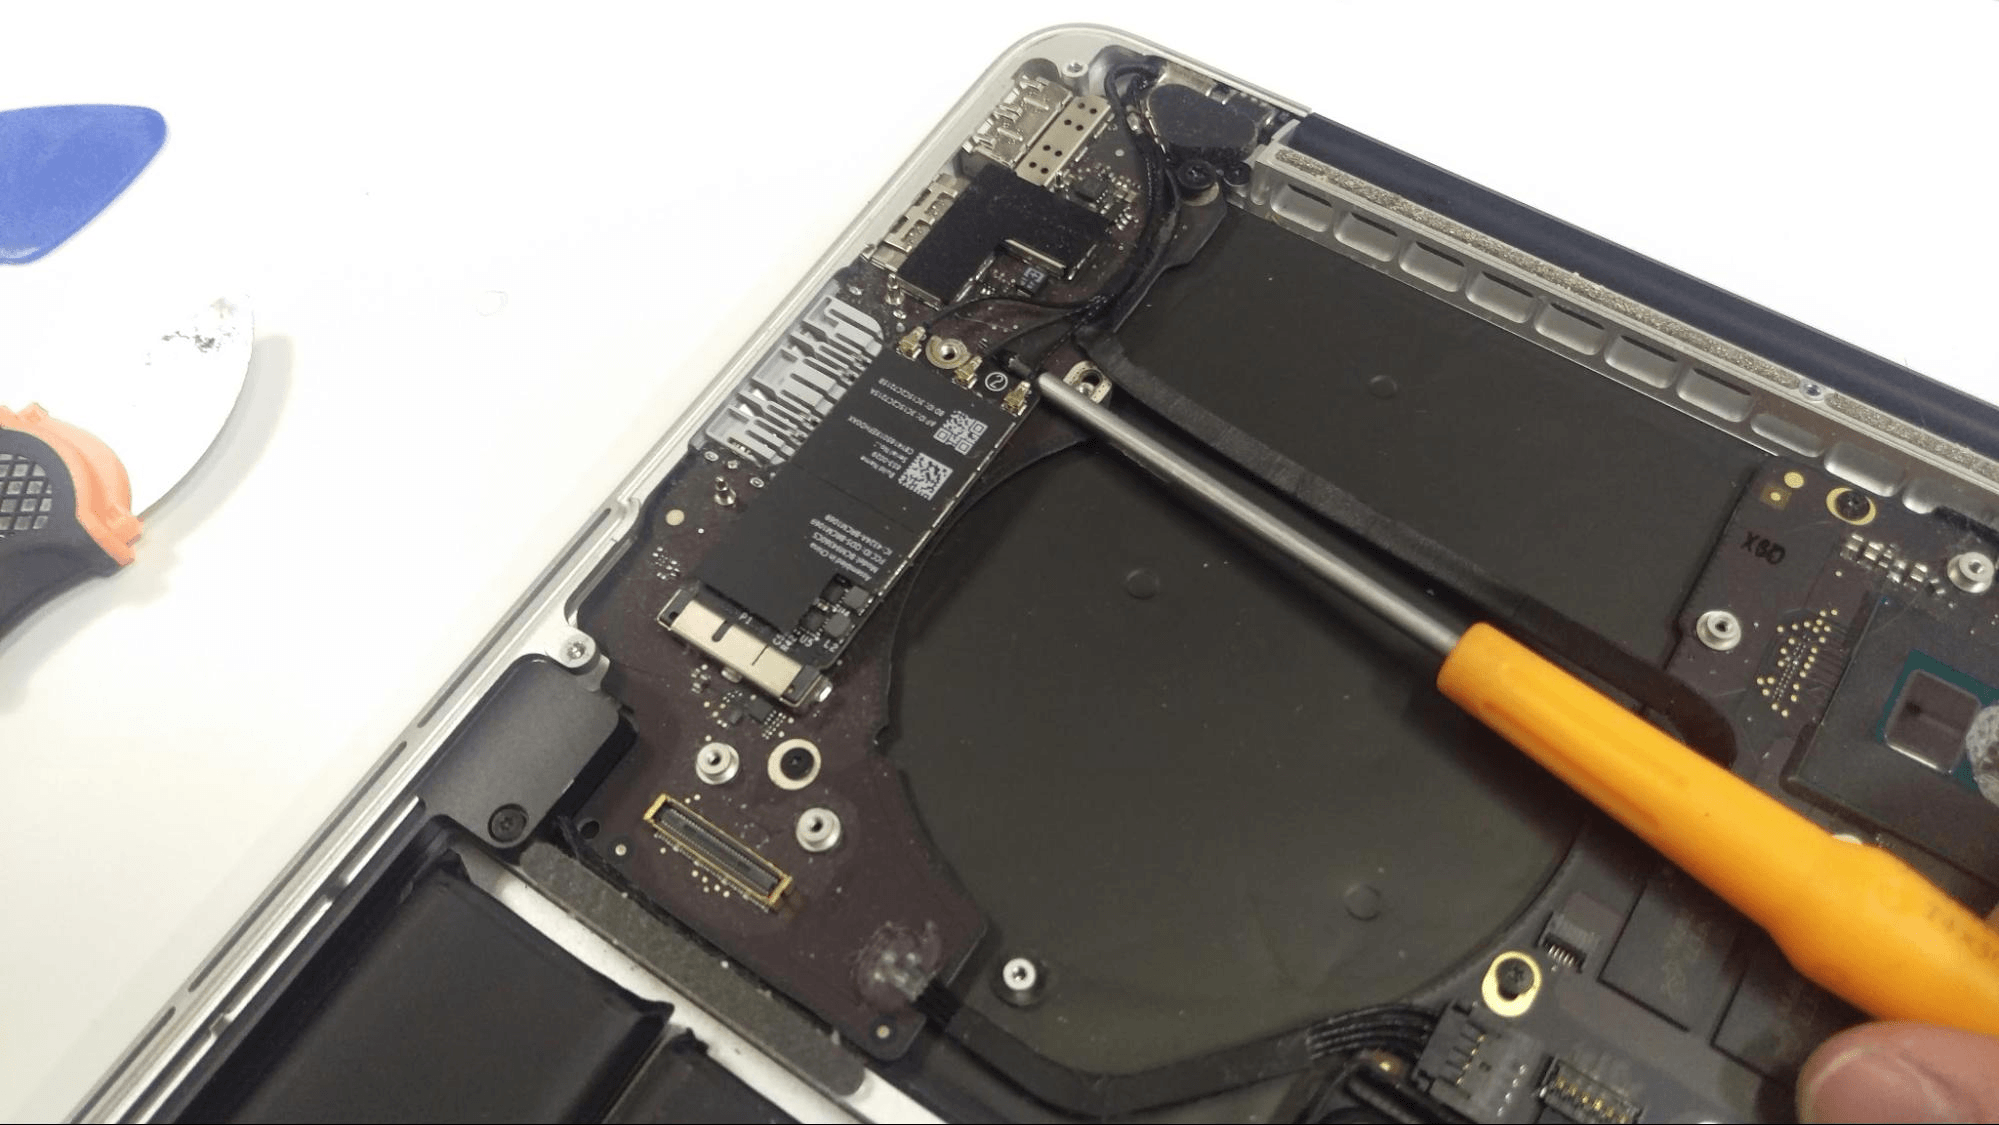
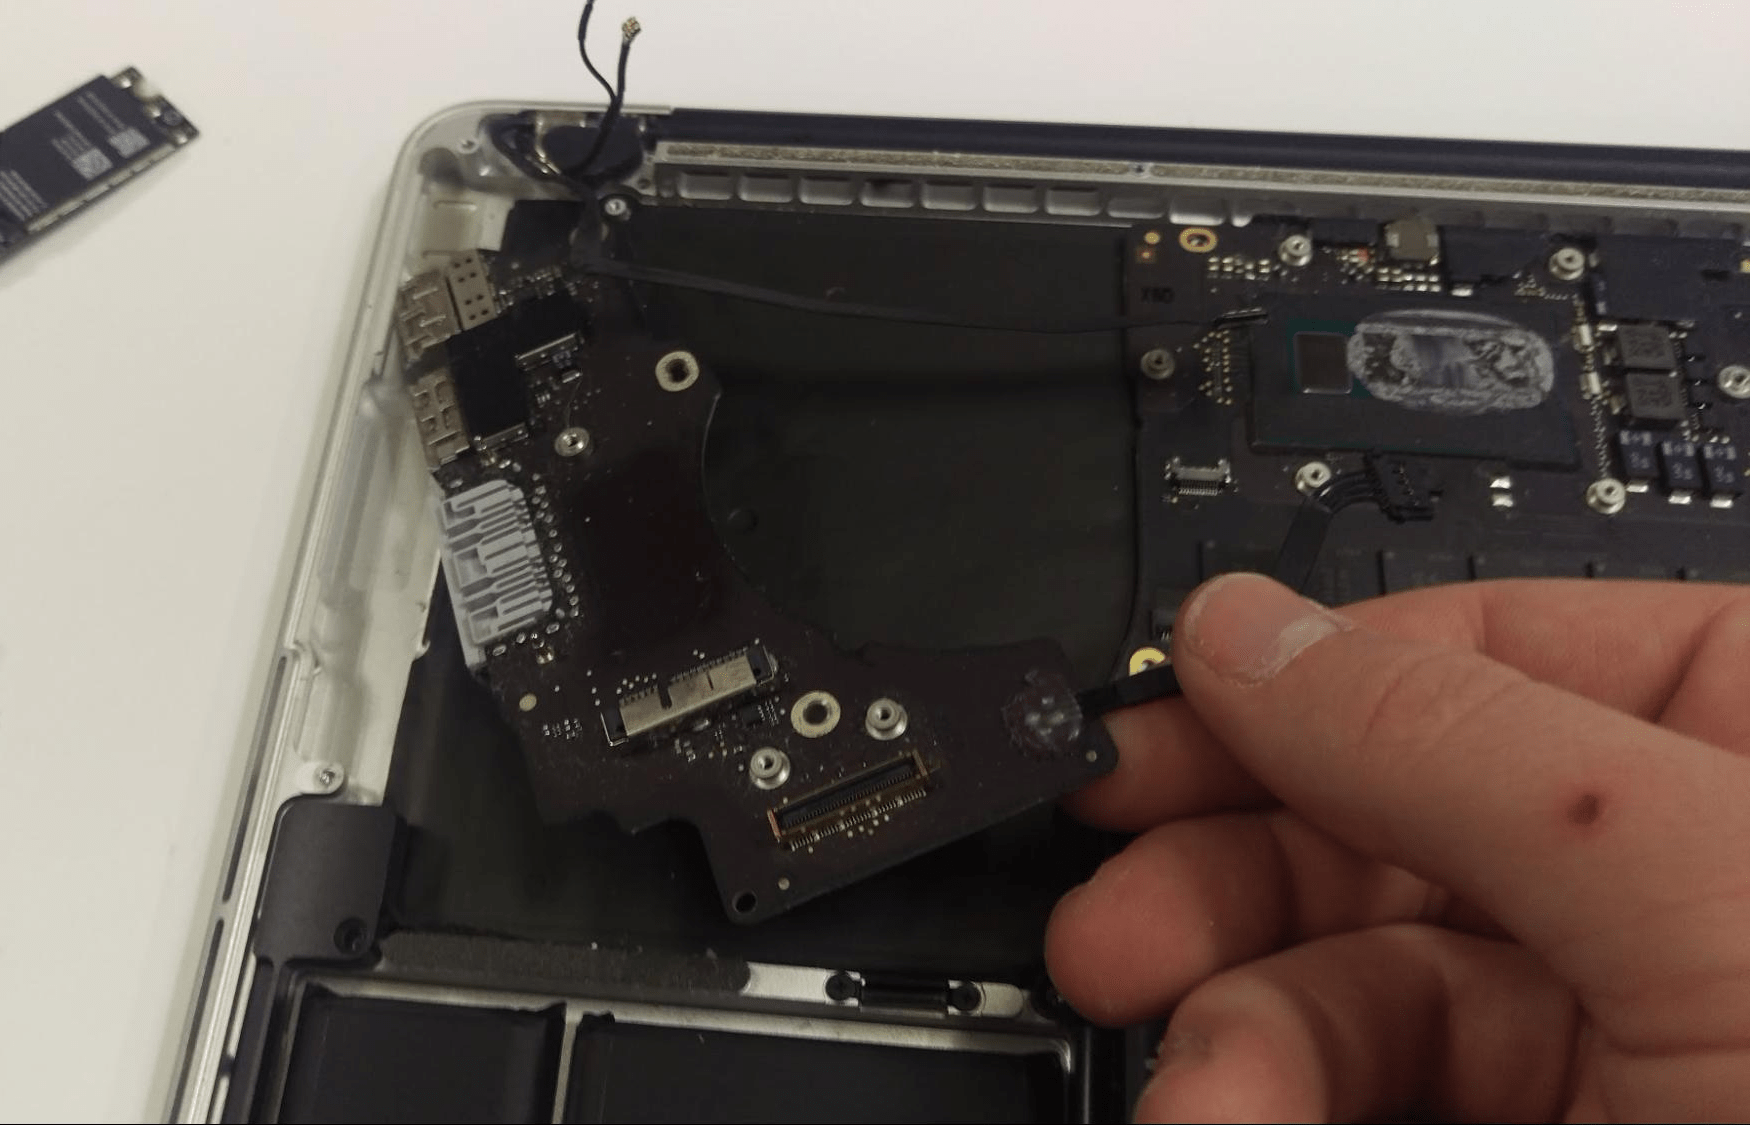
Next remove the T4 screw in the WiFi card. Then using your screwdriver, pry up on the cables connected to the card.
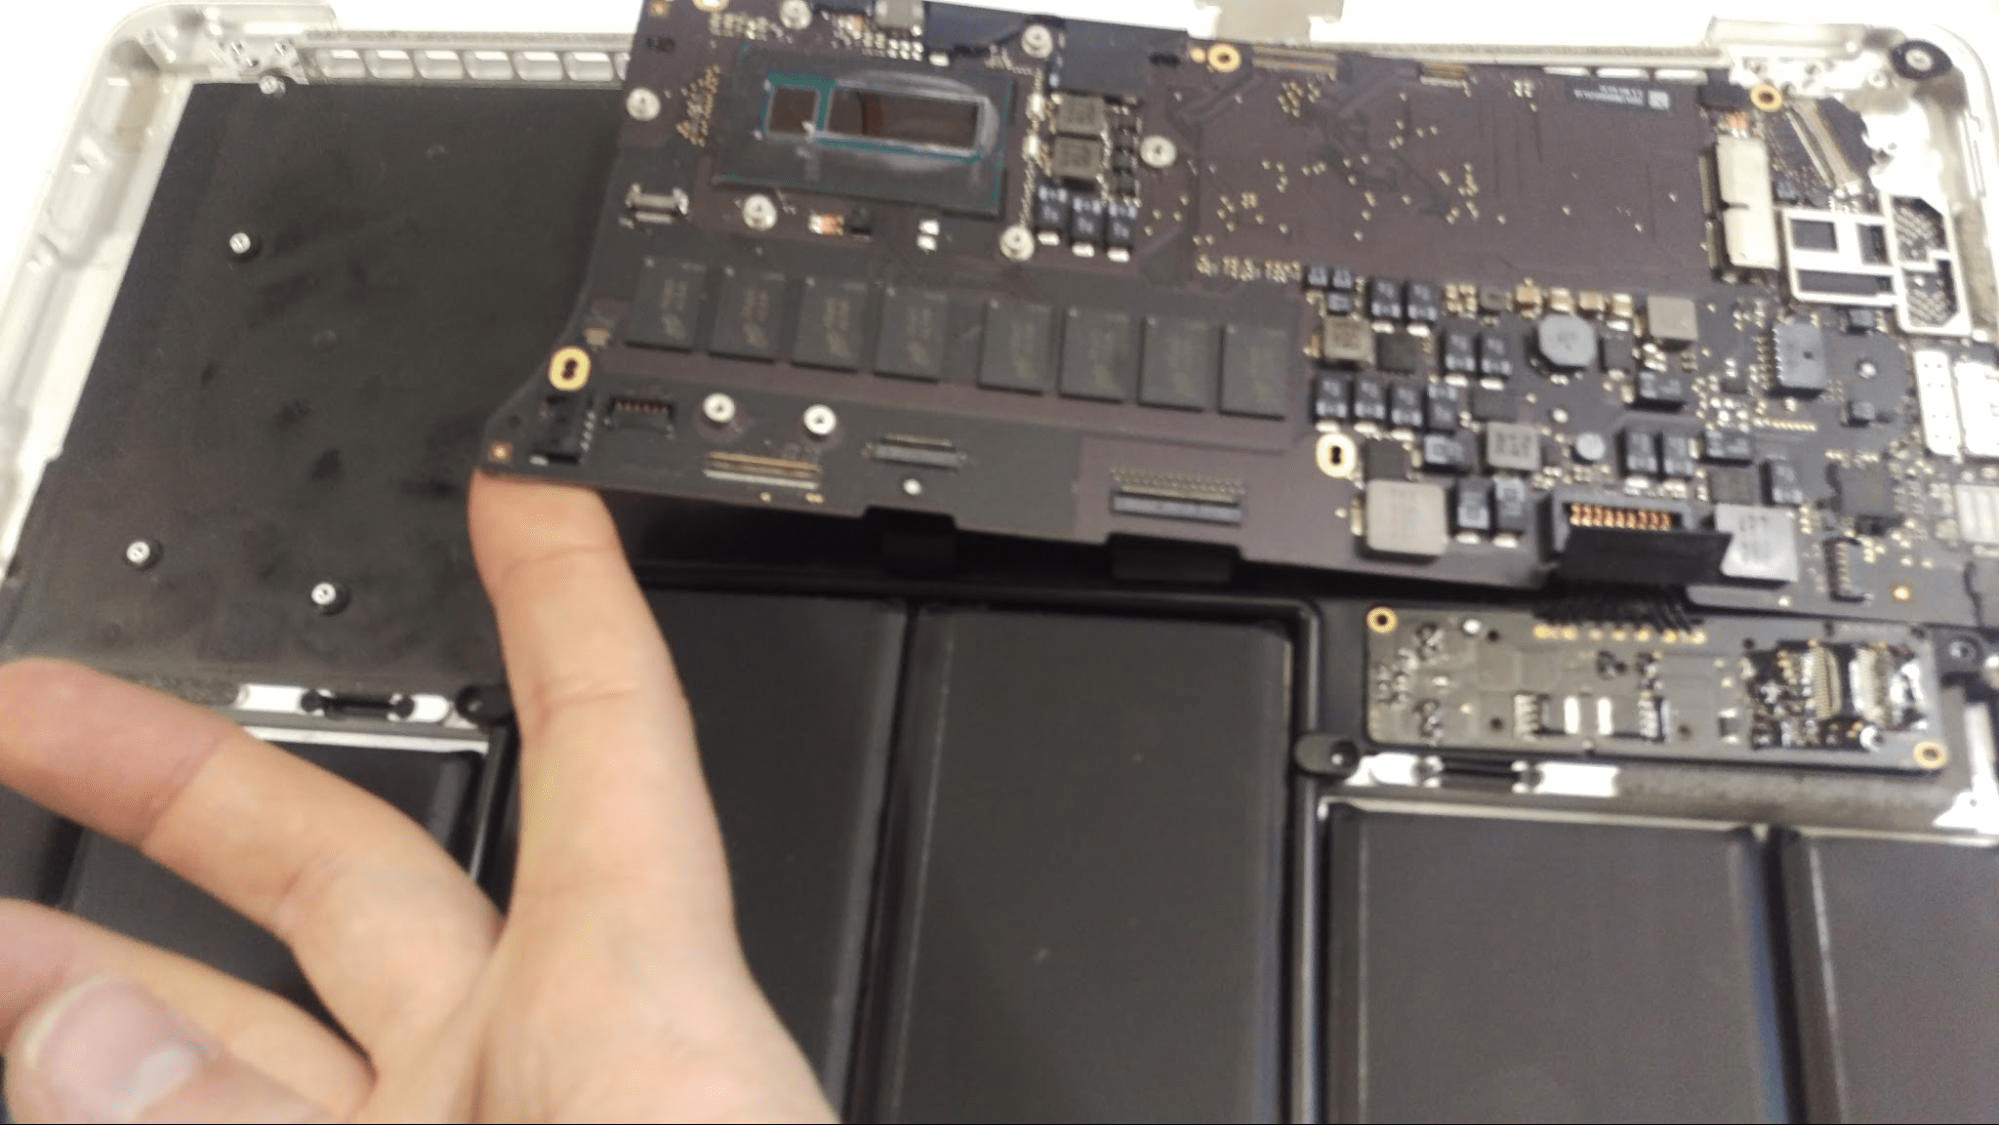
After these components are removed, I started removing screws all around the computer.
To remove the powerboard, disconnect the cable connecting it to the motherboard. Pull away from the motherboard.
Powerboard removed.
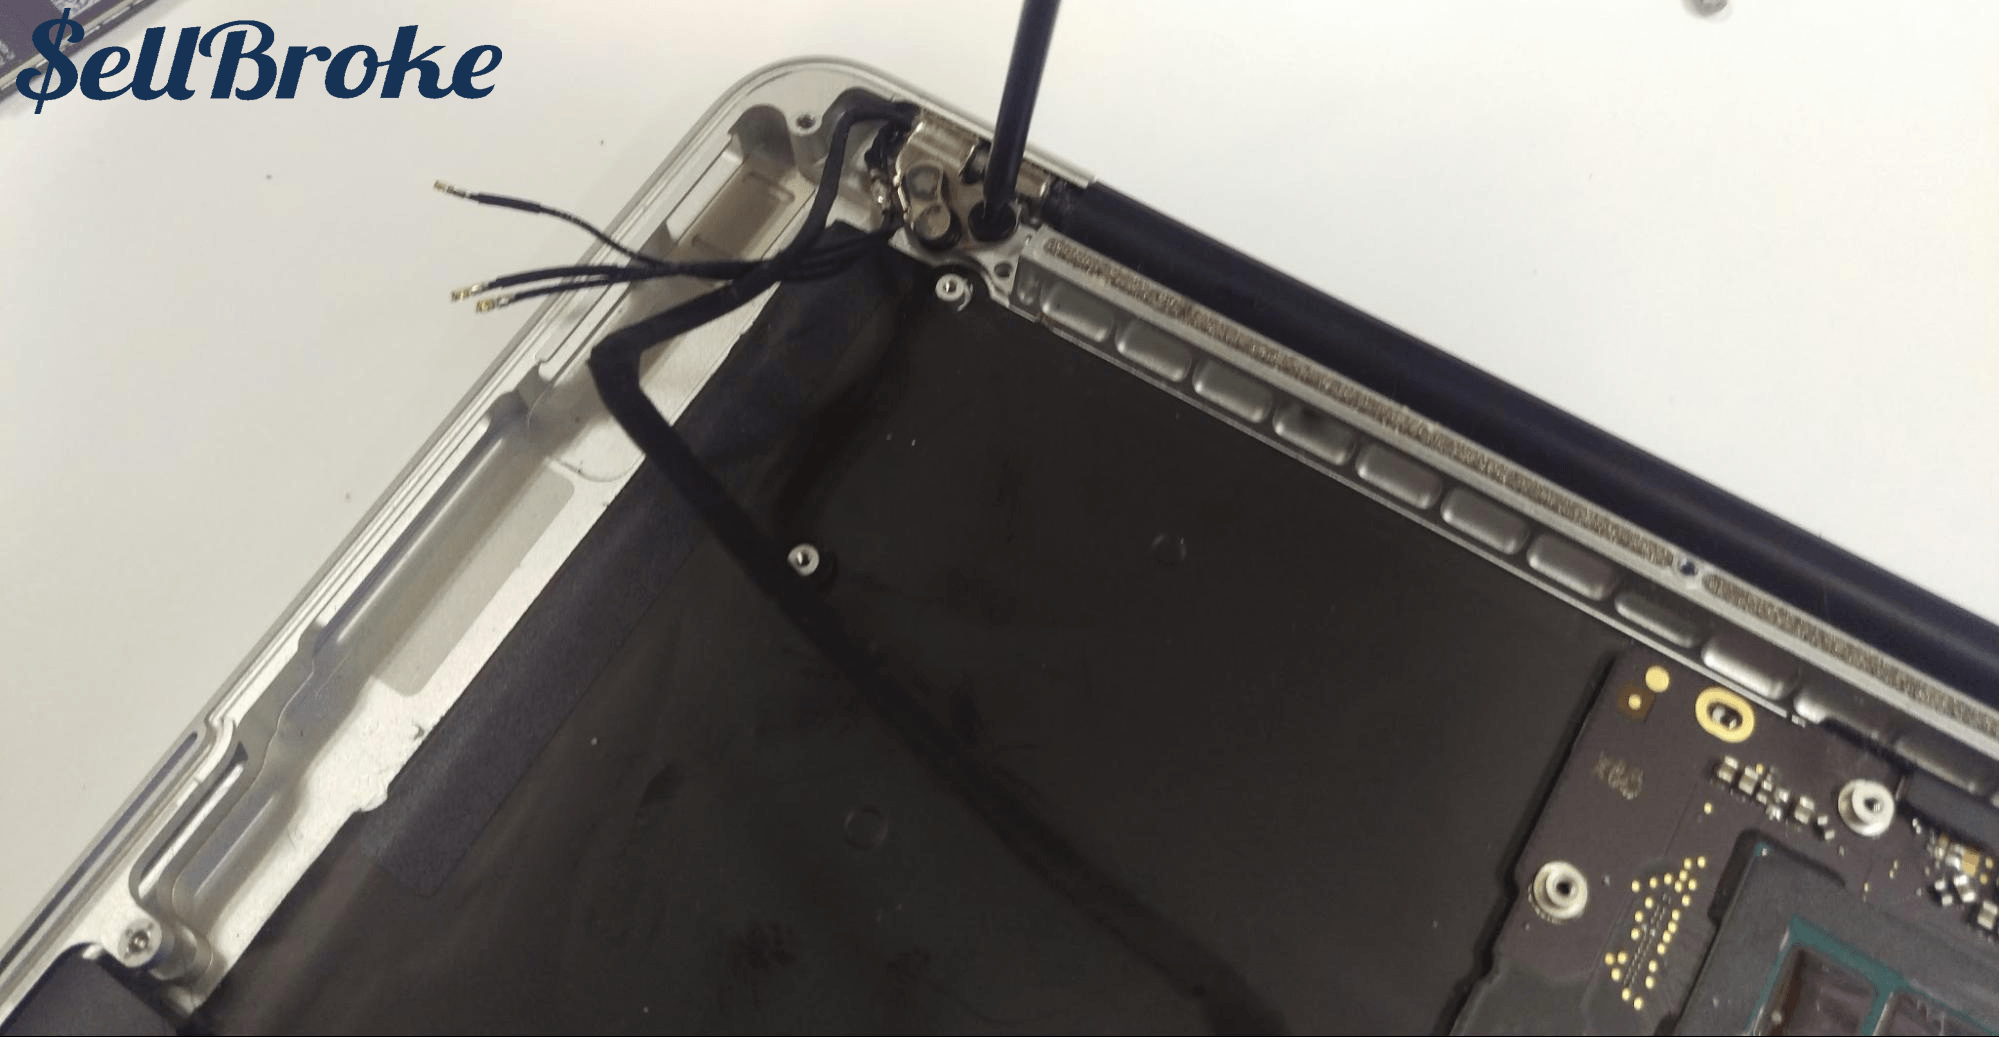
Next I removed the T9 screws holding the LCD screen to the frame.
Make sure to also disconnect any cables connected from the LCD to the motherboard.
Disconnect the LCD from the frame by folding it up and away.
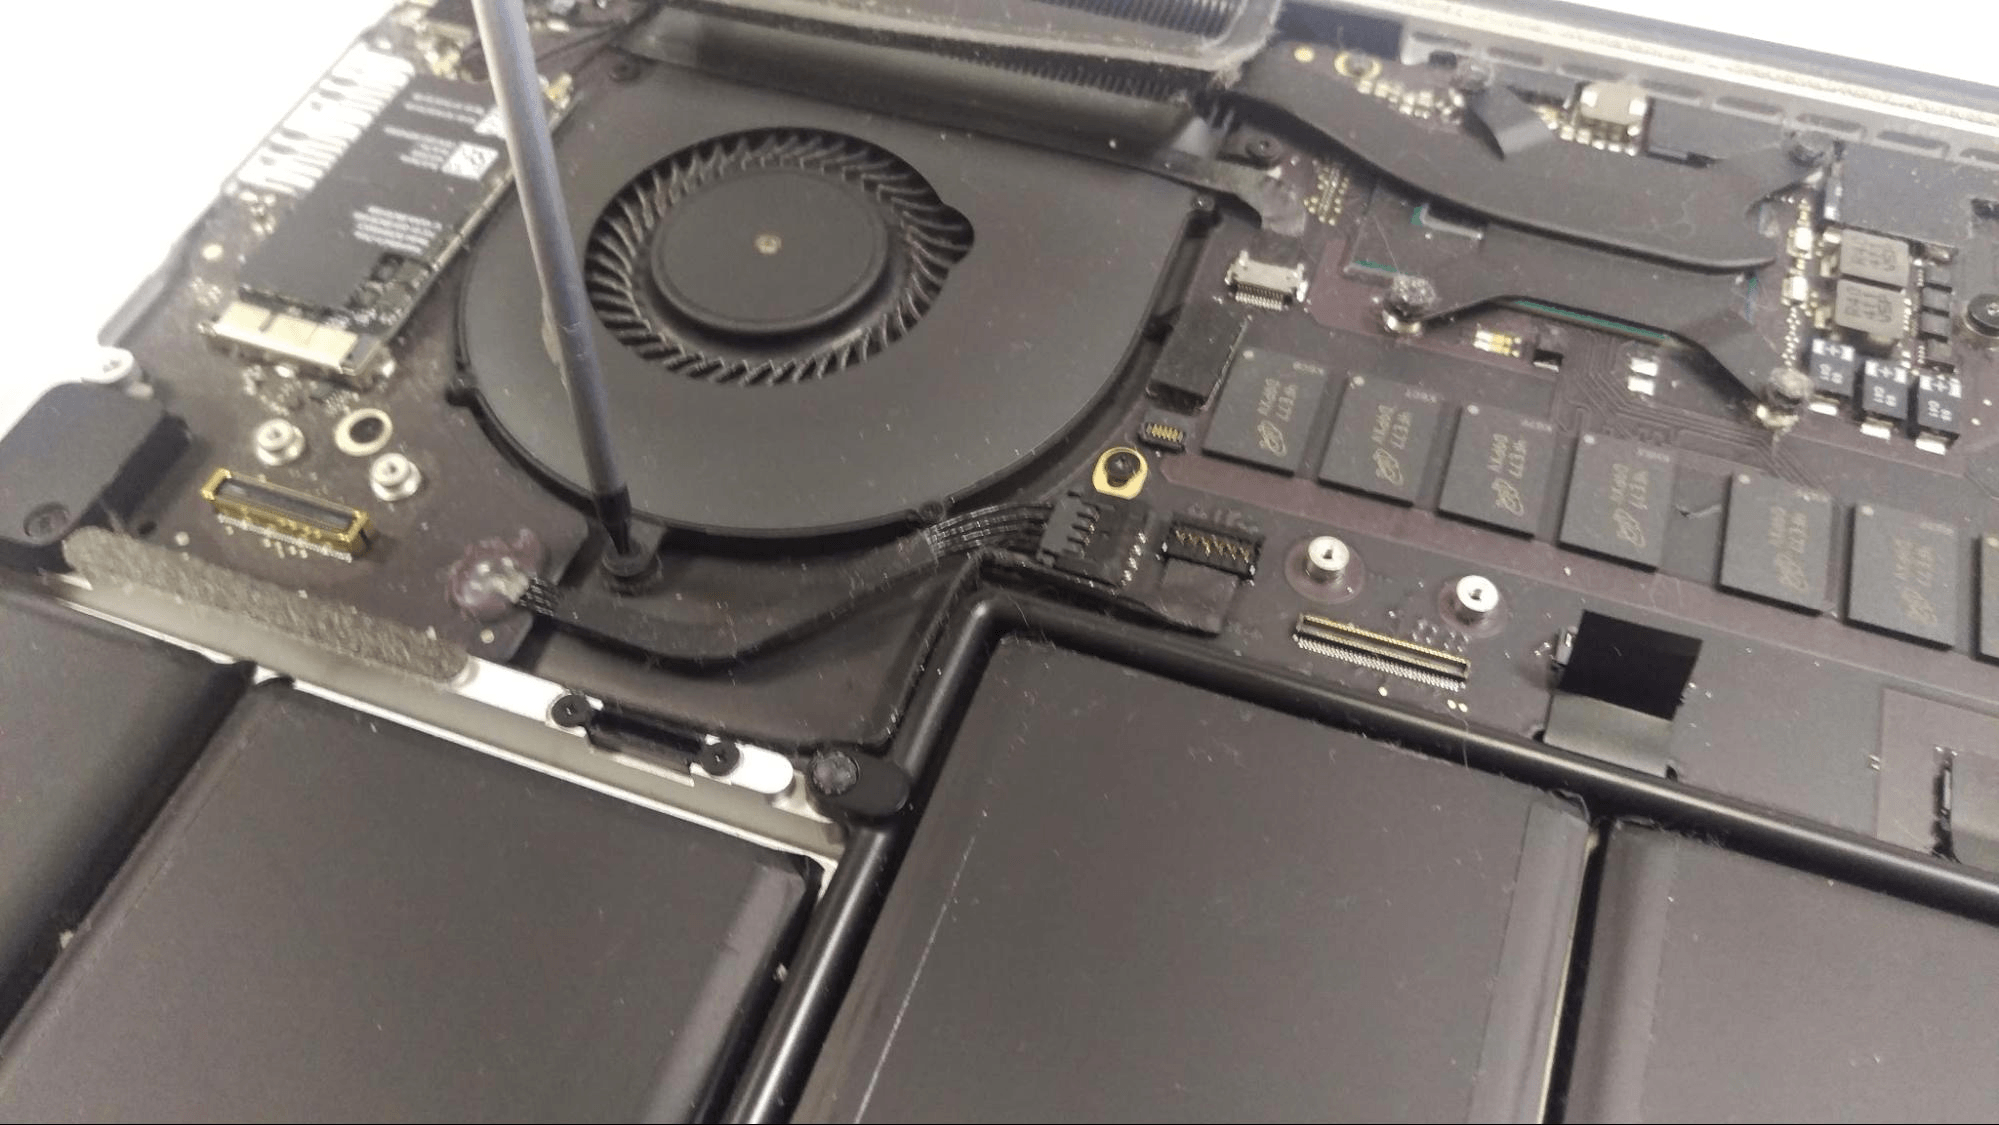
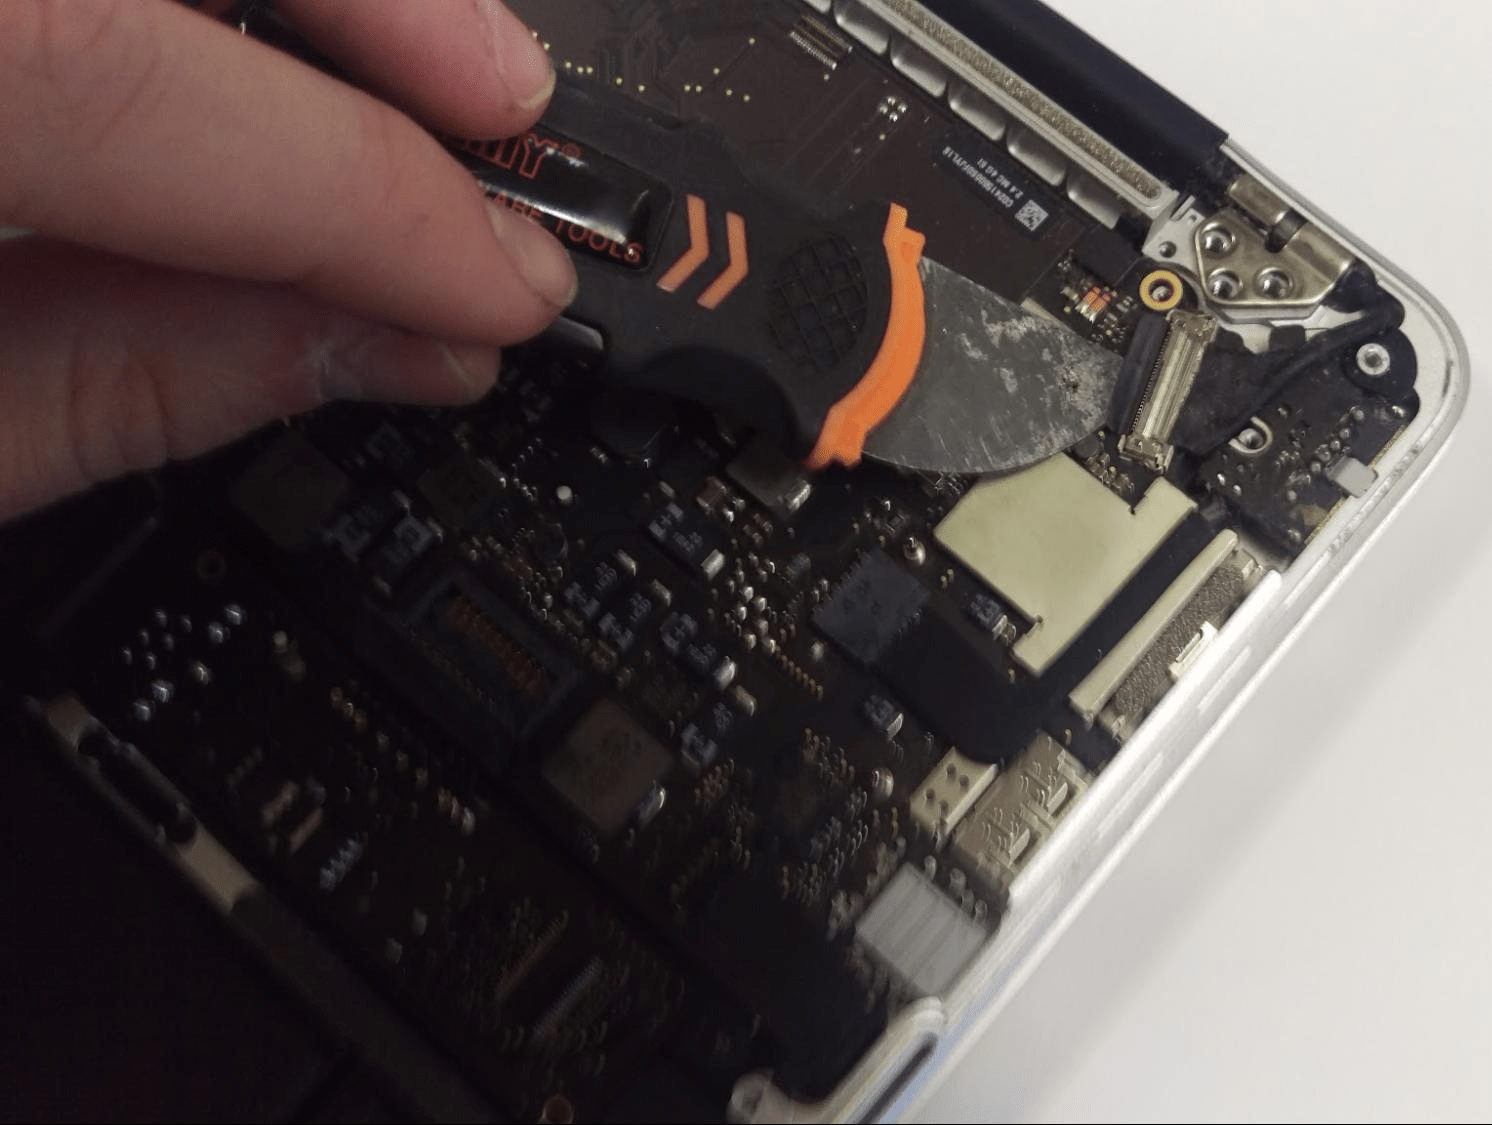
Next I disconnected all cables from the motherboard. The speakers should be easily removed, minimal adhesive is used.
The motherboard should now be removable. Make sure everything is disconnected!
The battery is, unfortunately not removable without destroying it.
Thanks for reading!
Aden Webster
From this description one could easily fall under impression that taking apart and working on a Macbook is an easy task. It’s not if one’s not experienced.
Be patient and cautious when working on your Apple laptop. Breaking even one small connector on the motherboard by pulling a cable will lead to very costly motherboard replacement.
Only attempt the job if you feel confident in doing so. Otherwise it can be safer and easier to sell your broken MacBook Pro to SellBroke.com/sell/macbook and buy a good one. This can save you money, time and sometimes gray hair.