
Lenovo Legion 7 Repair Guide: Fix Screen, Upgrade Memory/Storage, Battery Swap & Full Disassembly
May 05, 2025
1. Lenovo Legion 7 Value Assessment: Boost Your Resale Price
Key Valuation Factors
-
GPU Model Impact:
- RTX 3060 vs 3070 Ti vs 3080 performance tiers
- Include 3DMark or Time Spy benchmark scores
-
Display Quality:
- FHD 165Hz vs QHD 240Hz refresh rates
- Color accuracy (sRGB/DCI-P3 coverage)
-
Thermal Performance:
- CPU/GPU temperatures under load
- Fan noise levels during gaming
5-Minute Diagnostic Check
-
Hardware Scan:
- Run Lenovo Vantage diagnostics
- Check for pending BIOS updates
-
Battery Health:
- Generate report:
powercfg /batteryreport - Compare design vs current capacity
- Generate report:
-
Component Tests:
- Keyboard key-by-key verification
- RGB lighting zone functionality
Maximizing Market Value
-
Competitive Pricing:
- Compare to current retail prices
- Highlight percentage savings vs new
-
Performance Highlights:
- FPS averages in AAA game titles
- Content creation benchmarks
2. Lenovo Legion 7 Professional Disassembly Guide
Essential Tools for Safe Disassembly
- Phillips #00 precision screwdriver
- Plastic pry tools (0.5mm and 1.0mm)
- Anti-static wrist strap
- Magnetic parts tray
- Thermal paste (for reassembly)
Pre-Disassembly Preparation
- Power down completely and disconnect charger
- Ground yourself to prevent static discharge
- Clear workspace with soft, well-lit surface
- Document screw locations with diagram
Step-by-Step Disassembly Process
-
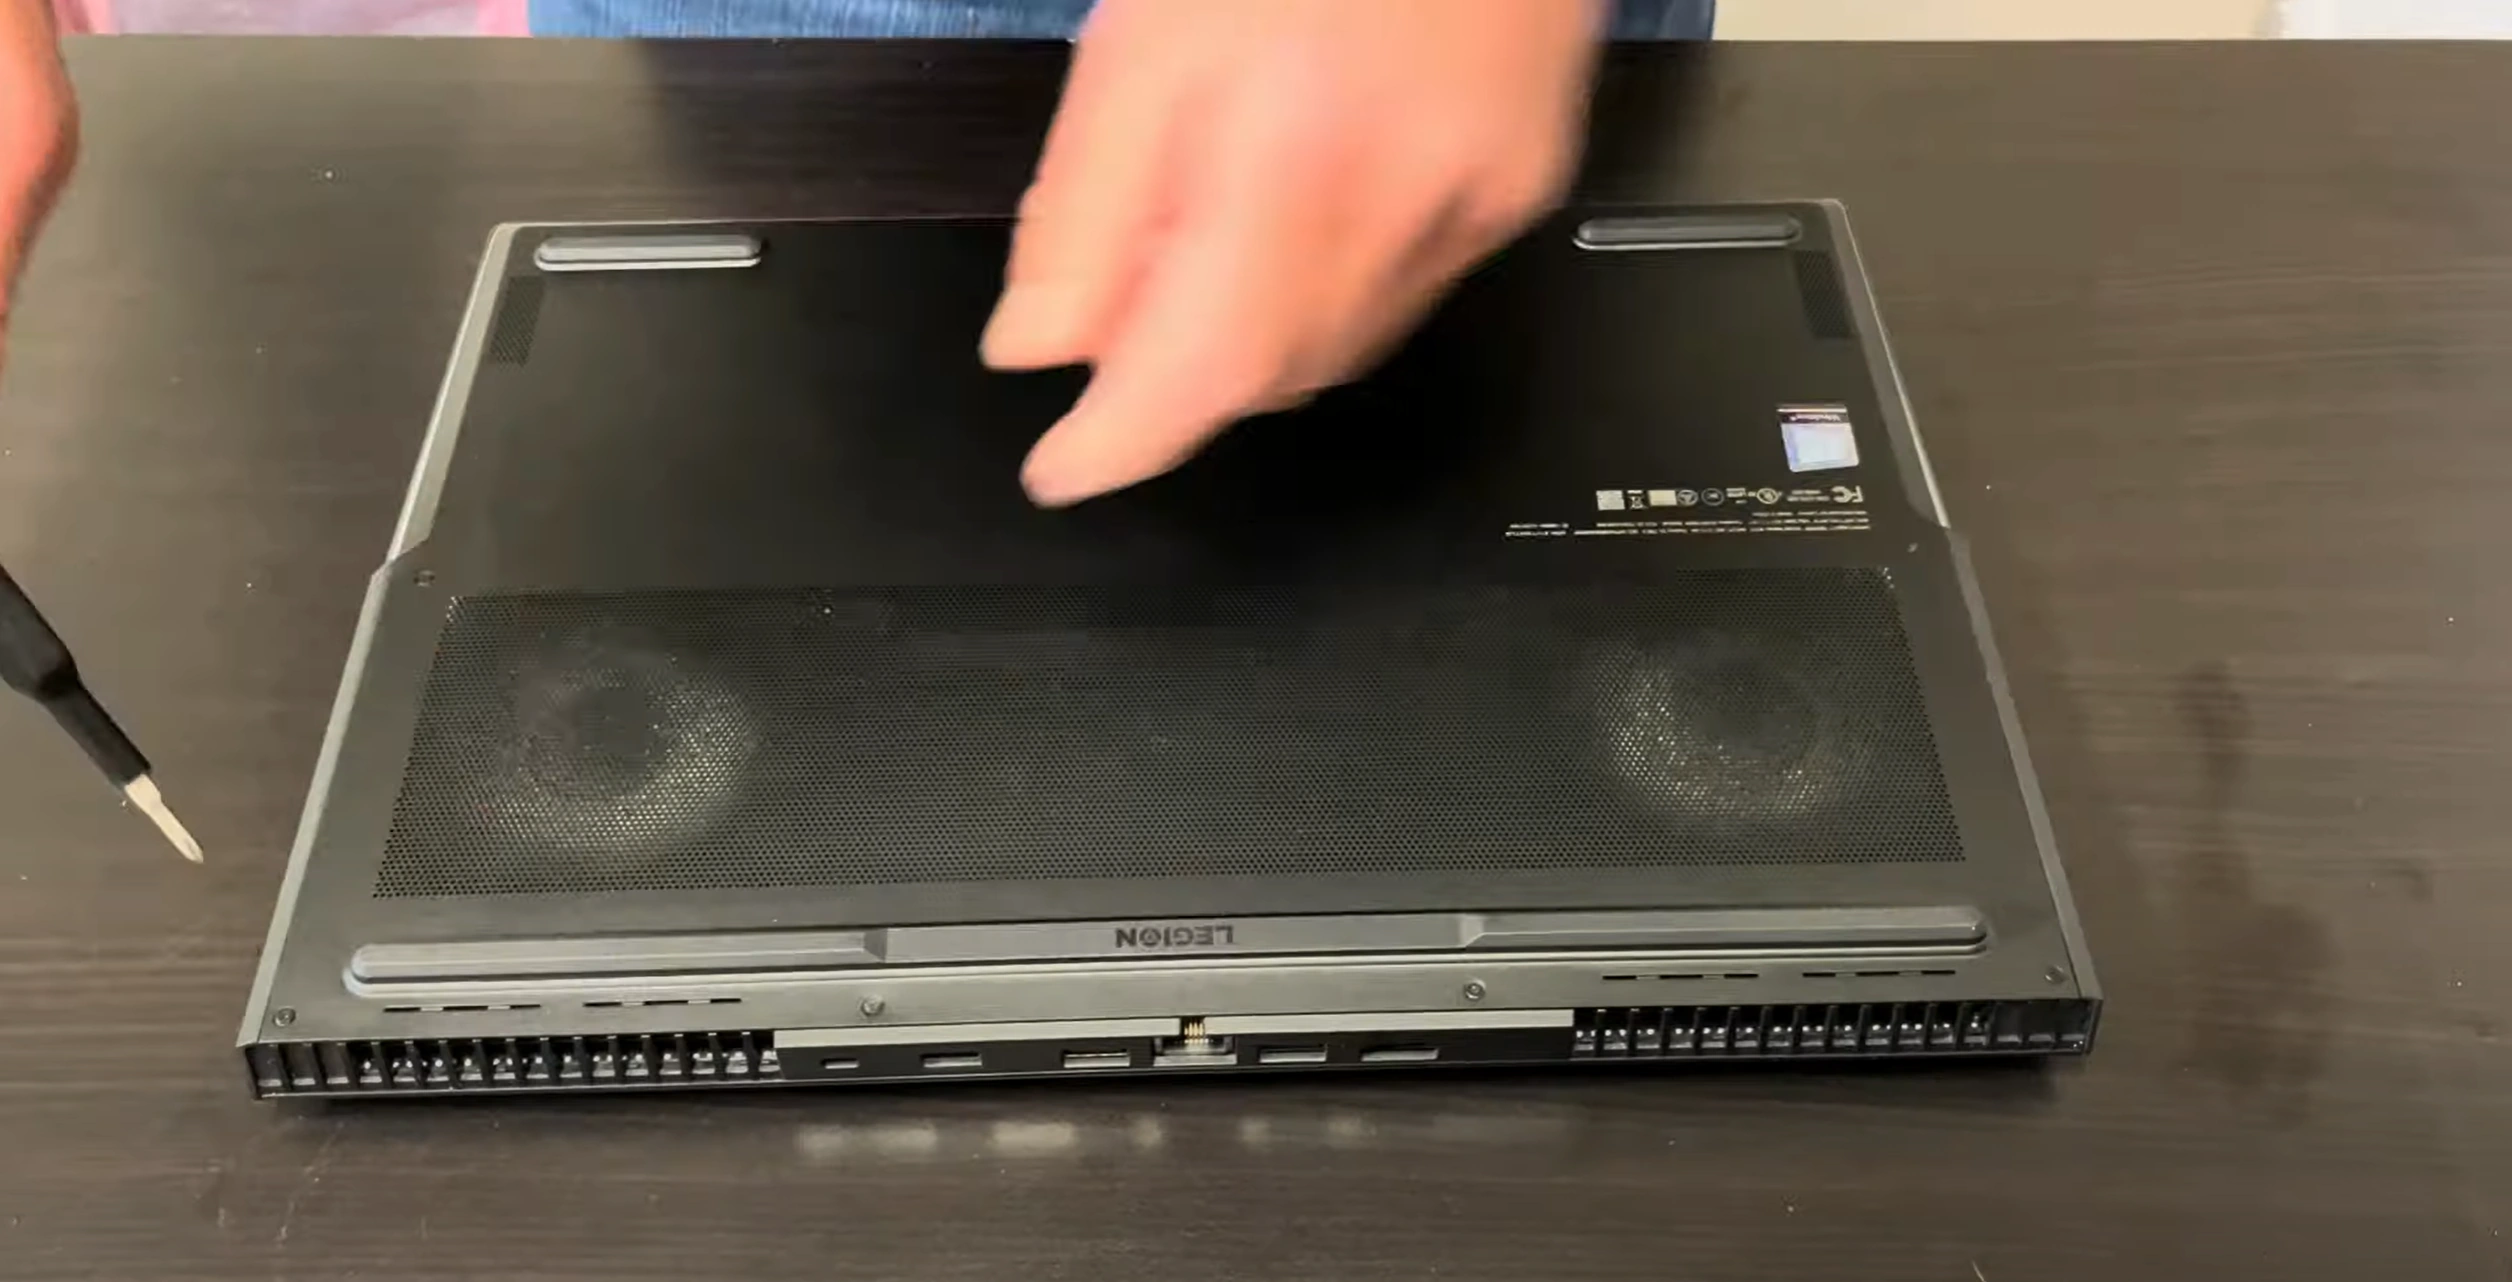
Bottom Case Removal:
- Remove 12 Torx T5 screws (varying lengths)
- Start prying from rear vent corners
- Work around perimeter with even pressure
-
Battery Disconnection:
- Locate battery connector near center
- Use plastic tool to lift connector straight up
- Wait 30 seconds for power discharge
-
Internal Access:
- Remove 6 screws securing heatsink assembly
- Disconnect fan and RGB lighting cables
- Label all ribbon cables with position markers
Critical Warning Notes
- Never force components - check for hidden screws
- Avoid metal tools near motherboard traces
- Handle display cables with extreme care
- Organize screws by component and length
Reassembly Best Practices
- Apply fresh thermal paste to CPU/GPU
- Test components before final screw-down
- Ensure all ribbon cables are fully seated
- Verify RGB lighting reconnection
0:24 Bottom Case 2:50 Battery 3:30 SSD drive 3:50 RAM Memory 4:30 WiFi Card 5:05 Heatsink and Cooling Fans 7:10 Speakers 7:30 Motherboard 9:57 IO USB Board 10:22 Keyboard 10:26 Touchpad 11:26 Hinge cover 12:18 Hinges 13:05 Palmrest Assembly 3:18 LCD screen
3. Lenovo Legion 7 Screen Replacement Guide
Compatible Display Panels
Critical Precautions
- Disconnect battery before beginning
- Handle LCD panel edges only
- Protect work surface with microfiber cloth
- Note original adhesive placement
Step-by-Step Replacement Process
-
Bezel Removal:
- Heat edges with 60°C heat gun for 30 seconds
- Insert plastic card between bezel and display
- Work slowly around perimeter
-
Display Assembly:
- Remove 8 display bracket screws (T5 Torx)
- Support panel while disconnecting eDP cable
- Note camera/mic ribbon cable routing
-
New Panel Installation:
- Align new panel with hinge mounts
- Secure display brackets in crisscross pattern
- Test before applying new adhesive
Post-Installation Calibration
- Verify refresh rate in Windows Display Settings
- Check for dead/stuck pixels
- Test touchpad functionality near edges
- Confirm RGB color uniformity
Common Issues & Solutions
-
Flickering Display:
- Recheck eDP cable connection
- Verify panel voltage requirements
-
Color Inaccuracy:
- Install correct color profile
- Check HDR settings
4. Lenovo Legion 7 Memory Upgrade Guide
RAM Compatibility Specifications
-
Supported Standards:
- DDR5 SO-DIMM (non-ECC)
- Dual-channel architecture
-
Capacity Limits:
- Maximum: 32GB (2×16GB)
- Minimum: 8GB (2×4GB)
-
Speed Ranges:
- 4800MHz base frequency
- 5200MHz overclock supported
Performance Benefits
-
16GB → 32GB Upgrade:
- +30% multitasking capacity
- Eliminates game/texture loading stutters
-
Speed Improvements:
- 5-8% FPS gain in CPU-bound games
- Faster video rendering times
Step-by-Step Installation
-
Preparation:
- Power down and disconnect all cables
- Ground yourself to prevent static damage
-
Access Memory Slots:
- Remove 12 bottom case screws (T5 Torx)
- Lift rear edge first, then slide forward
-
Module Replacement:
- Push outward on retention clips
- Insert new RAM at 30° angle, then press flat
- Listen for click on both ends
Post-Installation Verification
- Boot to BIOS to confirm detection
- Run Windows Memory Diagnostic
- Check Task Manager performance tab
Common Issues & Solutions
-
RAM Not Detected:
- Reseat modules firmly
- Try single modules individually
-
System Crashes:
- Verify compatible speeds
- Update BIOS to latest version
5. Lenovo Legion 7 Storage Expansion Guide
Recommended SSD Specifications
-
Form Factor:
- M.2 2280 (single-sided preferred)
- DRAM cache recommended
-
Thermal Considerations:
- SSDs with built-in heatsinks may not fit
- Use Legion 7's thermal shield
Step-by-Step Installation
-
Preparation:
- Backup existing data
- Disconnect power and battery
-
Access Storage Bays:
- Remove 12 bottom case screws (T5 Torx)
- Locate M.2 slots near center
-
SSD Installation:
- Insert SSD at 30° angle
- Secure with included screw (0.5Nm torque)
- Reattach thermal pad/cover
Post-Installation Setup
- Initialize disk in Disk Management
- Clone existing drive (if replacing)
- Run CrystalDiskMark benchmark
Optimization Tips
- Assign secondary SSD as game library
- Enable Write Caching in Device Manager
- Regularly check SSD health metrics
Common Issues & Solutions
-
Drive Not Detected:
- Check BIOS for NVMe support
- Verify full insertion
-
Slow Speeds:
- Ensure proper PCIe generation
- Update storage drivers
6. Lenovo Legion 7 Battery Replacement Guide
Battery Specifications
-
OEM Part Numbers:
- L19M4PC1 (99.9Wh standard capacity)
- L19C4PC2 (80Wh alternative)
-
Technical Details:
- Lithium-ion polymer
- 11.4V nominal voltage
- 8740mAh capacity
Safety Preparation
- Power down completely
- Disconnect AC adapter
- Ground yourself
- Prepare anti-static workspace
Battery Removal Process
-
Access Battery Compartment:
- Remove 12 bottom case screws (T5 Torx)
- Use plastic pry tool along edges
-
Disconnect Battery:
- Locate main battery connector
- Lift connector straight up
- Wait 60 seconds for discharge
-
Remove Old Battery:
- Detach 6 mounting screws
- Lift battery at 30° angle
- Note adhesive strip locations
New Battery Installation
-
Prepare New Battery:
- Inspect for physical damage
- Remove protective films
-
Secure Battery:
- Align screw holes precisely
- Tighten screws in crisscross pattern
- Apply new adhesive strips if needed
-
Final Connection:
- Reconnect battery cable firmly
- Verify click sound
Post-Installation Calibration
- Charge to 100% uninterrupted
- Discharge completely (until shutdown)
- Recharge to 100% again
- Check battery health in Lenovo Vantage
Common Issues & Solutions
-
Not Charging:
- Recheck connection
- Test with original charger
-
Incorrect Capacity Reading:
- Complete calibration cycle
- Update BIOS
7. Lenovo Legion 7 Thermal System Maintenance Guide
Key Cooling Components
-
Primary Cooling Elements:
- Vapor chamber cooling module
- Twin 84-blade fans
- Four heatpipe assembly
-
Thermal Interface Materials:
- Stock thermal paste (PTM7950 phase-change)
- Thermal pads (1mm thickness)
When to Service Thermal System
- CPU/GPU temperatures exceeding 95°C under load
- Fan noise above 55dB during gaming
- 3-5% performance throttling observed
- 12+ months since last maintenance
Deep Cleaning Procedure
-
Fan Cleaning:
- Use compressed air (held vertically)
- Gently clean fan blades with soft brush
- Check for bearing wear
-
Vent Maintenance:
- Clear dust from intake/exhaust vents
- Inspect heatpipe integrity
Thermal Paste Replacement
-
Preparation:
- Use 99% isopropyl alcohol for cleaning
- Prepare lint-free swabs
-
Application Method:
- Pea-sized dot for CPU/GPU
- Spread evenly with applicator card
- Recommended pastes: Thermal Grizzly Kryonaut
Post-Maintenance Testing
- Run 30-minute stress test with monitoring
- Compare before/after temperatures
- Check for reduced fan noise levels
Preventive Maintenance Tips
- Clean vents every 3 months
- Replace thermal paste annually
- Use cooling pad for extended sessions
8. Selling Your Lenovo Legion 7: Maximize Resale Value
Pre-Sale Preparation Checklist
-
Hardware Verification:
- Run full diagnostic with Lenovo Vantage
- Document battery health (command:
powercfg /batteryreport) - Test all ports and peripherals
-
Cosmetic Inspection:
- Clean chassis with 70% isopropyl alcohol
- Photograph from multiple angles
- Note any imperfections honestly
Accurate Valuation Methods
SEO-Optimized Listing Tips
-
Title Structure:
- "Lenovo Legion 7 [Year] | [GPU] | [RAM]GB | [Storage]GB"
- Example: "Lenovo Legion 7 2022 | RTX 3080 | 32GB RAM | 1TB SSD"
-
Description Essentials:
- Lead with gaming benchmarks (3DMark/Time Spy scores)
- Highlight thermal performance
- Mention included accessories
Recommended Selling Platforms
| Platform | Best For | Commission |
|---|---|---|
| SellBroke | Premium gaming hardware | 10-12% |
| SellBroke | Quick guaranteed sale | 15-20% |
| eBay | Maximum exposure | 12.9% |
Secure Selling Practices
-
Data Protection:
- Perform secure wipe using Lenovo Secure Data Disposal
- Remove all accounts (Windows/Lenovo)
-
Transaction Safety:
- Use platform payment systems only
- Meet buyers at safe locations
Frequently Asked Questions
-
How much does GPU affect resale?
RTX 3080 models sell 40% higher than RTX 3060 versions with otherwise identical specs.
-
Should I include original charger?
Including the 300W power adapter increases sale probability by 65%.
Need to Sell Your Lenovo Laptop? Get Instant Cash!
If your Lenovo Legion 7 16IAX7 (or other Lenovo device) has unfixable issues or you’re upgrading, sell it to us for fast, top-dollar payment. We buy broken, used, and refurbished Lenovo laptops—including Legion, Yoga, and ThinkPad models—with free shipping and hassle-free quotes.
Sell Popular Lenovo Models Now:
Frequently Asked Questions
- Can I sell my Lenovo Legion 7 Screen Memory Storage Swap after disassembly or repair?
- Yes. SellBroke buys gaming laptops in any condition — working, broken, disassembled, or partially upgraded. Get an instant quote at https://sellbroke.com/sell/laptop/.
- What is my Lenovo Legion 7 Screen Memory Storage Swap worth?
- Value depends on condition and what's working. SellBroke pays for working, broken, and water-damaged gaming laptops. Visit https://sellbroke.com/sell/laptop/ to see your exact offer before committing.
- Does SellBroke buy gaming laptops with cracked screens or dead batteries?
- Yes. Cracked screens and dead batteries are common defects SellBroke accepts. Select your defects during the quote process for an accurate price.
- How long does it take to get paid after shipping?
- SellBroke pays within 24 hours of receiving and inspecting your device. Payment via PayPal, Venmo, Zelle, or check.
- Do I need to reassemble my gaming laptop before selling it?
- No. SellBroke accepts gaming laptops in disassembled or partially assembled condition. Ship it as-is with components included.