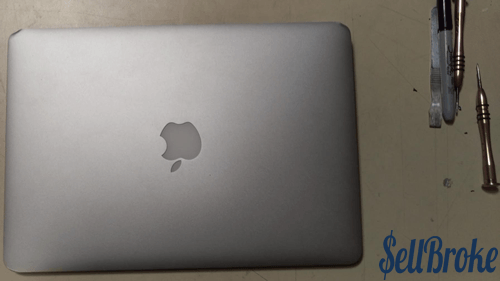
Apple Macbook Air 13” 2011 (A1369) Disassembly Guide
MacBook Air was introduced in early 2008. Ever since making other computer manufacturers chase the dream of building an ultra portable laptop to create with Apple’s creation.
For years cheap imitations hit the market one after another. Until Dell finally got it right releasing the Ultrabook XPS 13. Quickly followed by others like Asus’ Zenbook and Lenovo’s Yoga to close the list with Microsoft’s Surface Book. All that changed the game and MacBook Air wasn’t the only Ultra portable laptop on the market.
And if that were not enough Apple’s new 12-inch MacBook and 13-inch MacBook Pro are thinner than ever and almost as light as the Air. Unfortunately for the Air, the rest of MacBook's family are very much up to date and much better equipped easily outperforming the MacBook Air.
Lacking the Retina Display the MacBook Air feels old compared to the new Apple laptop models and even the new iPad Pro. The new iPads paired with beautifully designed detachable keyboards make a great alternative for the Air.
The difference between the lower resolution display and the Retina display is visible with a naked eye.
On the contrary, the MacBook Air is still an awesome machine. It’s loved by millions for its compact size and slick design as well as good performance and long lasting battery. No wonder Apple is planning new MacBook Air models in the near future.
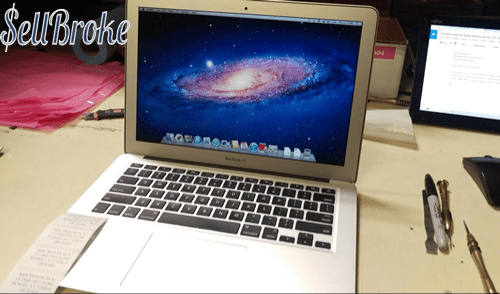
Disassembly instructions of Apple Macbook Air 13” 2011 (A1369) MC965LL/A
Intel i5 1.7GHz, 128GB SSD
Tools needed:
[custom_list style="list-9"]-
Metal/plastic opener tool
-
Plastic guitar pick
-
1.2mm pentalobe screwdriver
-
T5 Torx screwdriver
-
T9 Torx screwdriver
-
Small phillips screwdriver
Difficulty level: Medium
I would not recommend disassembly of this device to people without extensive disassembly experience. Not only are the components of this device very expensive to replace, but they are often difficult to remove and easily broken.
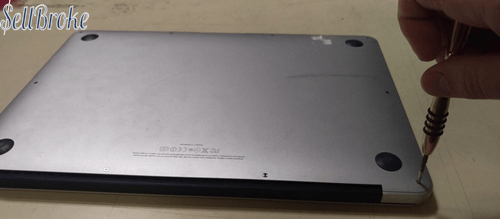
To begin, using a 1.2mm pentalobe screwdriver remove the screws on the bottom of the laptop. Be careful to use the correct size and type of screwdriver! They are easily stripped.

Using a plastic or metal opener tool, stick your tool between the case and the bottom cover. It should come off easily.
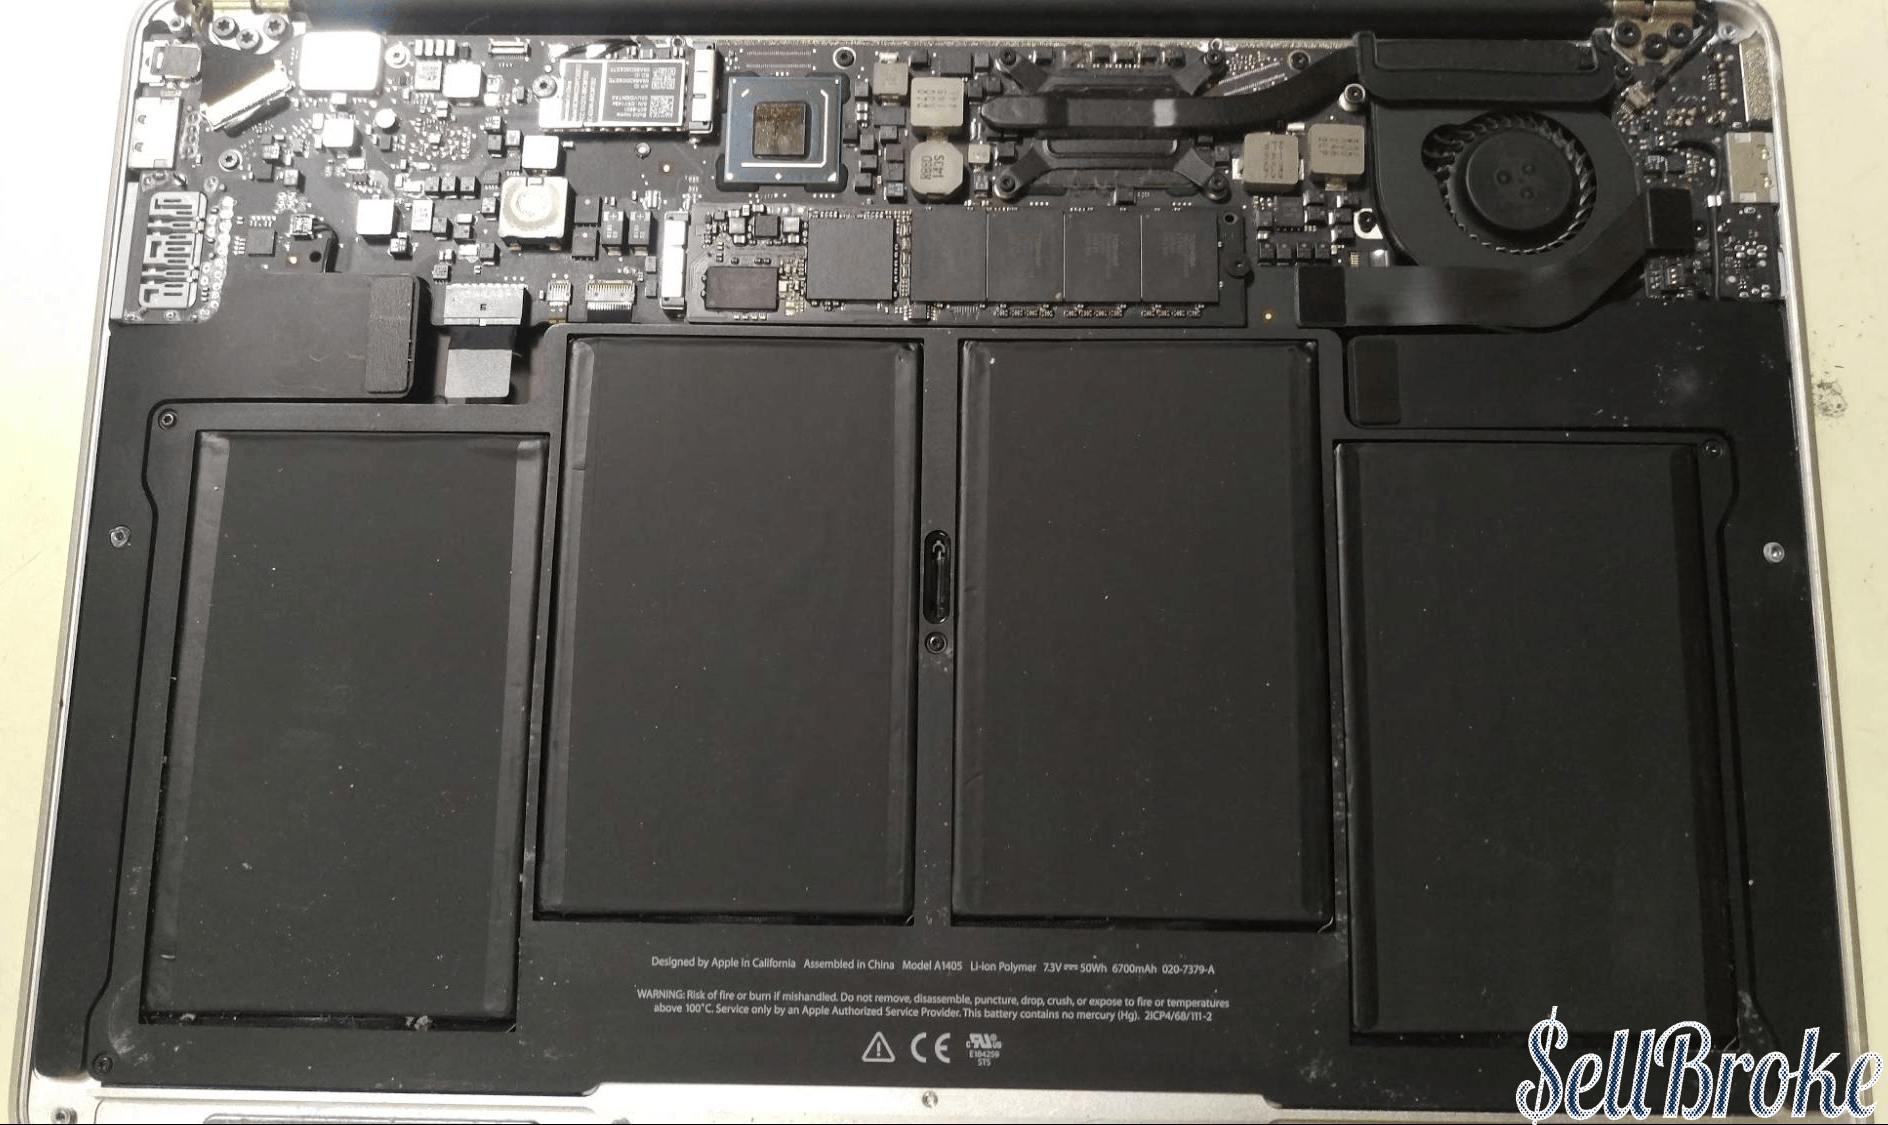
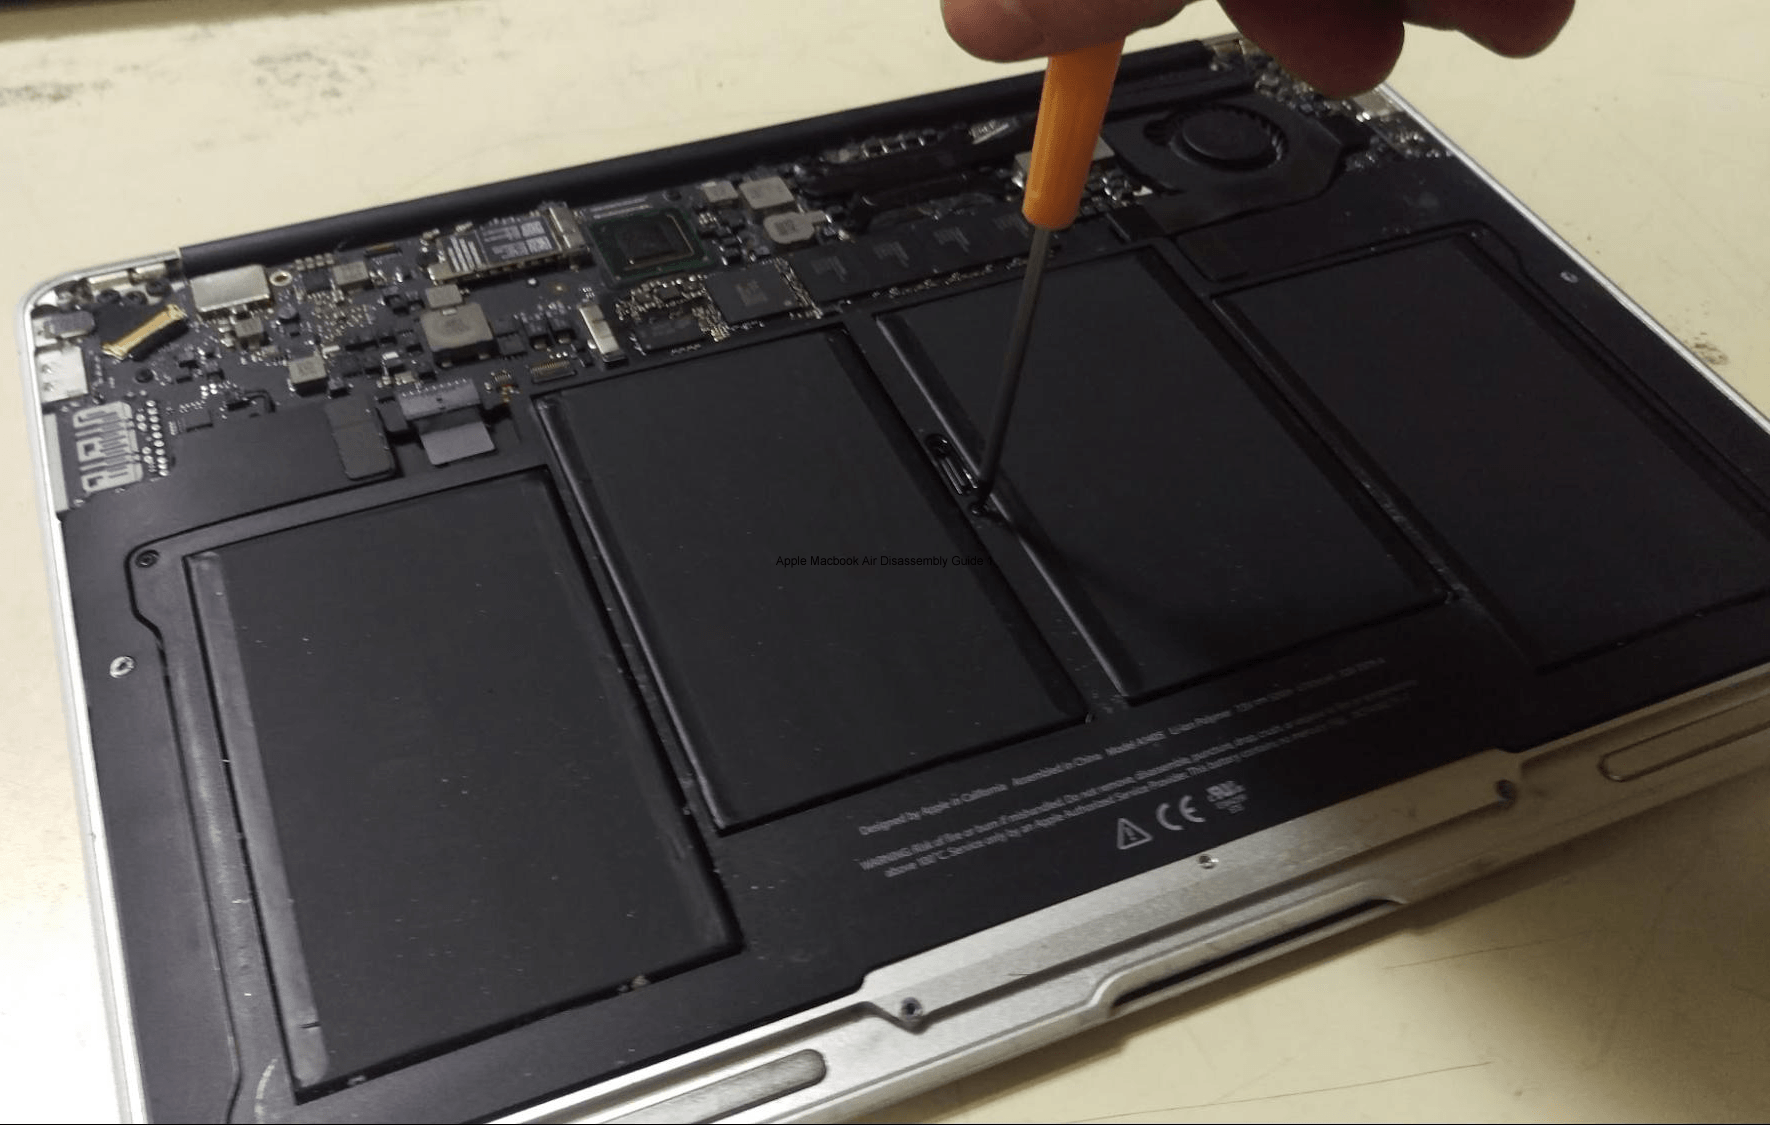
Now that we have access to the components, I started by removing the screws holding in the battery. A T5 Torx screw is necessary for this. To disconnect the battery, pull on the tab that is sticking up. Pull towards the battery, gently.

Lift up the battery gently and remove it from the frame. Thankfully, there is no glue holding in the battery and it is removed very easily.
Remove all the screws visible. Do not attempt removal of any components until all screws are removed!
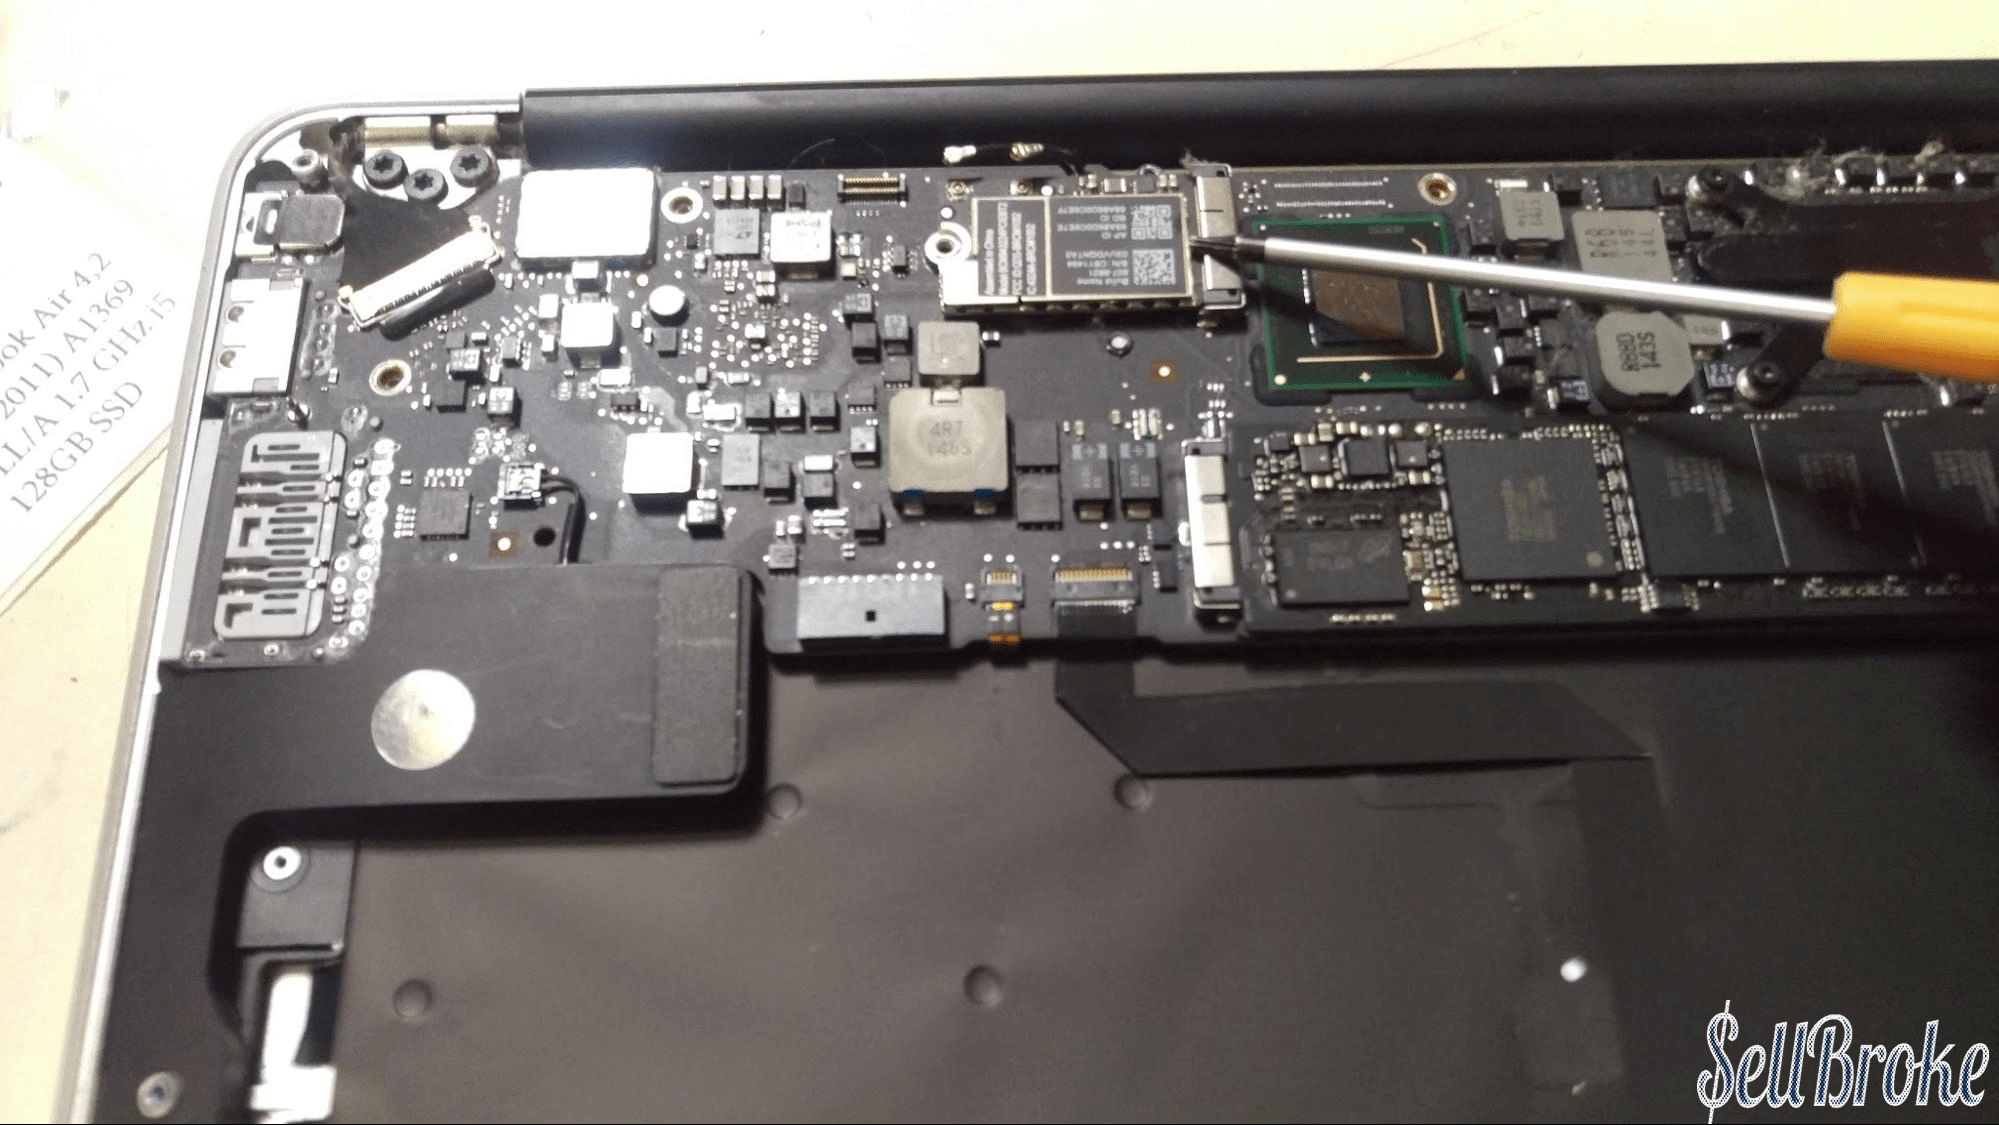
First, remove the wifi card. Simply remove the screw, then pull the card away from the connector.

Remove the LCD cable by prying up on the lever bar. Then simply pull away from the connector towards the LCD.
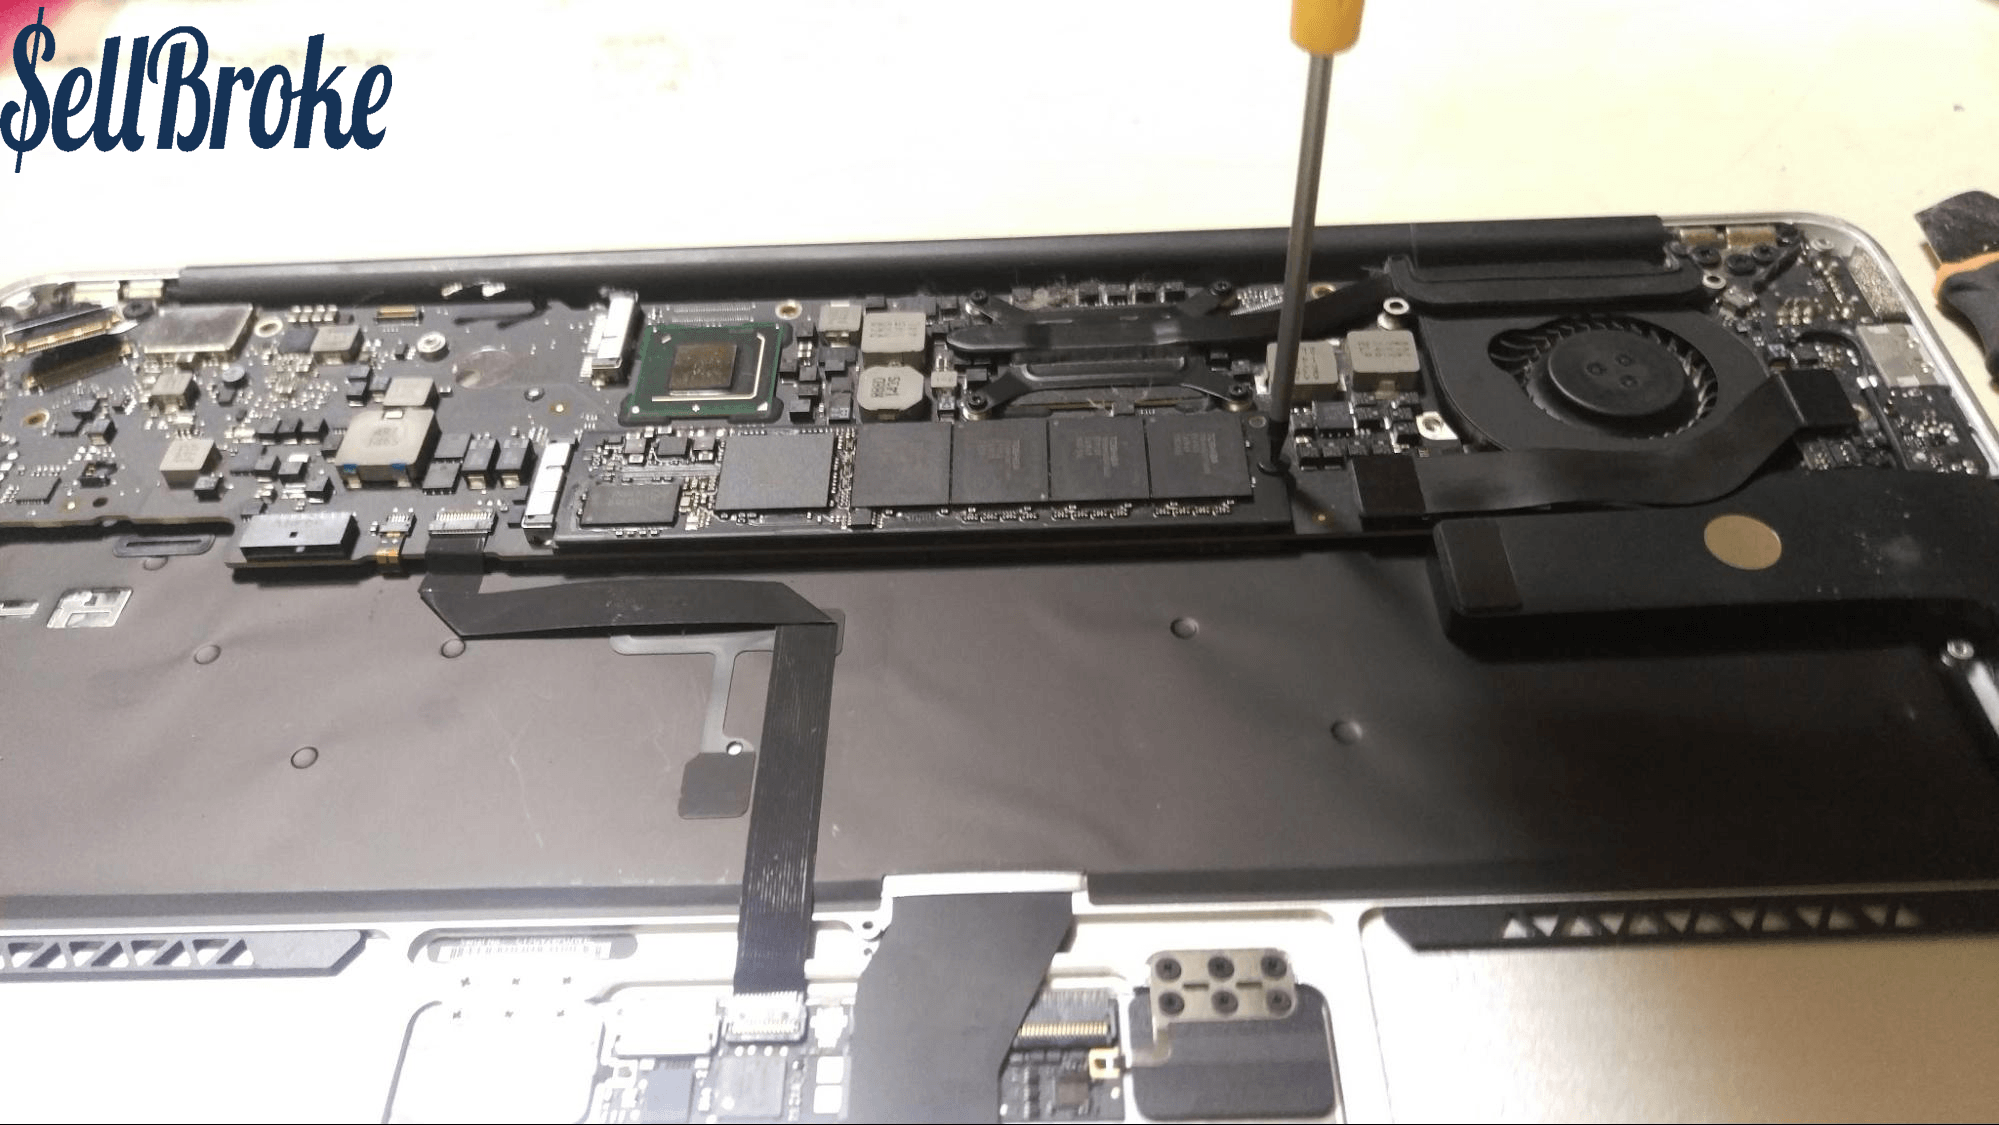

Remove the screw from the SSD, then lift up on the SSD. Pull away from the connector to remove the drive.
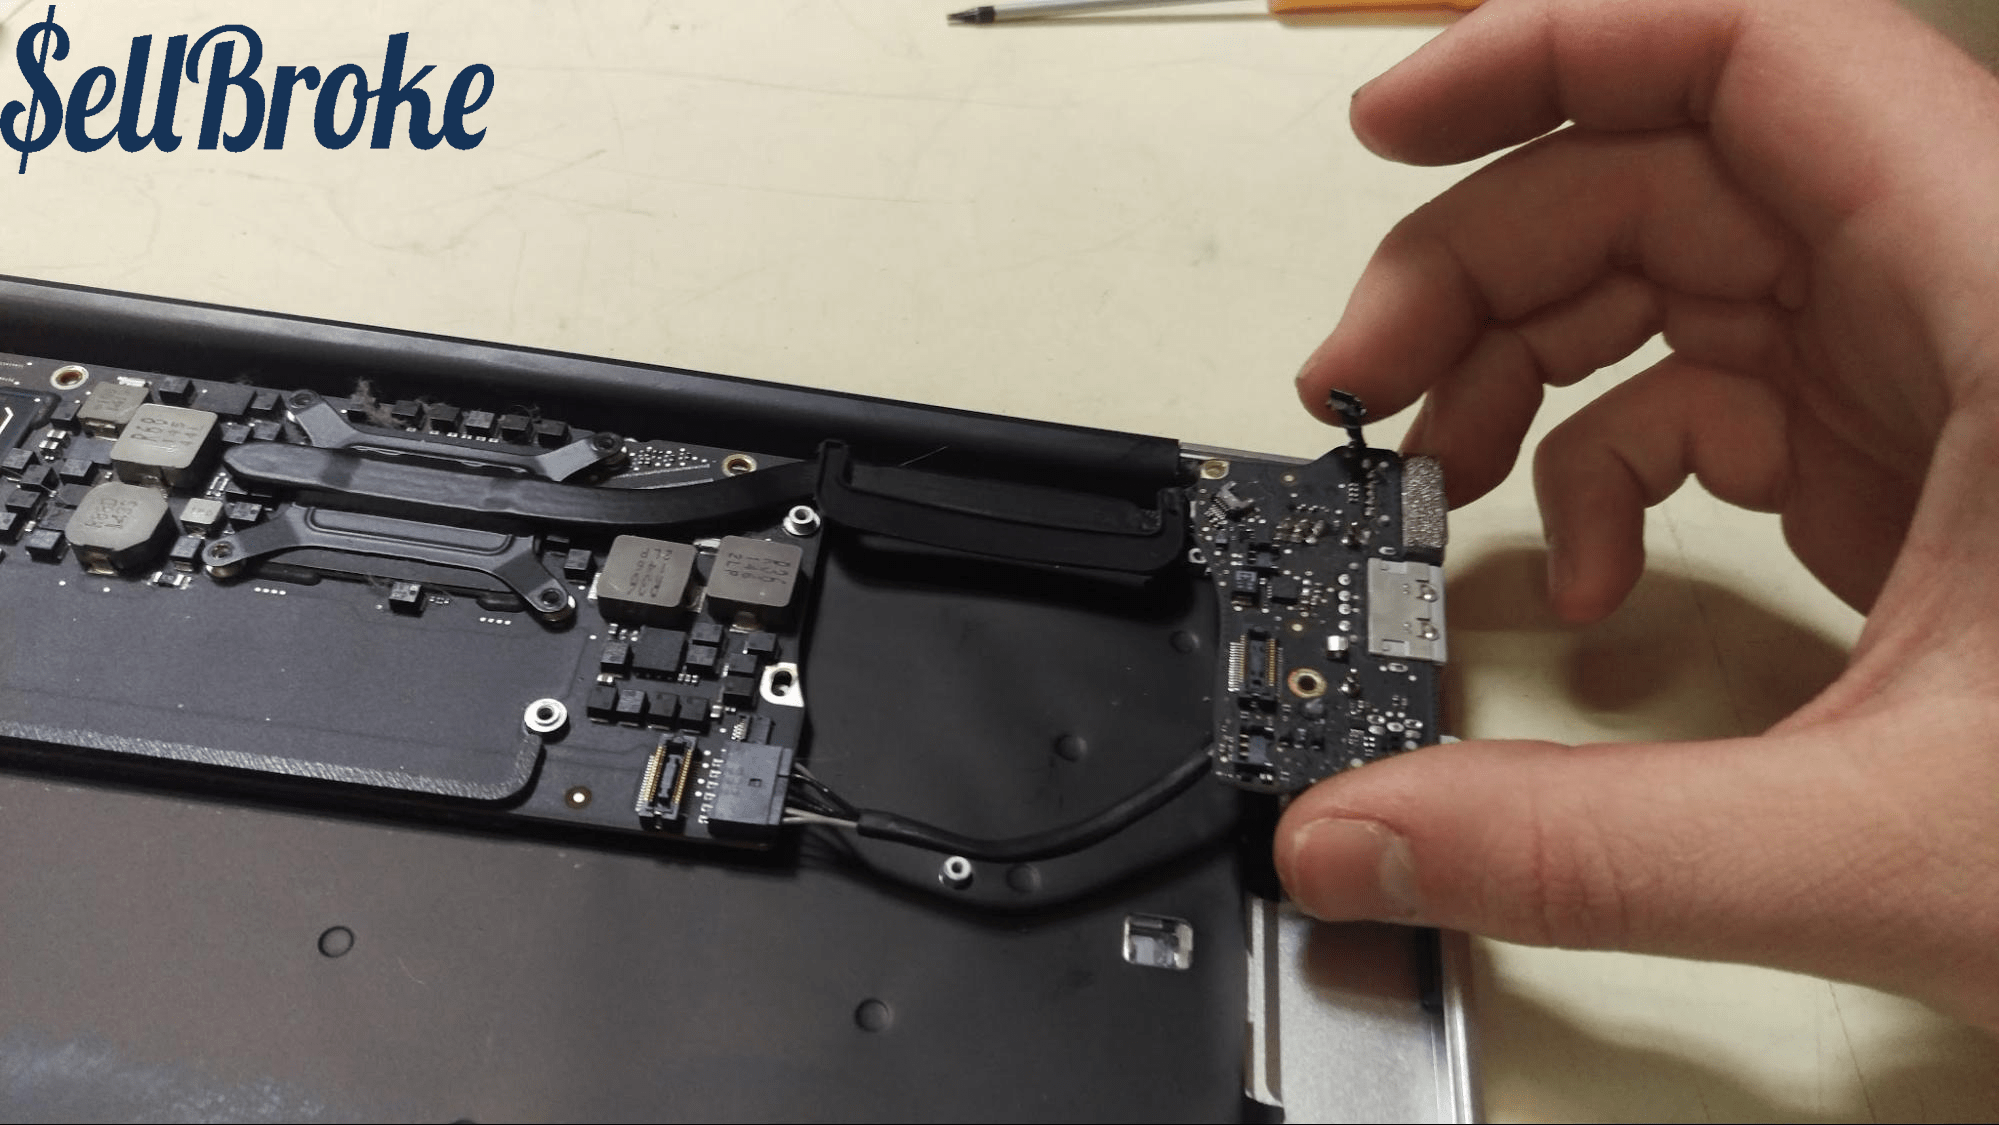
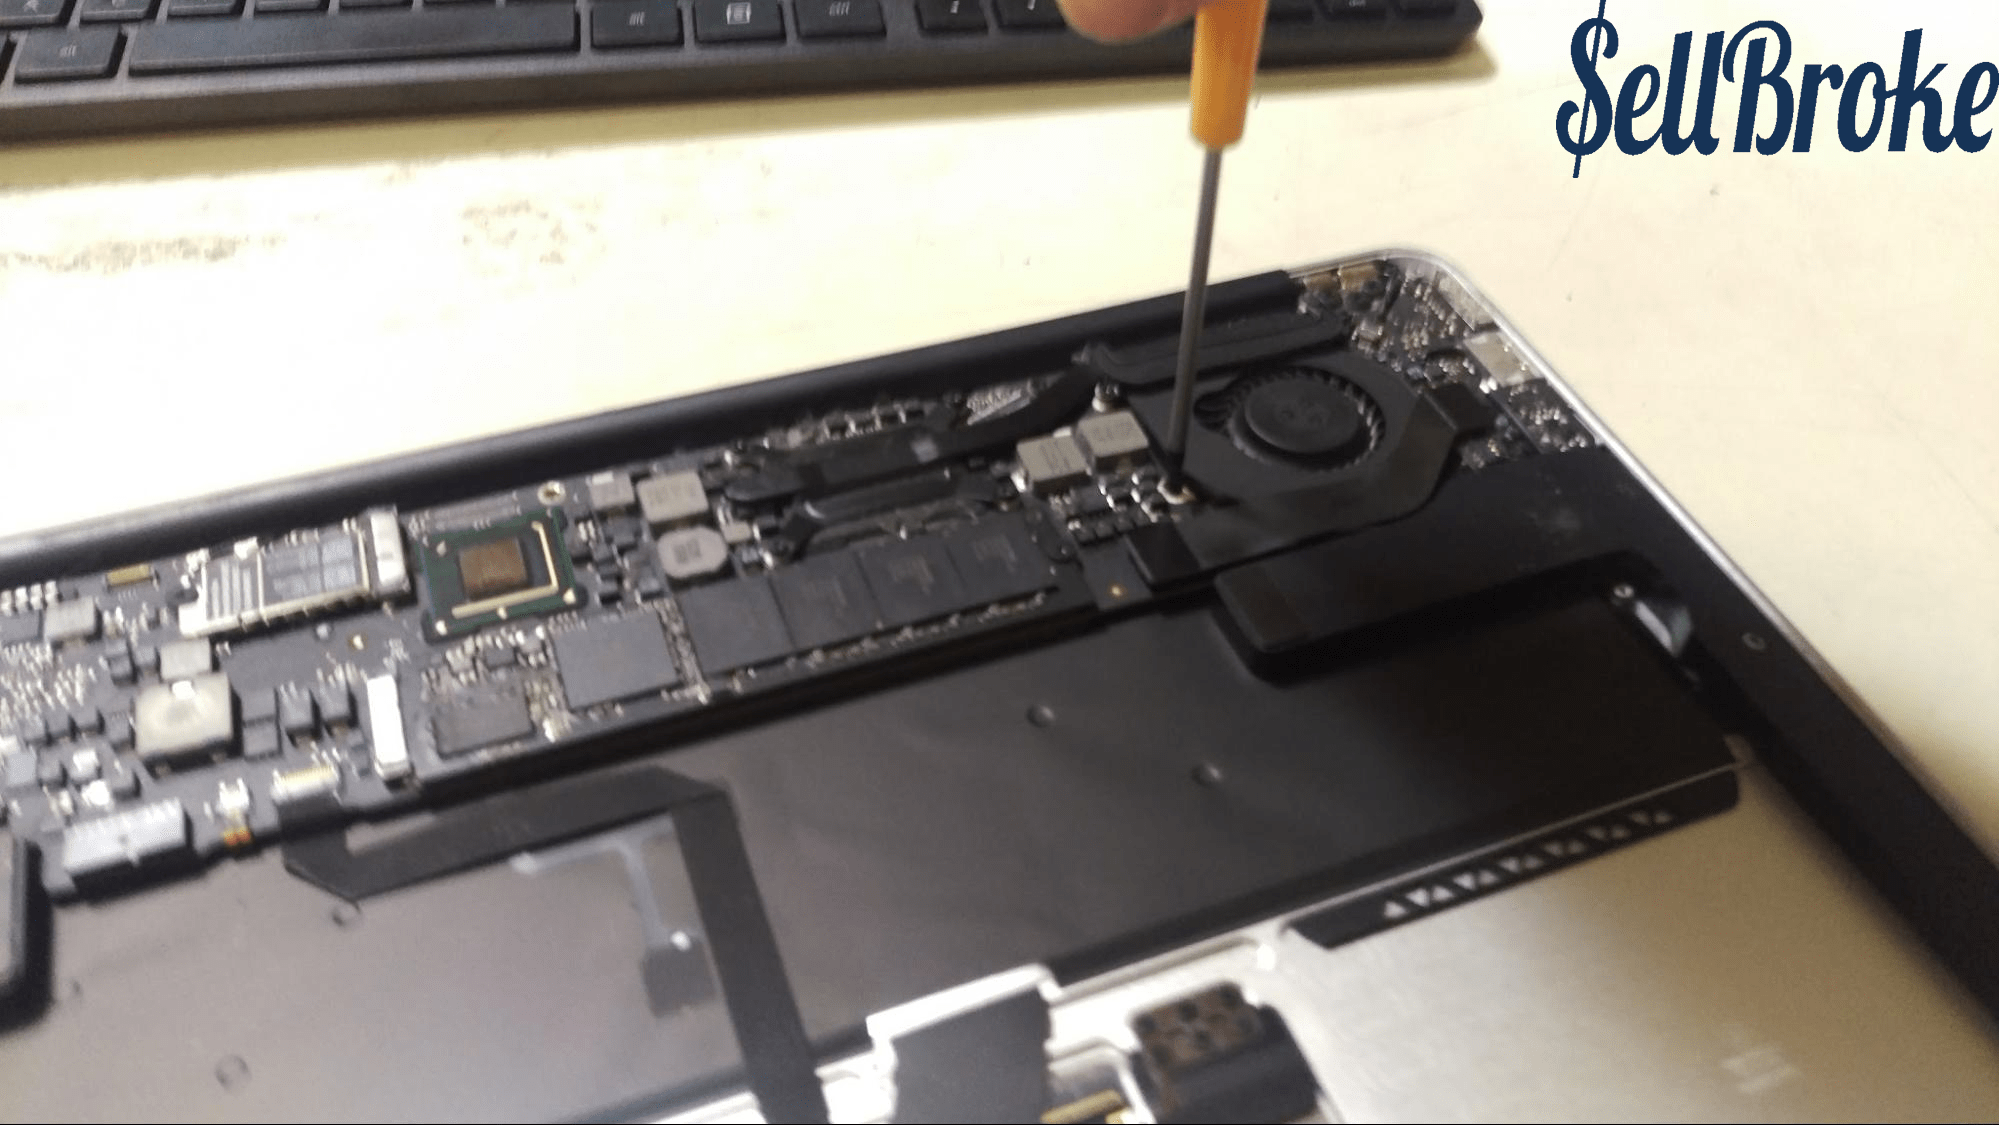
Gently pry up on the connector of the cable connecting the powerboard to the motherboard. Underneath this cable, there is a screw in the fan. Remove this, and the other screws holding in the fan, then pry up on the connector
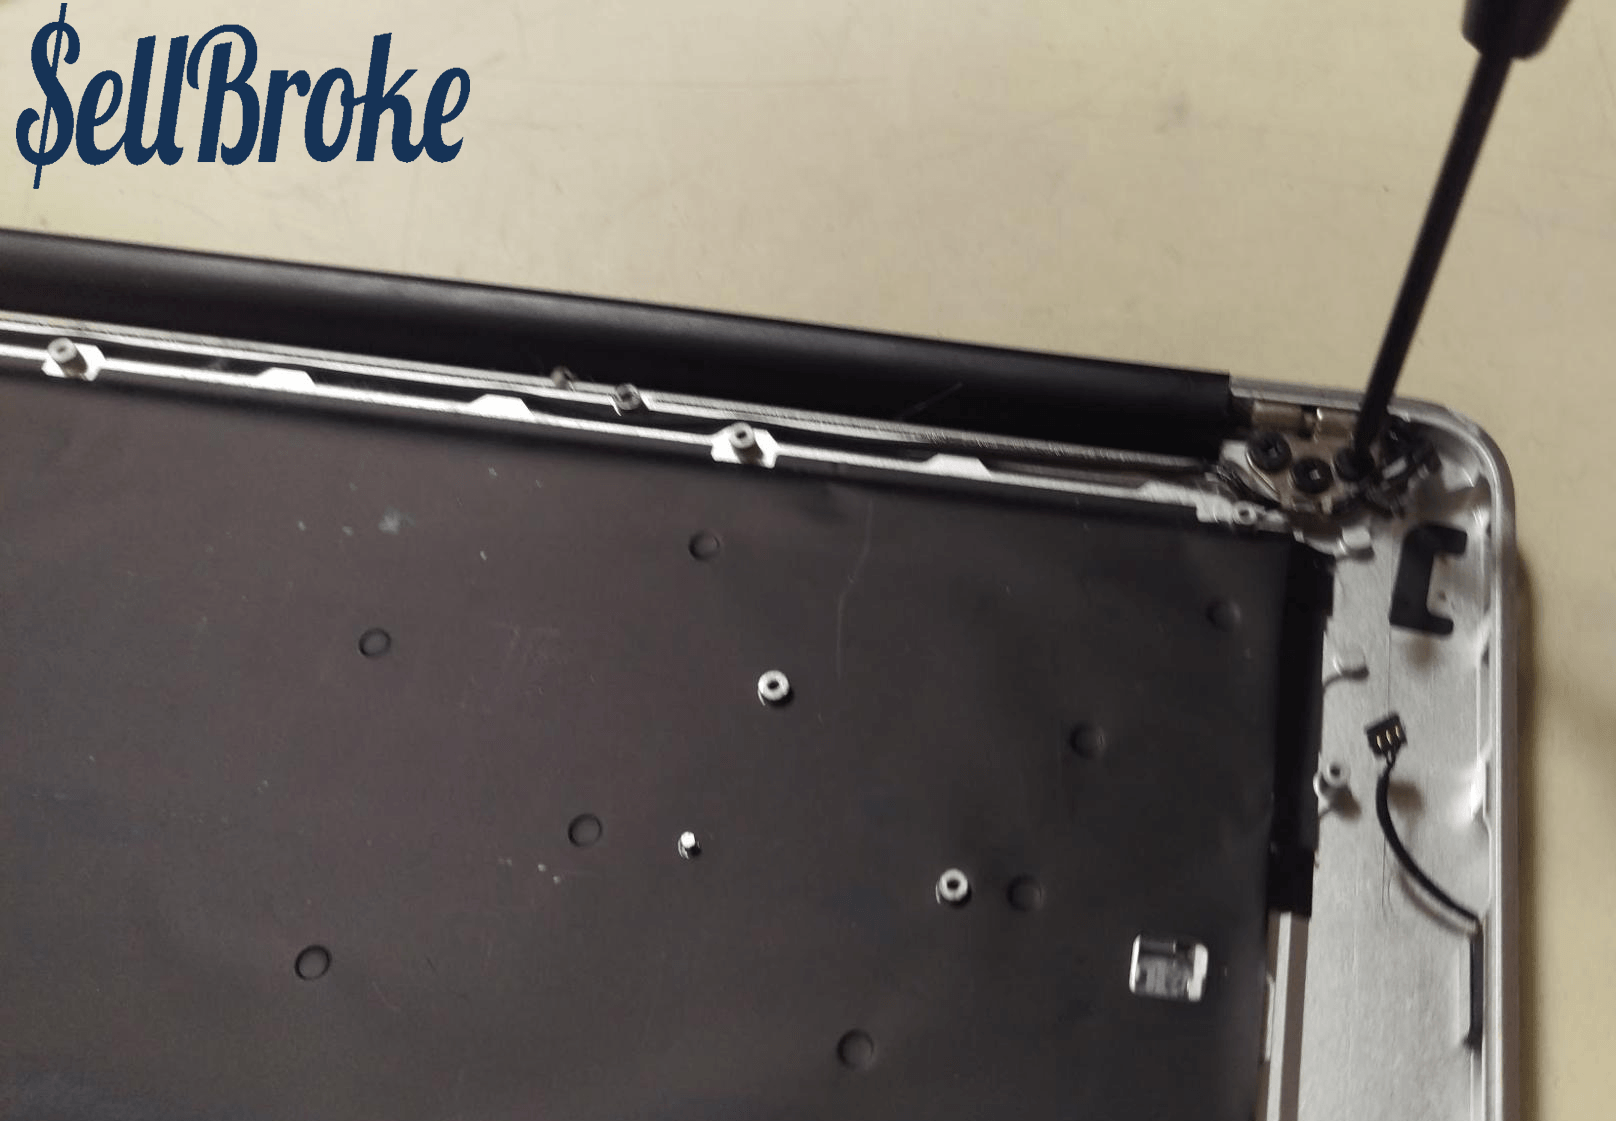
Using a T9 torx screwdriver, remove the screws holding the LCD bracket in. Bend the screen back away from the keyboard and it should separate easily.

Thanks for reading!
By Aden Webster