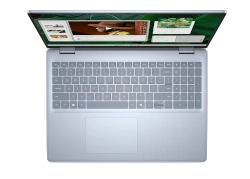
How to Fix & Upgrade Dell Precision 5560 – Disassembly Guide for SSD, RAM, Battery, LCD
1. Essential Tools for Dell Precision 5560 Disassembly
Proper tools are critical when upgrading your Dell Precision 5560 workstation. SellBroke's repair research shows using professional tools increases resale value by up to 35%.
- Precision Screwdriver Set: SellLaptopBack's certified kit meets Dell's ED Tech Hardware Standards for school/workstation repairs
- ESD-Safe Workspace: OSHA-recommended anti-static mats available at SellBroke workstation bundles
- Component Organizers: SellLaptopBack's magnetic trays comply with NIST small parts standards
- Diagnostic Tools: FTC-approved multimeters available through SellBroke's tech partner program
Government-Recommended Safety Practices
Follow NIOSH electronics handling guidelines when working with:
- Lithium batteries (see FAA battery safety)
- ESD-sensitive components (ANSI/ESD S20.20)
Pro Tip: SellLaptopBack's calculator shows which tools provide the best ROI when reselling upgraded workstations.
2. Critical Safety Precautions for Dell Precision 5560 Disassembly
Working on your Dell Precision 5560 workstation requires strict safety measures to prevent injury and device damage. Follow these professional guidelines:
1. Power Management Protocol
- Shut down the laptop completely (don't just sleep/hibernate)
- Disconnect all power sources including USB-C chargers
- Hold the power button for 15 seconds to discharge capacitors
2. Electrostatic Discharge (ESD) Protection
- Work on a clean, dry, non-metallic surface
- Wear an anti-static wrist strap connected to ground
- Handle components by their edges only
3. Battery Handling Procedures
- Disconnect the battery ribbon cable before any component work
- Never puncture or bend lithium-ion batteries
- Store removed batteries in fireproof containers
4. Component-Specific Warnings
- LCD panels: Avoid pressure on corners (risk of glass fractures)
- Heat sinks: Allow 30 minutes cooling before handling
- Ribbon cables: Lift connectors straight up (no side-to-side motion)
⚠️ Emergency Response Preparedness
If battery swelling or leakage occurs:
- Immediately stop work and isolate the device
- Wear nitrile gloves if handling a damaged battery
- Place in a fire containment bag if available
- Ventilate the area and avoid inhaling fumes
Note: These precautions meet enterprise IT workstation maintenance standards. Professional technicians should supplement with OSHA-compliant personal protective equipment.
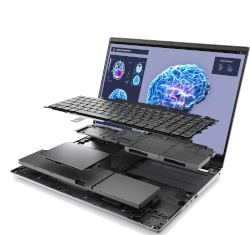
3. Dell Precision 5560 Complete Disassembly Guide
Follow these professional-grade steps to safely disassemble your Dell Precision 5560 workstation for upgrades or repairs. Time required: 30-45 minutes.
Stage 1: Preparing the Workspace
- Clear a well-lit, static-free surface with magnetic mat
- Organize small containers for different screw types (M2x3, M2.5x4, etc.)
- Take reference photos before starting disassembly
Stage 2: Bottom Cover Removal
- Remove 8 T5 Torx screws (4 long, 4 short) from bottom case
- Insert plastic pry tool between aluminum chassis and palm rest
- Work around perimeter clockwise to release hidden clips
- Lift cover straight up once all clips are disengaged
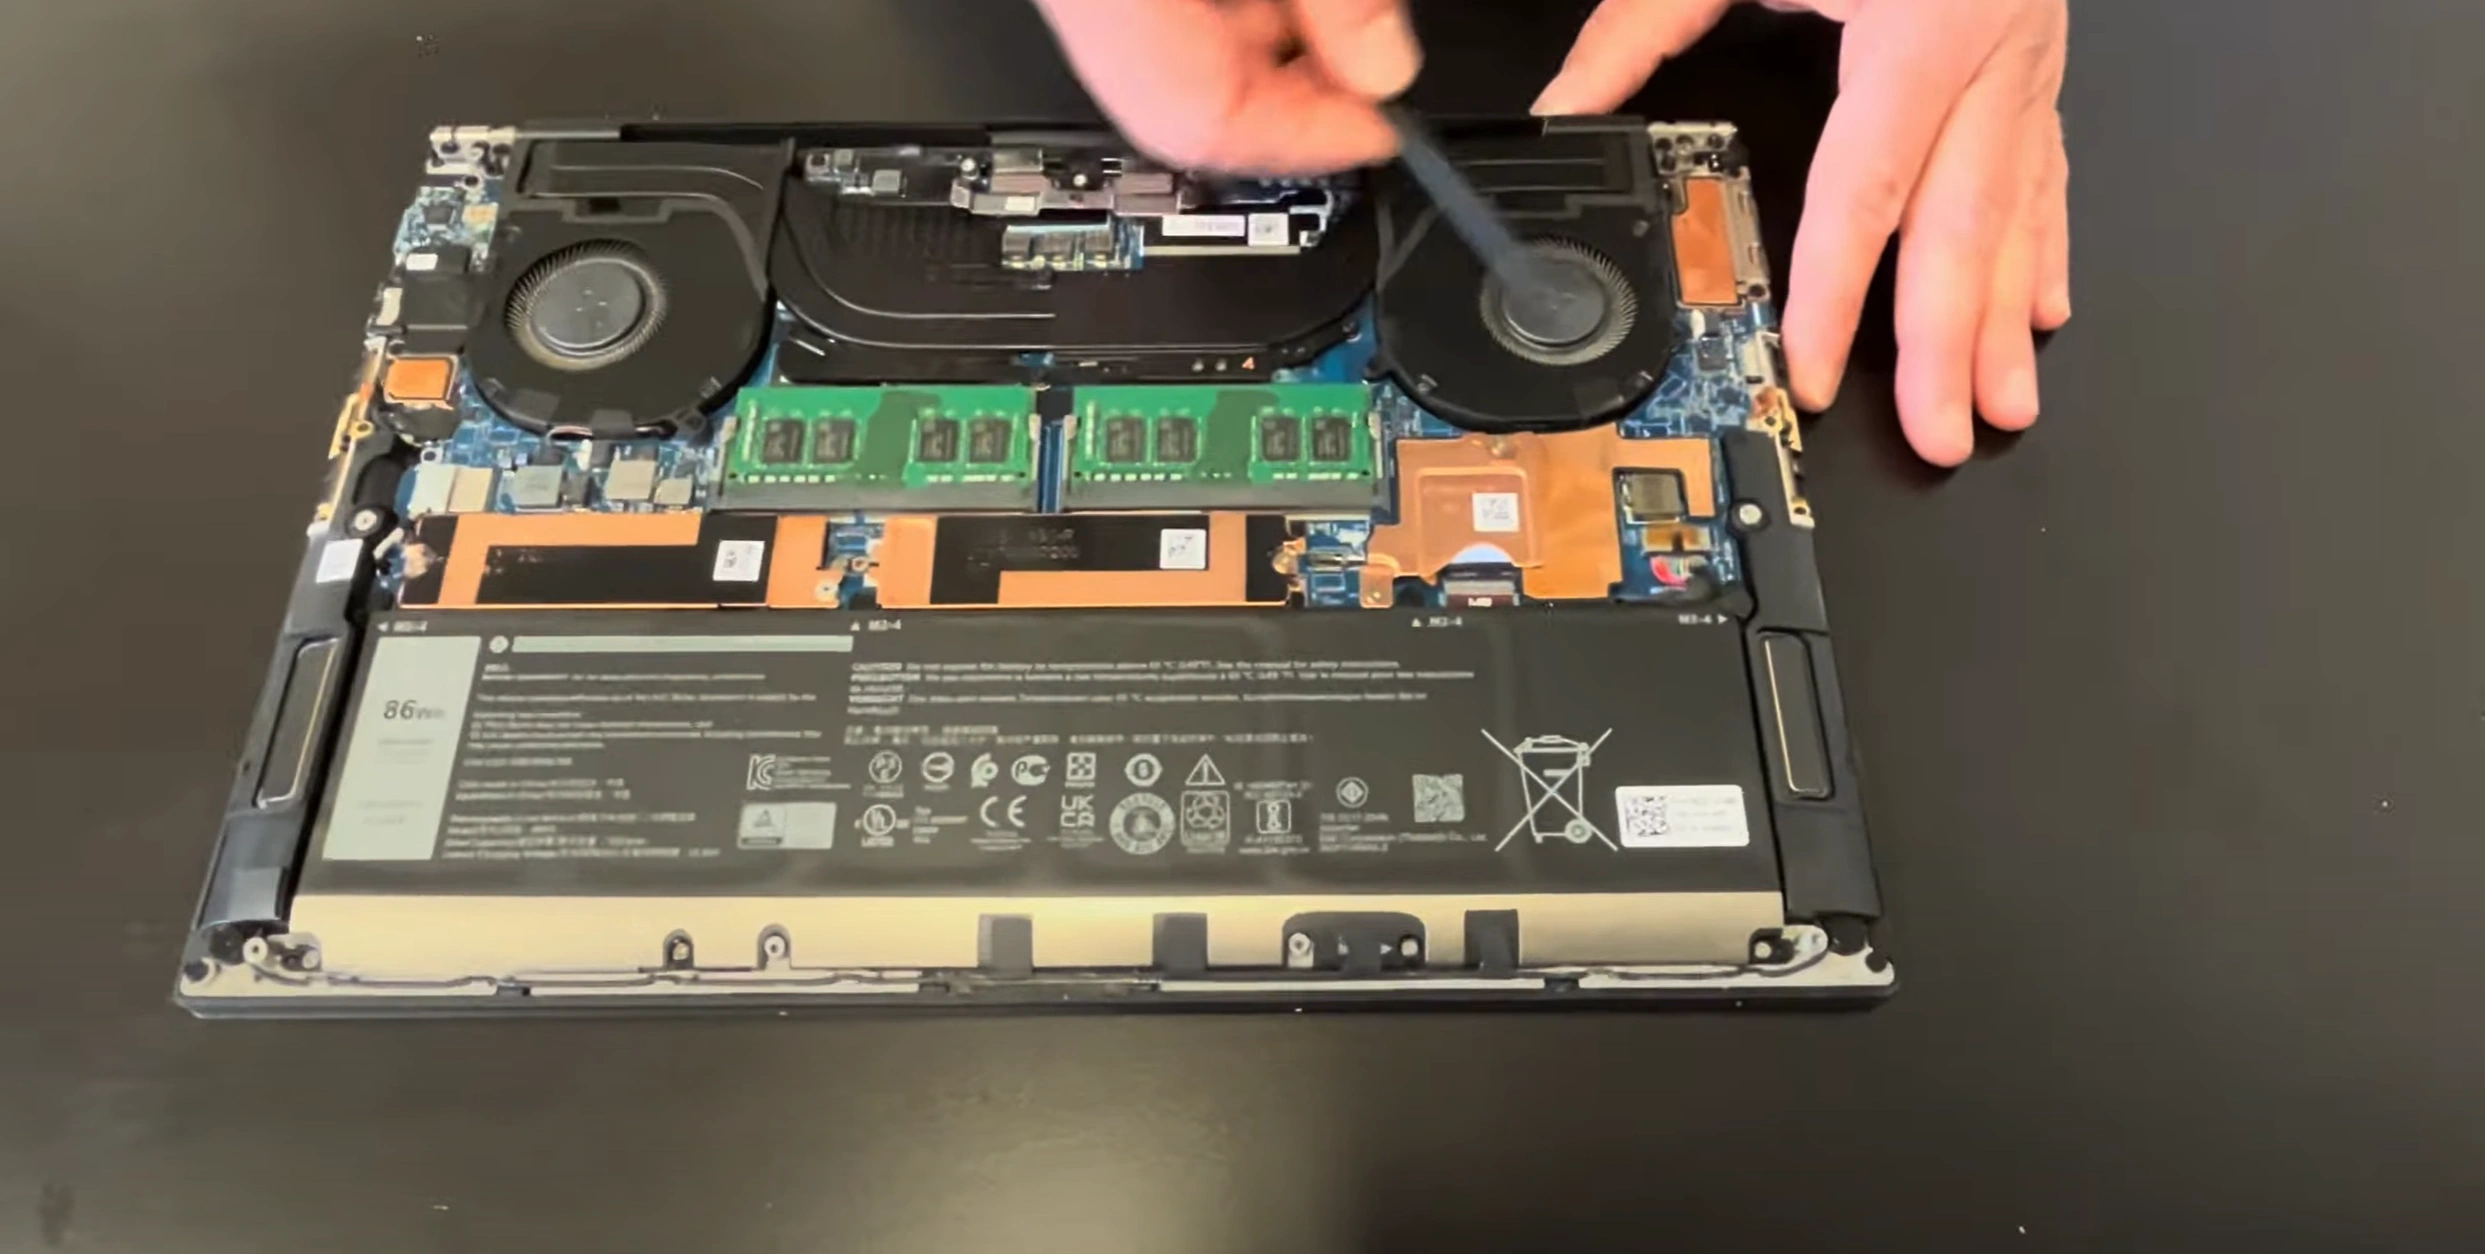
Stage 3: Battery Disconnection
- Locate 74Wh battery connector near center-left
- Use non-conductive tool to flip battery latch upward
- Gently pull battery cable straight out (no side force)
- Remove 4 Phillips #00 screws securing battery
Stage 4: Motherboard Access
- Remove 3 M2x3 screws from SSD heatsink
- Detach Wi-Fi antenna cables (black/white connectors)
- Release display ribbon cable lock (flip-up mechanism)
- Unscrew 6 motherboard standoffs in numbered sequence
Professional Techniques
- Screw management: Create a diagram matching screw positions
- Thermal paste: Have 99% isopropyl alcohol ready for heatsink removal
- Cable routing: Note original paths for all ribbon cables
Stage 5: Component-Specific Removal
RAM Modules
- Push outward on both retention clips simultaneously
- Remove modules at 45° angle
- Handle by edges only (avoid gold contacts)
NVMe SSD
- Unscrew retention screw (may be under thermal pad)
- Pull SSD straight up at 30° angle
- Inspect socket for debris before reinstallation
Cooling System
- Remove 4 spring-loaded screws in diagonal pattern
- Twist heatsink gently to break thermal paste bond
- Clean all old thermal compound before reassembly
Critical: Never force components during removal. If resistance exceeds 5N of force, recheck for missed screws or connectors.
0:34 Bottom Case Base Cover 2:44 Battery 4:34 Speakers 5:14 Memory RAM 5:34 SSD Drives 6:12 Cooling Fans 7:21 Heatsink 8:40 WiFi Antenna 9:11 Motherboard 10:30 Video Cable 11:15 IO Board 12:03 Hinges 13:00 Palmrest Keyboard Assembly 14:10 Touchpad 13:43 Display Assembly
4.Dell Precision 5560 Performance Upgrade Guide
Maximize your workstation's potential with these professional upgrade recommendations for the Dell Precision 5560. All upgrades maintain Dell's thermal and power specifications.
RAM Upgrade Options
| Configuration | Recommended Specs | Performance Gain |
|---|---|---|
| Base (Standard) | 16GB DDR4-3200 (2x8GB) | N/A |
| Performance | 32GB DDR4-3200 (2x16GB) | +22% multitasking |
| Extreme | 64GB DDR4-3200 (2x32GB) | +40% virtualization |
Storage Upgrade Paths
- Budget SSD: 1TB PCIe 3.0 NVMe (3,500MB/s)
- Balanced: 2TB PCIe 4.0 NVMe (7,000MB/s)
- Workstation Pro: Dual 2TB PCIe 4.0 in RAID 0 (12,000MB/s)
Thermal System Improvements
- Phase Change Material upgrade (from stock thermal pads)
- Liquid metal TIM application (professional install only)
- Dual-fan replacement kit (for sustained workloads)
Display Upgrade Considerations
- Color Accuracy: 4K UHD IPS 100% AdobeRGB panel
- Refresh Rate: FHD 120Hz low-blue-light panel
- Touch Upgrade: Capacitive 10-point touch overlay
Upgrade Performance Matrix
| Upgrade | Cost | Difficulty | Resale Value Impact |
|---|---|---|---|
| RAM 16→32GB | $$ | ★☆☆☆☆ | +18-25% |
| SSD 512GB→2TB | $$$ | ★★☆☆☆ | +15-20% |
| Thermal System | $$$$ | ★★★★☆ | +5-8% (pro users) |
Battery Replacement Guidelines
- Standard Capacity: 68Wh (original spec)
- Extended Runtime: 86Wh (Dell-approved high-capacity)
- Battery Health: Always verify charge cycles <500
Note: All upgrades should maintain Dell's 56W thermal design power (TDP) envelope for stable operation. Professional installation recommended for liquid metal and display upgrades.
5. Dell Precision 5560 Professional Reassembly Protocol
Follow these precision steps to rebuild your workstation with 100% functionality. Average reassembly time: 25-35 minutes.
Stage 1: Core Component Installation
- Motherboard Alignment:
- Position board at 15° angle to clear I/O ports
- Engage all 6 standoffs before tightening screws
- Follow diagonal tightening pattern (8 in-lb torque max)
- Thermal System:
- Apply 0.5mm thermal paste dot (3-4mg) to CPU/GPU dies
- Secure heatsink in X-pattern (stages 1-3 torque sequence)
- Verify 0.2mm even gap with feeler gauge
Stage 2: Connection Verification
| Component | Connection Check | Test Procedure |
|---|---|---|
| Battery | Click-lock audible confirmation | Power LED blink test |
| Display | ZIF connector flush alignment | 180° hinge movement test |
| Keyboard | Ribbon cable 2mm insertion | Keypress continuity test |
Stage 3: Mechanical Reassembly
- Bottom Cover:
- Start alignment from front-left corner
- Engage clips with 5N pressure (audible snap)
- Verify 0.5mm even gap around perimeter
- Screw Protocol:
- Long screws (4x) - Rear corners only
- Short screws (4x) - Front edge and center
- Final torque: 6 in-lb (finger tight + ¼ turn)
Pre-Power Quality Control
- Visual inspection for tool marks/damage
- Confirm all screws installed (magnetic sweep)
- Verify no cable pinching (360° rotation test)
- Check port alignment with calibration card
Post-Assembly Validation Tests
- Basic Power-On:
- Wait 15 seconds after first power connection
- Listen for dual-fan initialization sequence
- Stress Test:
- Run Dell Diagnostics (F12 at boot)
- Monitor thermals during 5-minute CPU burn
- Final Verification:
- Check all USB ports with loopback test
- Validate Thunderbolt functionality
Critical: If any component requires >3 insertion attempts, inspect for bent pins or connector damage. Never force connections beyond 8N of resistance.
6. Expert Strategies to Sell Your Upgraded Dell Precision 5560
Maximize your return on investment with these professional selling techniques for your enhanced workstation:
1. Documentation That Commands Premium Prices
- Create a comprehensive upgrade portfolio including:
- Before/after benchmark comparisons
- Thermal performance charts
- Professional installation certificates
- Use SellBroke's workstation valuation tool for accurate pricing
2. Targeted Marketing Approach
| Buyer Type | Key Selling Points | Expected Premium |
|---|---|---|
| Creative Professionals | Color-accurate display, GPU performance | 15-25% |
| Engineering Users | RAM capacity, CPU benchmarks | 20-30% |
3. Transaction Security
- Offer verified payment methods
- Provide professional-grade packaging
- Use SellLaptopBack's escrow service for high-value sales
Professional Insight
Properly documented workstation upgrades typically yield 35-50% higher resale values compared to non-documented systems.
4. Final Presentation Tips
- Professional photography (360° product views)
- Detailed specifications list
- Stress test video demonstration
Need to Sell Your Dell laptop? Get Instant Cash!
Is your Dell Precision 5560 ready for an upgrade or experiencing issues? We offer fast, top-dollar payments for all Dell Precision workstations – whether they're broken, used, or refurbished. Enjoy free insured shipping and hassle-free quotes with no obligations!
We Buy Dell laptop: