Dell Inspiron 17R 3721 Laptop Disassembly Guide
Large display and attractive price tag make Dell Inspiron 17R 3721 a popular choice. Being a 17-inch screen size laptop Dell 17R is a great desktop replacement for those who want a laptop but don’t want to spend $1000 or more. Priced under $500 Dell 3721 offers a great price to performance ratio.
For the 17-inch screen size the laptop is really slim and light weighing close to 6 pounds.
Lower price comes with some sacrifices which took mainly on the display. The screen isn’t offered with a touch feature and the resolution is only 1600 x 900.
Non backlit keyboard and simple body design add to the feeling that it is not a premium machine.
Yet it’s sufficient to many users wanting a laptop that works well and doesn’t completely drain the wallet.
The Dell 17R 3721 came out in three Intel processor versions with Core i3, i5 and i7.
We are proud and happy to present you with our disassembly instructions of the Intel Core i3-3227U based model.
The laptop has a bottom cover door that allows quick access to the memory and hard drive. Also battery is easily removable which can be used to cut power off fast in case of a liquid spill accident. Additionally the battery can be replaced or removed if the laptop is plugged in constantly to the wall.
Disassembly of Dell Inspiron 17R 3721 P17Eaq Core i3
Difficulty Level: Easy
Tools needed:
[custom_list style="list-9"]-
#1 Phillips Screwdriver
-
#2 Phillips Screwdriver
-
Plastic and Metal Opener tools
-
Plastic pick


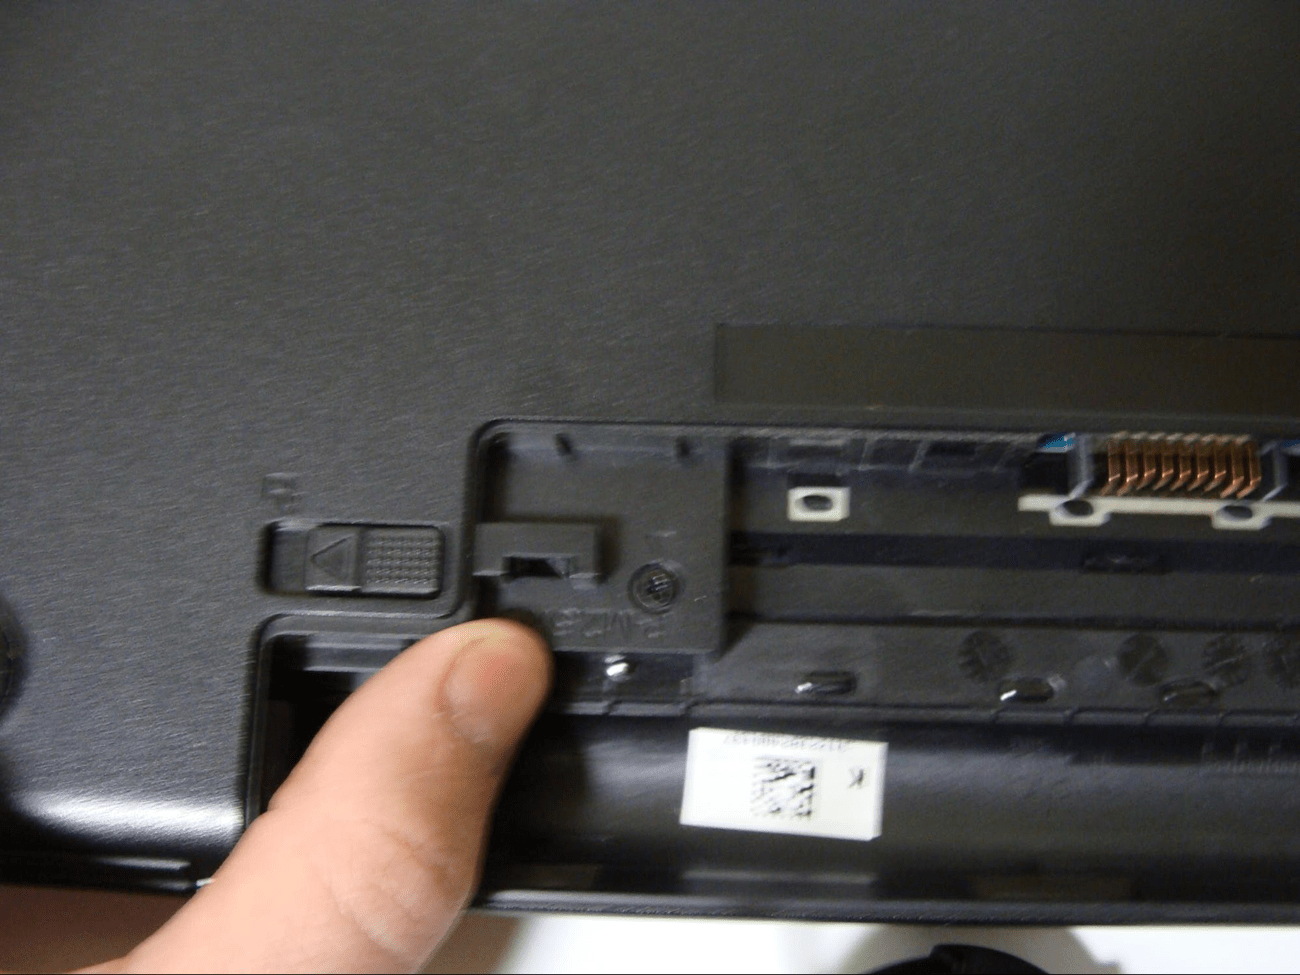
First, remove the battery. Do this by ensuring the locking tabs are open, there are two, as shown, then lift up on the battery. This step is important before doing anything else, since you do not want there to be power to any components while disassembling.
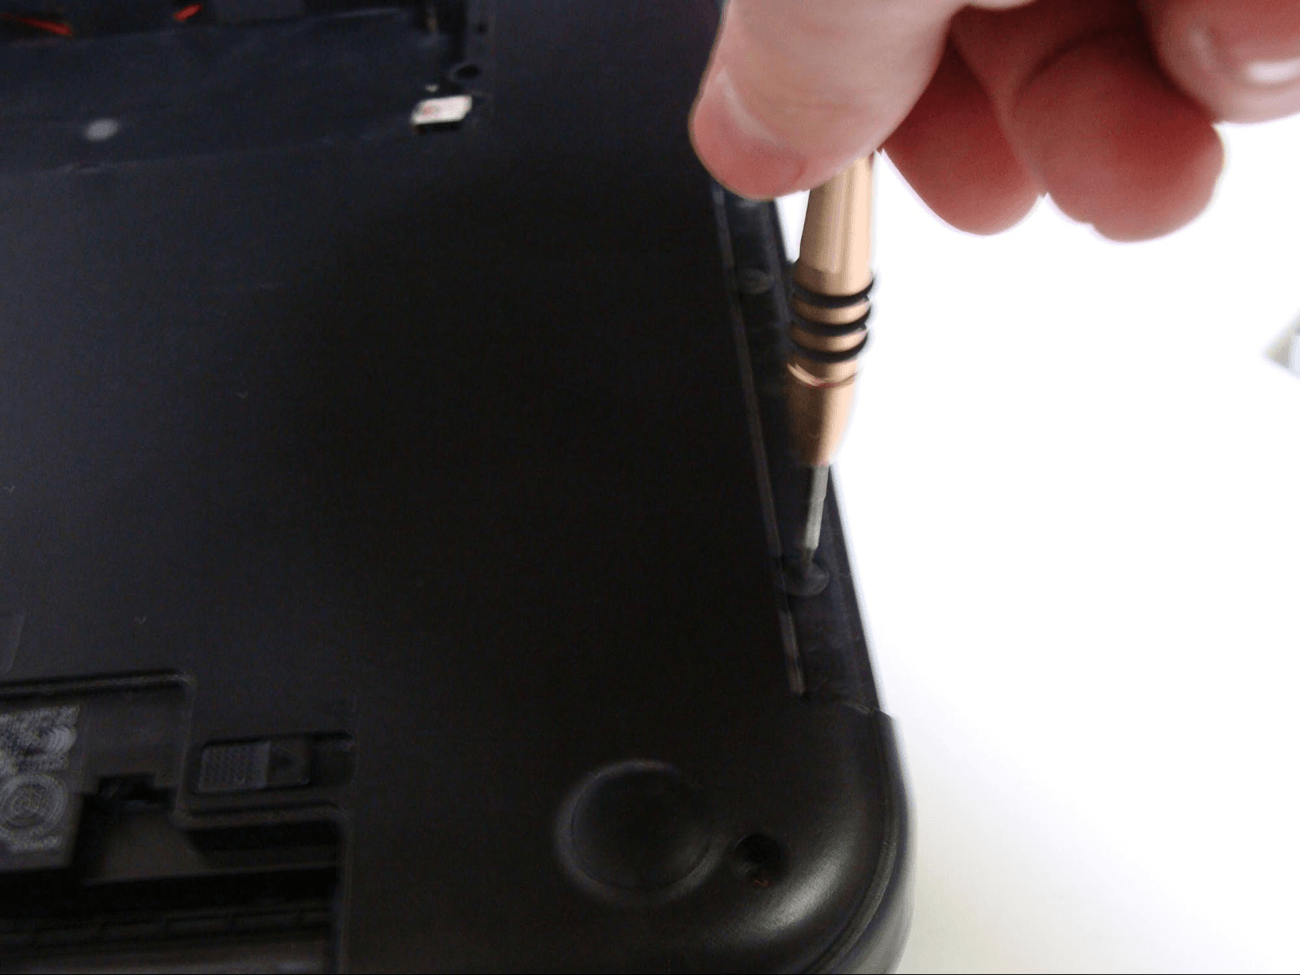
Next, start to remove screws on the bottom case. You will need a #1 Phillips Screwdriver for this. In order to remove the bottom cover, you will also need to remove the RAM/HDD access panel, as there are screws underneath this. Remove the two screws on either side of the panel, then using a plastic pry tool, pry between the bottom cover and the panel. It should come up easily.
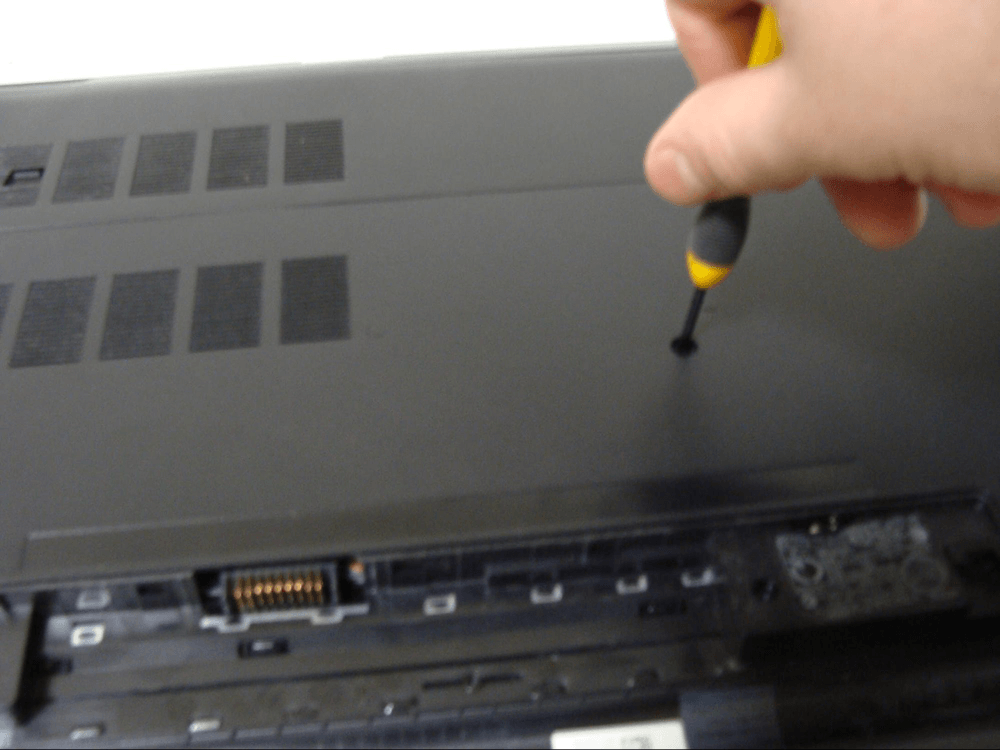
Once the panel is open, remove the remaining screws as shown.
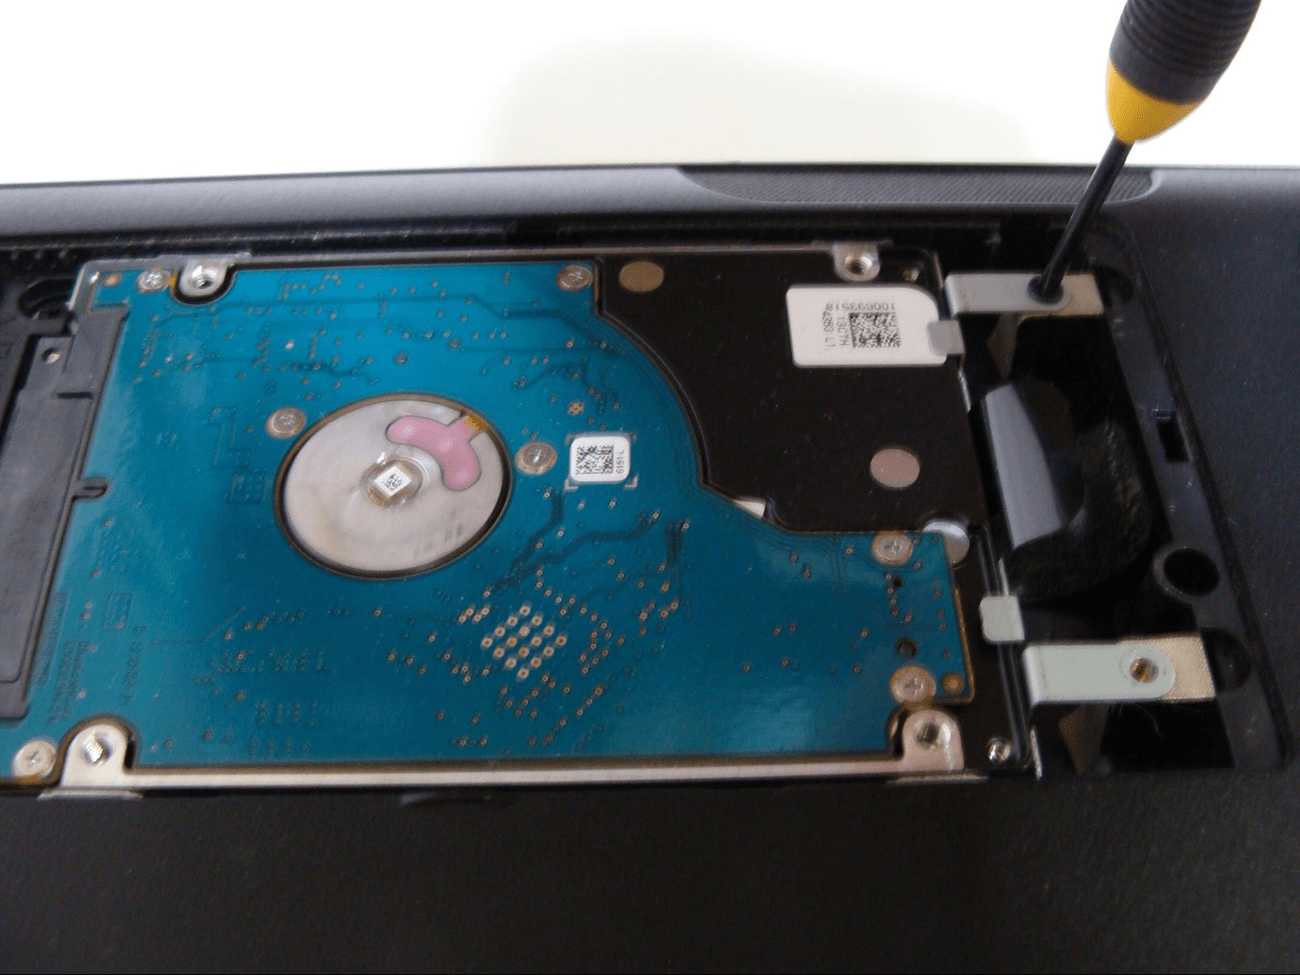
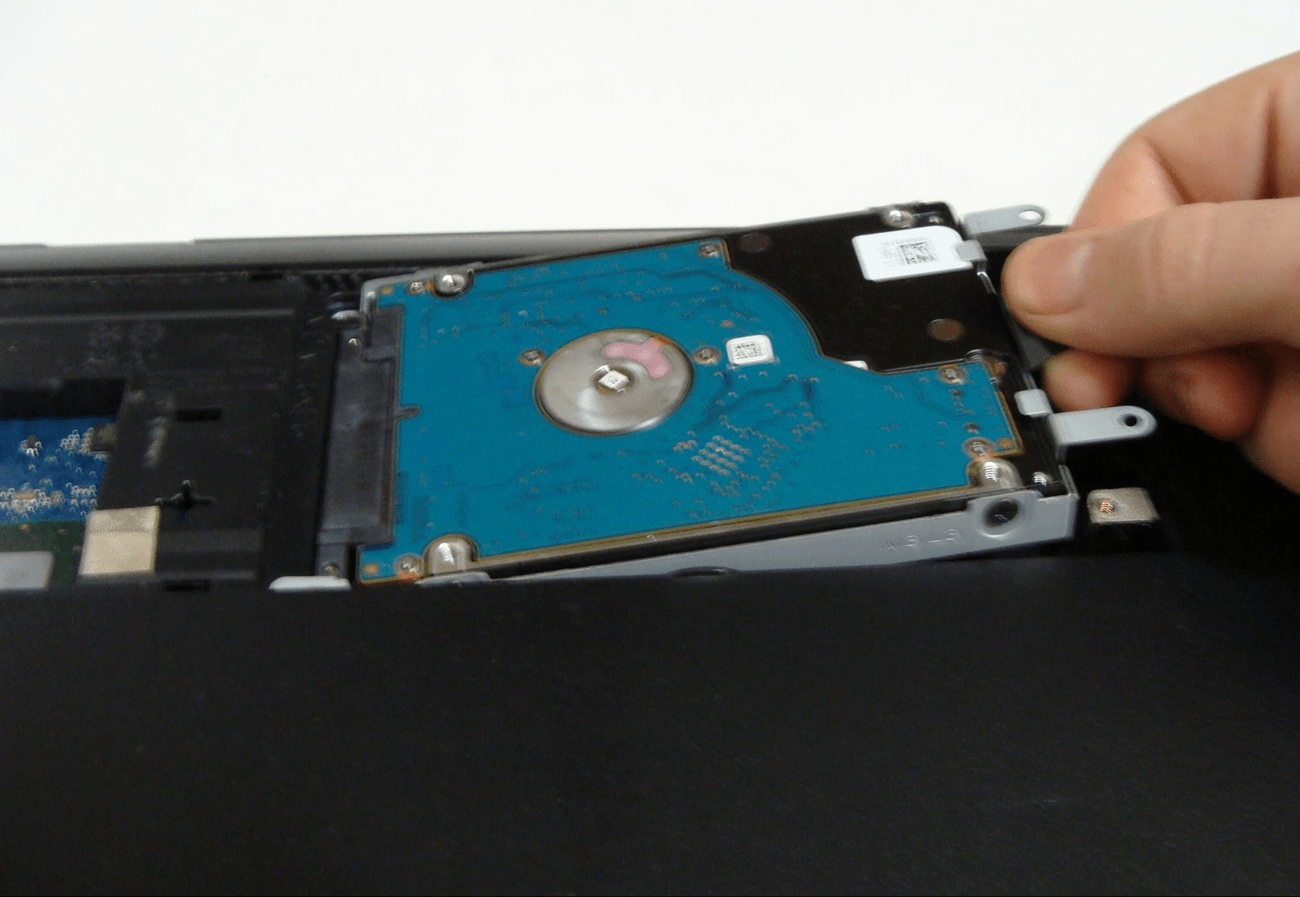
Then remove the HDD caddy screws. Then remove the hard drive by simply pulling up on the black tab as shown, then away from the motherboard.
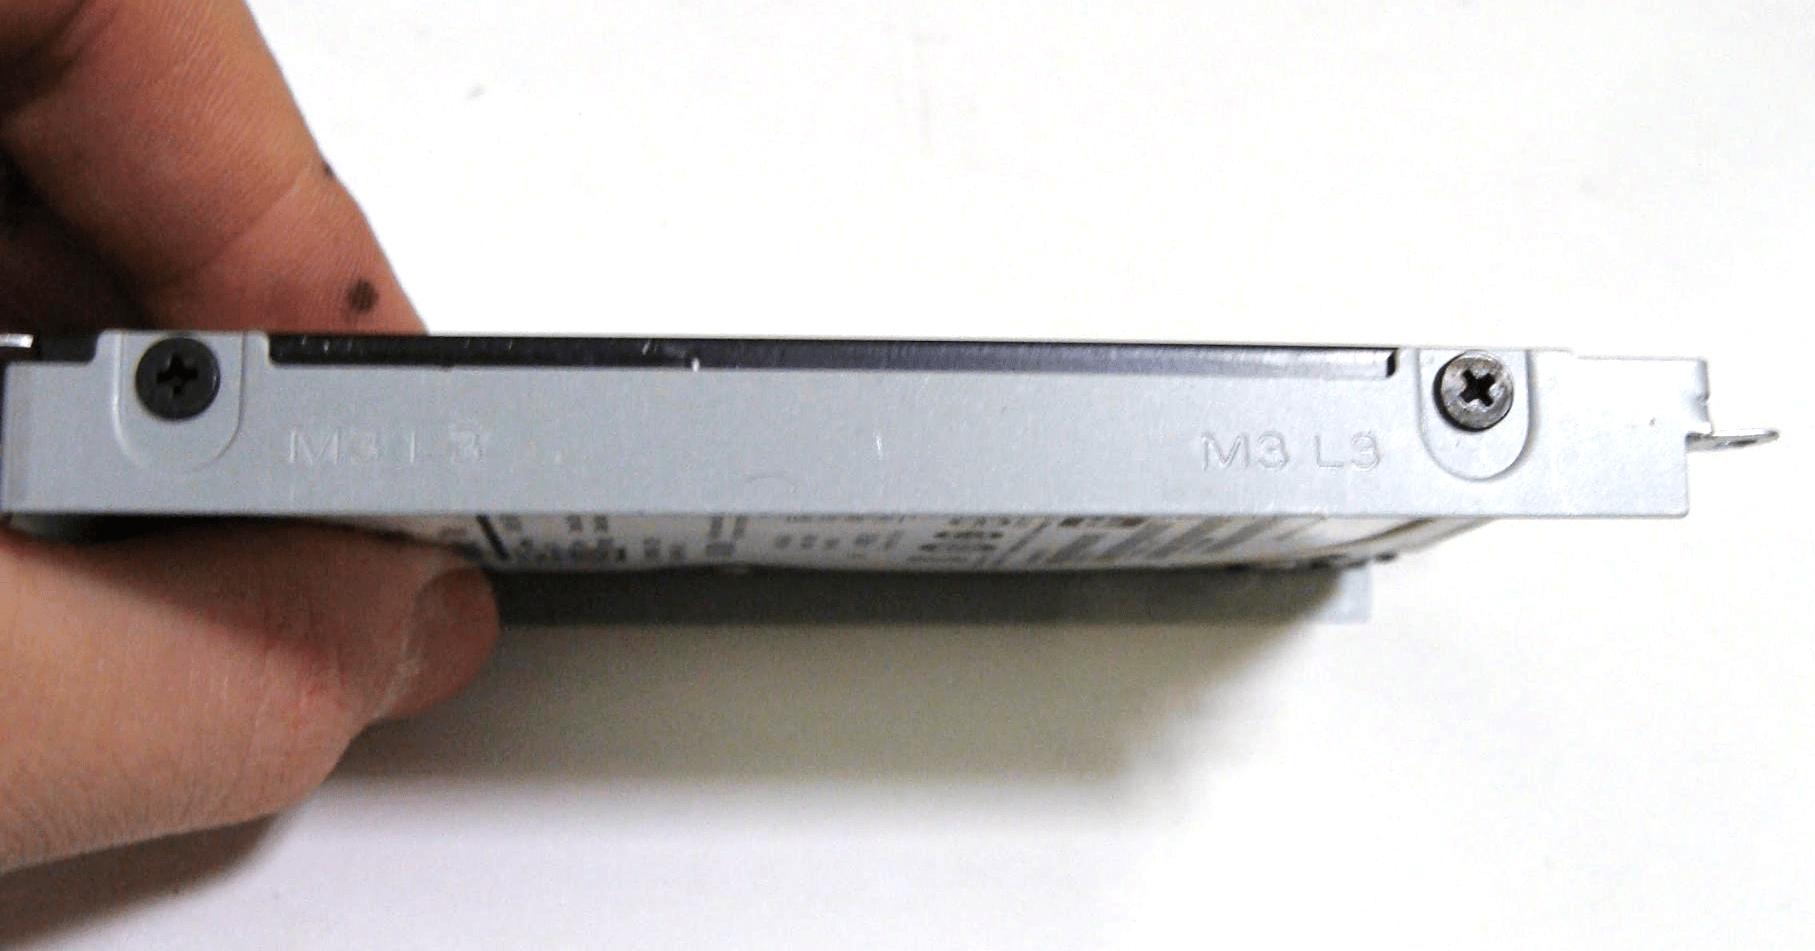
Note that if you are swapping out hard drives, you will need to transfer over the caddy to your new drive. So remove the remaining screws in the side of the HDD caddy.

“Reverse pinch” the RAM to remove it, as with all laptop RAM.
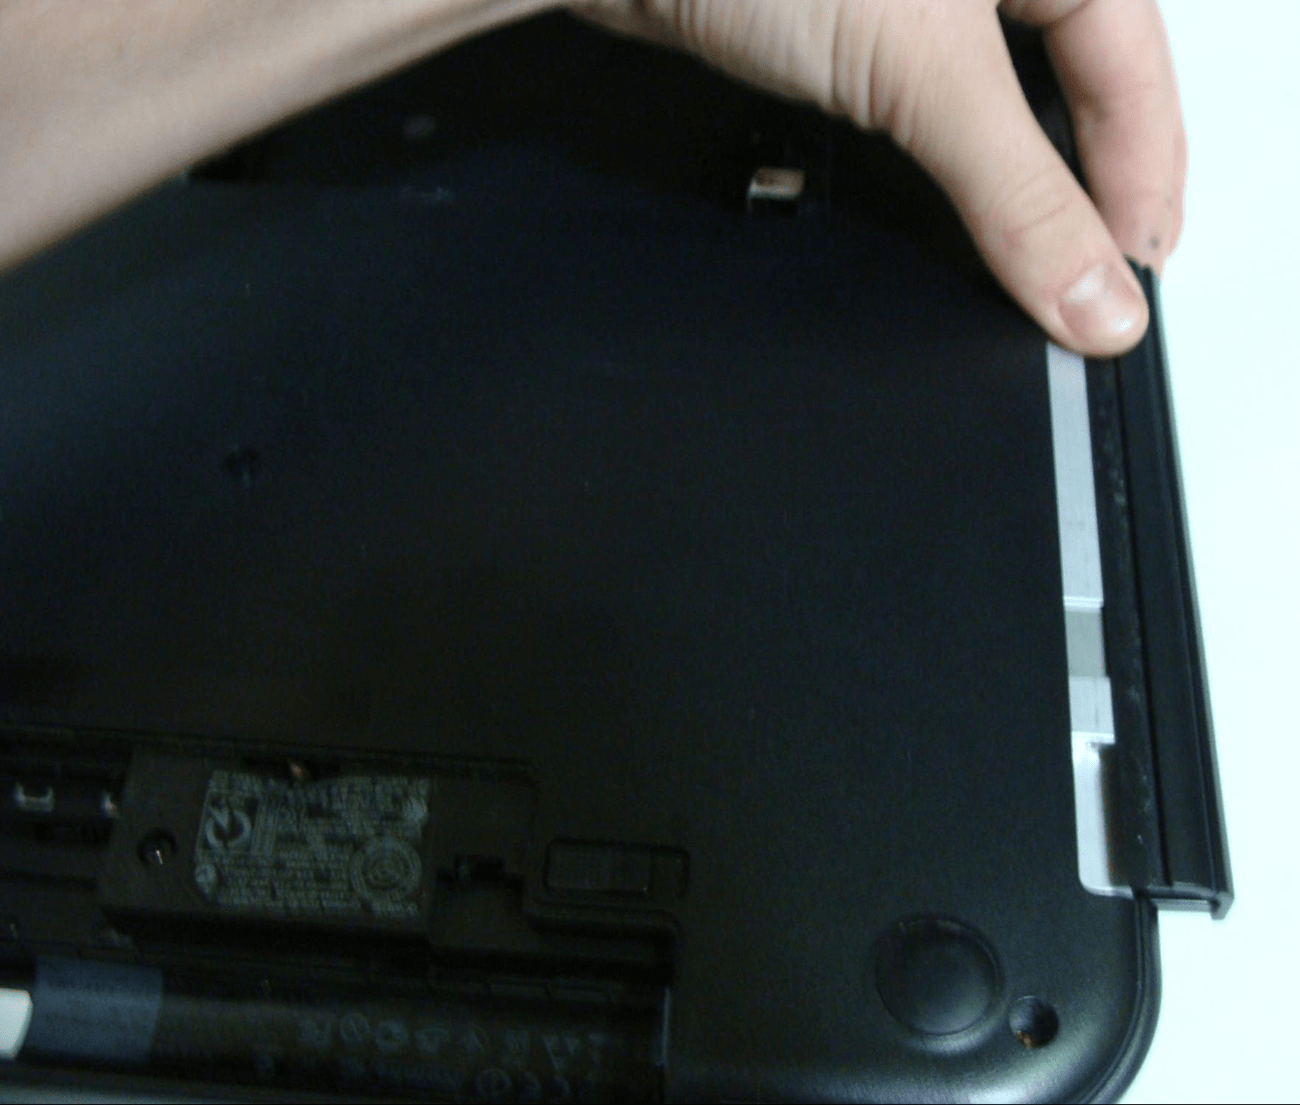
Once all the screws in the bottom cover are removed, pull out the DVD drive. Since all screws have been removed, it should simply slide right out.
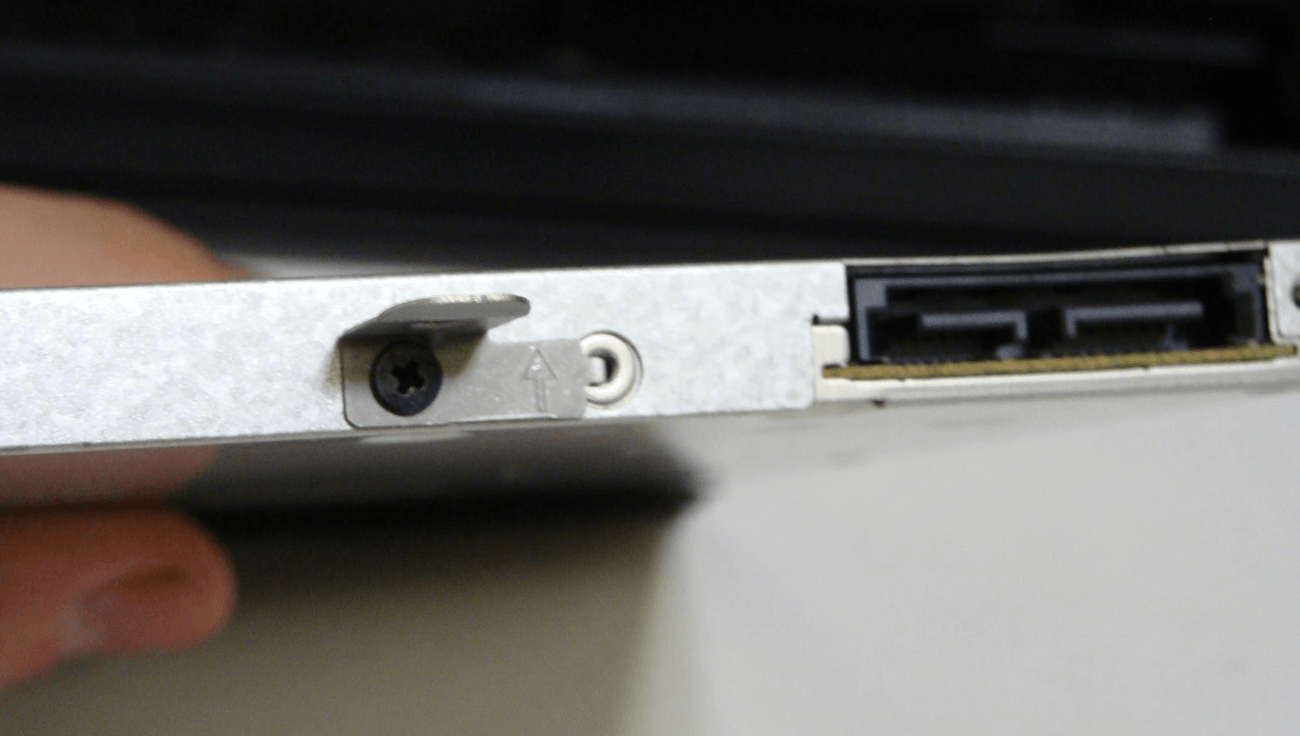
Note that there is one phillips screw for the DVD drive mount, so if you are swapping drives, you will need to transfer it over as shown.
After the ODD is removed, the final screws in the case will be visible. Remove these two screws, now you can remove the bottom cover.
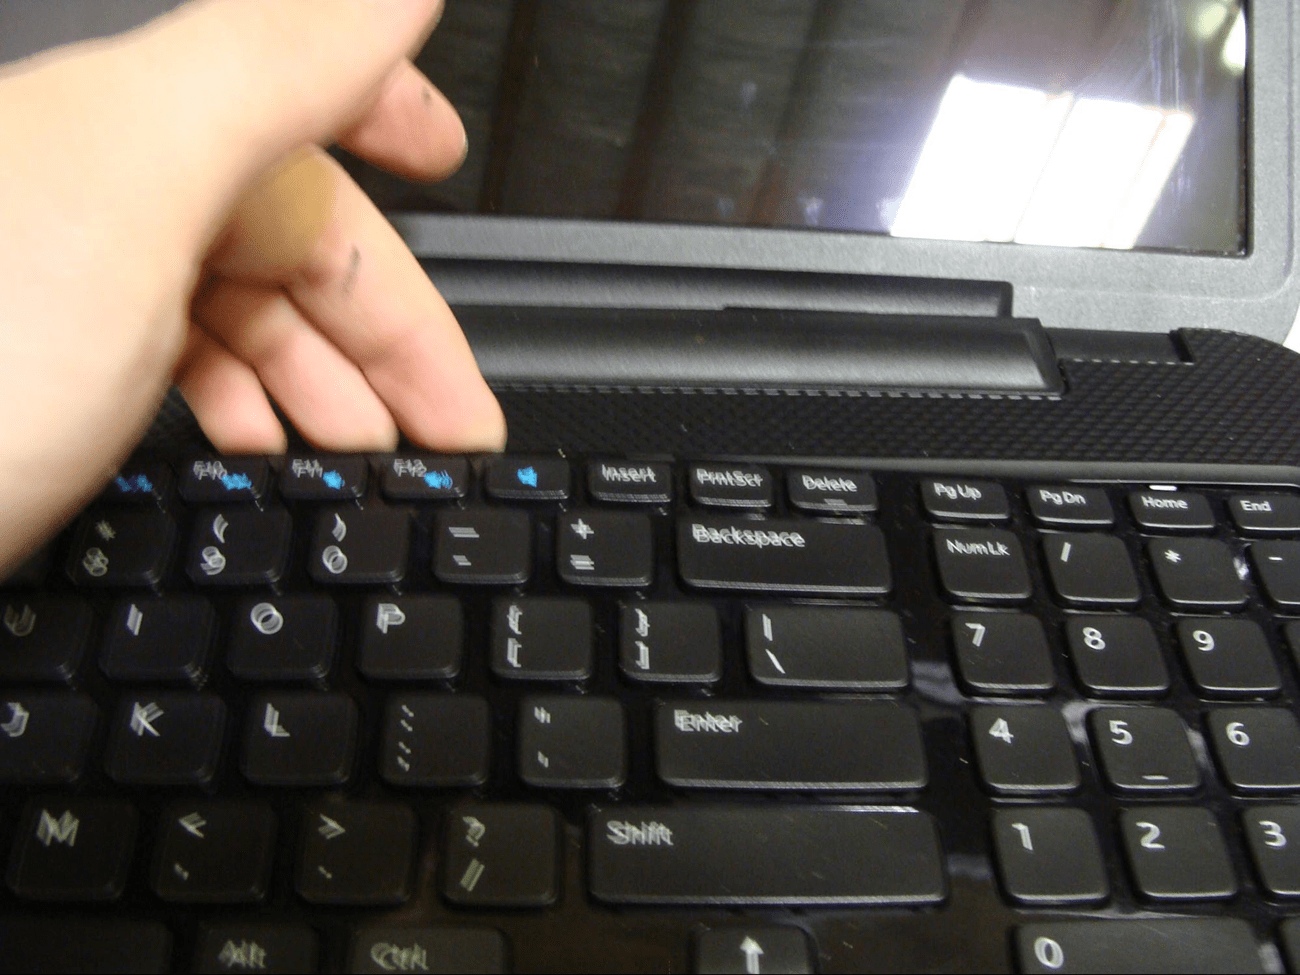
Now we need to remove the keyboard. Using a pry tool in the spot shown, pry between the case and the keyboard, and it should pop out. Be careful, since there are four tabs you need to pop out. These are visible on the top of the keyboard, as small holes. Once these tabs are popped out, remove the keyboard. Be careful of the cable connected from the keyboard to the motherboard.
Two screws should now be visible. These are the final screws we need to remove before fully accessing the computer's internals. Remove these.
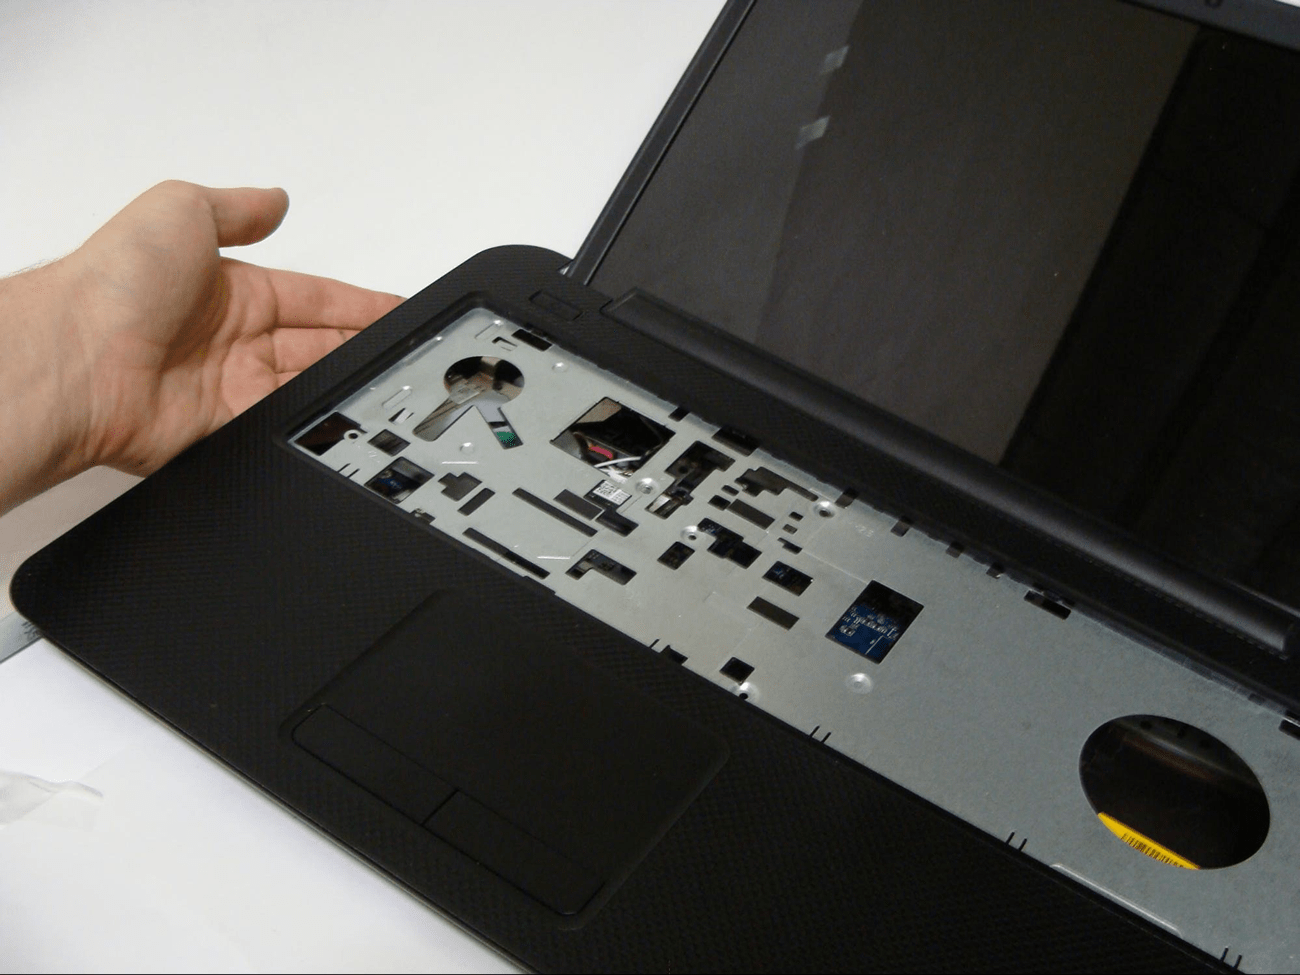
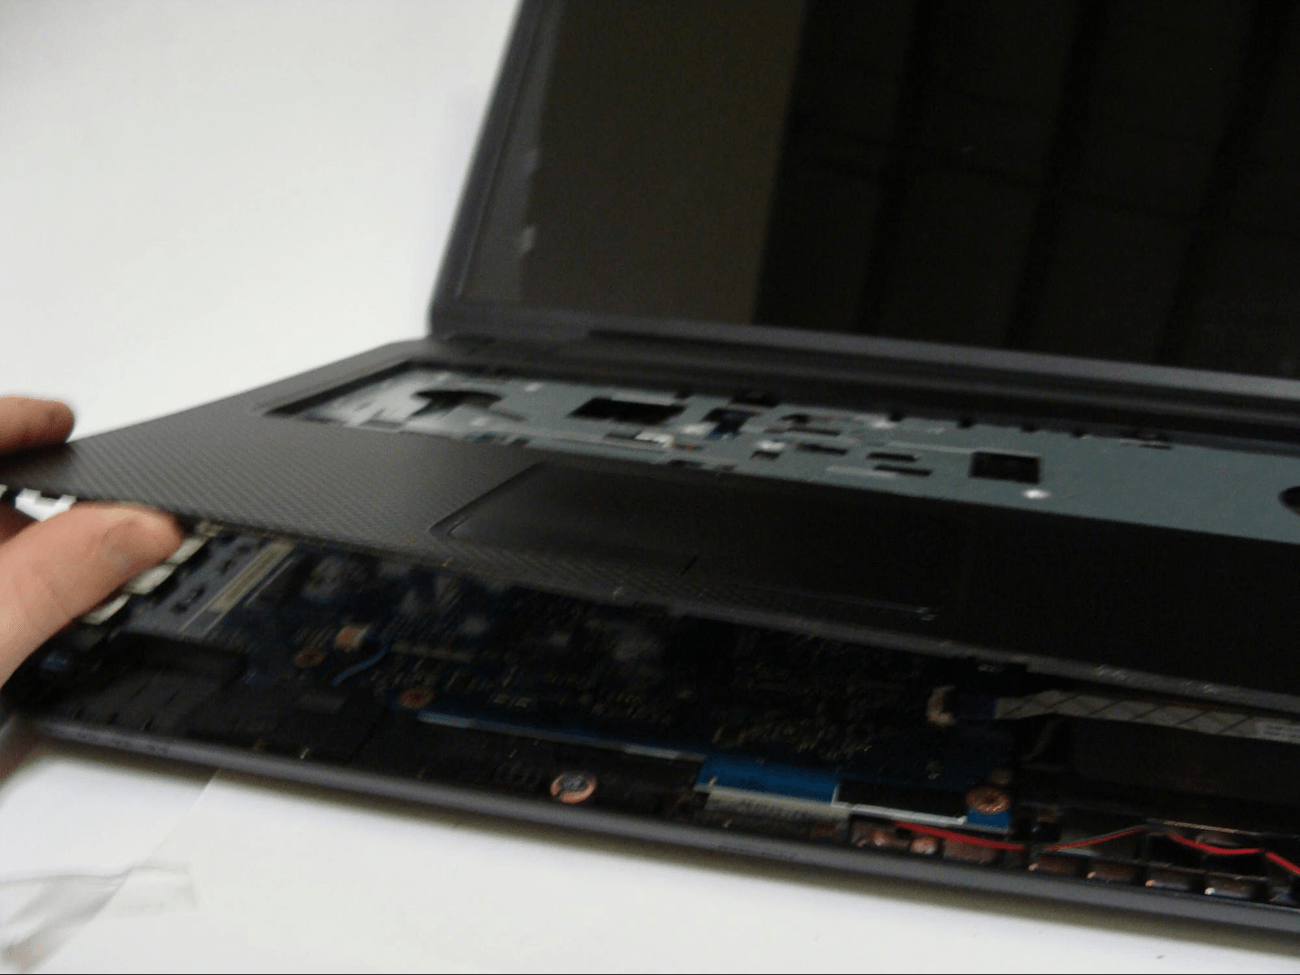
You should now be able to separate the bottom cover from the case. You might need a pry tool between the two, but for me they separated quite easily.
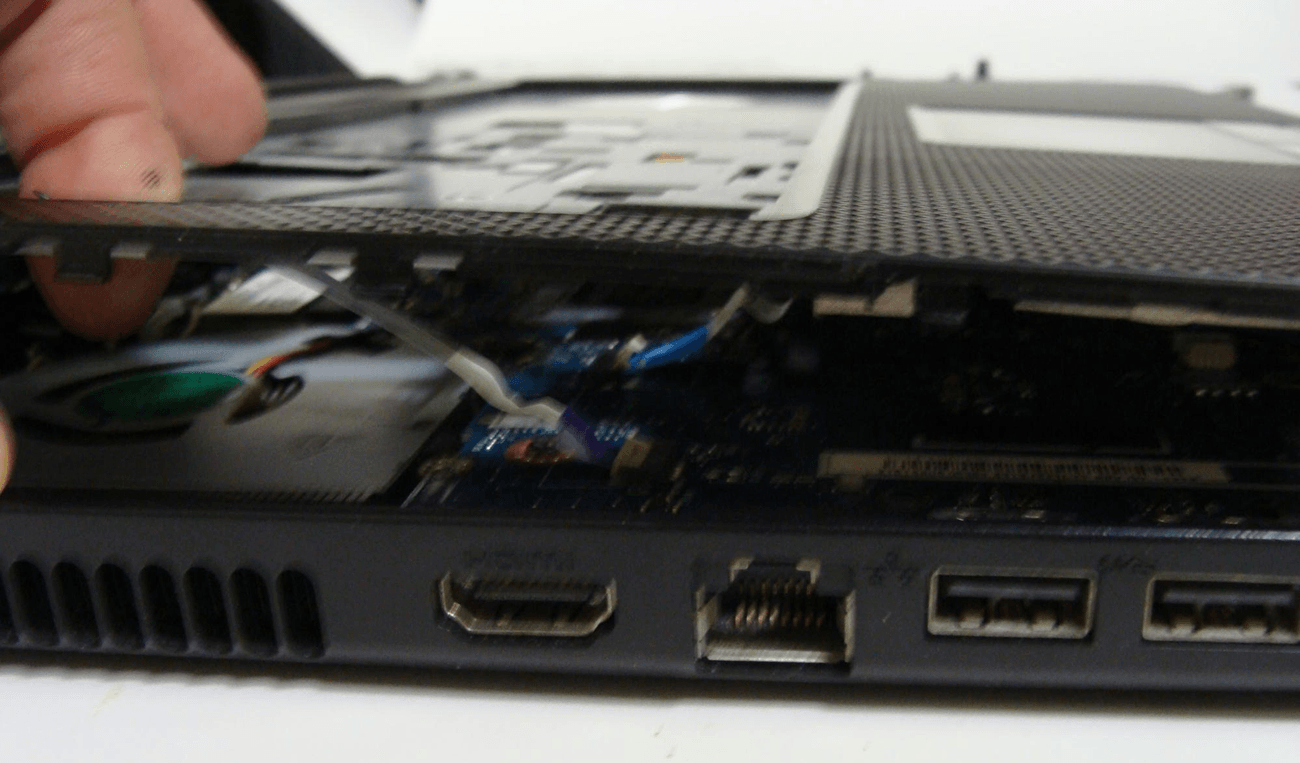
Before fully separating the two, you will need to disconnect the touchpad from the motherboard. The respective cables and connectors should be visible from the left side of the computer, as shown.

The power button can be easily removed by removing the one screw visible. It should come out easily after that.
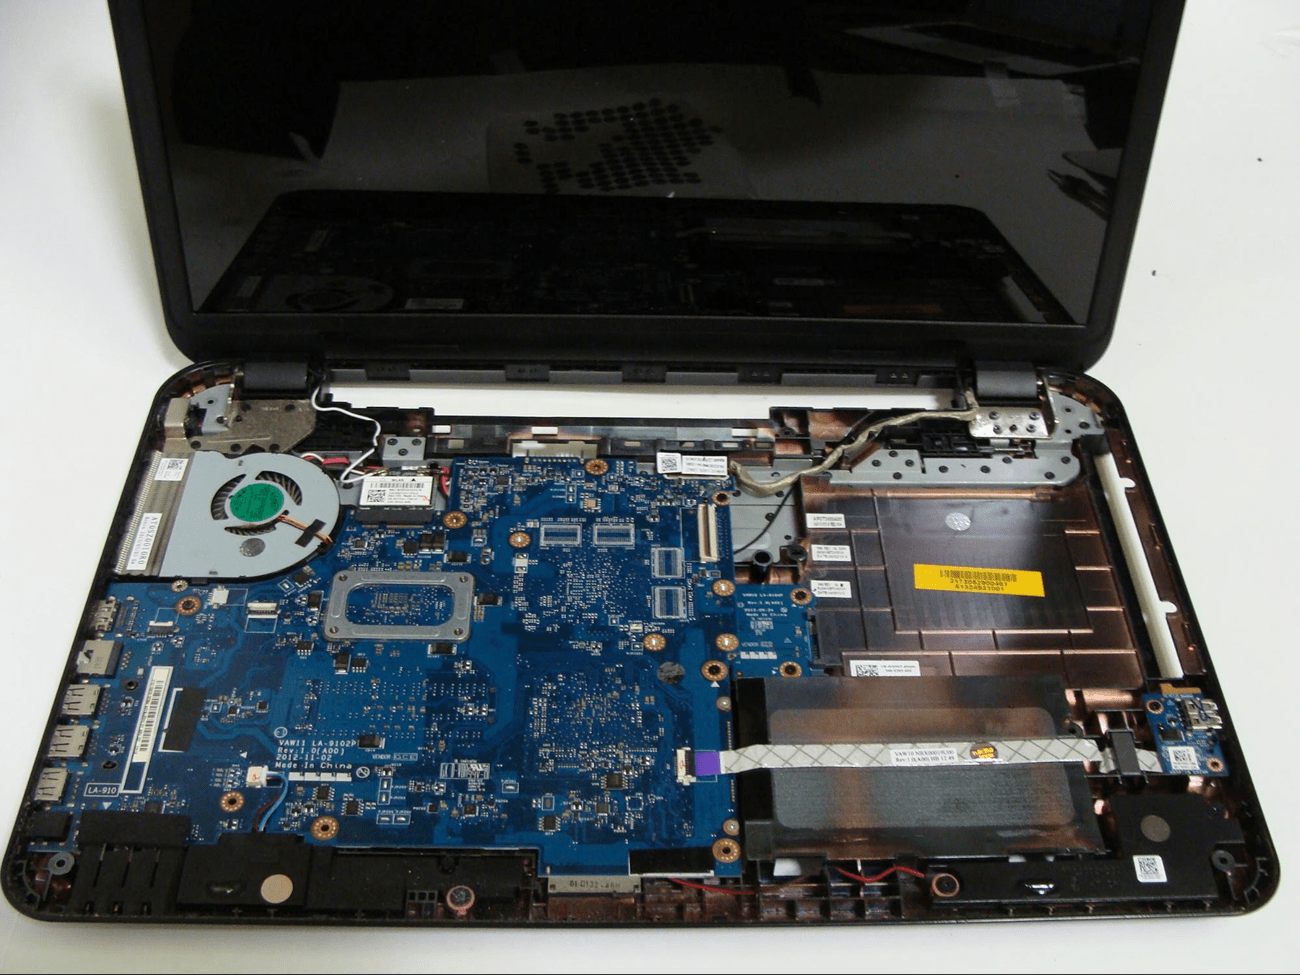
You should now have access to the components of the computer.
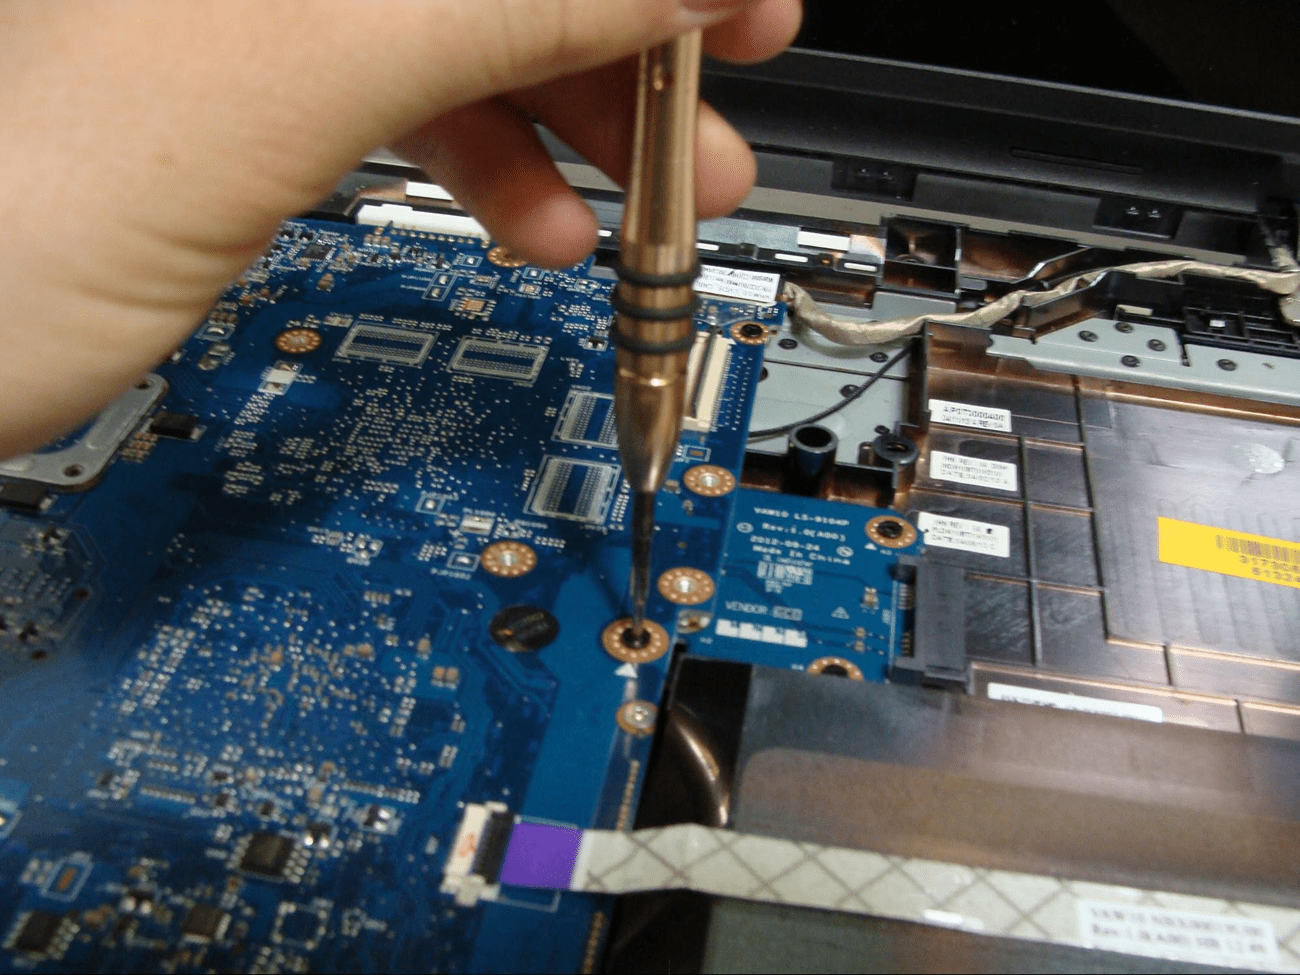
Start by removing screws. It is important to remove all screws from components before attempting removal.
To remove the side USB port, pry up on the lever bar on the motherboard.
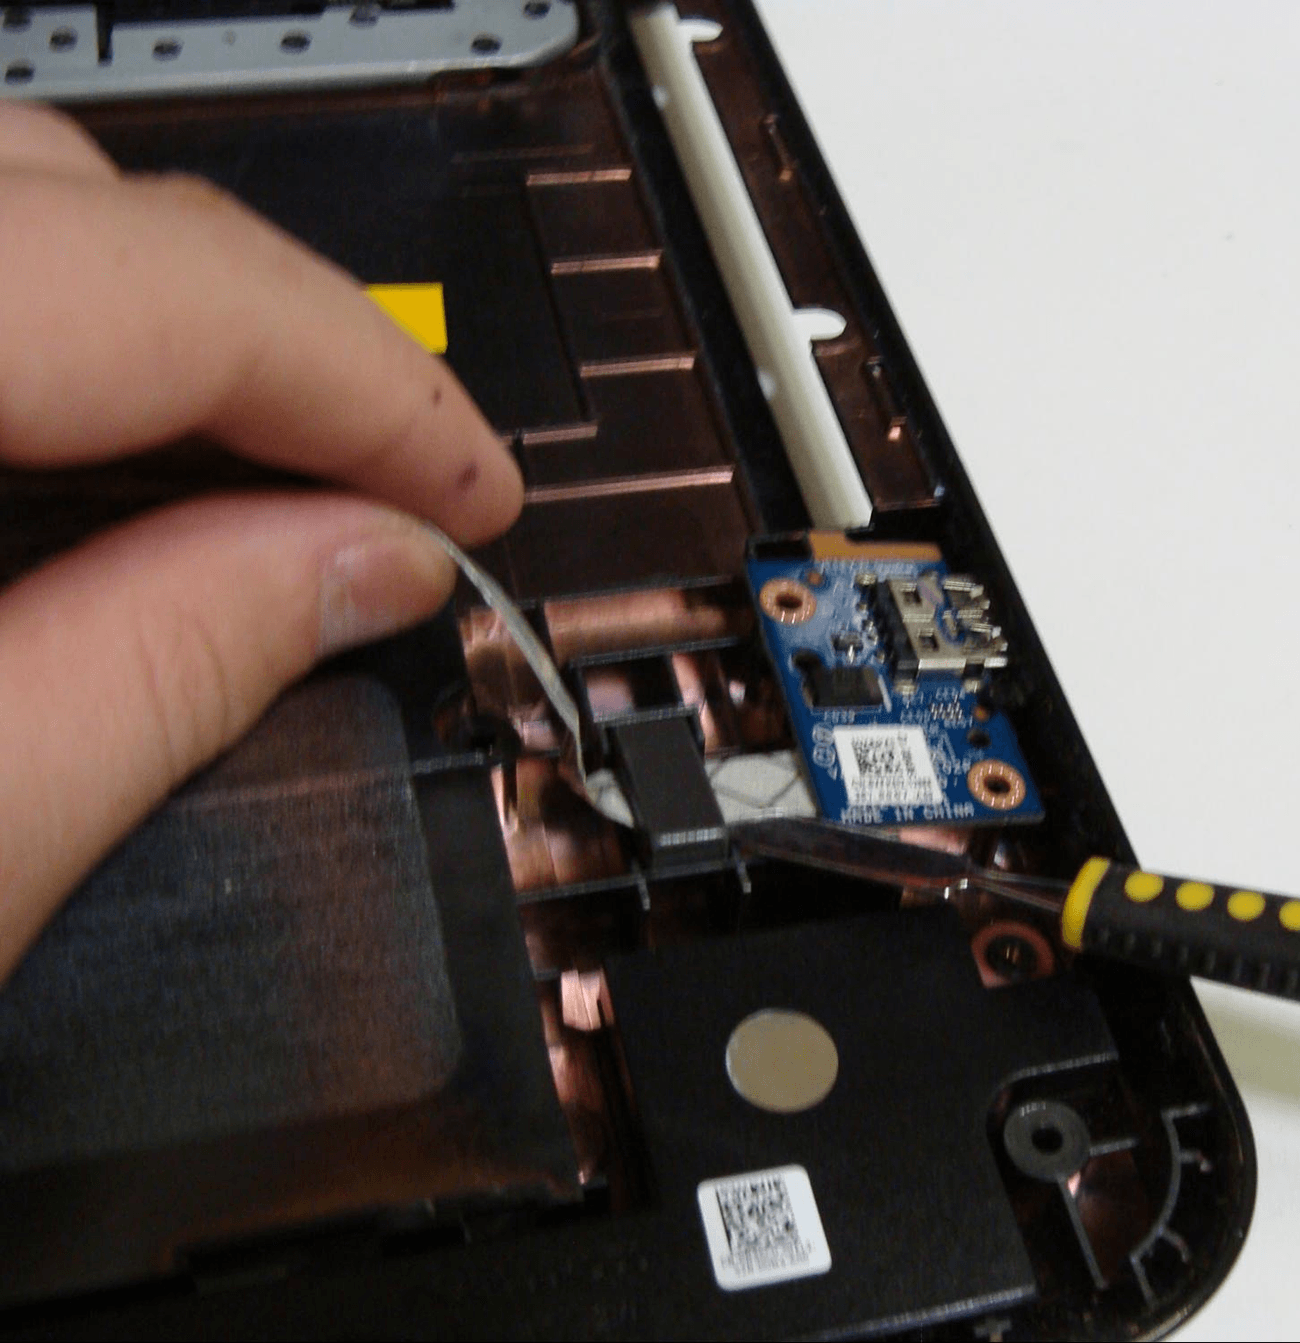
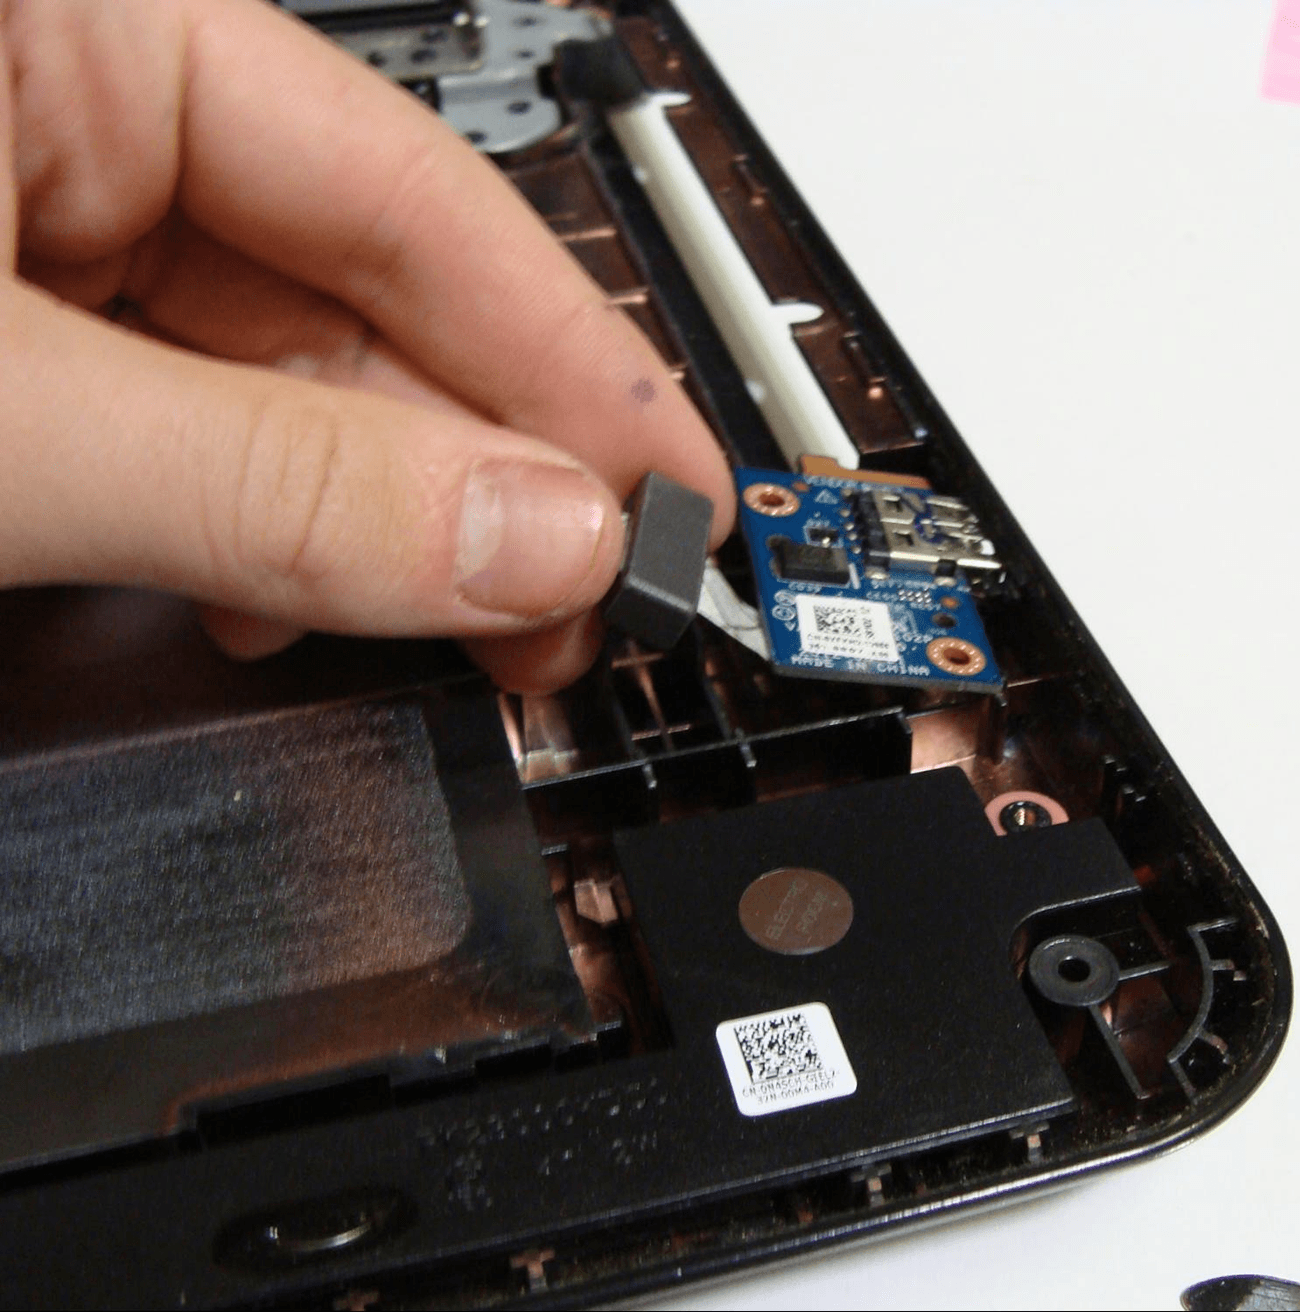
Then following the cable back to the USB port, pry up on the metal bracket as shown. Then simply lift out the board.
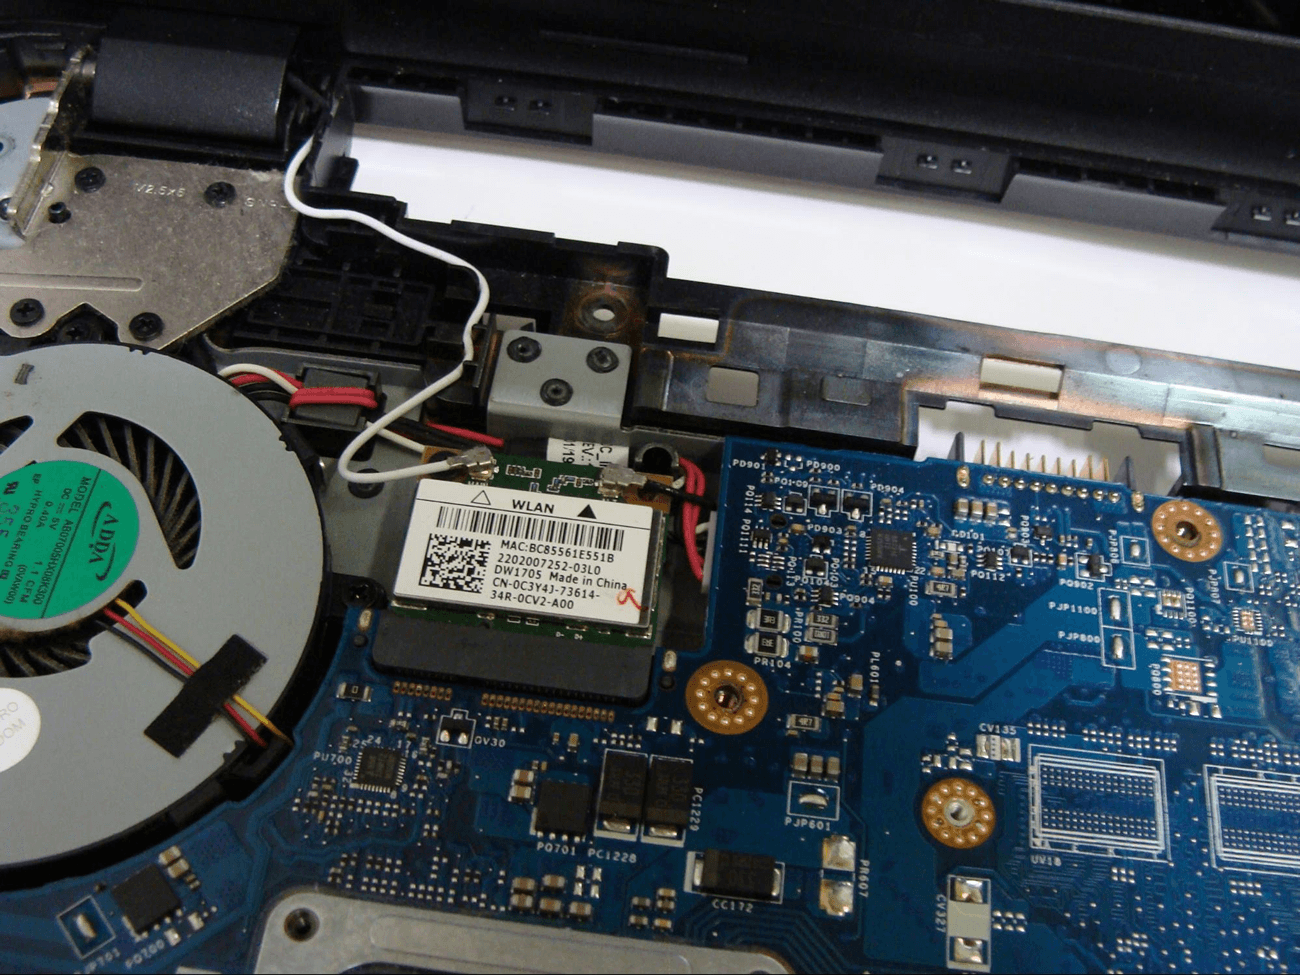
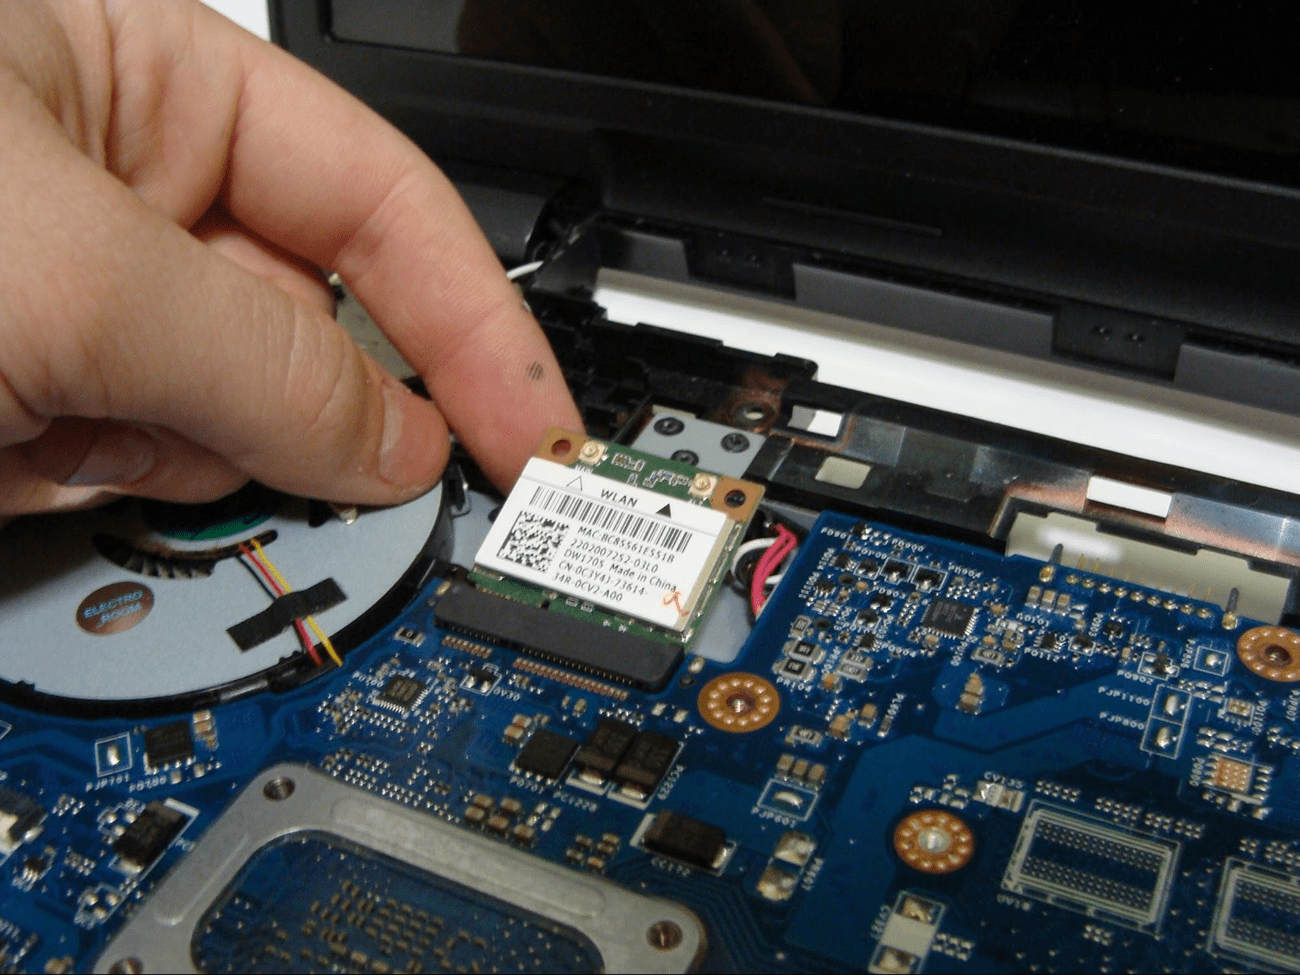
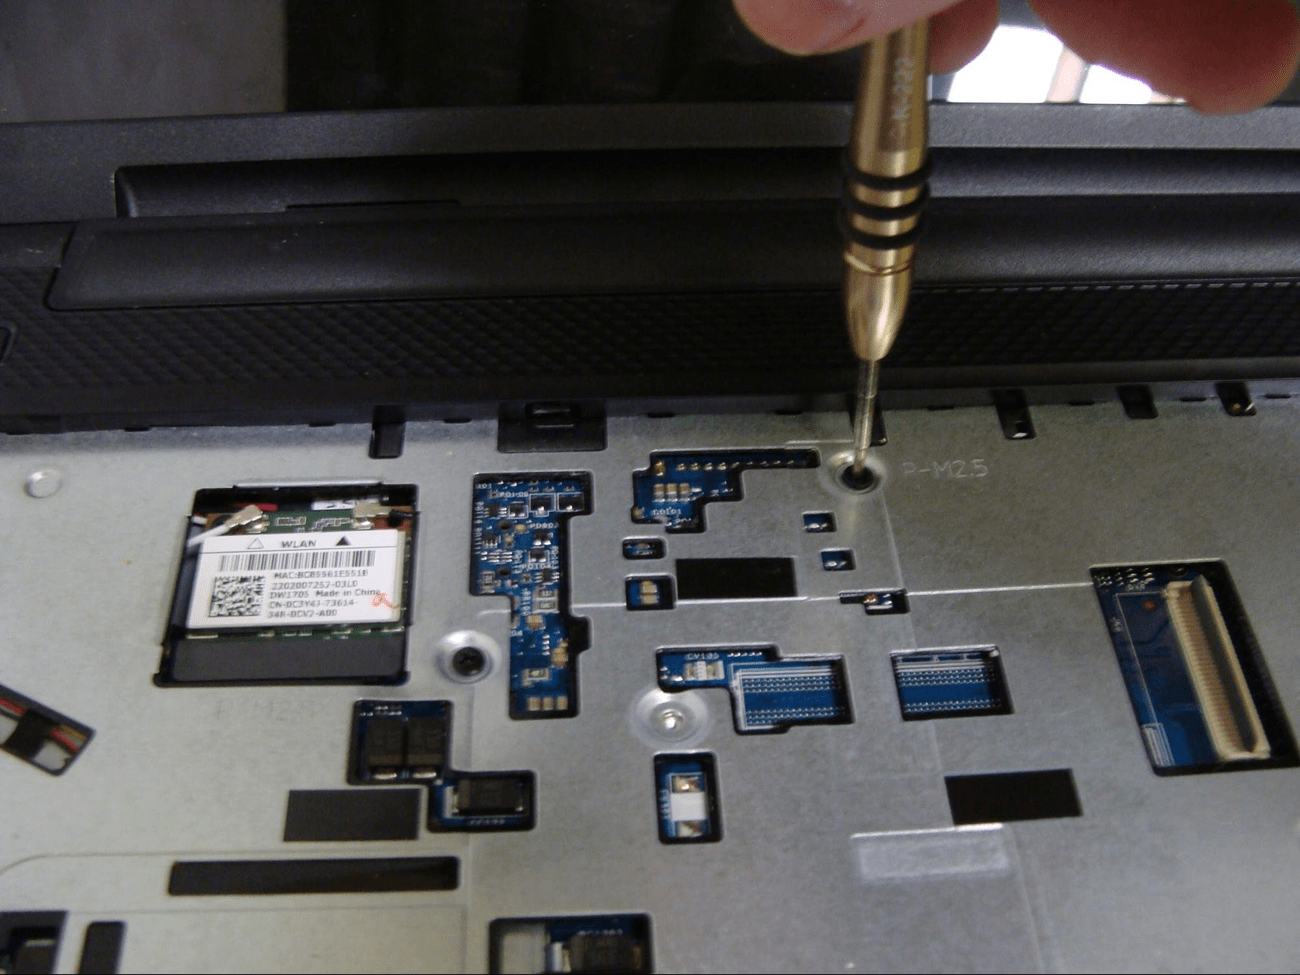
After disconnecting the two antenna cables, remove the one screw holding the Wifi card on. Then remove the Wifi card from its slot.

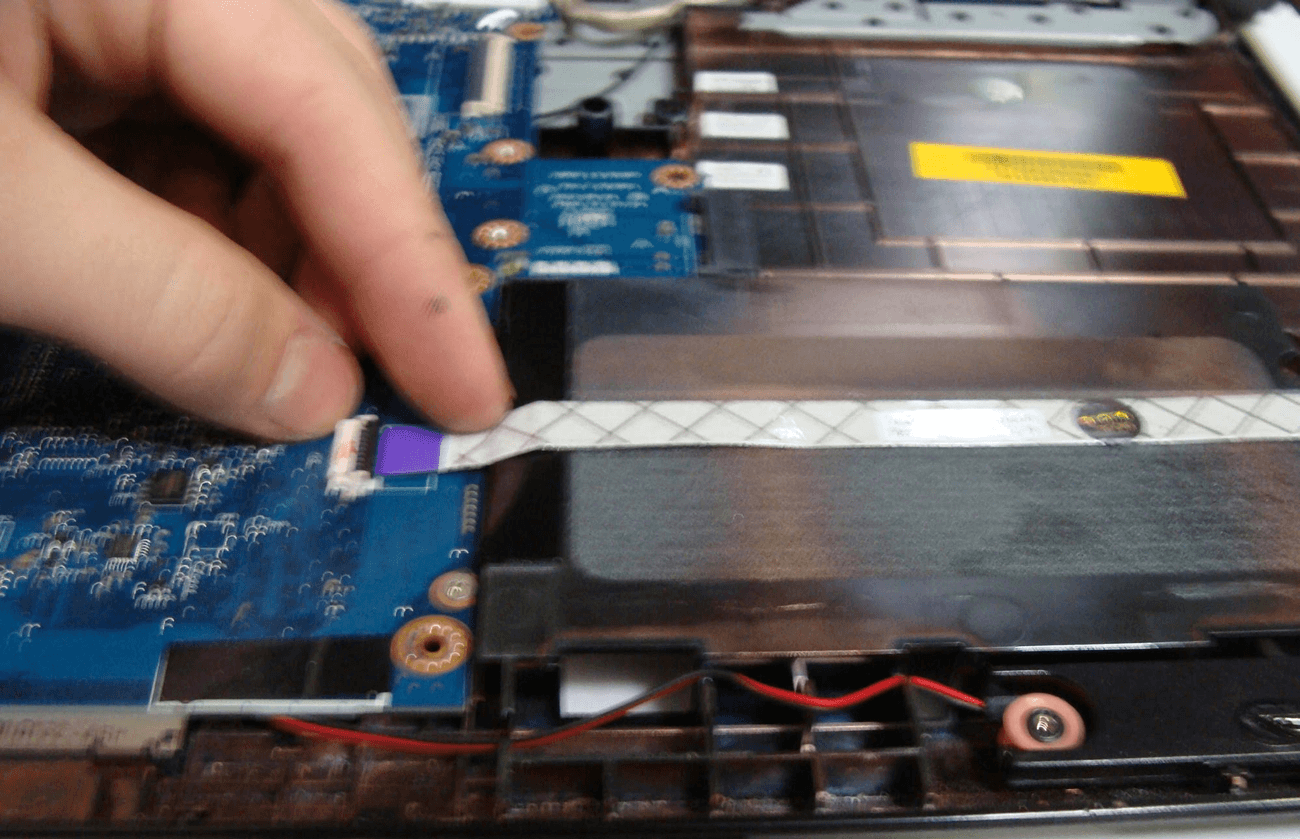
Disconnect the LCD cable by peeling up the tape away from the motherboard, then pulling on the cable away from the motherboard. Be careful with this.
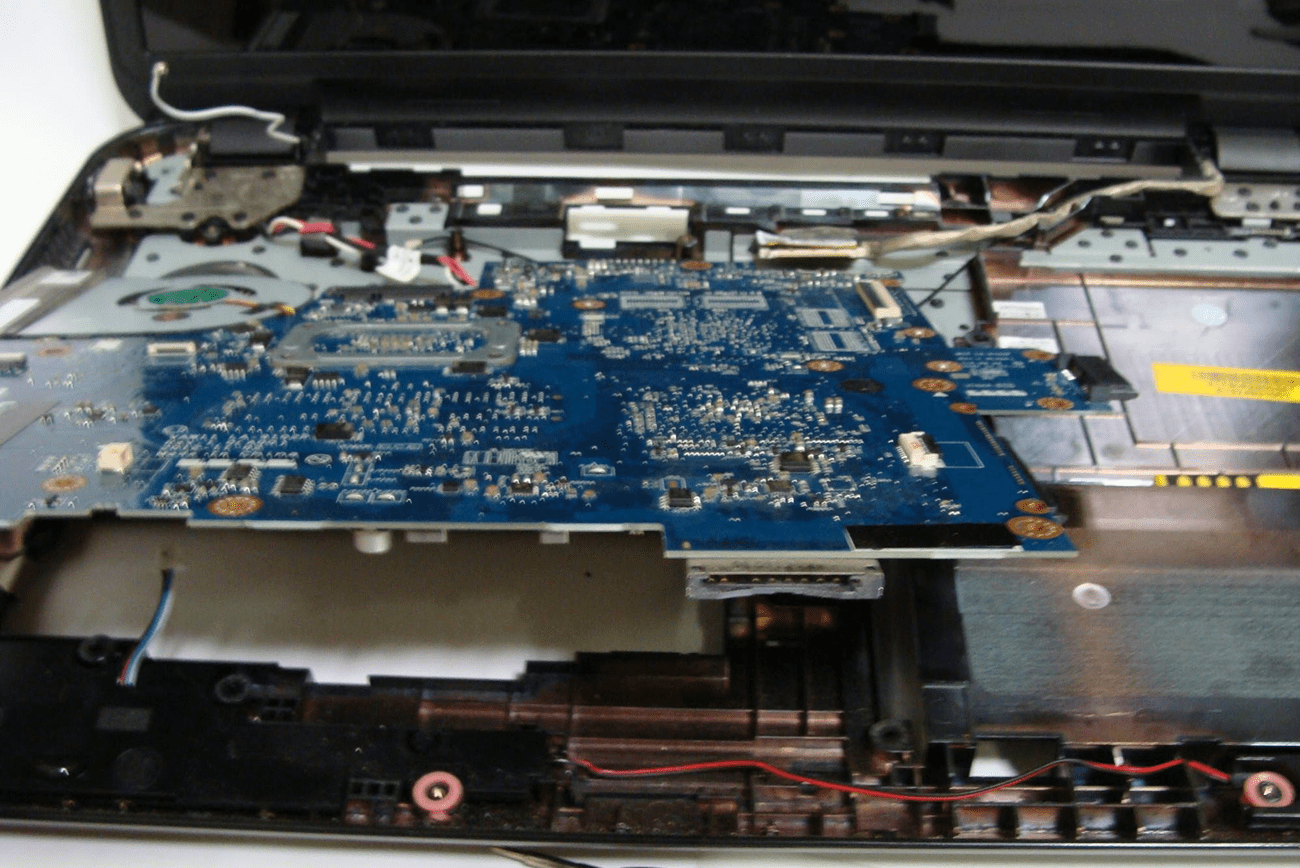
The motherboard should now be removable. Simply lift up on the right side, and pull the motherboard to the right, away from the IO ports on the left side of the motherboard.
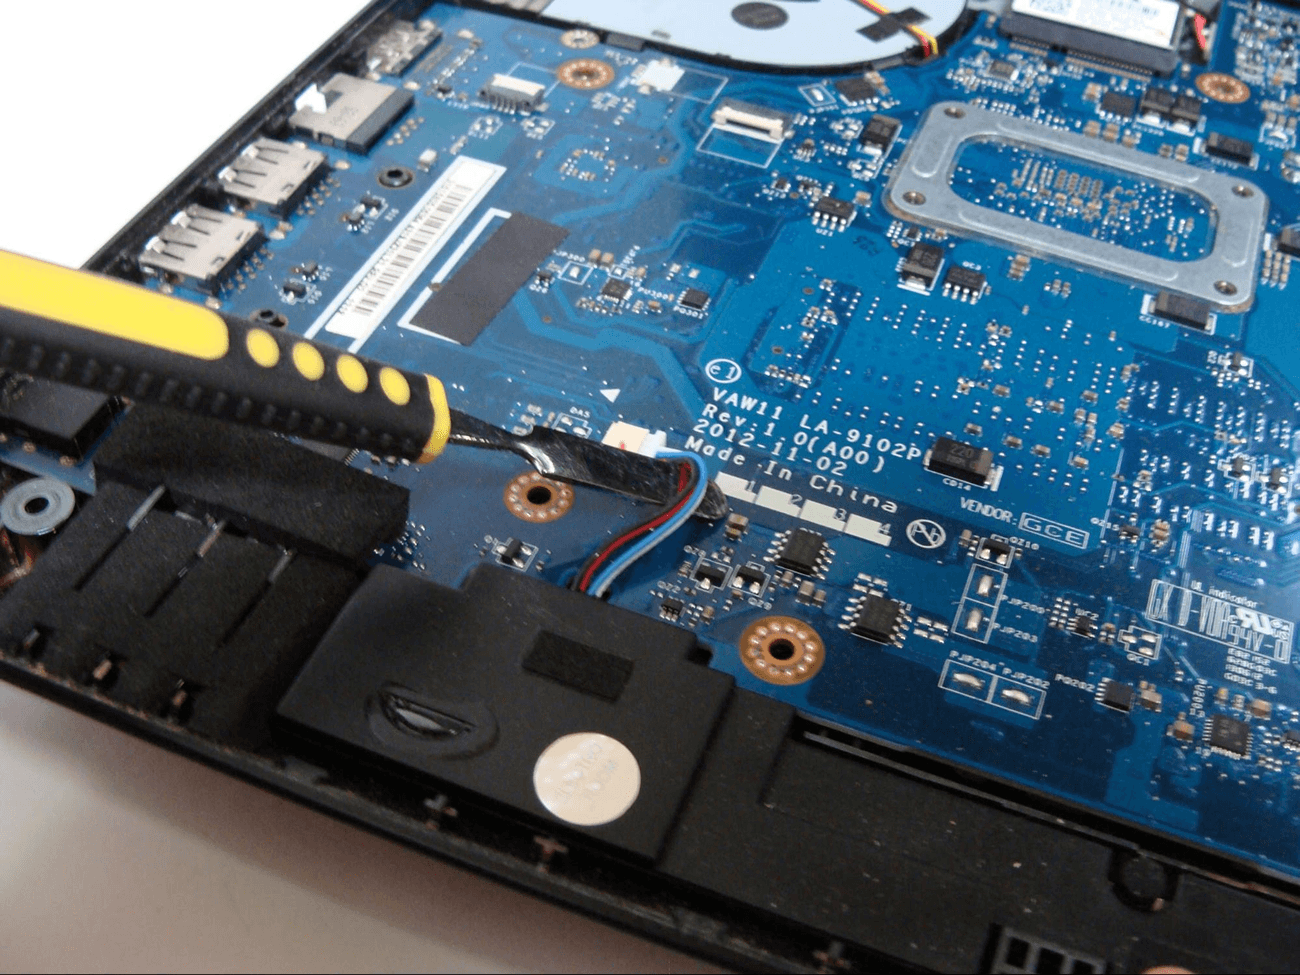
Be sure to disconnect the remaining cables before fully removing the motherboard.
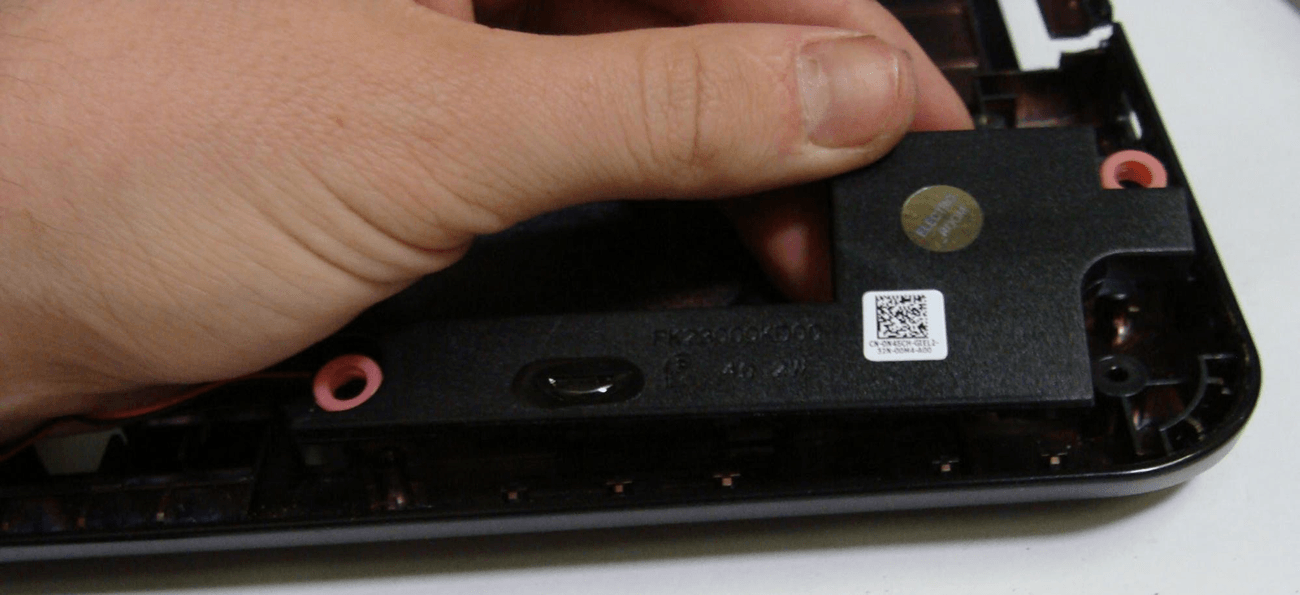
You can now remove the speakers. They should come up very easily if their respective screws are removed.
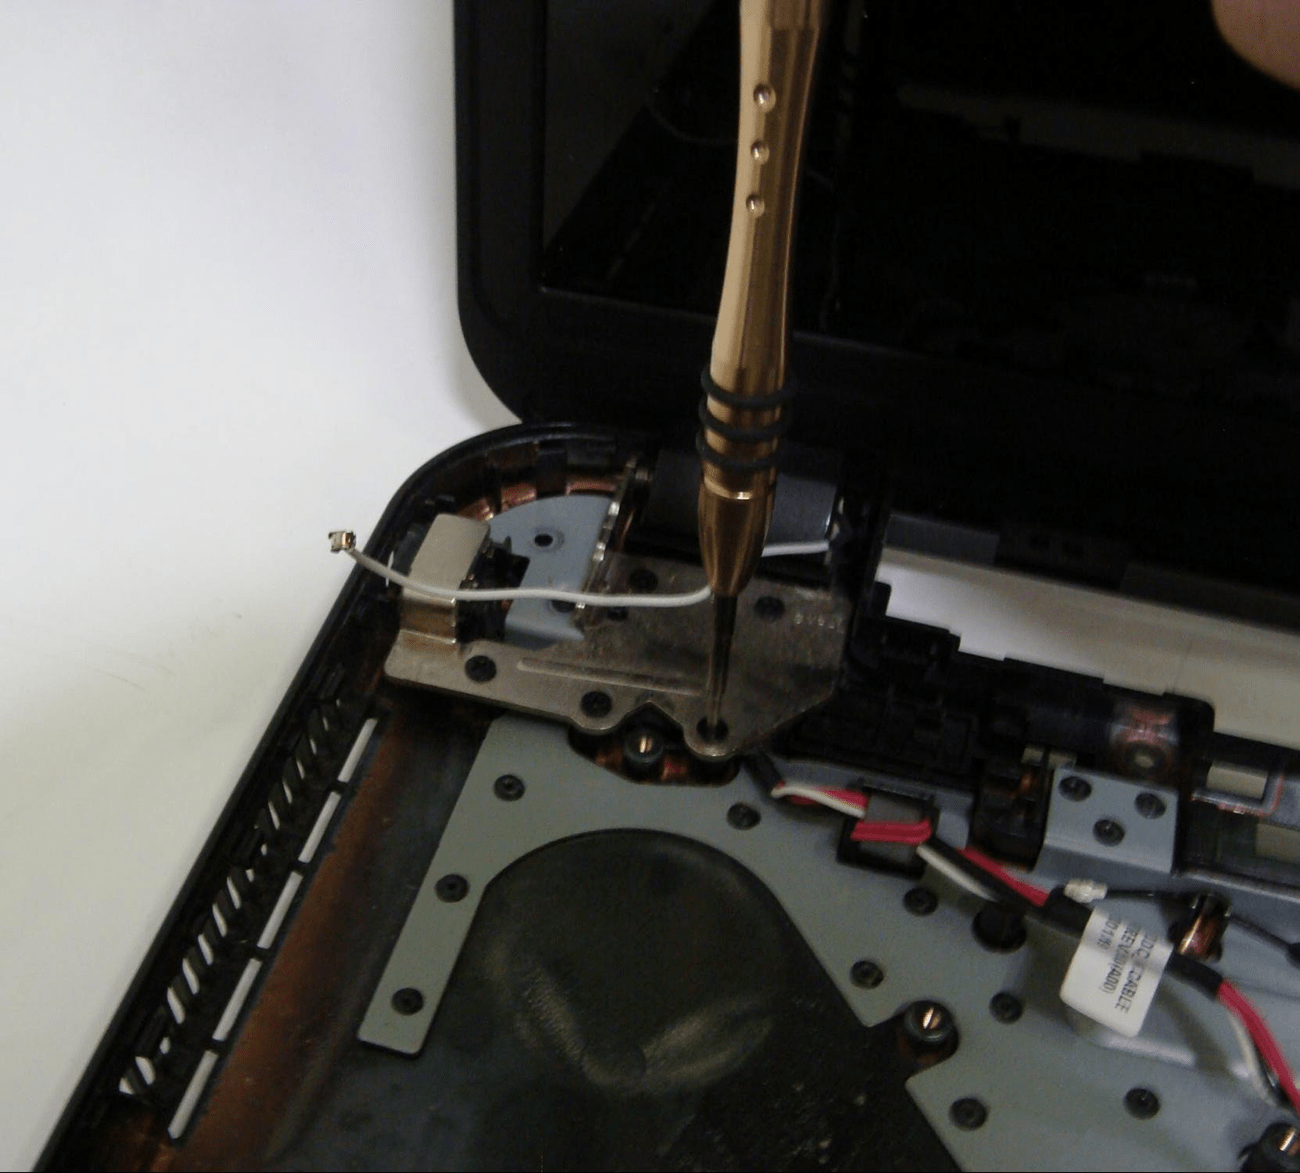
We can separate the LCD panel from the bottom case. Simply remove the eight screws, four on each bracket, then the panel should separate by itself.
Finally, we can remove the power jack. Simply remove it. It isn’t fastened or anything!
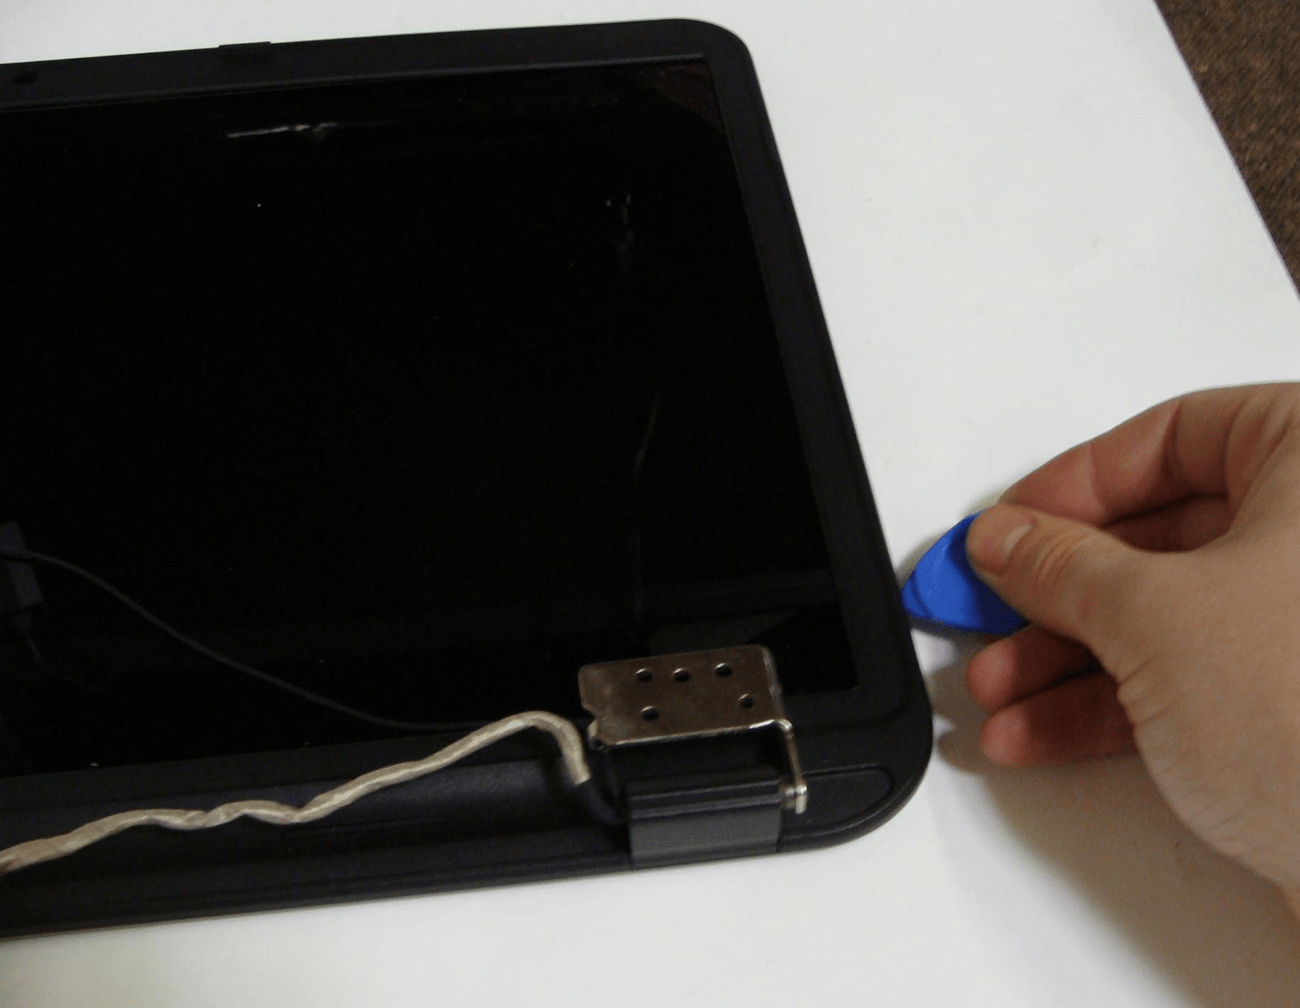
To separate the LCD assembly, using a plastic pick slide it between the middle of the frame and the LCD back panel. It should separate very easily. There is no adhesive holding it.
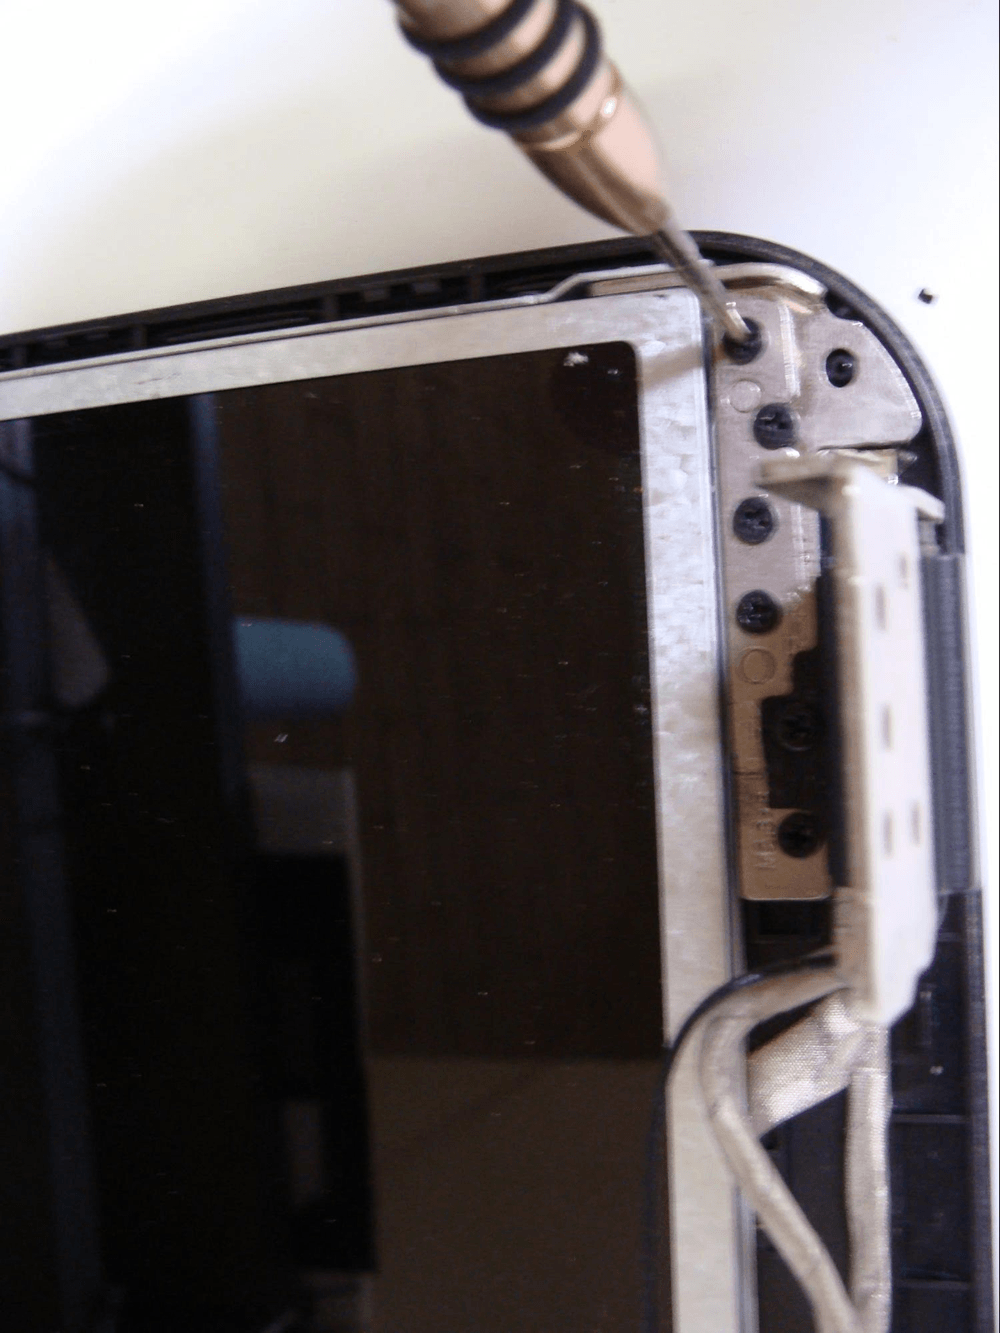

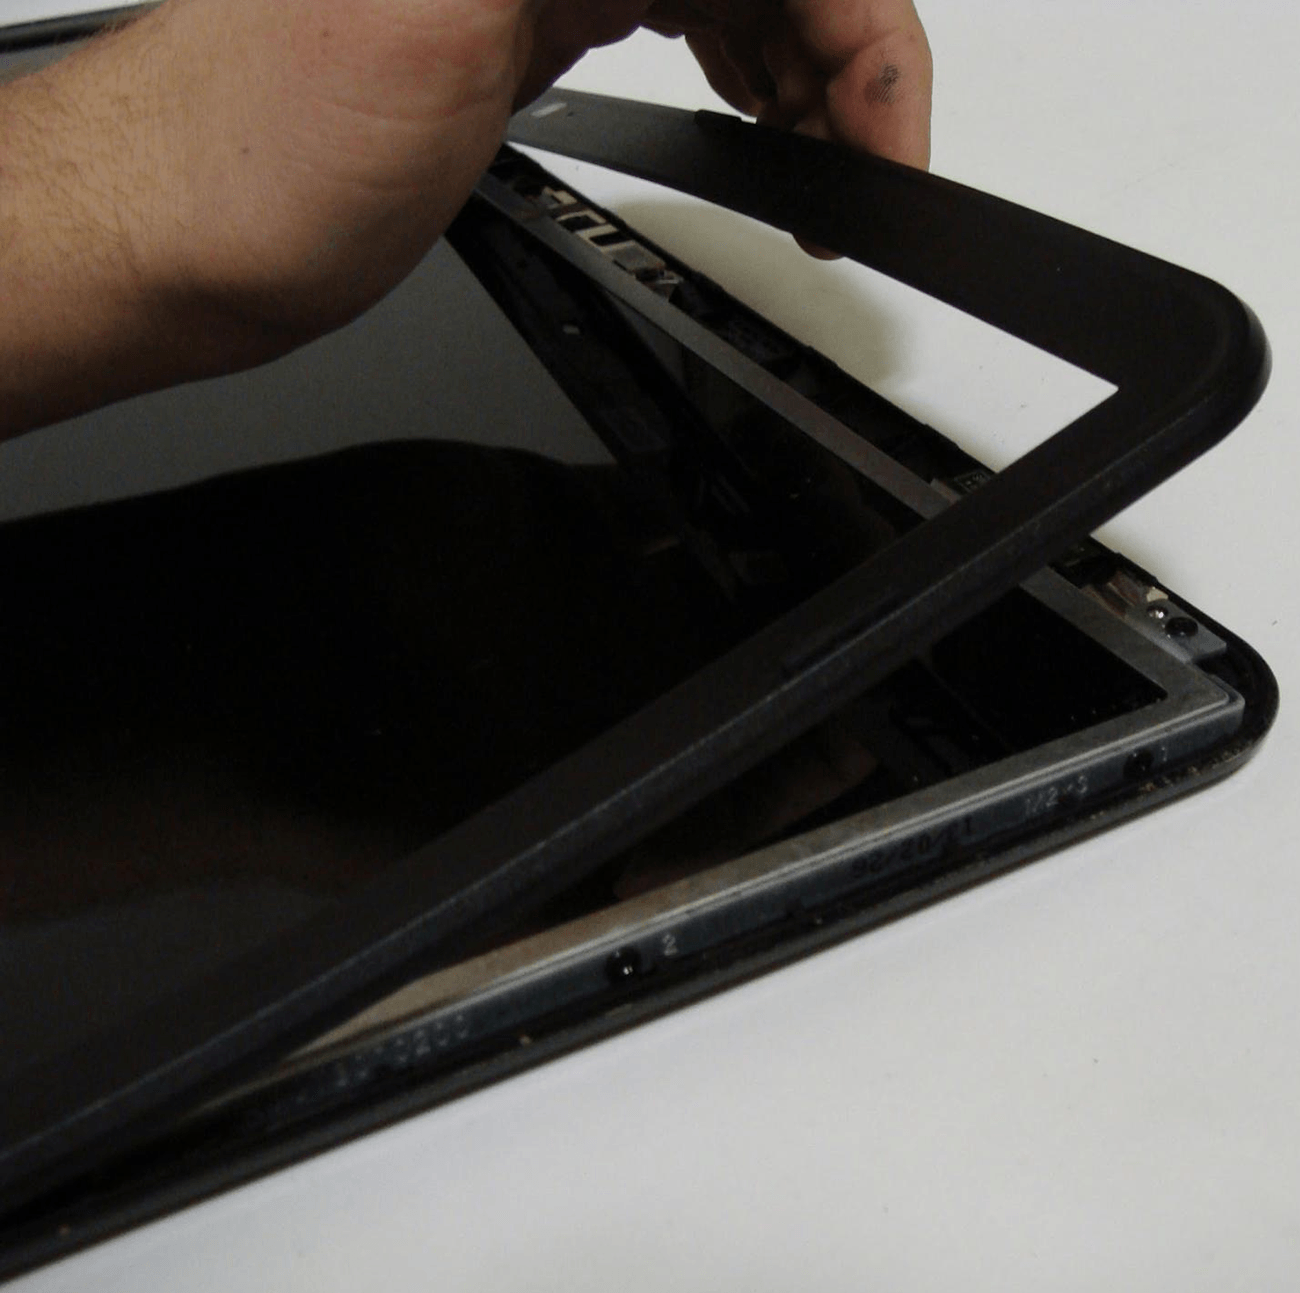
You should now see ten screws around the frame of the LCD. Remove them, then the LCD should be easily separable from the LCD back panel.
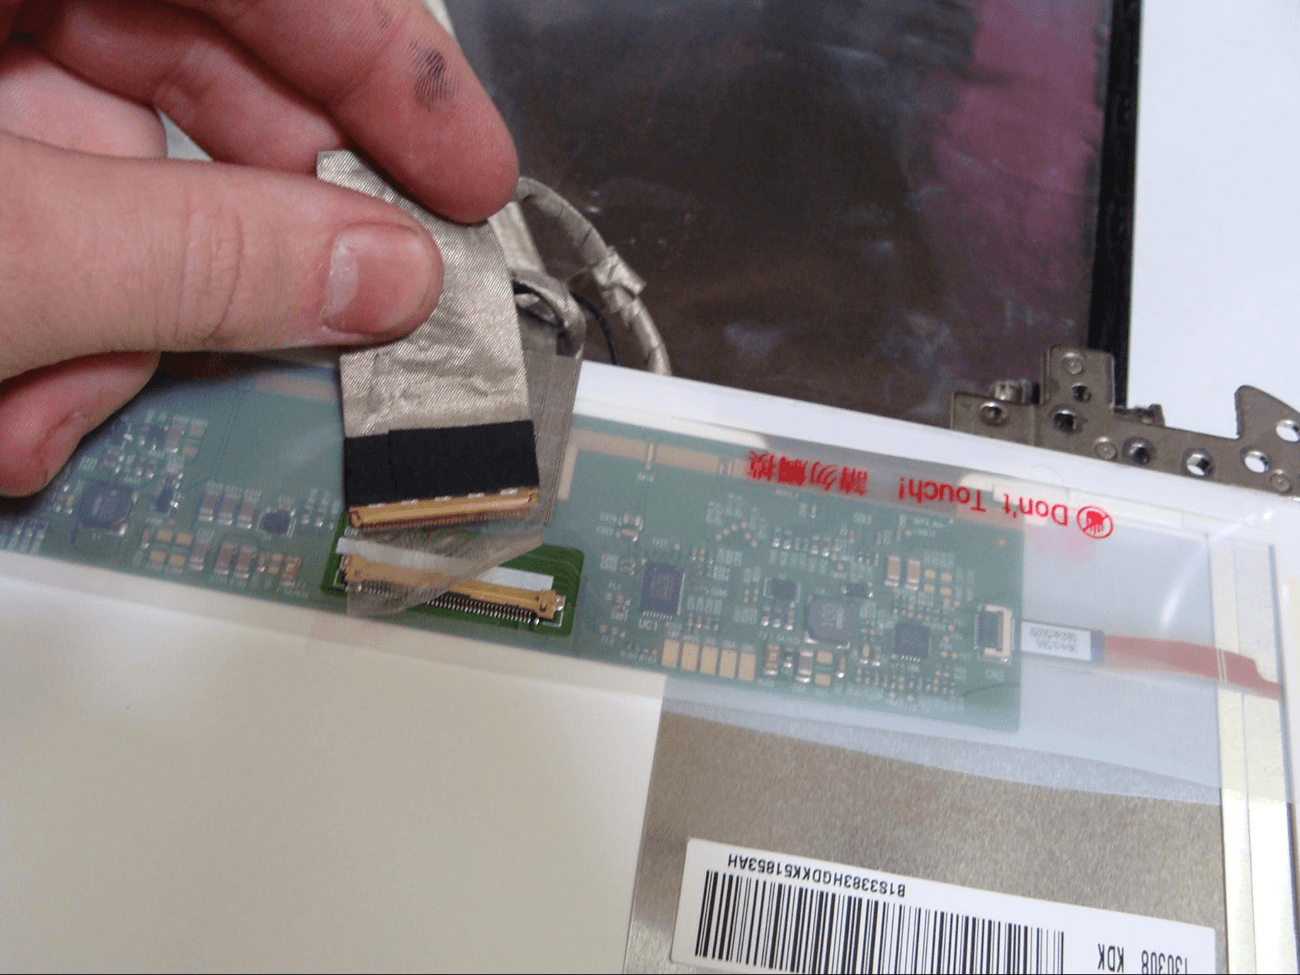
Disconnect the LVDS cable on the back of the LCD by peeling up the tape, then simply pulling the cable out of the connection.
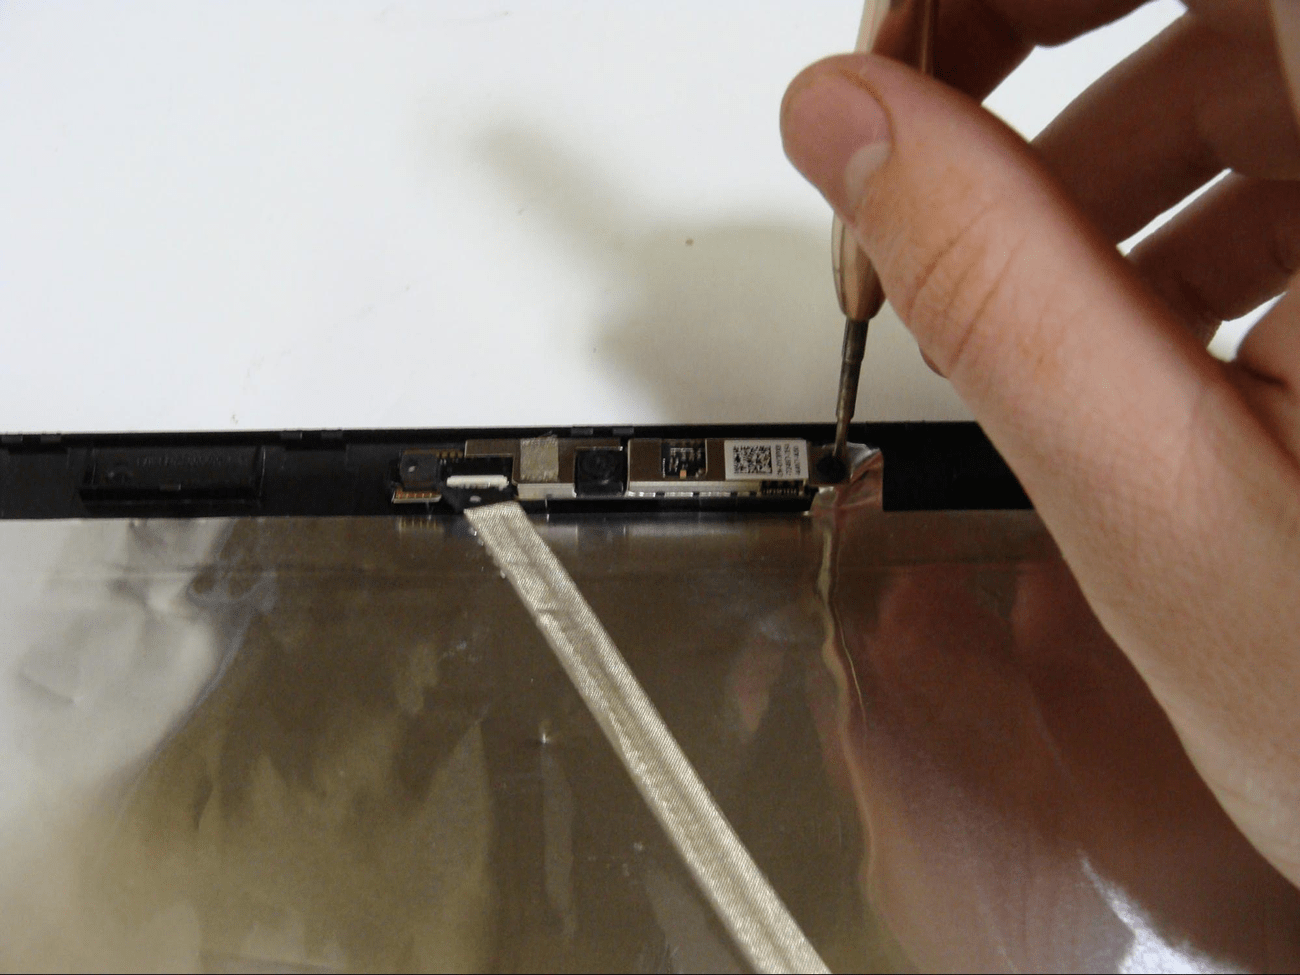
To remove the final piece of the computer, the webcam, remove the single phillips screw holding it in. It should come out easily after that.
That should be it! Thanks for reading!
By Aden Webster