Lenovo Yoga TAB 2 Disassembly
In today's personal computing laptops are often replaced with tablets. They are more portable and user friendly. Touchscreen commanding seems easier and more straight forward than laptop's touchpad and keyboard. No surprise all laptop manufacturers are making tablet computers now. New models are released almost constantly since no brand wants to stay behind competition. The same marketing strategies are followed by the Chinese giant Lenovo. This company is presently the worlds largest laptop and personal computer vendor.
The new Lenovo Yoga TAB 2 tablet looks just like the first generation. Yet on the inside it's a completely new machine - better than most its direct competitors.
Cheaper than Samsung Galaxy and LG G Pad and equipped with better display Yoga TAB 2 makes an attractive tablet on the market.
Quad-Core Intel Atom processor and 2GB of RAM memory enable users to play video games on the tablet. Yet they shouldn't expect anything special. It's still a tablet so things will go slow. If you need better performance from your computer you may want to look at Lenovo Yoga laptops instead.
But if you have the Yoga TAB 2 and want to see how it's built you will enjoy this post. You can also learn how to take apart and repair the tablet.
Lenovo Yoga TAB 2 -1051F 32GB disassembly
Model 60073

Tools needed:
[custom_list style="list-9"]-
1.2mm Phillips screwdriver
-
Plastic and metal opener tool
-
Plastic guitar pick
Difficulty level:
Very easy
Sleek, light and powerful, this Windows tablet is the perfect medium-range tablet for all your multimedia needs. More powerful than most Windows tablets and definitely nicer looking, this tablet is the best tablet in its class available for the price range!
Fortunately, disassembly of this tablet is extremely simple. I would even recommend this device to beginners.
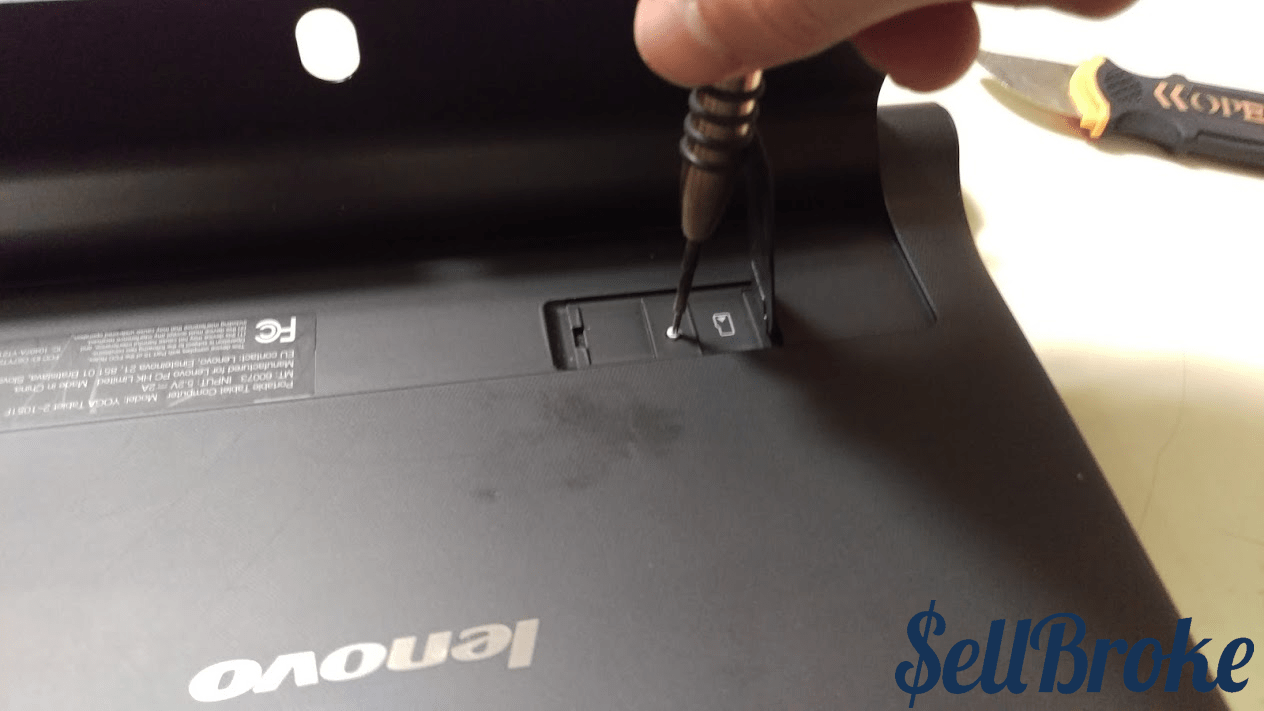
First, begin by opening the flap/stand, and opening the cover. There is a screw covered by anti-tamper tape, as shown.
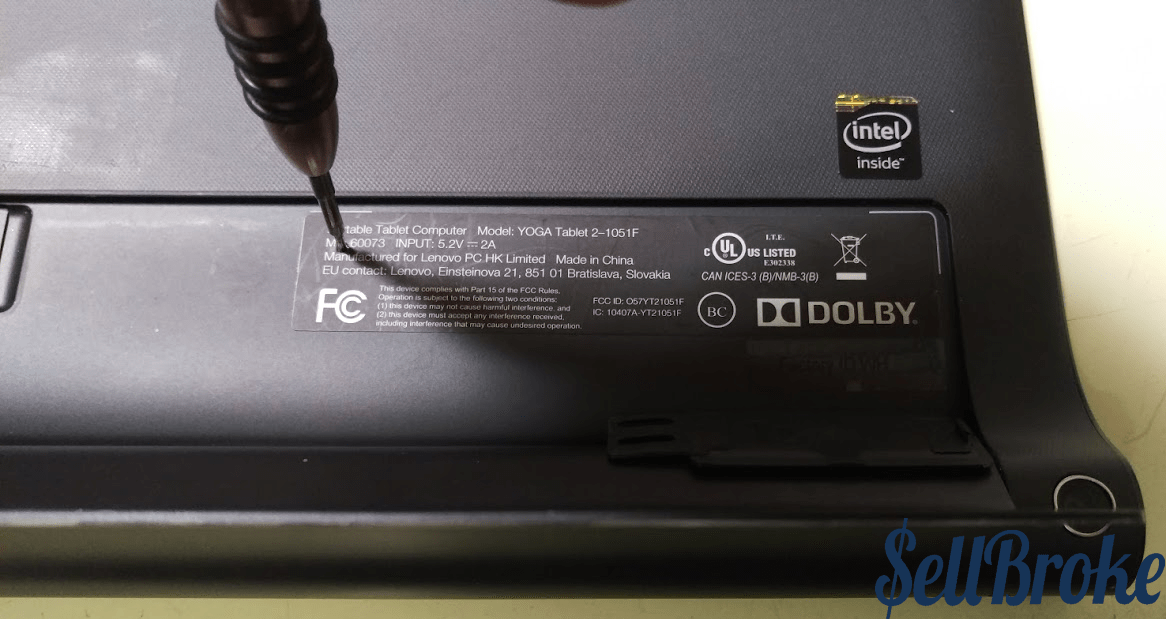

To the left of this, underneath the label, there are two screws underneath the label. You will have to pierce the label to get to them, voiding your warranty. Locations as shown.
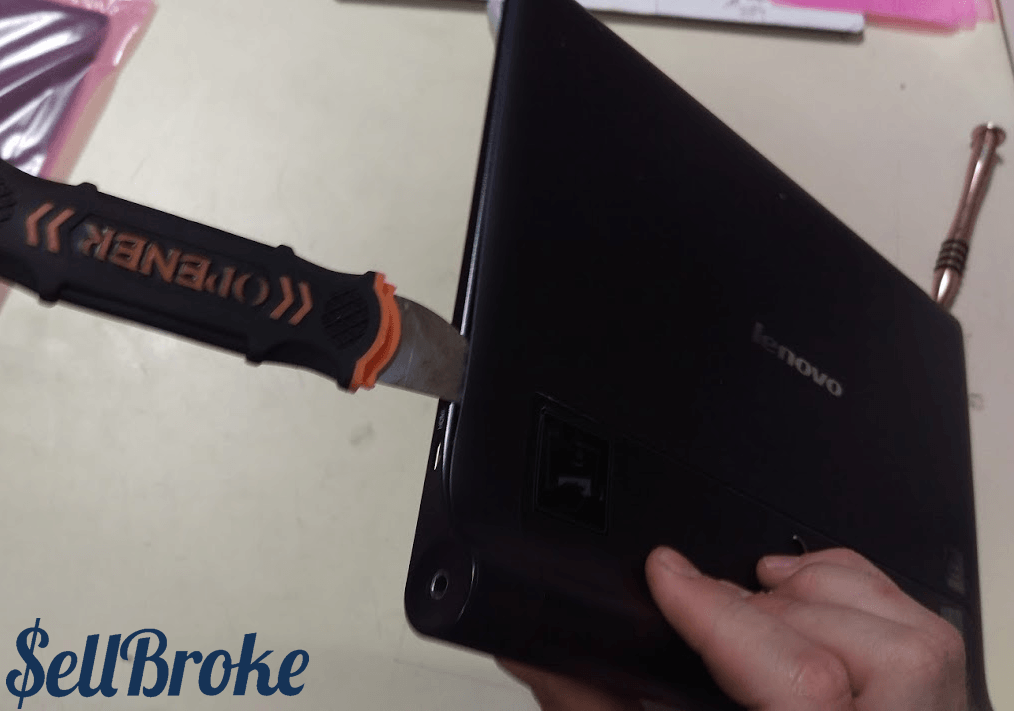
Next, with all screws removed, stick your opener tool between the frame and back cover, as shown.
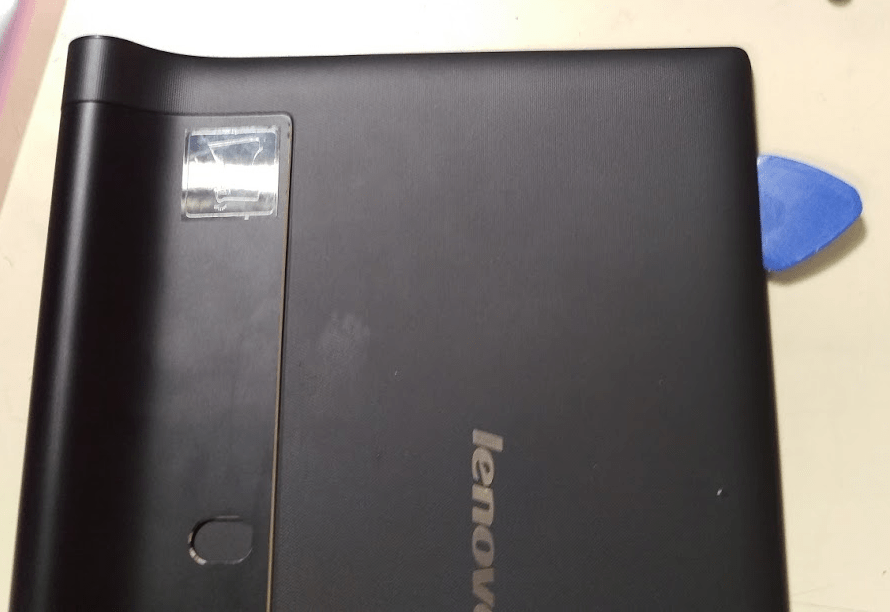
Go around the frame with a plastic pick, 360 degrees. The back cover should pop off easily.
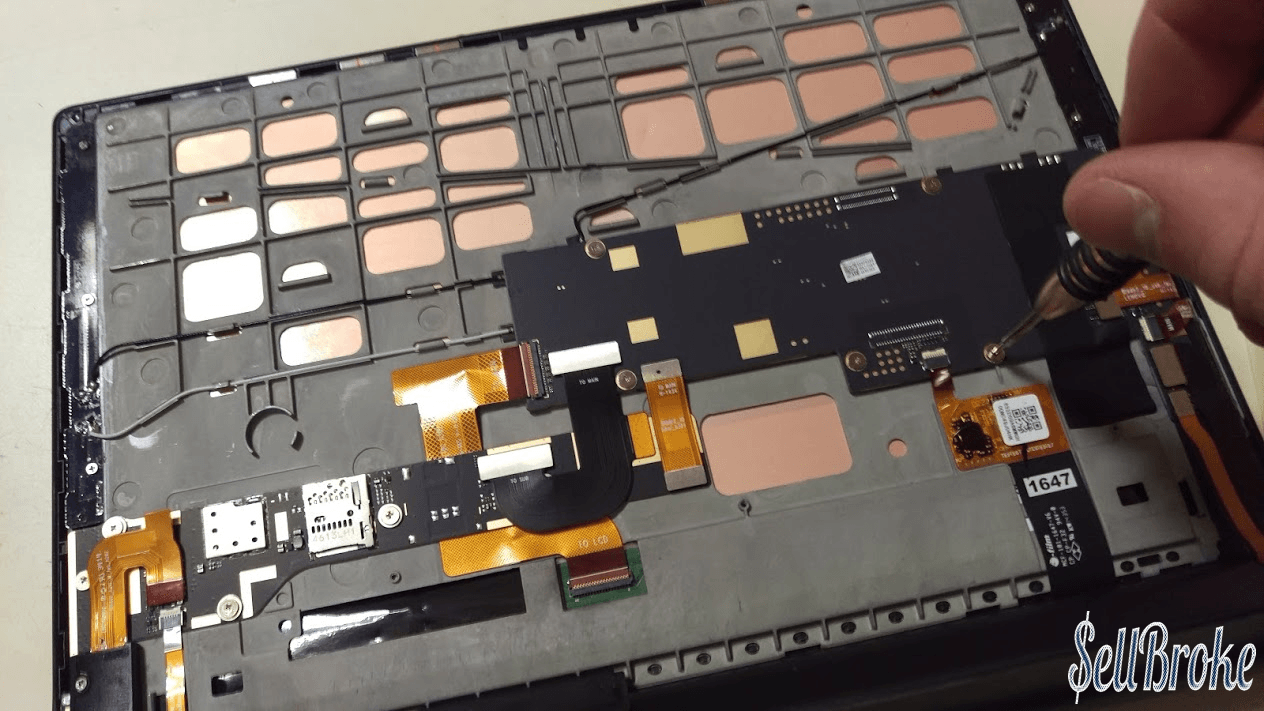
Begin removing screws. Be mindful not to attempt removing any components before all screws are removed!
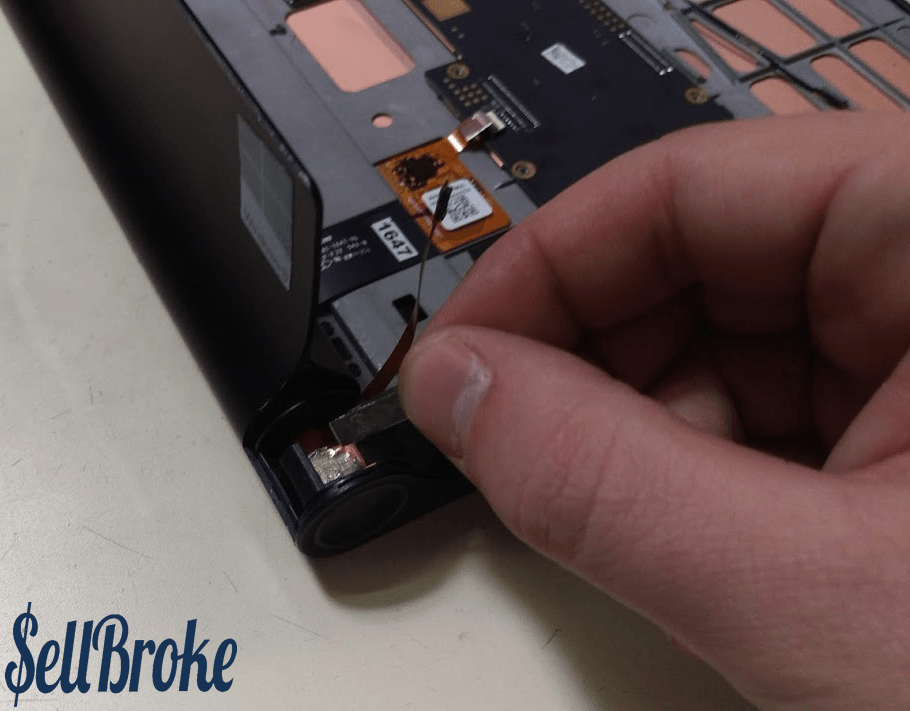
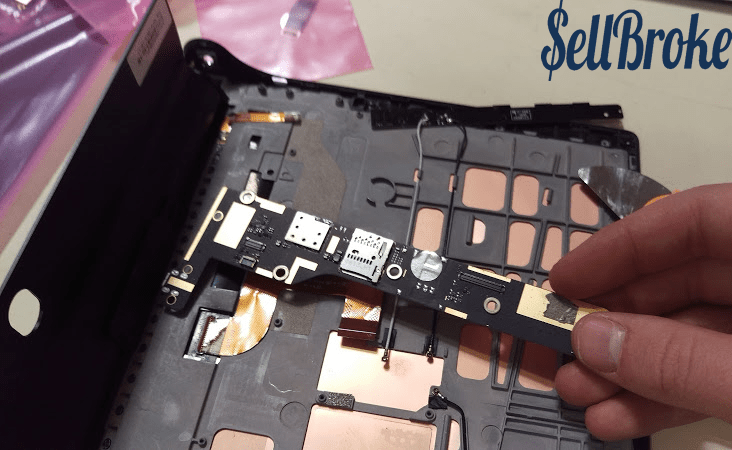
Remove the cables connecting the main board to the sub board. Using a pry tool, pry up , being mindful of the connector.

Likewise for this LCD cable, pry up on the orange part of the connector, it should pop up easily.
Again for this connection, pry up on the white bit of the connector, then stick a screwdriver or pick under the cable and pull up to disconnect it.
Disconnect all these connections. Use the same techniques as described above.
To remove these deep screws, I used a small magnet to pull them out of their respective sockets, so they could be saved and not lost while disassembling the tablet further.
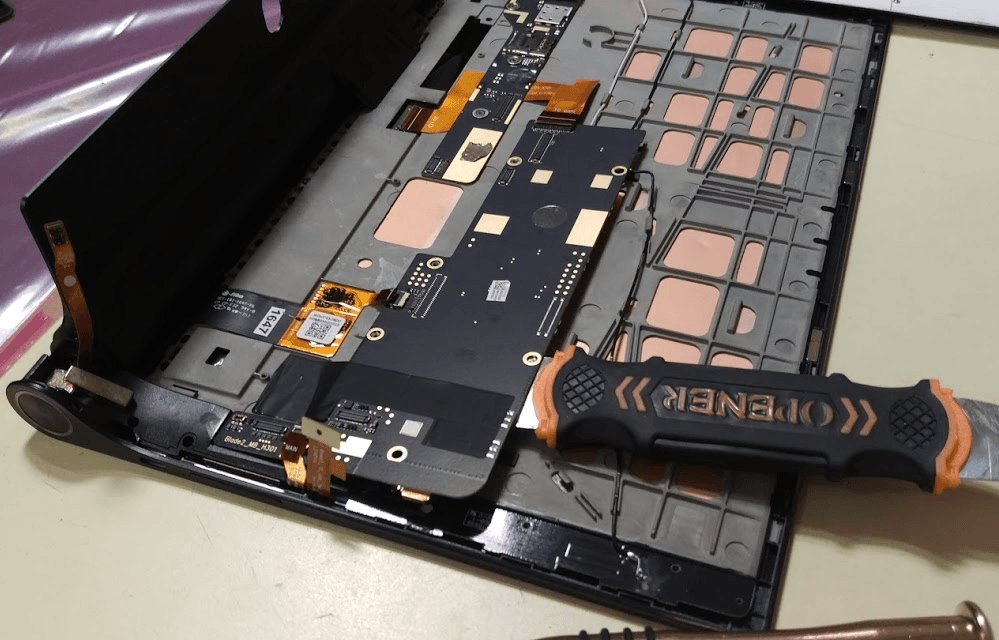
The main board can now be removed. The front camera is on the opposite side.
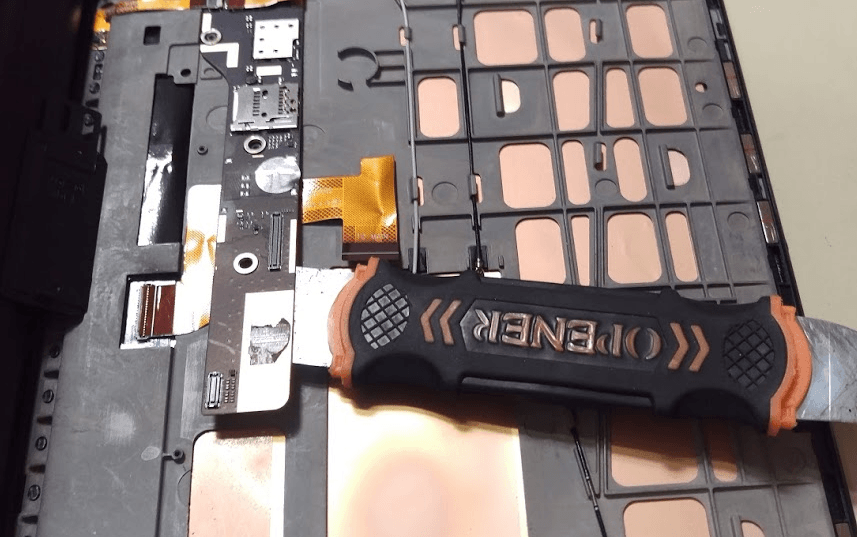
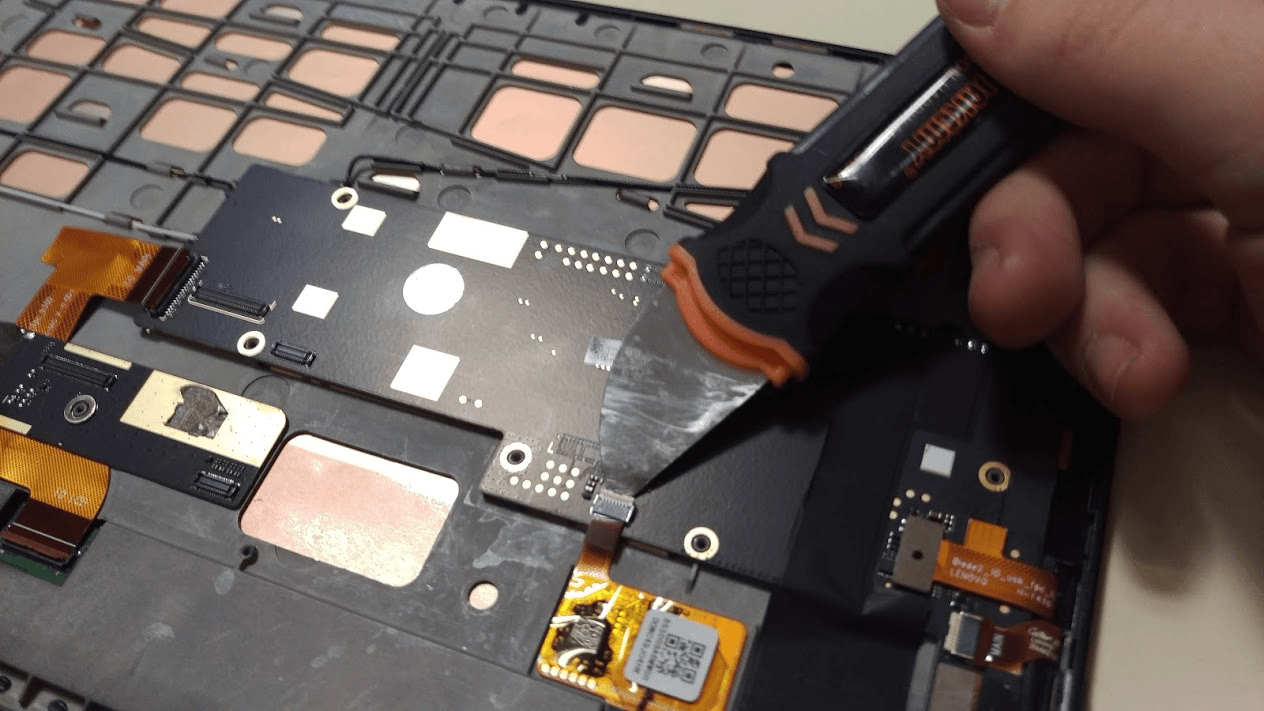
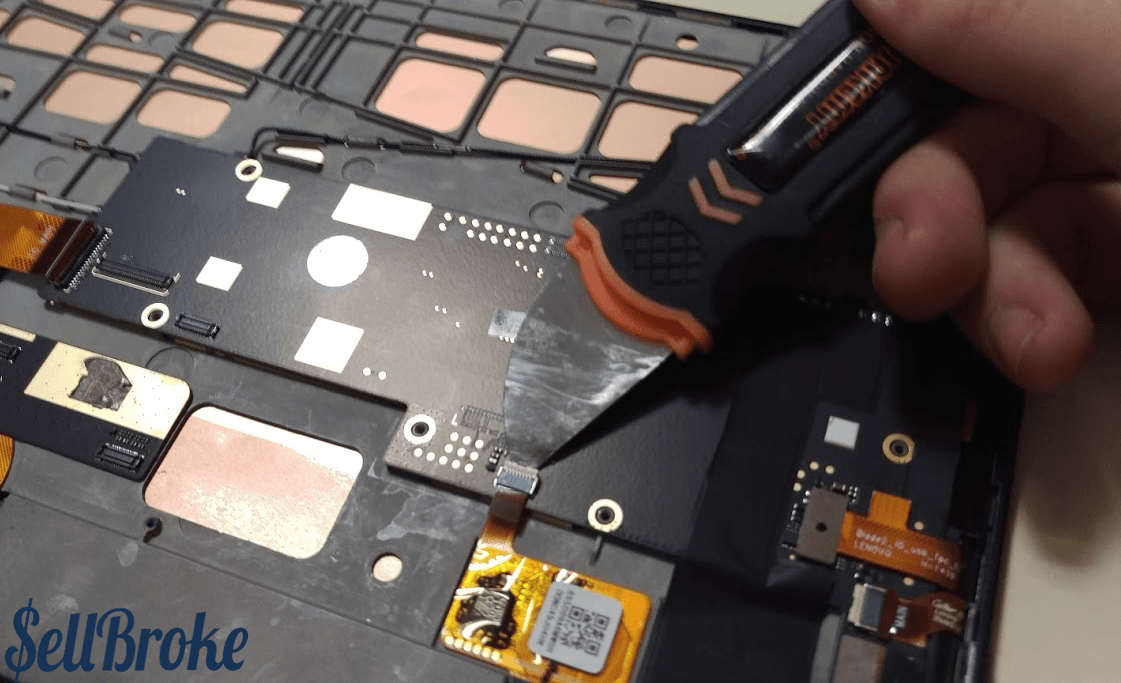
Underneath the sub board there is a bit of adhesive. Lightly stick your opener tool between the frame and the board, and pry up. It should pop up easily.
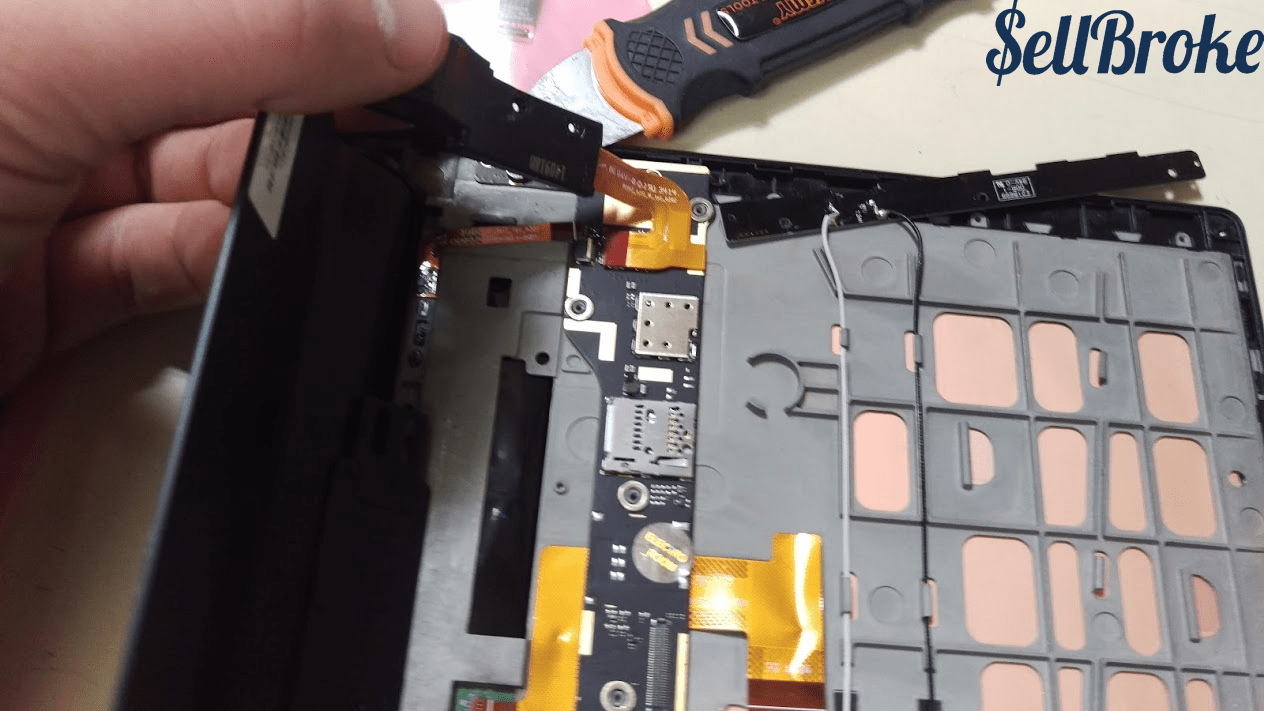
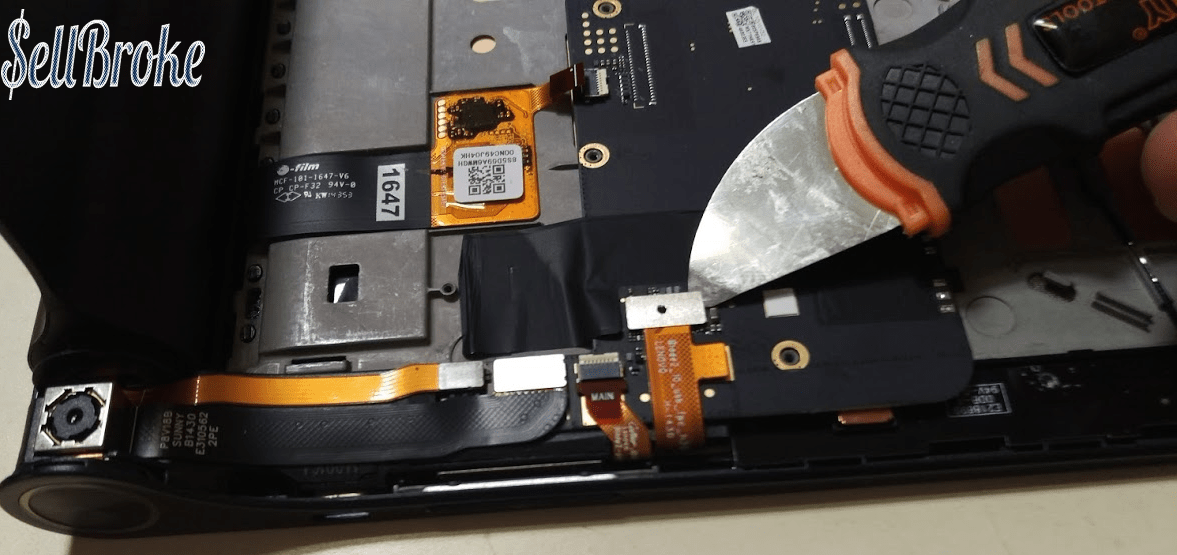
But do not fully remove it yet, until the black clip in the corner has been removed. There are three screws that you should have removed earlier. Once these are removed, use your pry tool and gently pry up on the black piece.
Be careful when removing, as it is attached to the sub board.
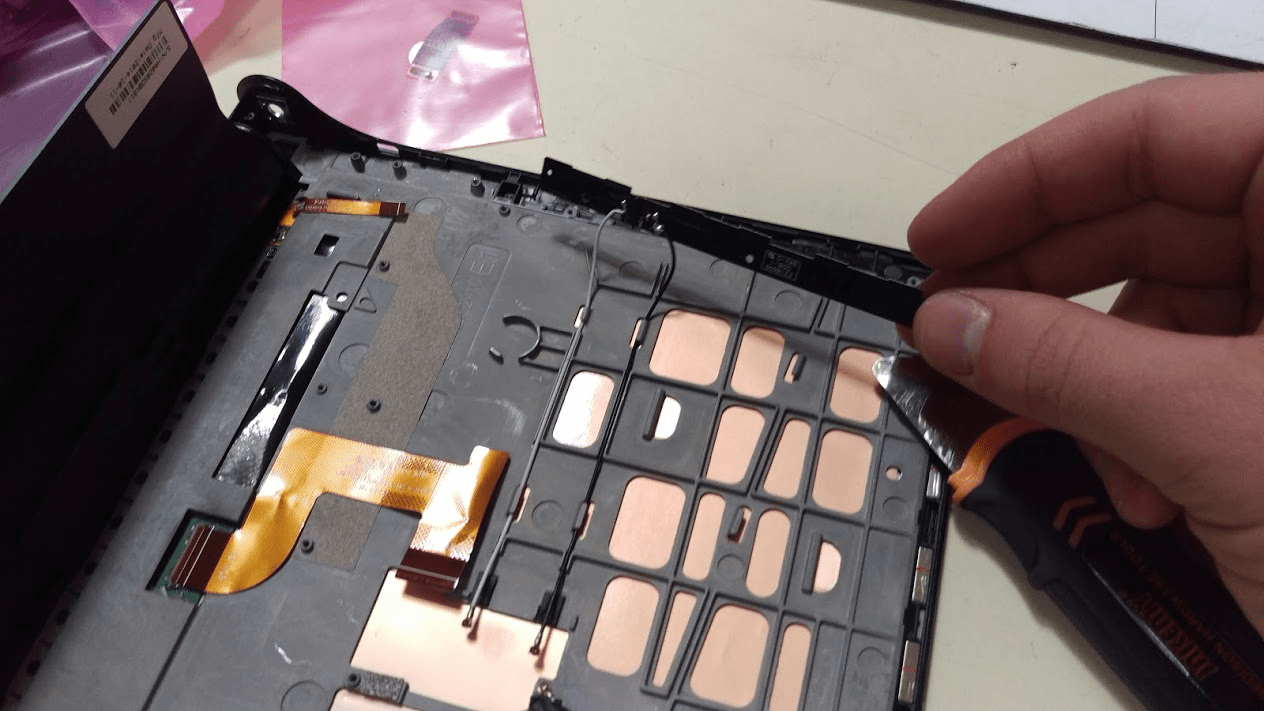
The antennas can now be removed. Be mindful of the cables snaking back to the main board area, as they are contained with plastic clips.
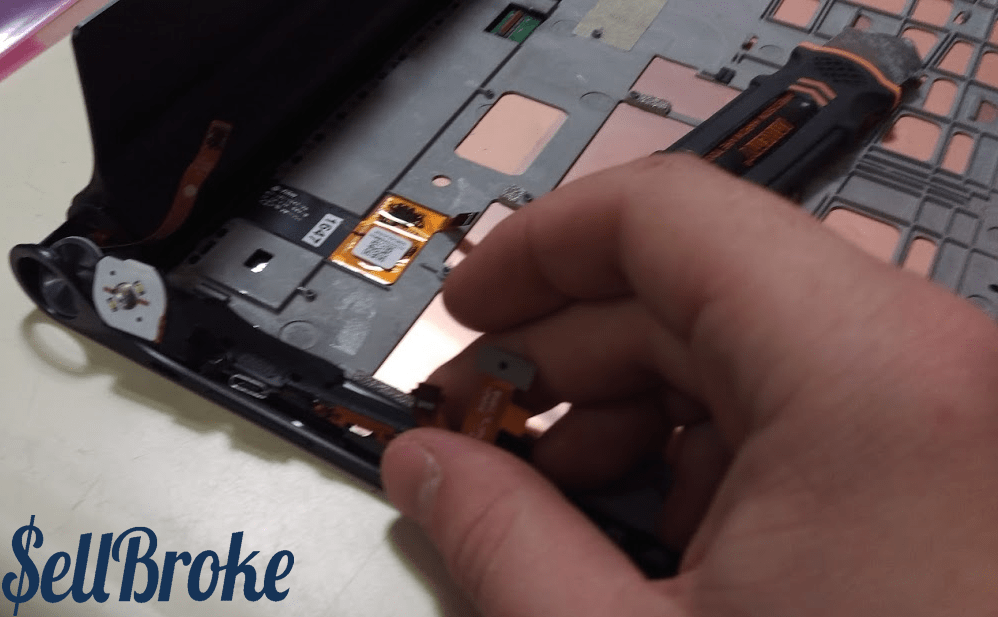
To remove the power board/volume buttons, pry up between the frame and the clip, like you did on the opposite side.
That should be it! Thanks for reading!
Aden Webster