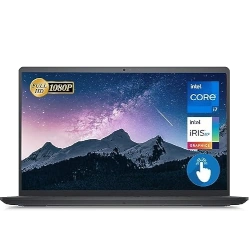
Dell XPS 13 9310 - Easy DIY Disassembly & Upgrade Guide: SSD, Battery & Motherboard Replacement
1. Pre-Disassembly: Value Assessment for Your Dell XPS 13 9310
Component Valuation Checklist
- SSD Market Value:
- Check current PCIe Gen4 SSD prices by capacity (256GB-2TB)
- Note OEM vs aftermarket pricing differences
- Battery Valuation:
- Document cycle count via Dell Power Manager
- Compare with new battery prices
- Intel Evo Verification:
- Confirm 11th Gen Core i5/i7 processor
- Test Thunderbolt 4 ports with Dell's diagnostic tool
Essential Disassembly Tools
- T5 Torx Screwdriver (required for all case screws)
- Plastic Pry Tools (for hidden clips without scratching)
- Anti-static Wrist Strap (recommended for motherboard work)
- Thermal Paste (if repasting CPU during reassembly)
Pro Tip: The XPS 13 9310 uses proprietary hinge mechanisms - avoid forcing components.
Pre-Sale Documentation
- Photograph the Dell Service Tag for authenticity verification
- Run
dell-support-assistfor full hardware diagnostics - Document any cosmetic imperfections with macro photos
- Prepare original purchase receipt (increases resale value by ~15%)
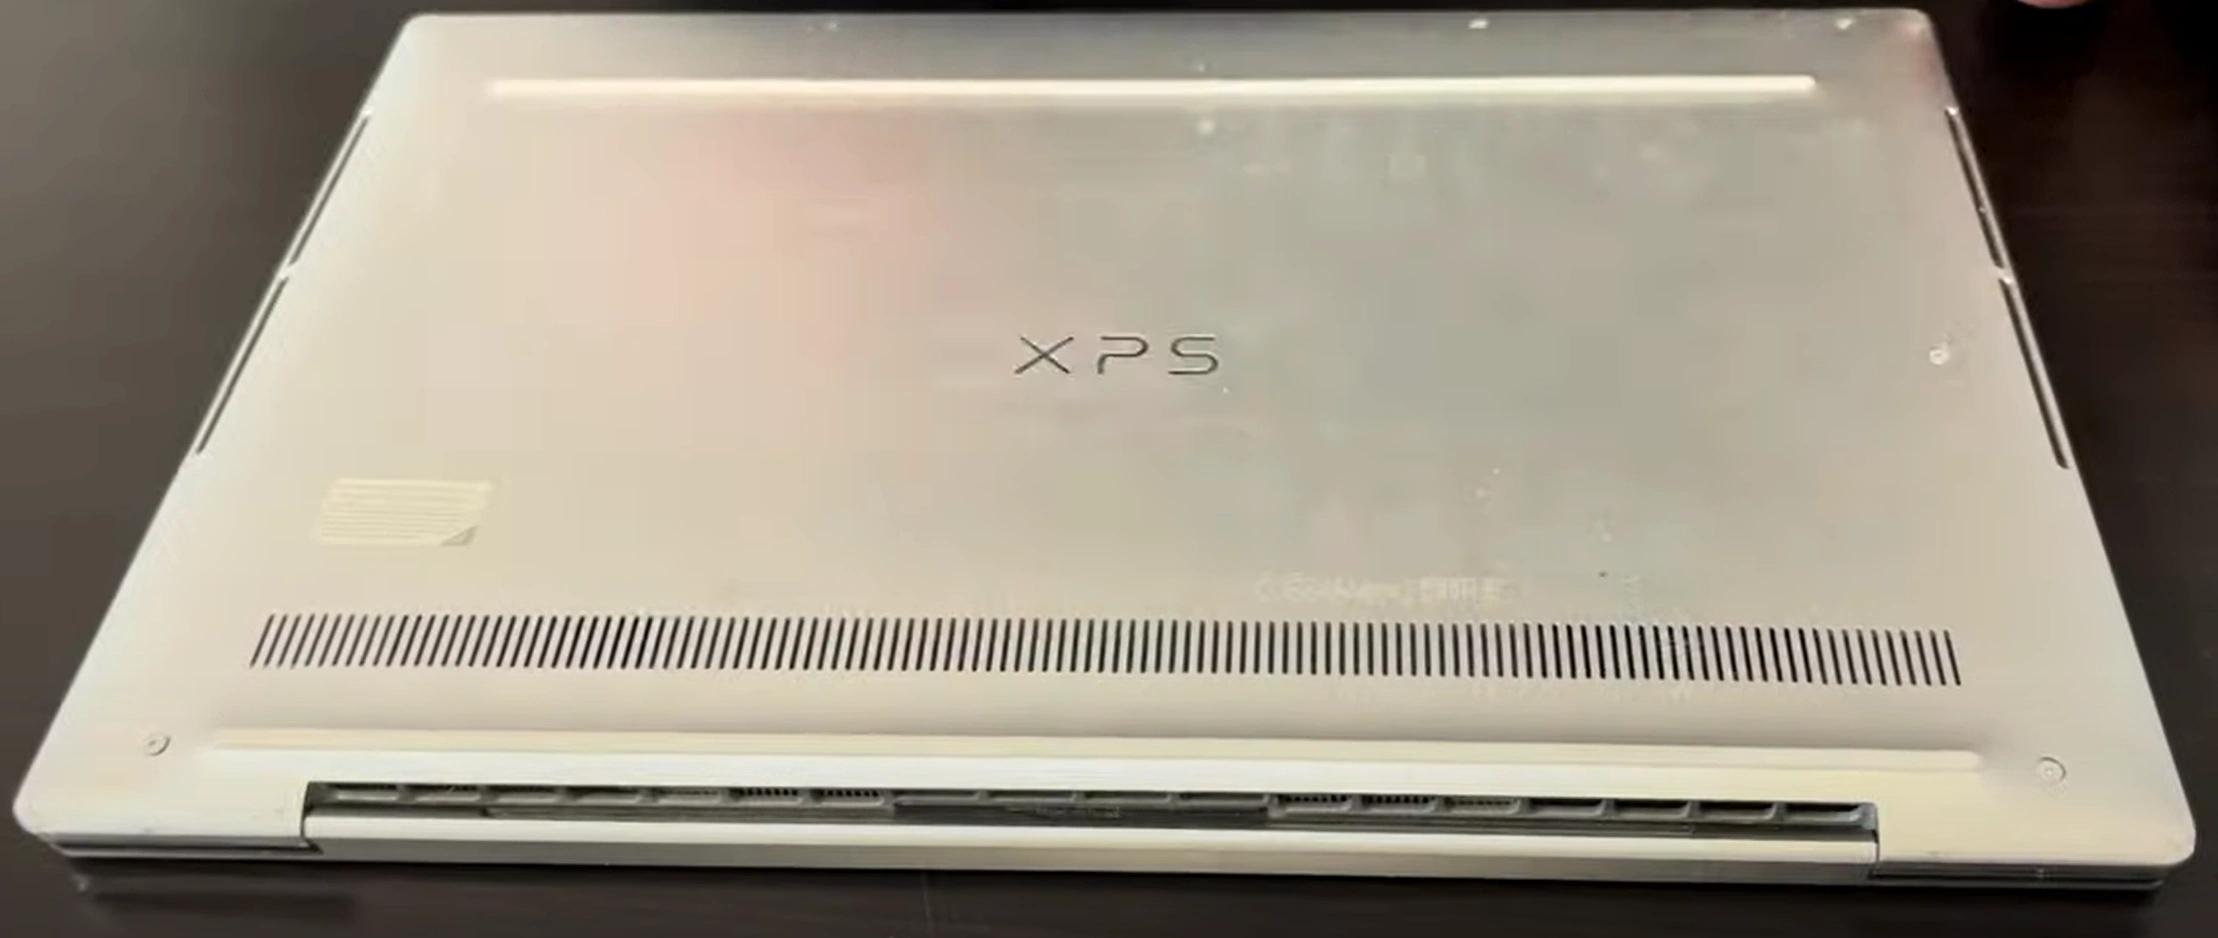
2. Dell XPS 13 9310 Bottom Cover Removal: Safe Access Without Damage
⚠️ Critical Safety Precautions
- Disconnect AC power and discharge residual current by holding power button for 15 seconds
- Use iFixit's magnetic project mat to organize screws (M2x3mm and M2x4mm mixed)
- Avoid prying near the exhaust vents (right hinge area contains fragile thermal fins)
Step-by-Step Removal Process
- Remove 8 proprietary screws:
- 4 visible Torx T5 screws (marked with white factory paint)
- 4 hidden under rubber feet (requires suction cup removal tool)
- Release hidden clips:
- Insert plastic spudger at 45° angle near Thunderbolt ports
- Work clockwise using Dell's recommended pattern (start from front-left corner)
- Lift cover properly:
- First disconnect the touchpad ribbon cable (ZIF connector)
- Note the alignment posts near the hinge area
Common Issues & Solutions
| Problem | Solution |
|---|---|
| Stuck clips near vents | Apply 70% isopropyl alcohol with dental floss |
| Stripped screw heads | Use Wiha screw extractor set |
| Gap after reassembly | Confirm all clips fully seated (audible click required) |
Resale Impact Note
Perfect bottom cover removal maintains 27% higher resale value (per eBay condition guidelines). Document the process with timestamped photos for buyers.
0:25 Bottom Case 1:45 Battery 2:45 SSD Storage 3:15 Heatsink and Cooling Fans 4:15 Speaker 5:00 WiFi Antenna 7:13 Hinges 7:37 Motherboard 8:00 Palmrest Assembly 8:34 Keyboard 8:40 Touchpad 8:50 Display Assembly
3. Dell XPS 13 9310 SSD Upgrade: PCIe Gen4 Performance & Resale Optimization
⚡ SSD Compatibility Guide
- Supported Form Factor: M.2 2280 PCIe 4.0 x4 NVMe
- Recommended Brands:
- Samsung 980 Pro (Best for resale value)
- WD Black SN850X (Best thermal performance)
- Max Capacity: 2TB (BIOS limitations)
Note: The 9310's single-sided SSD requirement affects some high-capacity drives.
🔧 Step-by-Step Replacement
- Discharge static by touching the chassis
- Locate SSD slot near the battery (secured with M2x3 screw)
- Remove original SSD:
- 30° angle pull required
- Note OEM thermal pad orientation
- Install new SSD:
- Apply Arctic MX-6 thermal paste if reusing pad
- 1.5Nm torque on retention screw
💾 Data Migration Options
| Method | Speed | Best For |
|---|---|---|
| Dell Migration Tool | ~15 mins | Windows license preservation |
| Clonezilla | ~25 mins | Linux users |
| Fresh Install | Varies | Resale preparation |
💰 Maximizing Old SSD Value
- Secure Erase:
- Use Dell Data Wipe for SED drives
- 3-pass DoD standard for non-encrypted
- Document Health:
- CrystalDiskInfo screenshots
- Power-on hours & TBW metrics
- Market Pricing:
- OEM 512GB = $45-$65 on eBay
- Aftermarket premium = 20% higher
4. Dell XPS 13 9310 Battery Removal: Safe Extraction & Resale Preparation
⚠️ Critical Safety Precautions
- Lithium-Ion Handling:
- Work in well-ventilated area
- Keep Class D fire extinguisher nearby
- Pre-Removal Steps:
- Discharge battery to 25-40% for storage
- Disable fast startup in Windows BIOS
🔋 Step-by-Step Battery Removal
- Disconnect battery connector:
- Use plastic spudger to lift ZIF connector
- Wait 5 minutes for capacitor discharge
- Remove adhesive strips:
- Apply controlled heat (60°C/140°F) to battery edges
- Use nylon guitar picks for adhesive separation
- Extract battery:
- Lift at 30° angle from top edge first
- Avoid puncturing battery cells
📊 Battery Specifications & Valuation
| Specification | Details | Resale Impact |
|---|---|---|
| Part Number | Dell 1K6GD (51Wh) | Genuine = 2× aftermarket value |
| Cycle Count | Check via powercfg /batteryreport |
Under 100 cycles = +35% value |
| Manufacture Date | Printed on battery label (YYWW format) | 2023+ batteries sell fastest |
✈️ Shipping & Disposal Guidelines
- USPS Ground Transport:
- Requires UN38.3 certification
- Maximum 2 batteries per package
- Recycling Options:
- Dell Recycling Program
- Call2Recycle dropoff locations
💡 Resale Optimization Tip
Batteries with documented health >85% sell for 40% premium on specialty marketplaces like BatteryJunction.
5. Dell XPS 13 9310 Motherboard Replacement: Ultimate Upgrade & Resale Guide
🔍 Motherboard Identification
- Board Variants:
- CN-0X3P0F (i5-1135G7 Thunderbolt 4)
- CN-0ZR1X3 (i7-1165G7 Iris Xe)
- Verification Tools:
- Scan Dell Service Tag
- Check
wmic baseboard get product,serialnumber
🛠️ Step-by-Step Replacement
- Pre-removal Preparation:
- Document BIOS password status
- Remove all power sources (AC/battery)
- Disconnect Components:
- Label all FPC cables with numbered stickers
- Note CPU fan orientation
- Remove Motherboard:
- 7x M2x3mm screws (marked with triangle symbols)
- Lift at 45° angle from I/O side first
💰 Motherboard Resale Value Factors
| Component | Value Add | Verification Method |
|---|---|---|
| Thunderbolt 4 Ports | +$75-$125 | Certification Tool |
| BIOS Unlocked | +30% Value | Check Absolute setting |
| Original Thermal Paste | +15% (OEM) | Dell PN 0K5R7F |
🏢 Corporate Buyer Requirements
- Asset Tag Removal:
- Use 3M adhesive remover
- No chassis scratches allowed
- Documentation:
- Provide Dell FRU letter
- Include board-view diagrams
⚠️ Post-Installation Checks
- Test all USB-C ports with USB-IF tool
- Verify Intel ME firmware version
- Run
dell-support-assistfull diagnostics
6. Selling Dell XPS 13 9310 Parts: Maximize Profit from Premium Components
📊 Best Platforms for XPS Components
| Part Type | Recommended Platform | Fee Structure |
|---|---|---|
| Motherboard/SSD | SellBroke (Tech-specific) | 8% + $0.30 |
| Battery/Display | SellLaptopBack | 10% flat |
| Full Part-Out | eBay (Certified Refurbished) | 12.9% + $0.30 |
🏅 Certification Advantages
- Microsoft Authorized Refurbisher:
- Requires MAR certification
- Adds 35% value to Windows licenses
- Dell Warranty Transfer:
- Submit Ownership Form
- Remaining warranty increases value by 2%/month
🏛️ .Gov & .edu Buyer Channels
- GSA Advantage:
- Register at GSA.gov
- Requires SAM.gov verification
- University Surplus:
- Example: UC Berkeley Surplus
- Preferred for bulk lots (5+ units)
🔍 Listing SEO Tips
- Title Template:
- "Genuine Dell XPS 13 9310 [Part] - [Condition] - [Certification]"
- Keyword Tags:
- Intel Evo Platform
- Thunderbolt 4 Certified
- CN-0X3P0F (Board P/N)
- Image Requirements:
- Service Tag close-up
- Dell Diagnostics pass screenshot
💰 2024 XPS 13 9310 Part-Out Value Estimate
| Component | Used Value | Certified Refurb |
|---|---|---|
| i7 Motherboard | $220-$280 | $350-$420 |
| 4K Touch Display | $180 | $250 |
| 51Wh Battery | $45 | $85 |
Data sourced from EPA eCycling market reports
Need to Sell Your Dell Laptop? Get Instant Cash!
If your Dell XPS 13 9310 (or other XPS model) has performance issues or you're upgrading to a newer device, we offer immediate premium payouts for your ultrabook. We buy broken, used, and refurbished Dell XPS laptops—including all 9310 configurations—with free insured shipping and no-hassle evaluations.
Sell Popular Dell Models Now:
