How to take apart Dell Inspiron One 2330 PC
All-in-One desktop computers are replacing PC towers since the entire computer can fit inside a thin monitor case. Huge success of first Apple iMacs in the late 90s and 2000s dictated new trends in the design of stationary PCs nowadays. Additionally the new All-in-Ones with touchscreens and built in batteries take after giant tablets. Whether you are looking to repair or upgrade your computer we offer step by step disassembly guide. If you find the process too difficult then better don’t attempt it as you may do more damage to your computer. Sometimes it’s better to simply sell your All-in-One PC and buy a new one. But if you do feel like working on your computer we hope our post would be of help to you.
Dissasembly guide: Dell Inspiron One 2330 W05C Touchscreen All-in-One Desktop Computer / Windows 8, Intel i3 @ 3.4ghz 8gb RAM.
Tools necessary are as follows. Pry bar, both plastic and metal variety. M2, M3, M4 phillips screw drivers. Suction cup is not necessary but definitely helps.
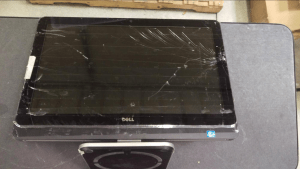
This is a very easy computer to disassemble. Parts have few screws, are not attached through other means, and are removed quite easily. There are no hidden screws or weirdly attached bits.
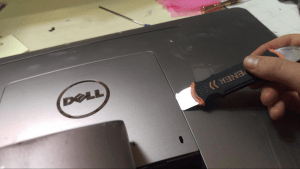
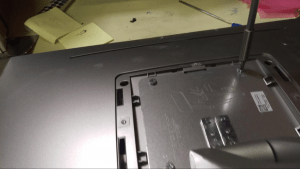
First, remove the panel that hooks into the back panel, allowing access to the back panel screws. Remove these screws, and the stand should come off.
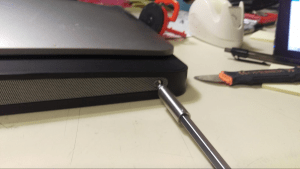
Remove the screws on the bottom edge of the panel.
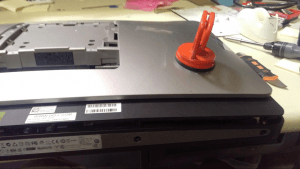
Using a suction cup on the back panel, pull up to dislodge the panel from the frame. You don’t need a suction cup for this, using a pry bar along the edge of the panel should do the same.
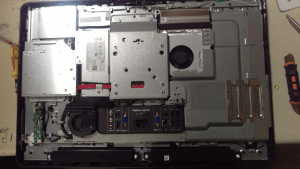
There are many panels covering most of the parts in this All-In-One, but luckily these parts are not difficult to remove. Remove the M3 and M4 screws throughout the PC.
The optical drive mount has 2 M2 screws so you will need a smaller screwdriver for that.
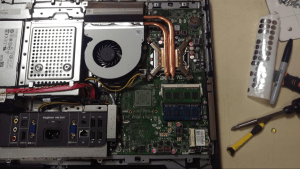
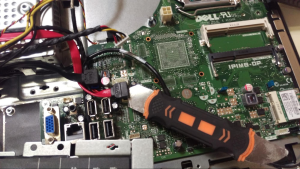
When removing the cables on the left side of the motherboard, be careful to disengage any locking levers, as the ports on the motherboard are quite sensitive and can be broken easily. Everything else should be removed easily.
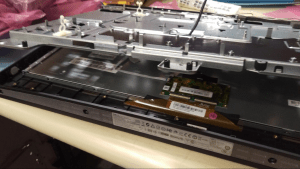
Once all the components have been removed from the motherboard section, remove the cables that are snaking around the top and sides of the frame, then pull up on the metal frame, it should come up easily.
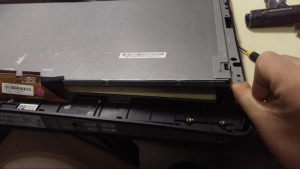
The LCD Panel should come up easily. There are no screws holding it down, you have already removed them.
That’s it! Probably the easiest All-In-One disassembly ever!
By Aden Webster