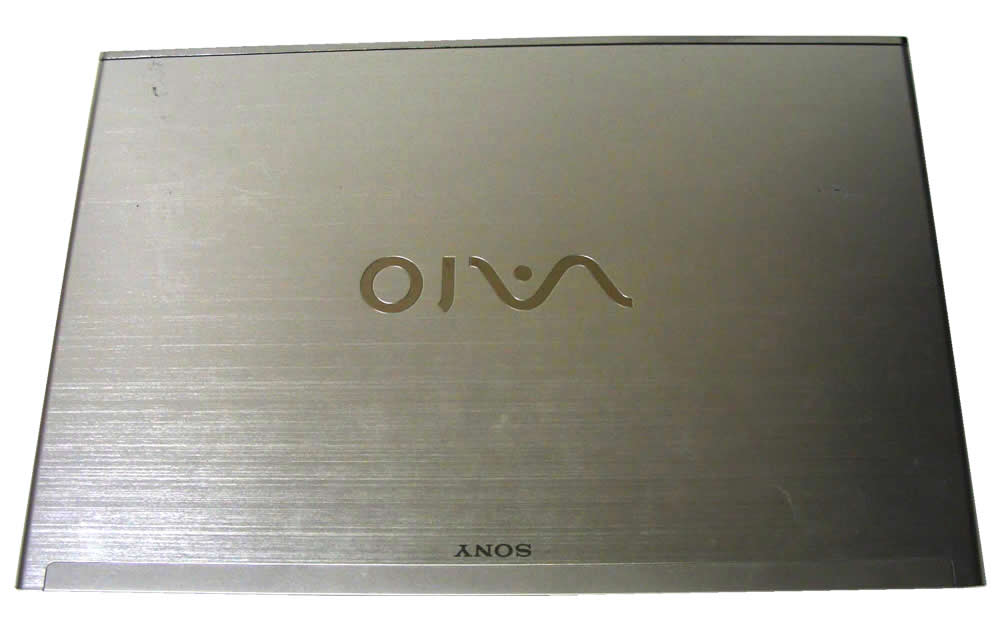
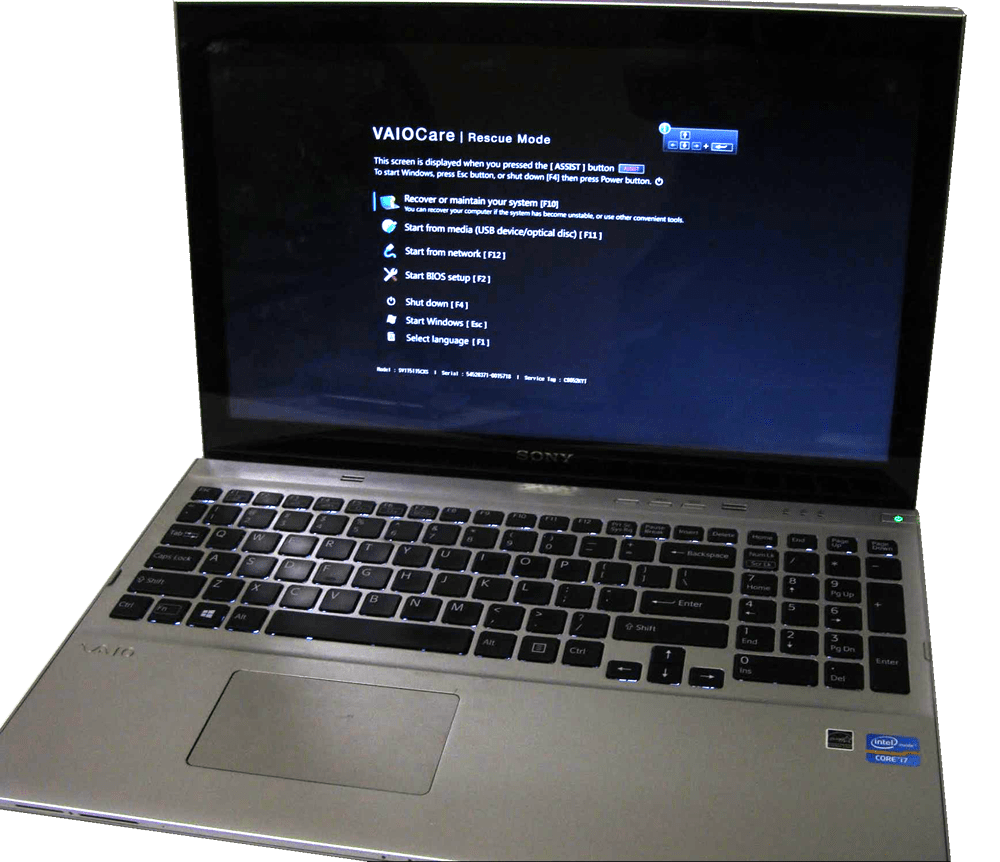
Sony Laptop VAIO SVT151A11L Disassembly Guide
Sony laptops gained many fans ever since the first VAIO notebooks hit the markets in mid 90s. Sony always put stress on the design making their laptops look better than competition.
Only Apple with their white PowerBook, and later Aluminum MacBook chassis, were slowly but surely securing more supporters over aging designs of other laptop brands. Now after 20 years the competitors have caught up and Sony has hard time making their laptops appear prettier than others.
Performance-wise Sony laptops have always been top notch. A long tradition of the electronic giant gives it access to the newest technologies available.
Nowadays with the new Touchscreen Ultrabooks Sony enters realms of top shelf premium notebooks again. They are powerful, user-friendly and beautiful. The company uses the best components making their laptops rather pricey but worth the money spent in all aspects.
The new Sony VAIO 15 Touch Ultrabook (model SVT151A11L) is the best example and nicely fitted in a brushed aluminum body complying with the newest standards.
Weighing 5 pounds it’s similar to its closest competition in Dell XPS Ultrabook 15 and
HP Spectre TouchSmart. It’s about $300 cheaper than the HP which could be the selling point of the Sony laptop. It’s a great computer for everyday use from work to play and entertainment.Let’s take one apart and see what’s inside. Our post will help you upgrade and fix your computer. If you would rather sell your laptop we can help too. We pay for good and broken laptops helping you upgrade to a new one painlessly.
Disassembly of Sony SVT151A11L
Difficulty Level: Easy
Tools required:
[custom_list style="list-9"]-
#1 Phillips Screwdriver
-
#2 Phillips Screwdriver
-
#2 Slotted (standard) Screwdriver
-
Plastic and Metal Opener tools
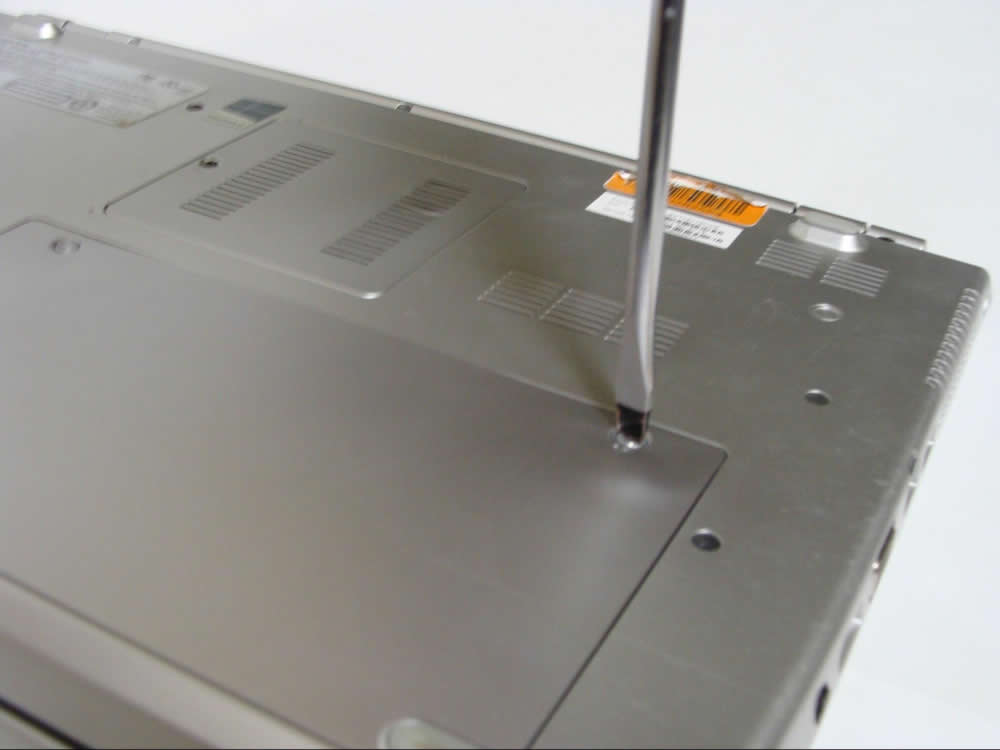
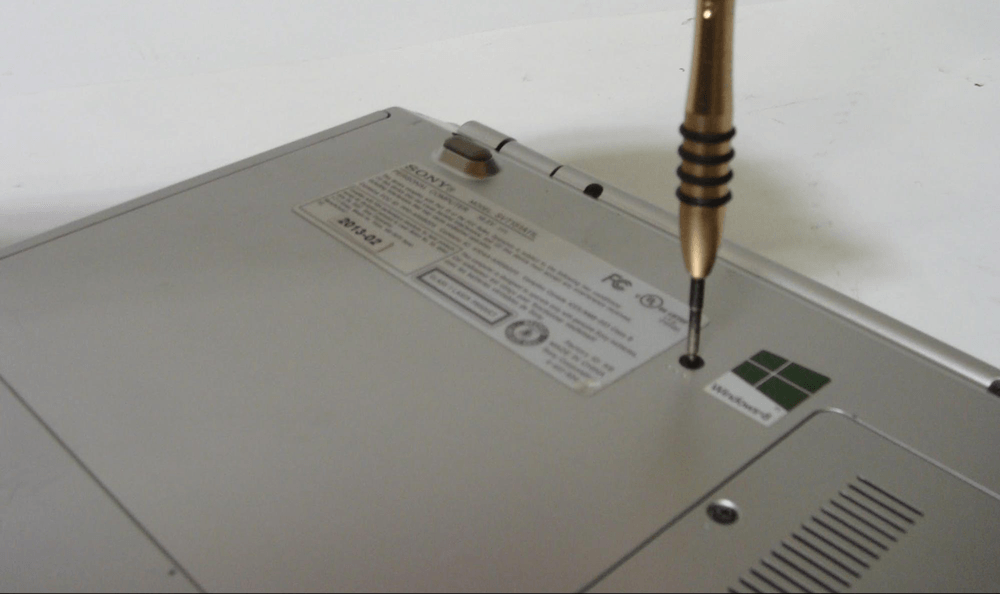
First, remove the battery in the bottom case. This is done easily with a #2 Slotted screwdriver. Simply remove the screws, then pull up on the battery.

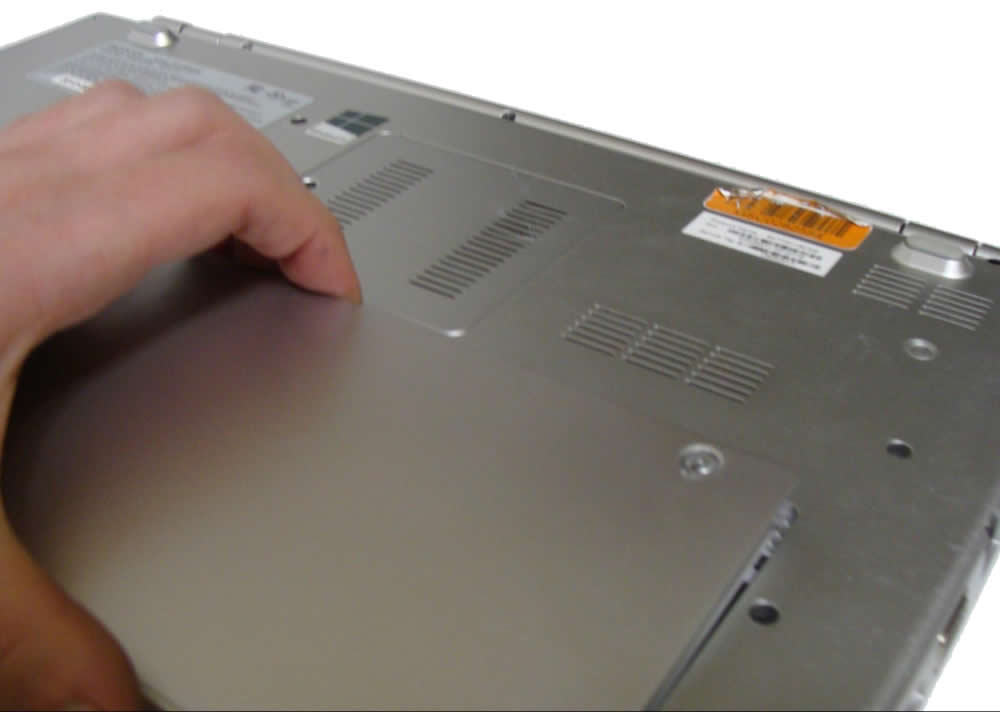
After you have removed the battery, remove the HDD caddy cover screw, and remove the caddy by pulling up on it as shown. There are tabs holding it in, so be careful when removing it.
Next, remove the screws on the bottom cover. You will need a #1 phillips screwdriver for this.
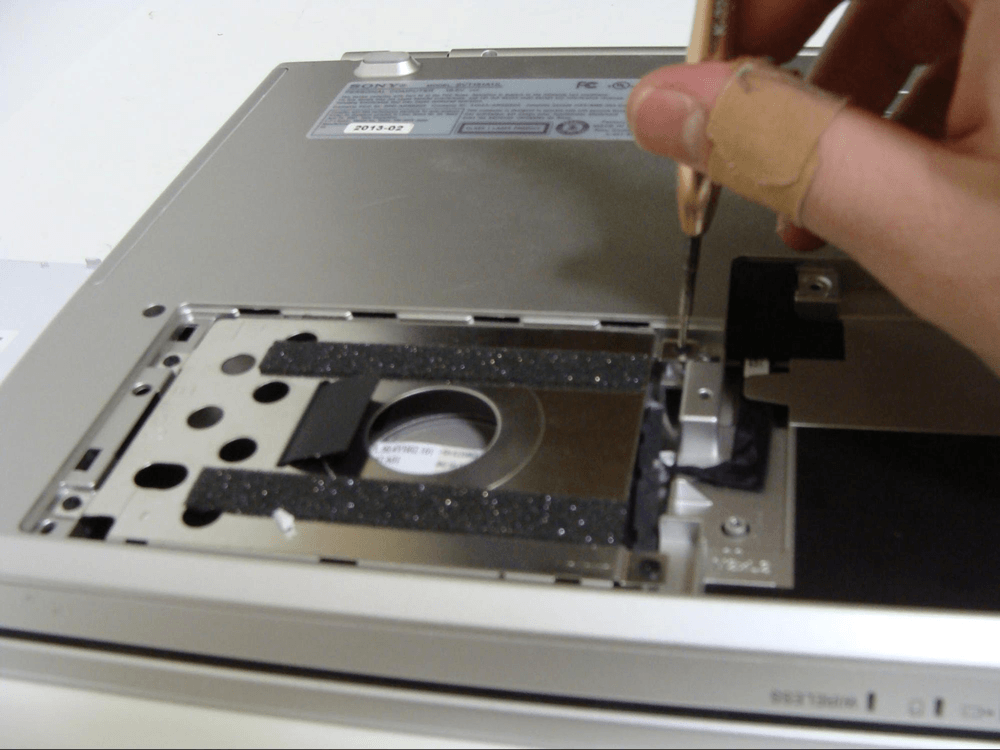
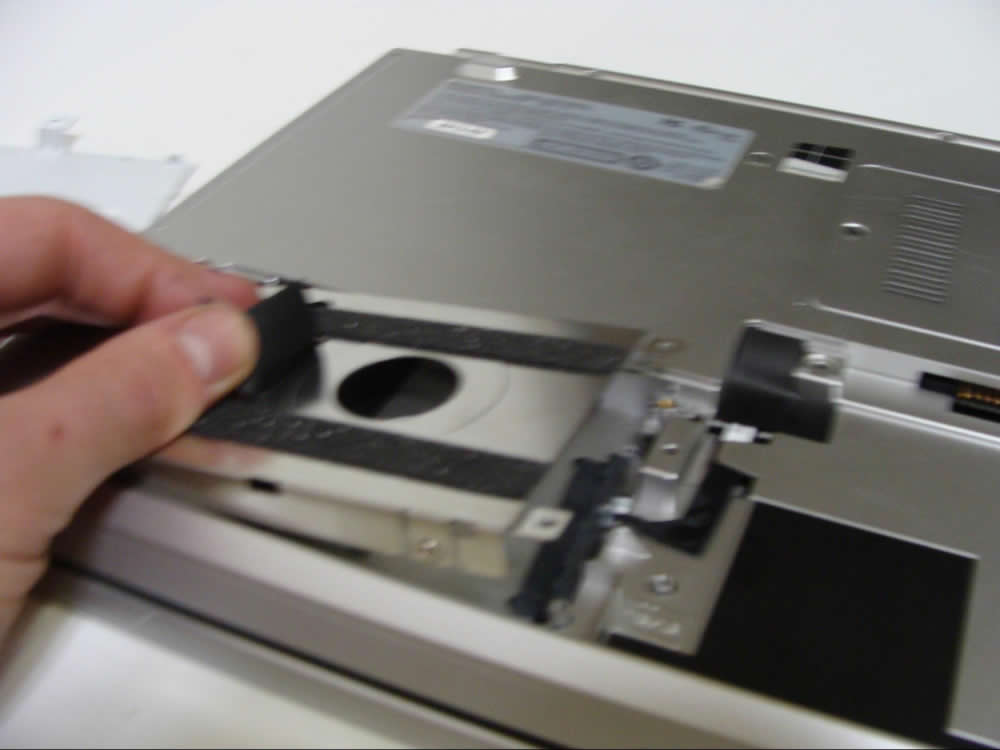
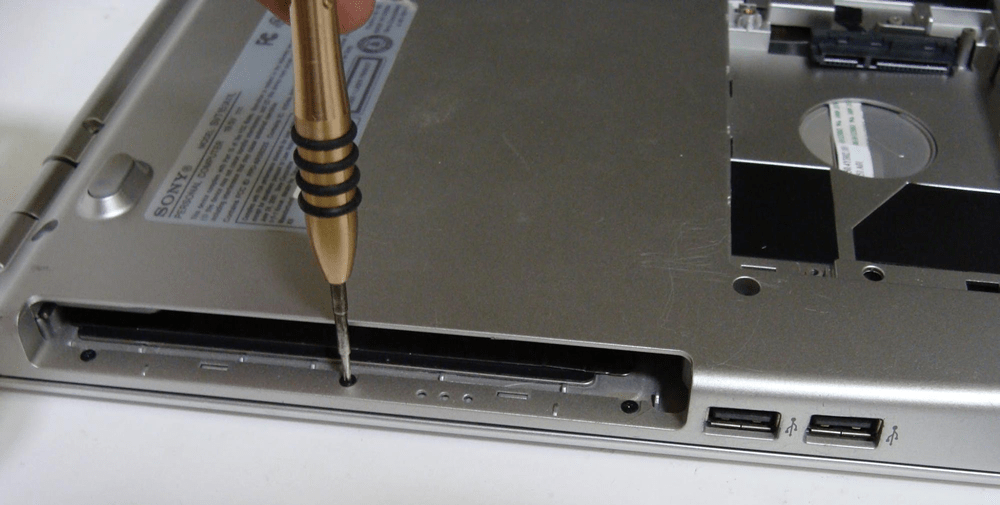
To remove the HDD caddy, remove the four screws then simply pull up on it using the tab provided.
If you have removed all the screws on the bottom cover, the DVD drive will be easily removed.
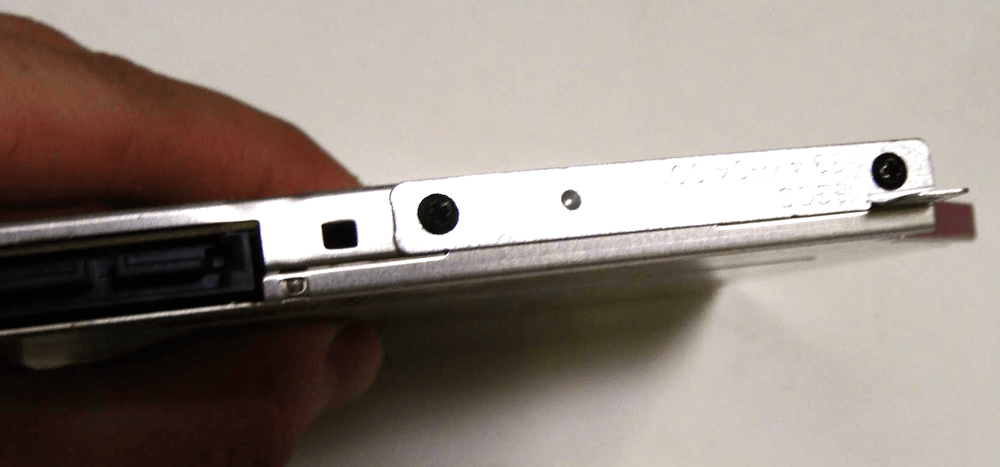
Note that if you are replacing the drive, you will need to replace the mount as shown in the photo.
After removing the DVD drive, you will see you have uncovered a few more screws to remove. These are the last remaining screws in the bottom cover.
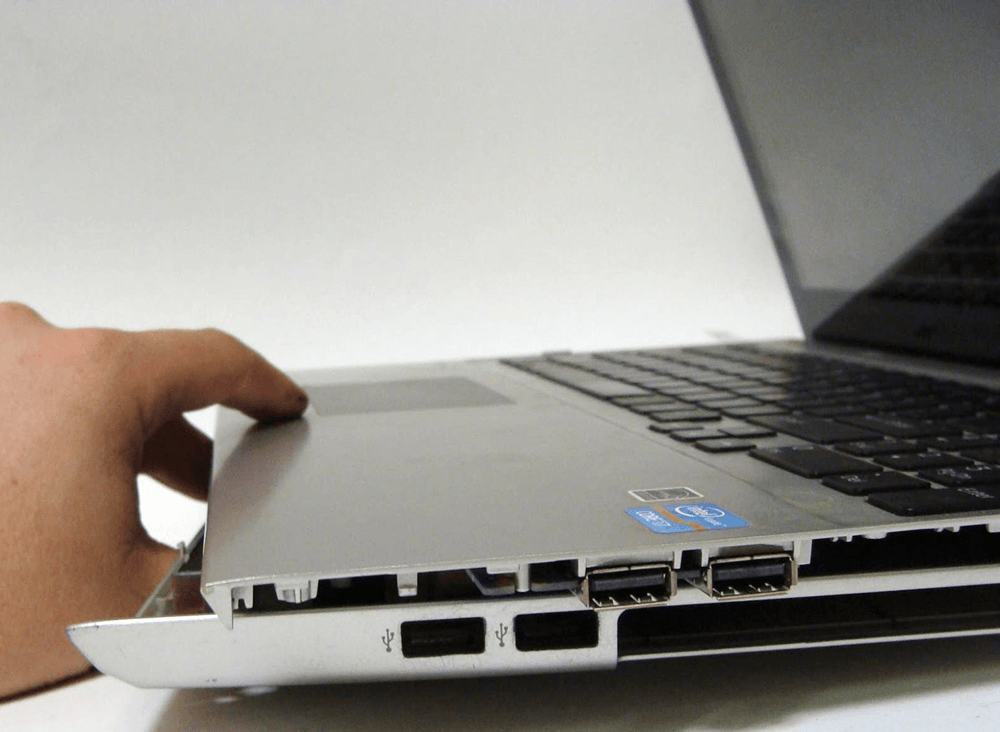
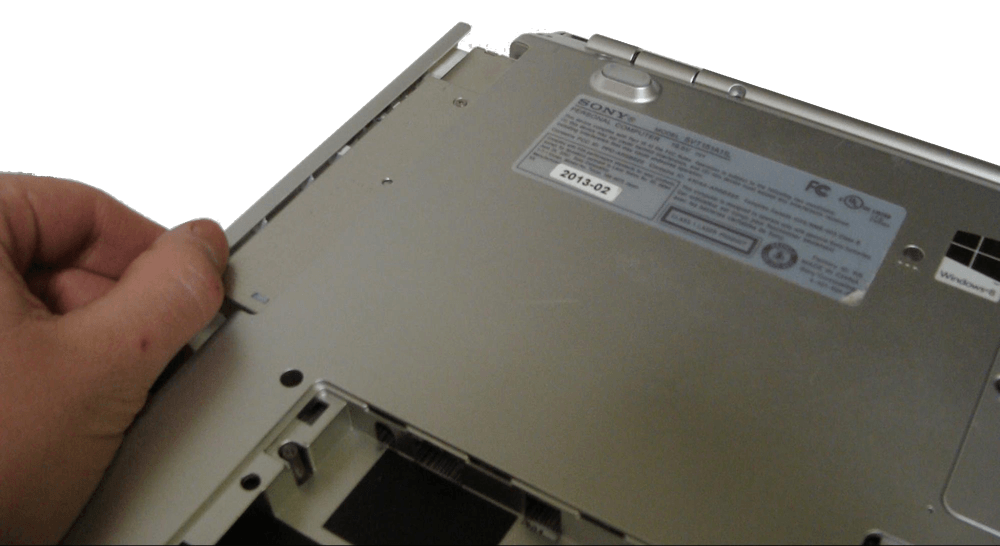
Using a plastic pick, stick it between the bottom frame and top keyboard frame. The two should separate easily, as shown.
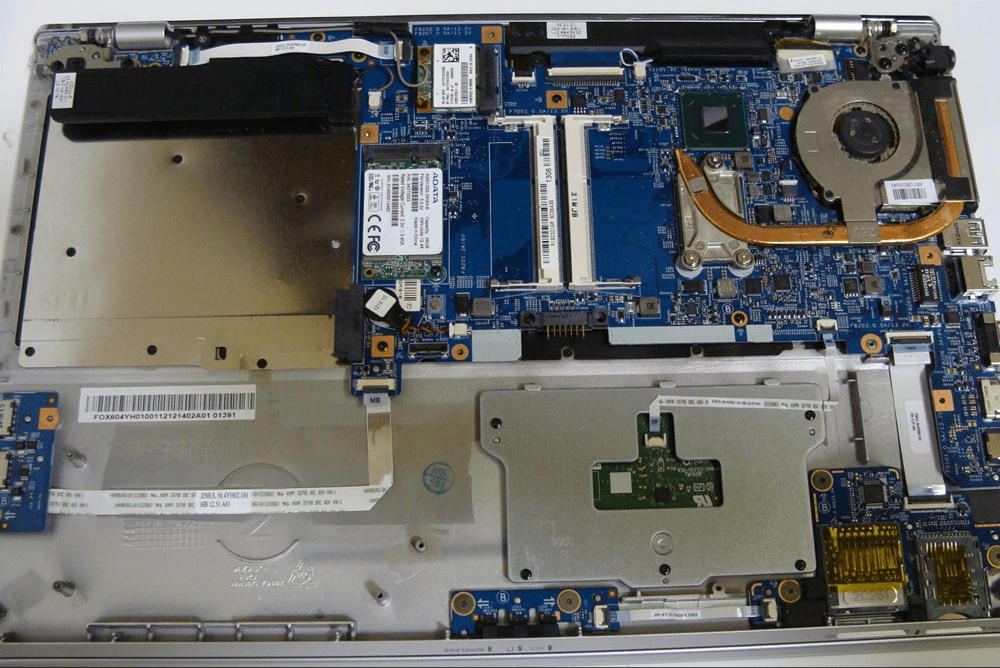
You should now have access to the internals of the computer.
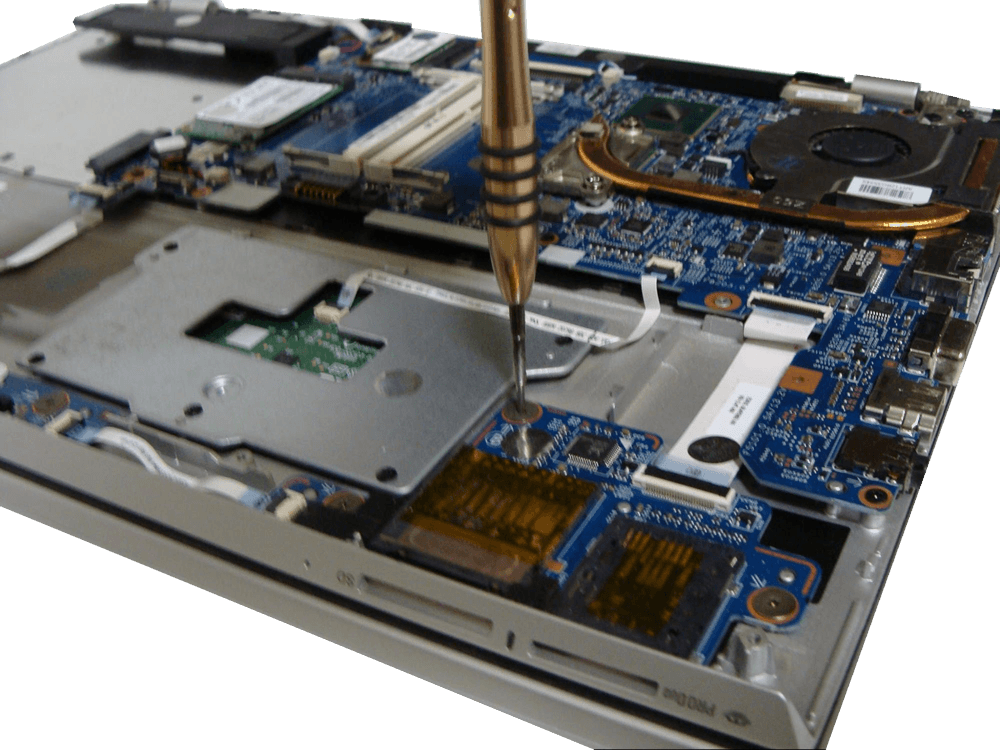
Start by removing screws all around the computer. It is important to remove all visible screws before removing components.
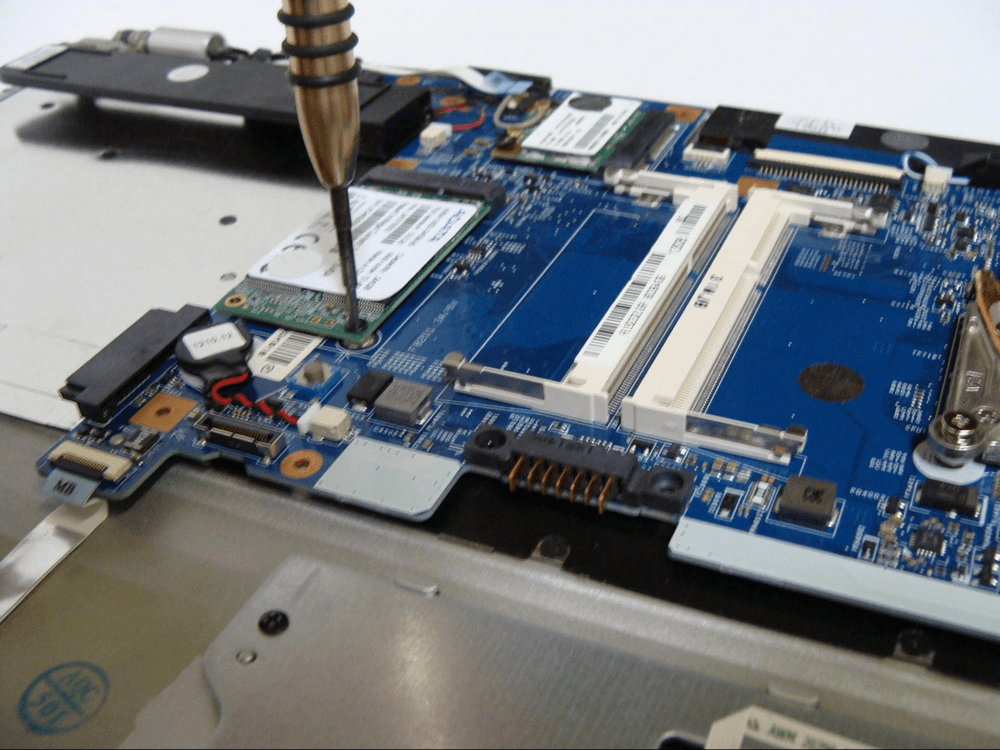
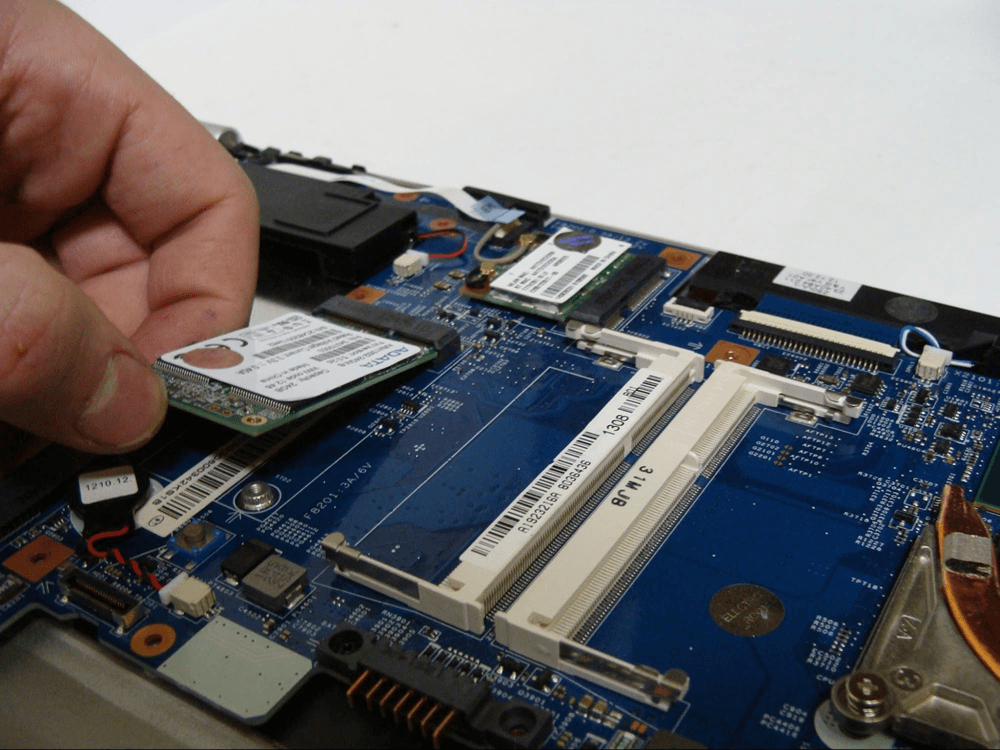
To remove the SSD, remove the phillips screw, then simply pull the SSD away from the connector, as shown.
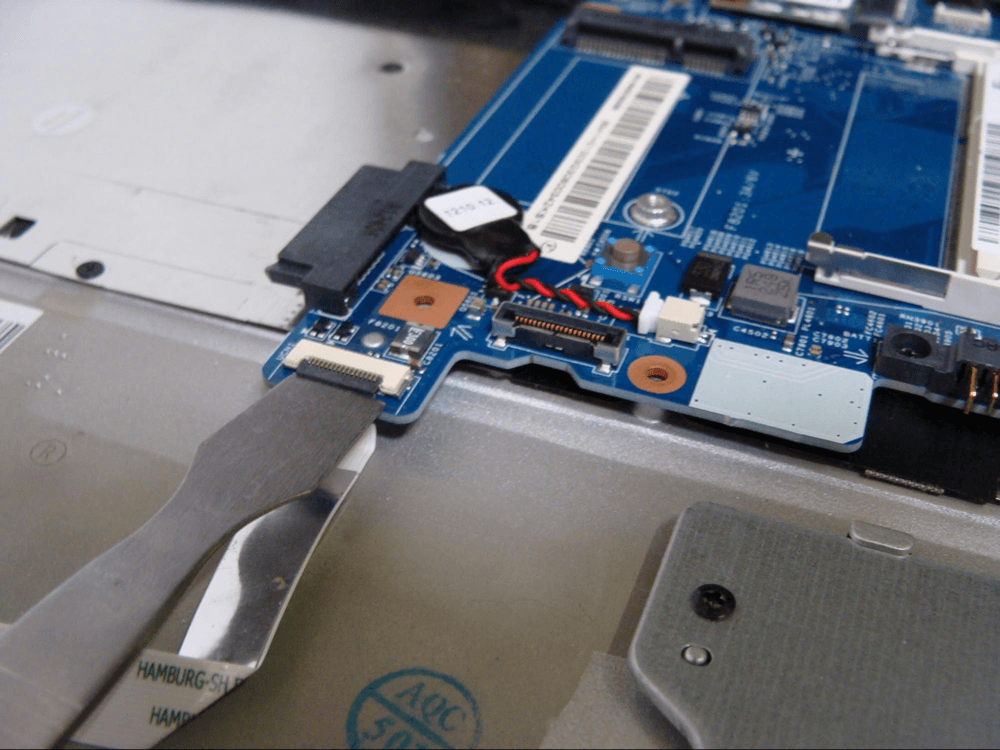
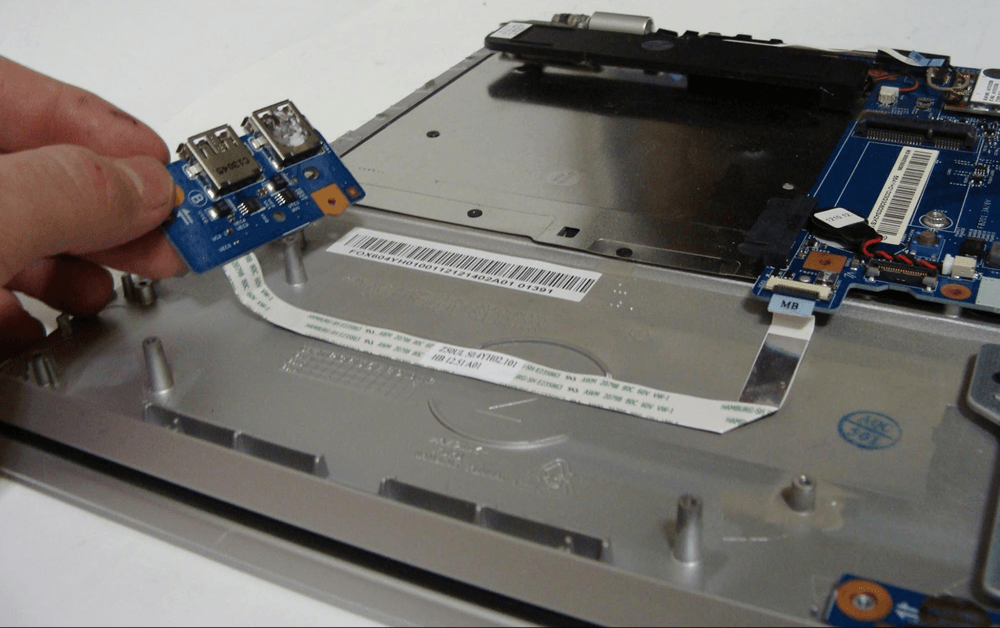
Removing the USB port board, disconnect the ribbon cable as shown, then simply pull the board away from the computer.
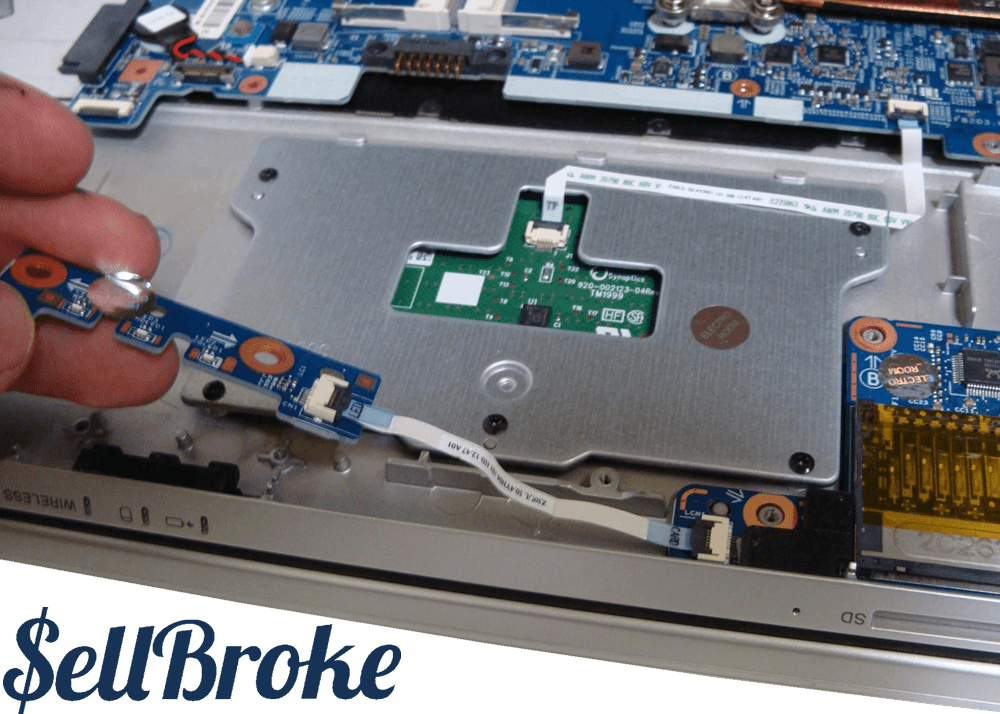
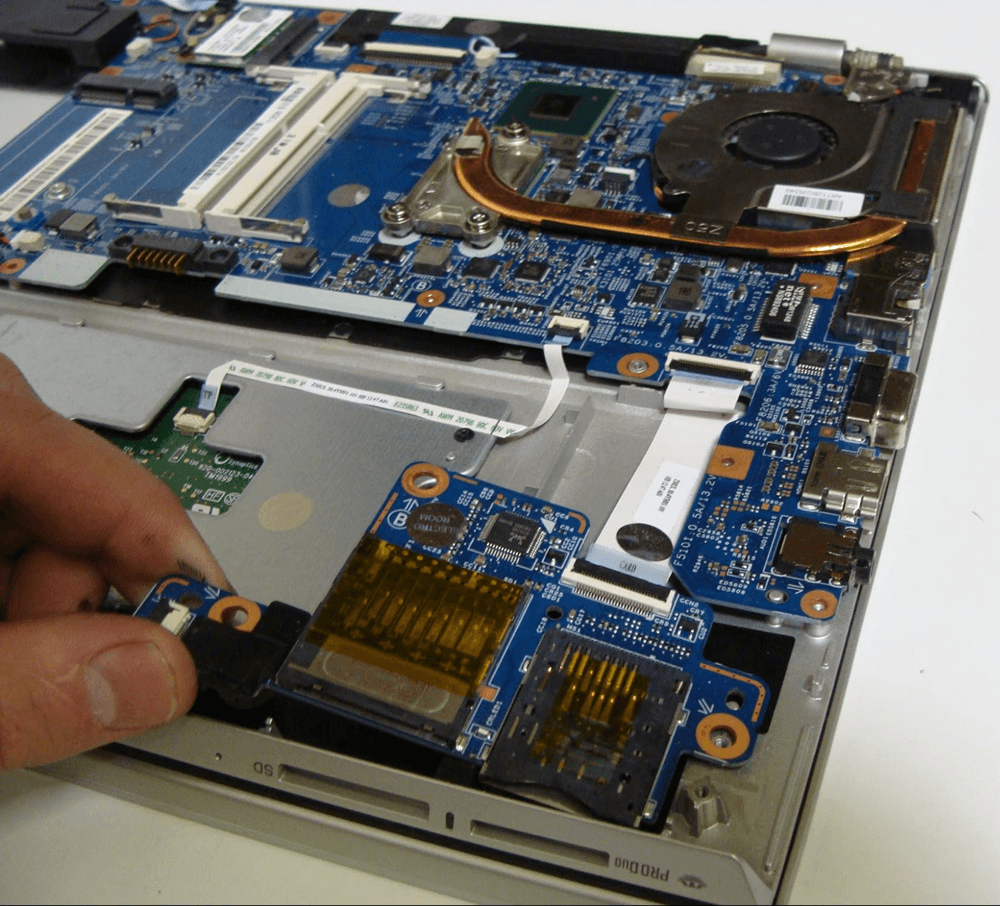
The multimedia card reader board can be removed similarly. Disconnect the ribbon cable then pull up on the board.
I’m going to take the time to disconnect the remaining components from the motherboard.
Once all components have been disconnected, I removed the motherboard. It should come up easily, no adhesive is used.
To remove the power jack, unscrew the small phillips screw connecting the motherboard to ground. Then simply pull up on the power jack.
That’s it. Thanks for reading!